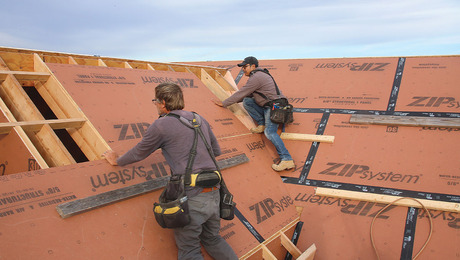
Install Self-Adhering Underlayment in a Roof Valley
For this roofing underlayment available from Zip System, no rolling or fasteners are required.
Sponsored by Huber
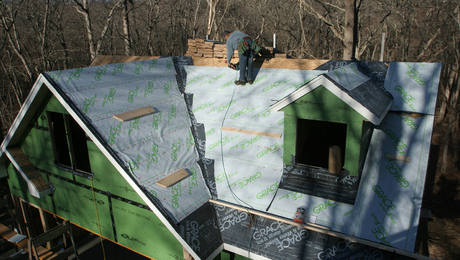
Proper installation of self-adhering underlayment in a roof valley is key for a long-lasting, watertight roof assembly. In this mockup, we walk through the process step-by-step and discuss how the self-adhering underlayment works in conjunction with the felt paper, metal valley flashing, and drip edge. Here’s how to install it.
Cut underlayment with a utility knife to manageable size lengths, especially when working alone. On the adhesive side, locate the pull cord embedded along the center and pull it to split the backing in two. Then center the piece in the valley, leaving a modest overhang at the roof edge. Holding its position, fold back one side and peel the backing away enough to tack it in place, and use firm hand pressure to smooth it out. Continue with manageable sections, pressing firmly towards the outer edges to make the seal. To complete, repeat the steps on the opposite side.
For this underlayment available from ZIP System, no rolling or fasteners are required, just firm, even pressure to make it stick. For subsequent pieces, be sure to overlap by a minimum of three and a half inches. At the roof edge, trim the underlayment, leaving about an inch overhang so it just wraps the sub-fascia, keeping the elements out.
RELATED STORIES
