Installing Self-Adhering Underlayment at the Eaves
Installing peel-and-stick underlayment is a great way to protect the roof edge from ice dams and wind-driven rain. Watch this video to learn how to install it.
Sponsored by Huber
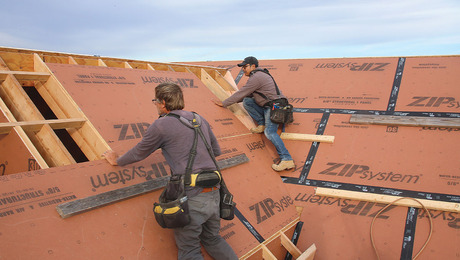
In this mockup, we explain the importance of protecting your building envelope by installing self-adhering underlayment at the eves of your roof assembly. Here’s how to install it.
When code requires, ice and water underlayment should extend back at least 24 in. from the warm side of the wall below. Deep overhangs may require additional courses. To start, measure up the roof 35 in. and snap a reference line. Then cut underlayment to length, 10 to 20 ft. when working in pairs, or shorter pieces when working alone. Position the underlayment along the edge of the roof, lining it up with the reference line. To install, peel the backing away about 12 to 18 in. and tuck it out of the way. Then carefully fold back the adhesive side and tack the upper corner before smoothing out the rest of the section.
Continue to peel backing away in manageable sections and use firm hand pressure to smooth the underlayment out. For this underlayment available from ZIP System, no rolling or fasteners are required. Just firm, even pressure to make it stick. For adjacent pieces, be sure to overlap vertical joints by at least six inches and horizontal joints between rows by at least three and a half inches. Finally, lap the one inch overhang onto the sub fascia to seal the edge and keep out the elements.
RELATED STORIES
