Protect Roof-Wall Intersections with Self-Adhering Underlayment
Get quick step-by-step instructions for keeping this part of a roof from being damaged by ice dams and rain.
Sponsored by Huber
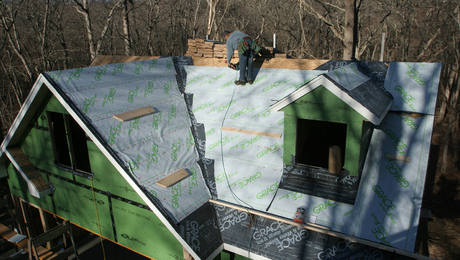
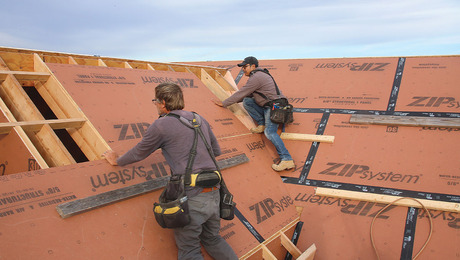
Self-adhering underlayment is a great way to prevent eves and roof valleys from leaking, but it can also be used as an additional line of defense on roof-wall intersections. In this mockup, we demonstrate how to use self-adhering underlayment to seal up intersections that you would commonly find on a dormer window.
Cut strips at least 12 in. wide for a minimum of six inches of coverage on both the roof and wall. More wall coverage may be required according to designer of local code requirements. Then lightly score the backing paper down the center to help with installation. When measuring lengths at, at least six inches to ends for lapping. Position the first piece at the lowest edge first and peel back one corner. As you hold the position, peel the remaining backing away and use hand pressure to smooth the underlayment towards edges, binding it to the surface. Then remove backing from the top section and working from center out, smooth it onto the wall with firm hand pressure.
At corners, use a finger to guide a utility knife about an inch away from the corner and slice at an angle so it can fold back and be adhered to both surfaces. To protect corners, cut bow ties about 12 in. long and install them tight to the corner. Tooling can be helpful. Vertical strips should lap the first piece by at least six inches and are installed with the same methods. Again at corners cut at an angle and firmly press into positions. For this underlayment available from ZIP System, no rolling or fasteners are required. Just firm, even pressure to make it stick. When subsequent pieces are needed, overlap by a minimum of six inches for a good seal.
RELATED STORIES
