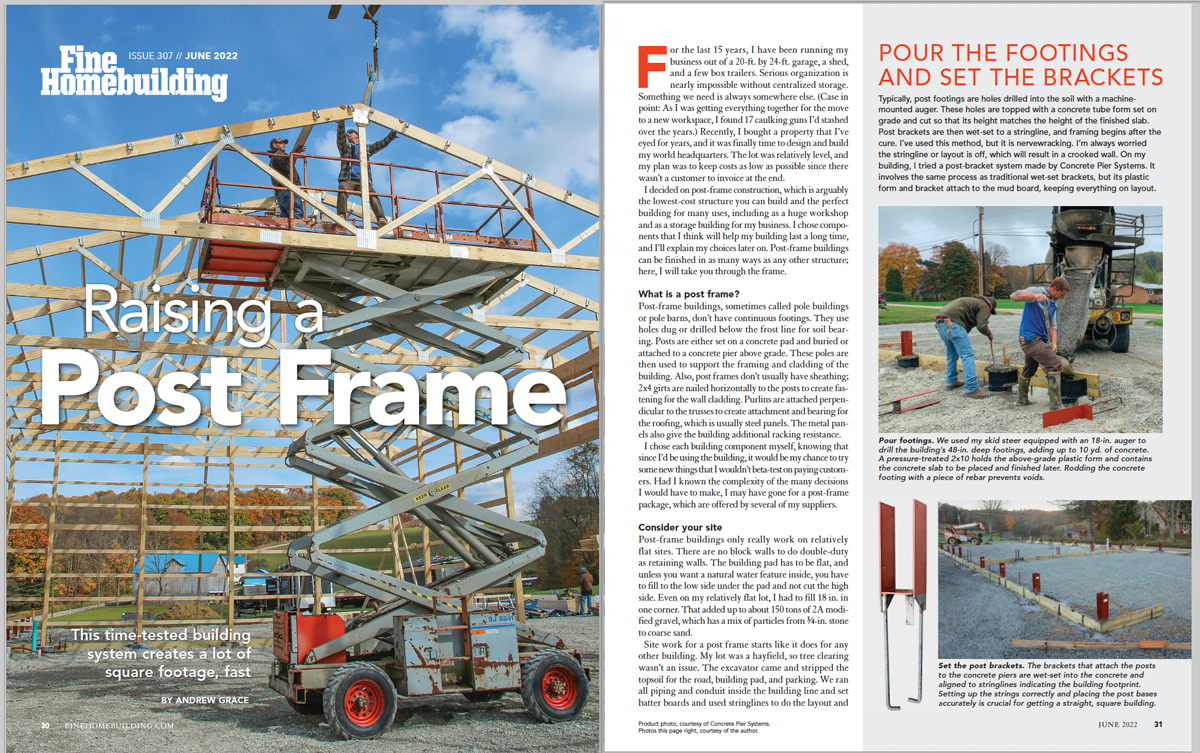
How to Raise a Post-Frame Home
This time-tested building system creates a lot of square footage, fast.

For the last 15 years, I have been running my business out of a 20-ft. by 24-ft. garage, a shed, and a few box trailers. Serious organization is nearly impossible without centralized storage.
Something we need is always somewhere else. (Case in point: As I was getting everything together for the move to a new workspace, I found 17 caulking guns I’d stashed over the years.) Recently, I bought a property that I’ve eyed for years, and it was finally time to design and build my world headquarters. The lot was relatively level, and my plan was to keep costs as low as possible since there wasn’t a customer to invoice at the end.
I decided on post-frame construction, which is arguably the lowest-cost structure you can build and the perfect building for many uses, including as a huge workshop and as a storage building for my business. I chose components that I think will help my building last a long time, and I’ll explain my choices later on. Post-frame buildings can be finished in as many ways as any other structure; here, I will take you through the frame.
What is a post frame?
Post-frame buildings, sometimes called pole buildings or pole barns, don’t have continuous footings. They use holes dug or drilled below the frost line for soil bearing. Posts are either set on a concrete pad and buried or attached to a concrete pier above grade. These poles are then used to support the framing and cladding of the building. Also, post frames don’t usually have sheathing; 2×4 girts are nailed horizontally to the posts to create fastening for the wall cladding. Purlins are attached perpendicular to the trusses to create attachment and bearing for the roofing, which is usually steel panels. The metal panels also give the building additional racking resistance.
I chose each building component myself, knowing that since I’d be using the building, it would be my chance to try some new things that I wouldn’t beta-test on paying customers. Had I known the complexity of the many decisions I would have to make, I may have gone for a post-frame package, which are offered by several of my suppliers.
Consider your site
Post-frame buildings only really work on relatively flat sites. There are no block walls to do double-duty as retaining walls. The building pad has to be flat, and unless you want a natural water feature inside, you have to fill to the low side under the pad and not cut the high side. Even on my relatively flat lot, I had to fill 18 in. in one corner. That added up to about 150 tons of 2A modified gravel, which has a mix of particles from 3⁄4-in. stone to coarse sand.
Site work for a post frame starts like it does for any other building. My lot was a hayfield, so tree clearing wasn’t an issue. The excavator came and stripped the topsoil for the road, building pad, and parking. We ran all piping and conduit inside the building line and set batter boards and used stringlines to do the layout and square the post footings. Then we laid out the common footing holes on 8-ft. centers and the footings on both sides of the garage and entry doors. I had 280 yd. (560 tons) of gravel trucked in and spread because I hate working in the mud.
Pour the footings and set the bracketsTypically, post footings are holes drilled into the soil with a machine-mounted auger. These holes are topped with a concrete tube form set on grade and cut so that its height matches the height of the finished slab. Post brackets are then wet-set to a stringline, and framing begins after the cure. I’ve used this method, but it is nervewracking. I’m always worried the stringline or layout is off, which will result in a crooked wall. On my building, I tried a post-bracket system made by Concrete Pier Systems. It involves the same process as traditional wet-set brackets, but its plastic form and bracket attach to the mud board, keeping everything on layout. 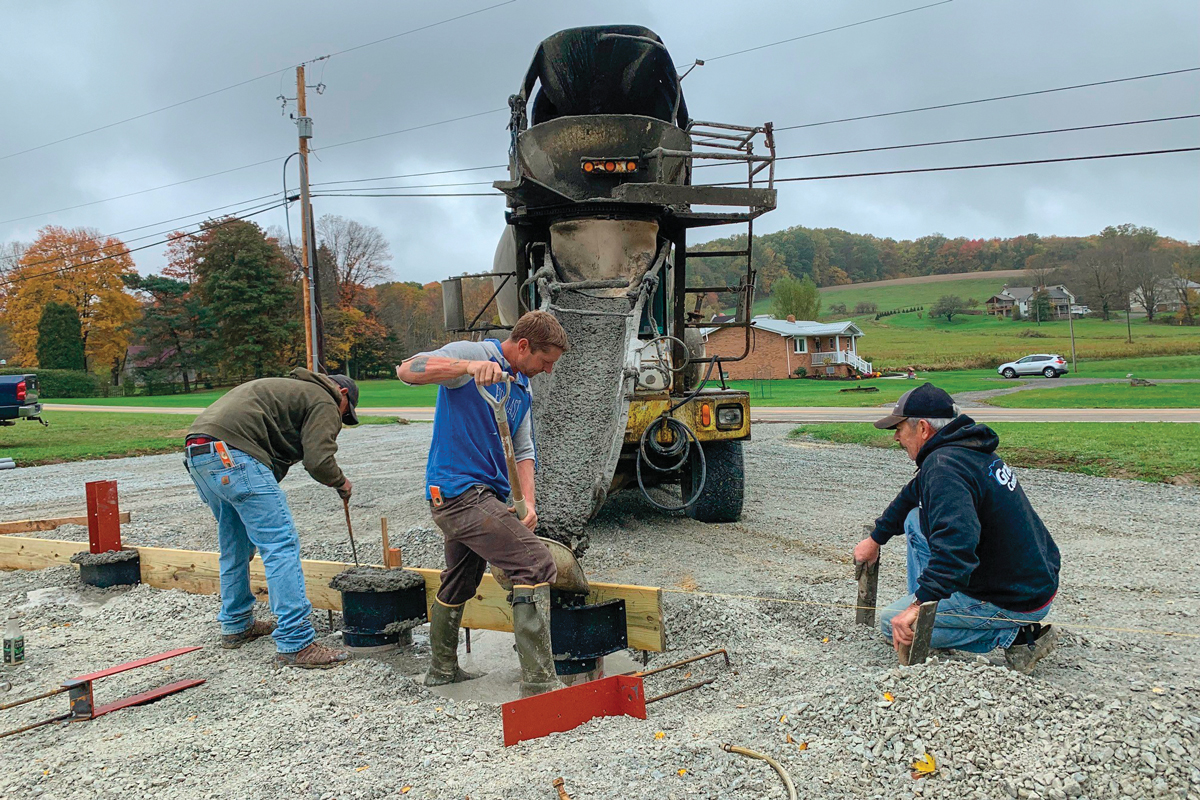 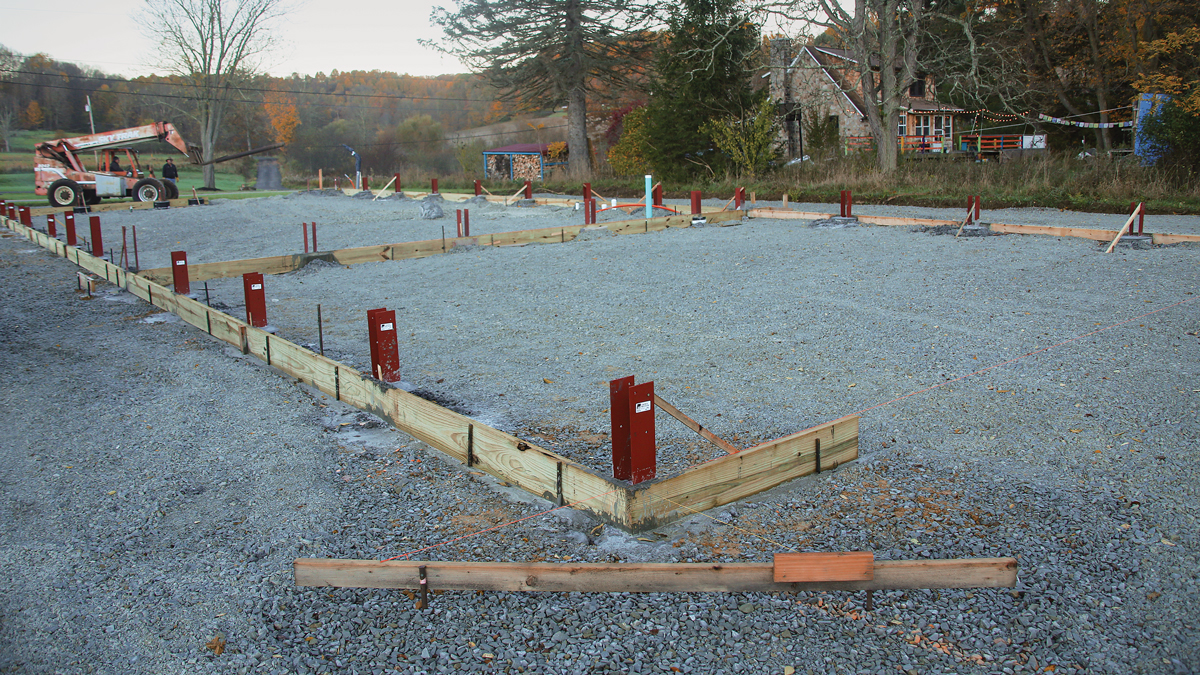 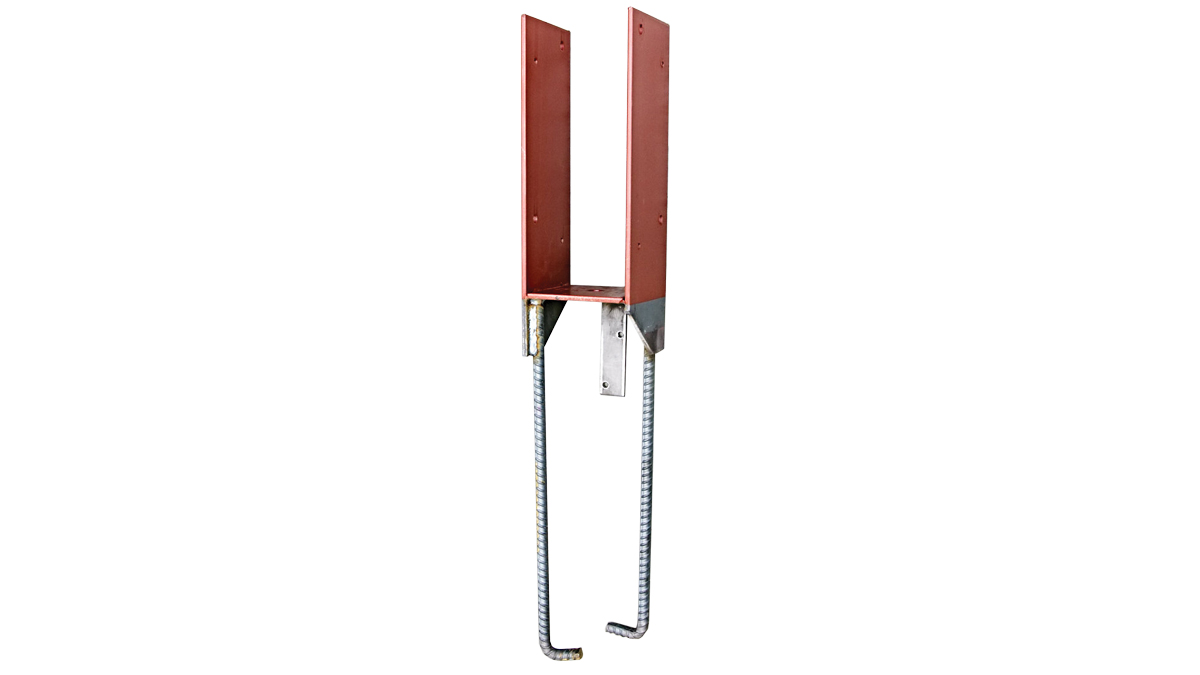 |
Buried posts or above-grade brackets?
One of the big decisions when you’re planning a post-frame building is whether to bury the posts or use above-grade brackets. The current thinking is that buried posts are bad because they rot. I have worked on 100-year-old barns with buried posts, so that has not been my experience.
Still, I don’t like putting posts in the ground because they’re hard to get perfect. Moving a 20-ft. post that’s 4 ft. in the ground is a wrestling match nobody wins. And I understand that if you’re building a barn to keep rain and snow off your livestock, perfection isn’t the goal; I want a precise layout because it makes the rest of the build more efficient, saving time and money. Above-grade steel brackets can be more easily set to a stringline for greater precision.
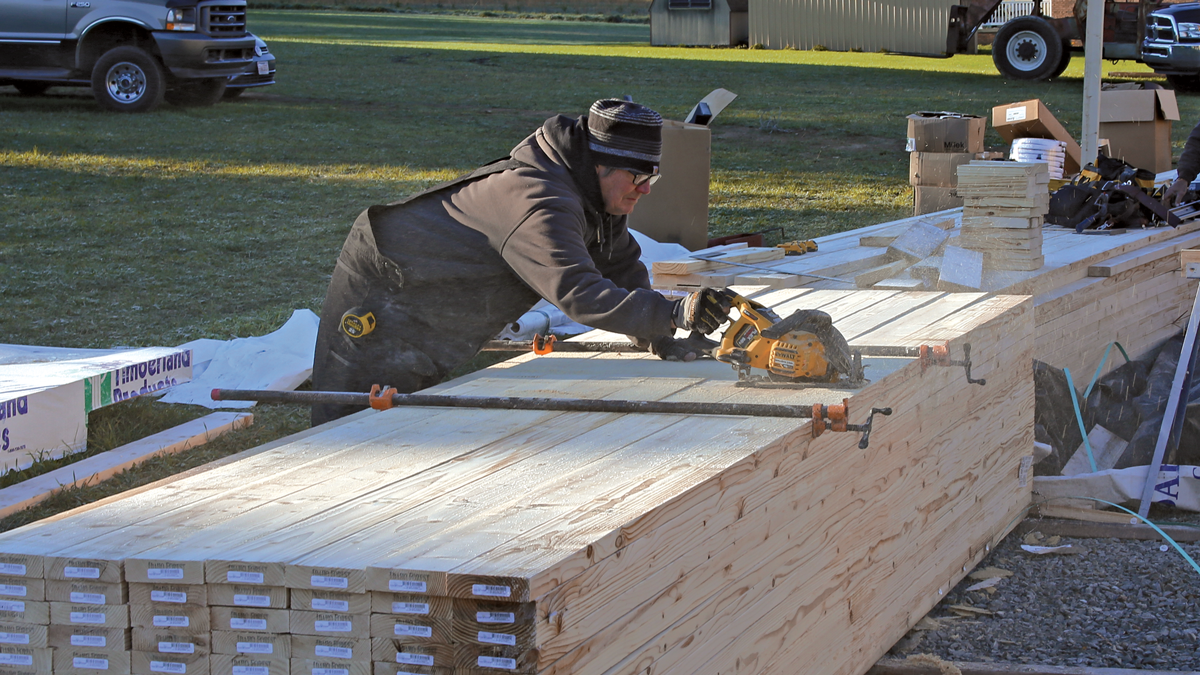
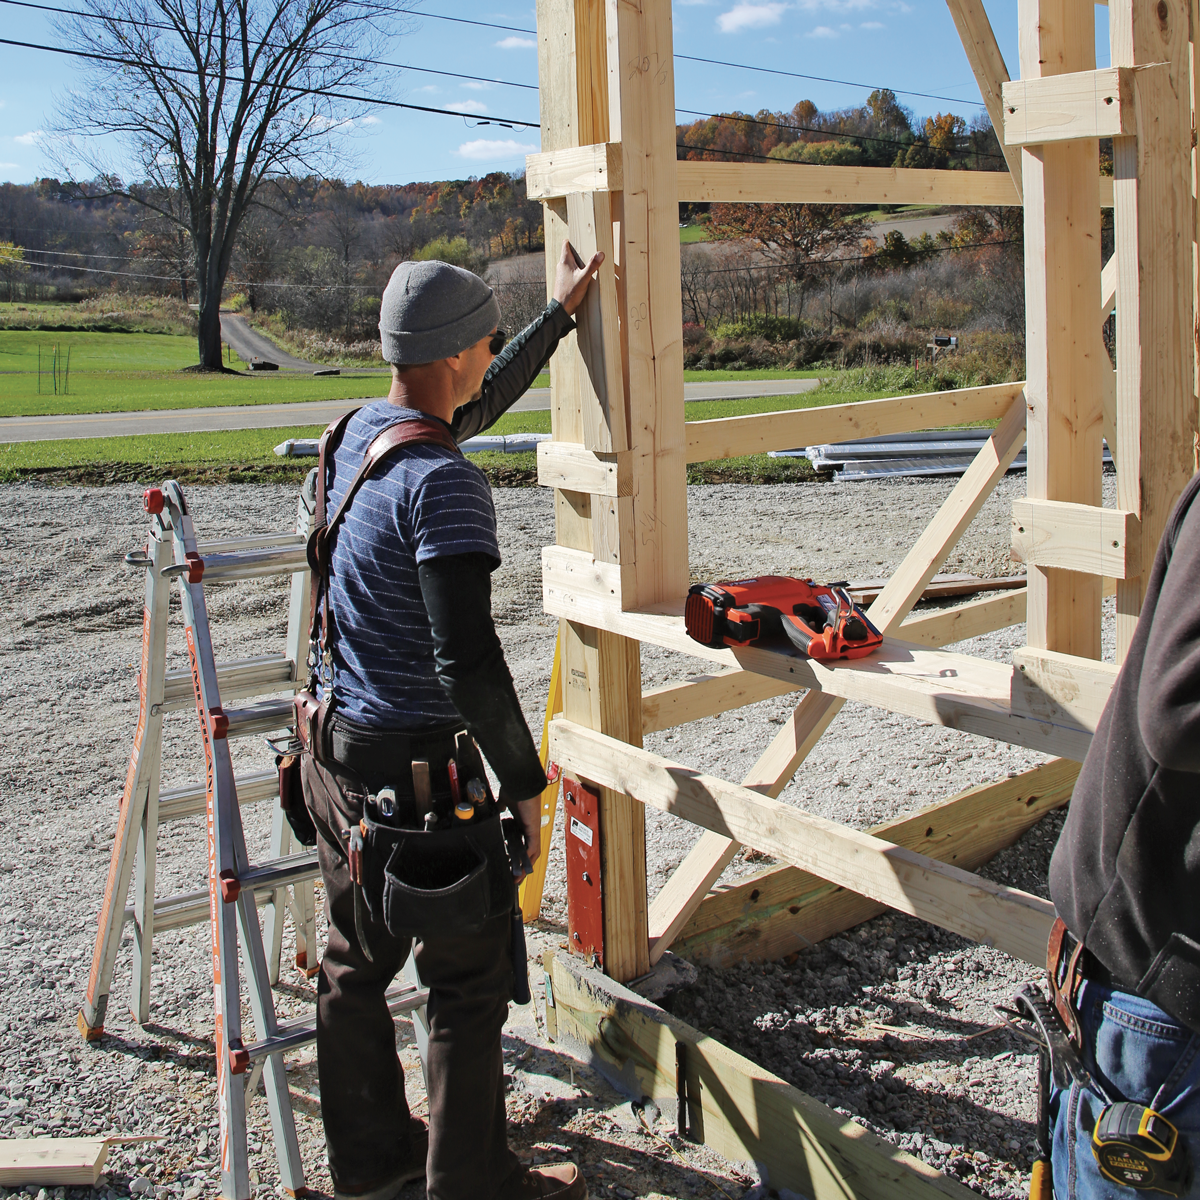
Pick a spot to start framing raiseOn a typical stick-frame building, most framers start with the longest exterior wall. With a large post-frame building, you have to think about machine access for setting the trusses. On my building, the gable end facing the street has an overhead door, and the back elevation does not. I decided to start framing at the gable end without an opening so I could use the large opening on the other end to bring the all-terrain forklift inside for lifting the first wall. 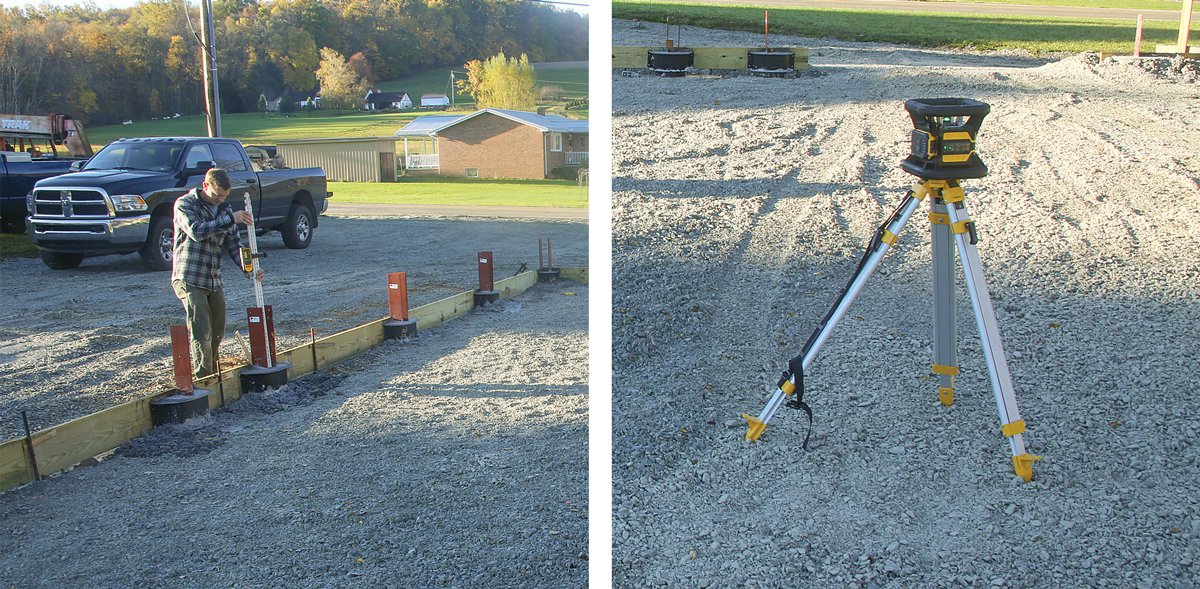 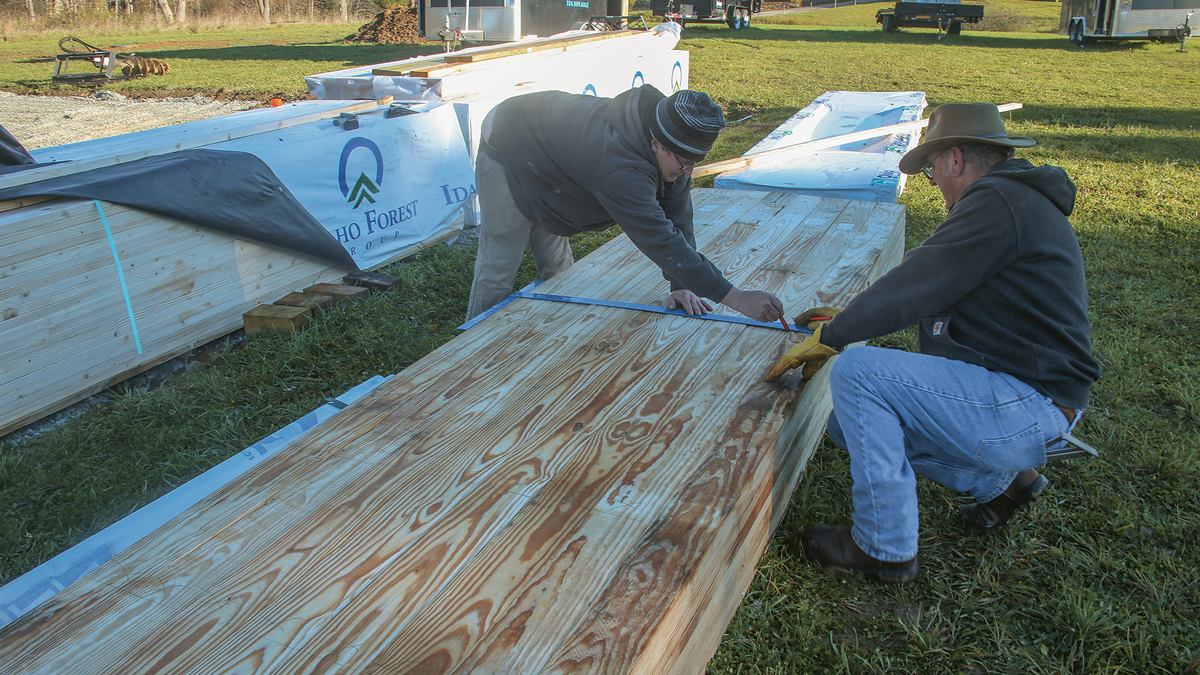 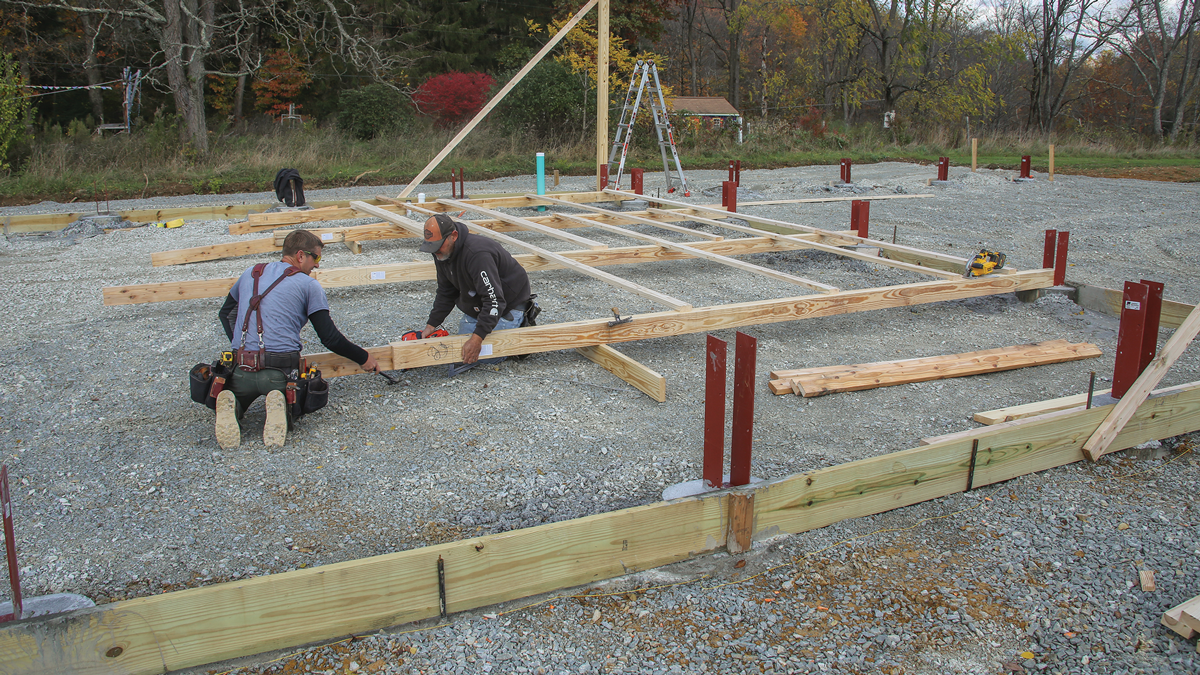  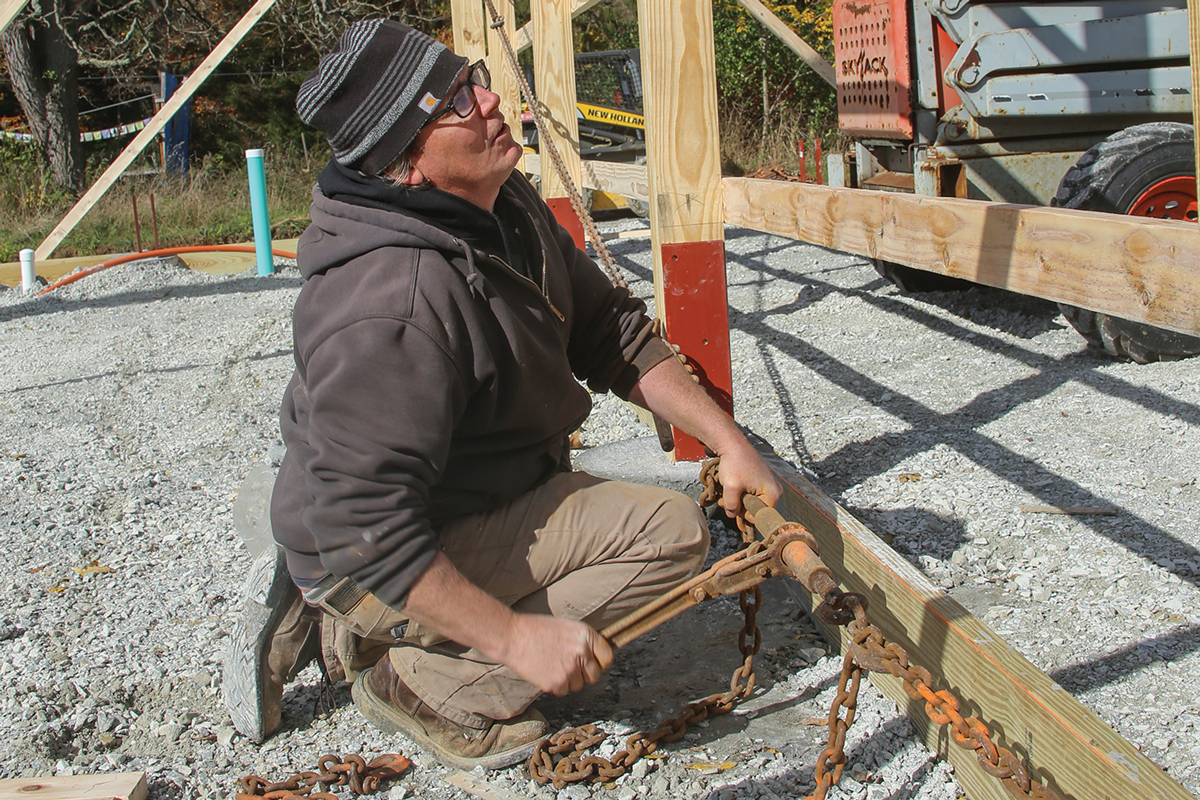 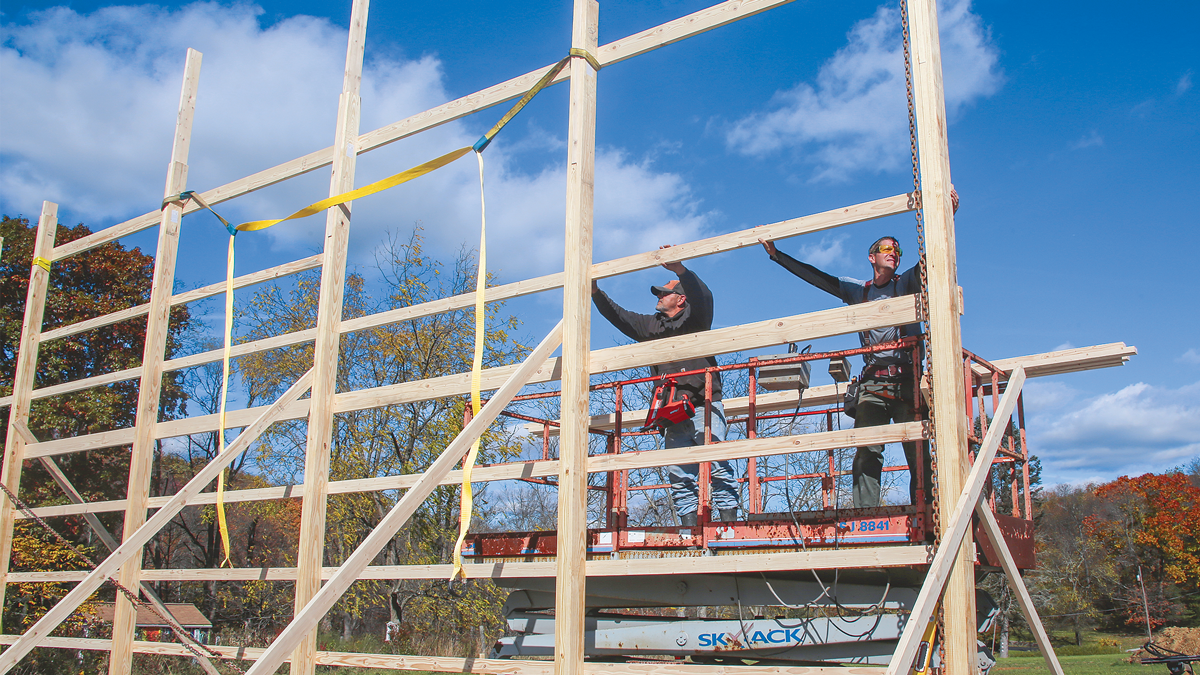 |
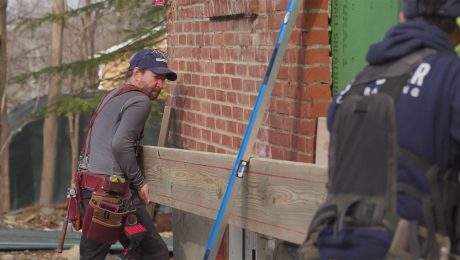
What kind of posts?
Next, I had to choose posts. There are a surprising number of options. Solid, pressure-treated 6x6s were the standard choice when I started out. Since then, laminated posts have become more common. Laminated posts usually consist of three 2x6s nailed or glued together. They are typically straighter and more stable than solid timbers and are available in longer lengths. They can be ordered treated, untreated, or even treated for the first 6 ft.
I ordered nail-laminated posts because I’m old-school and I trust mechanical fastening, but I’m told by component manufacturers that there is no performance difference between nailed and glued. Since I was using above-grade brackets, I chose untreated posts. The posts won’t get wet, so I couldn’t justify paying $600 more for treated posts, though I did hit the bottoms with some Anchorseal to make myself feel better.
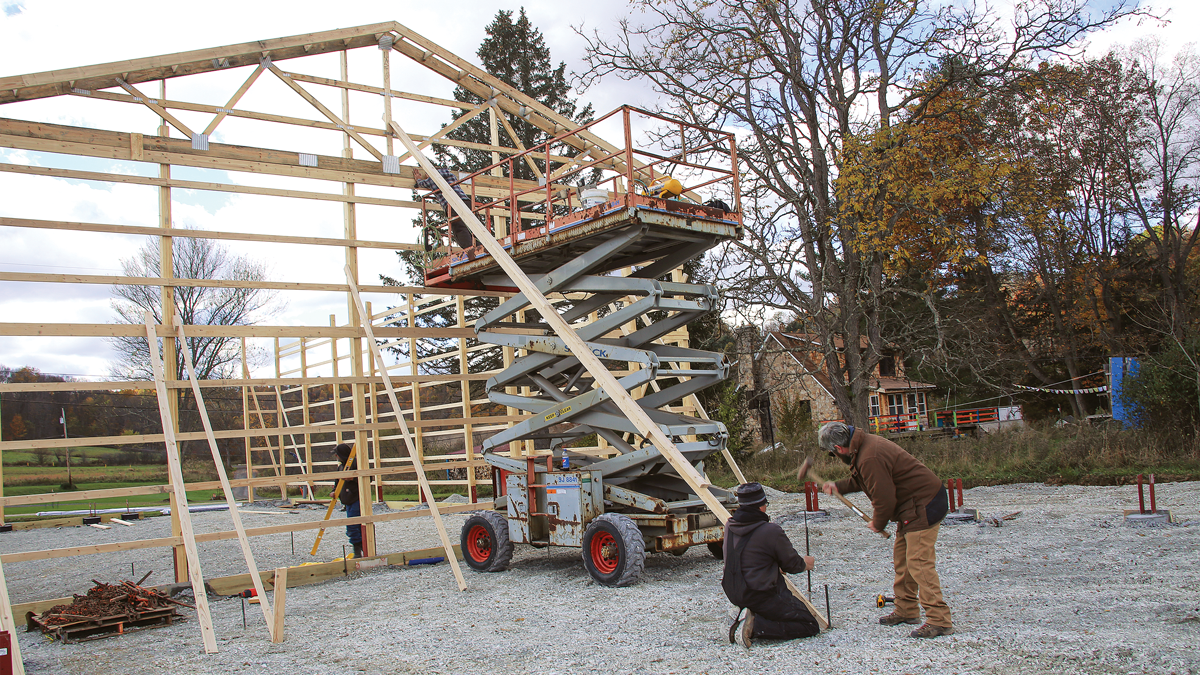
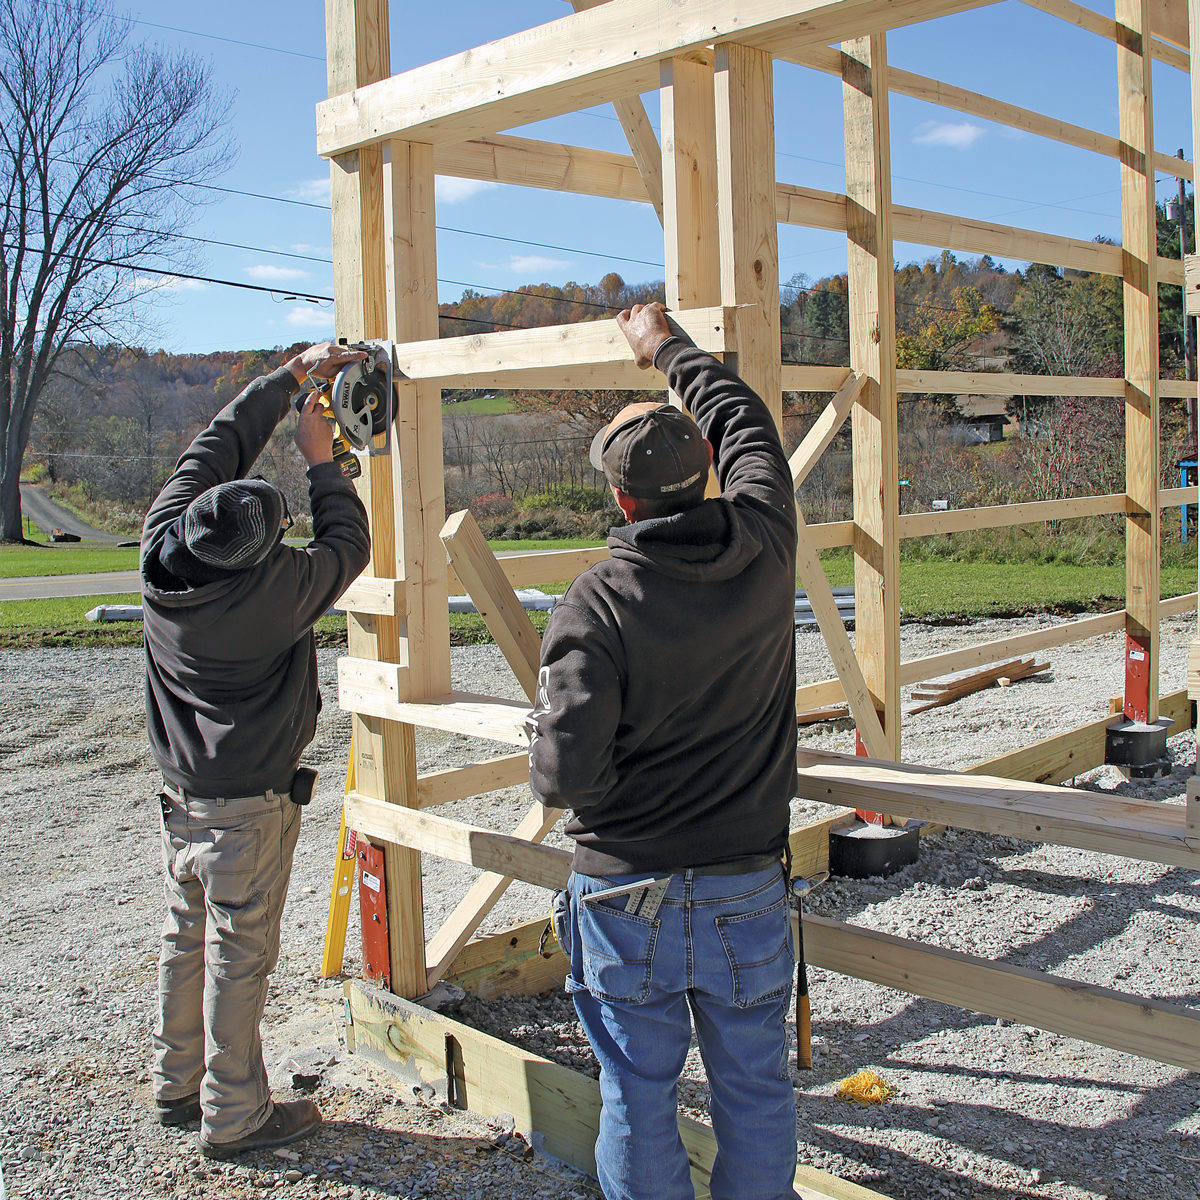
Raise intersecting wallsWith the gable wall plumbed and braced, I framed the perpendicular eave walls next. This helped brace the gable wall and keep the building upright in the event of high wind during construction. 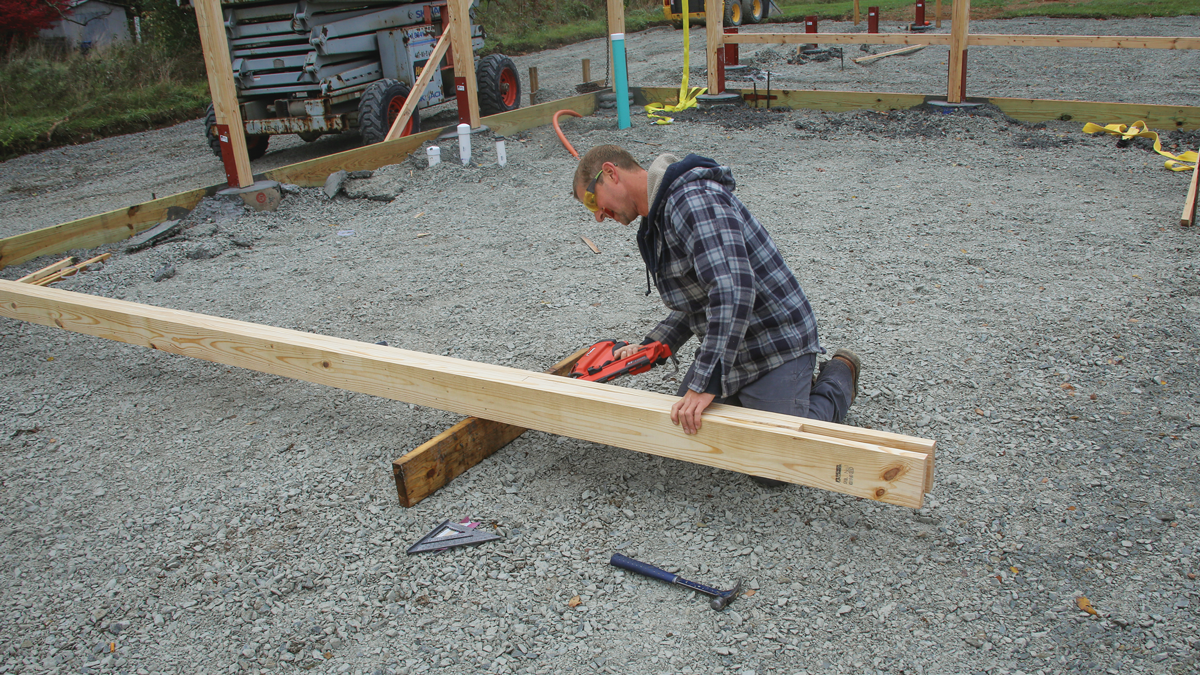 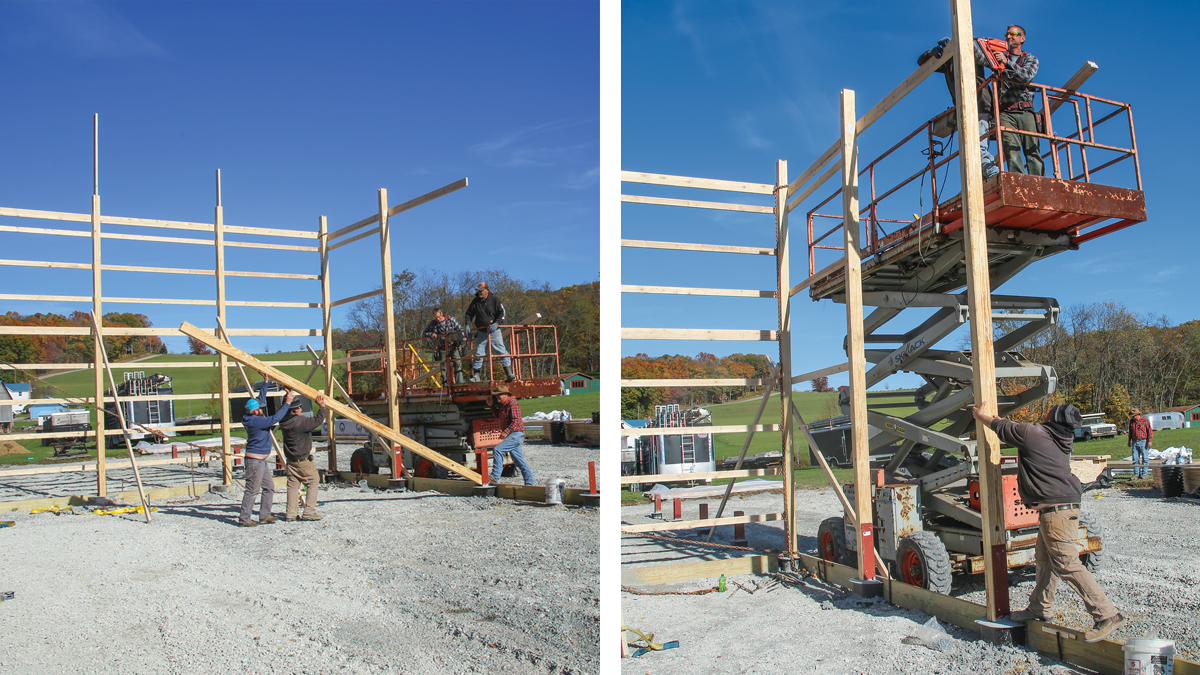 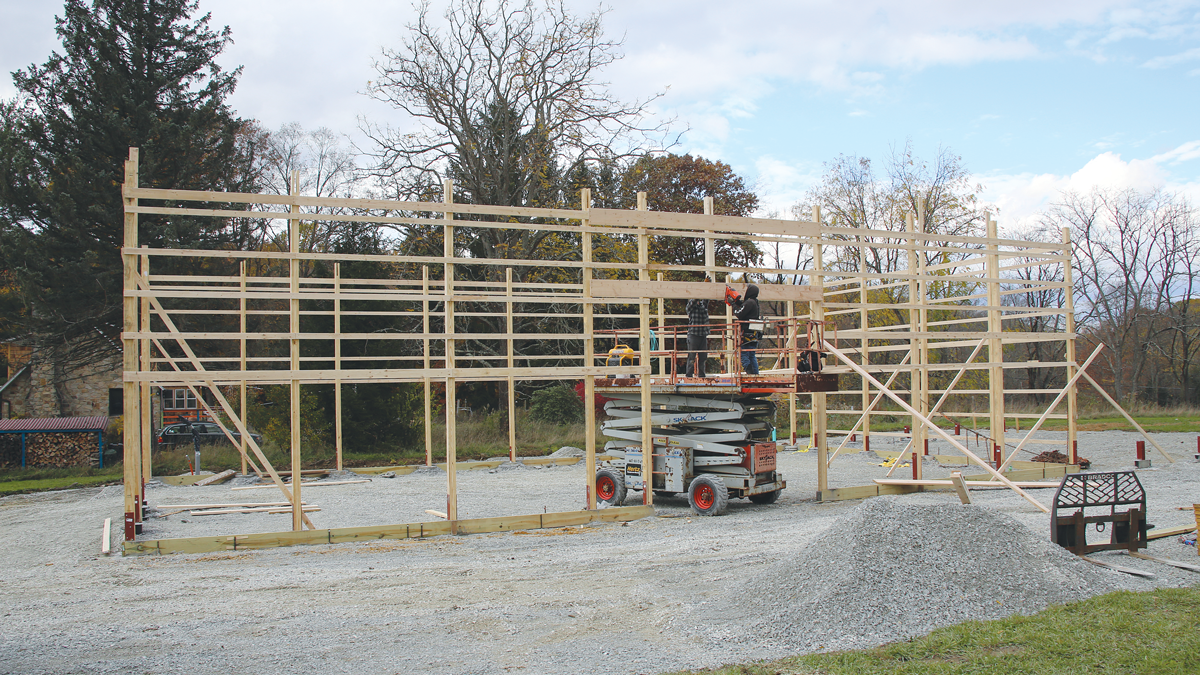 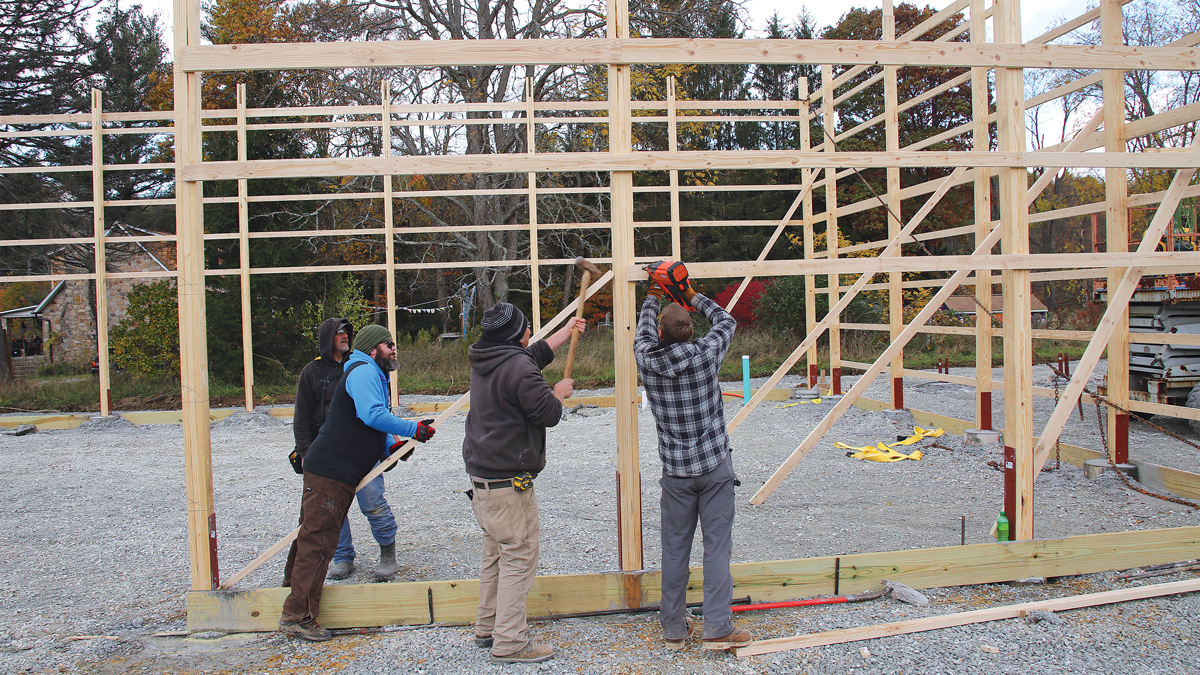 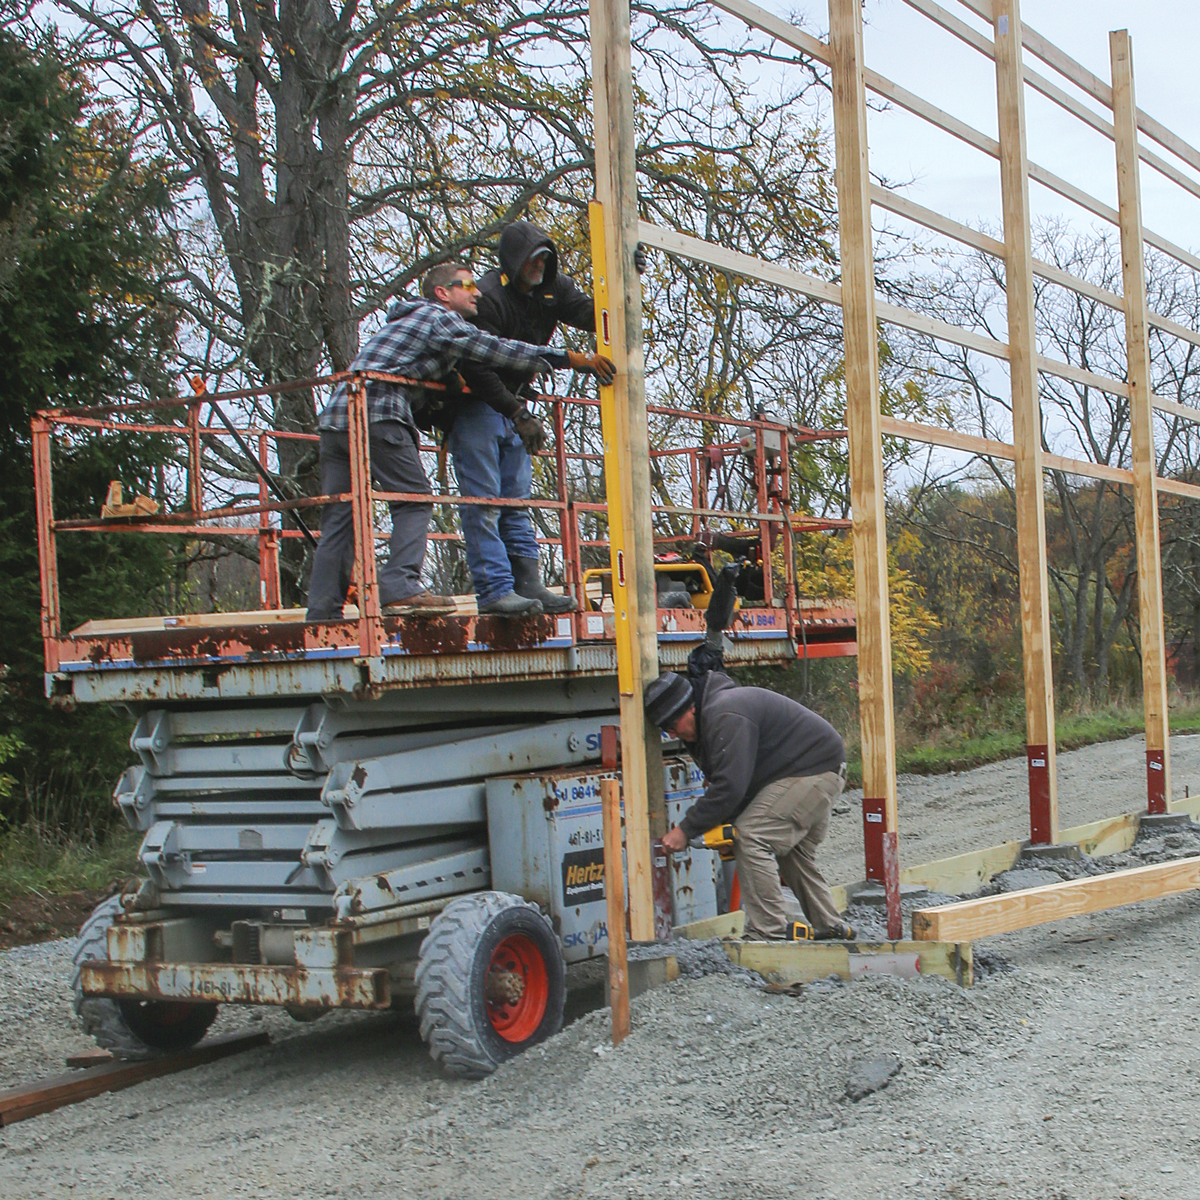 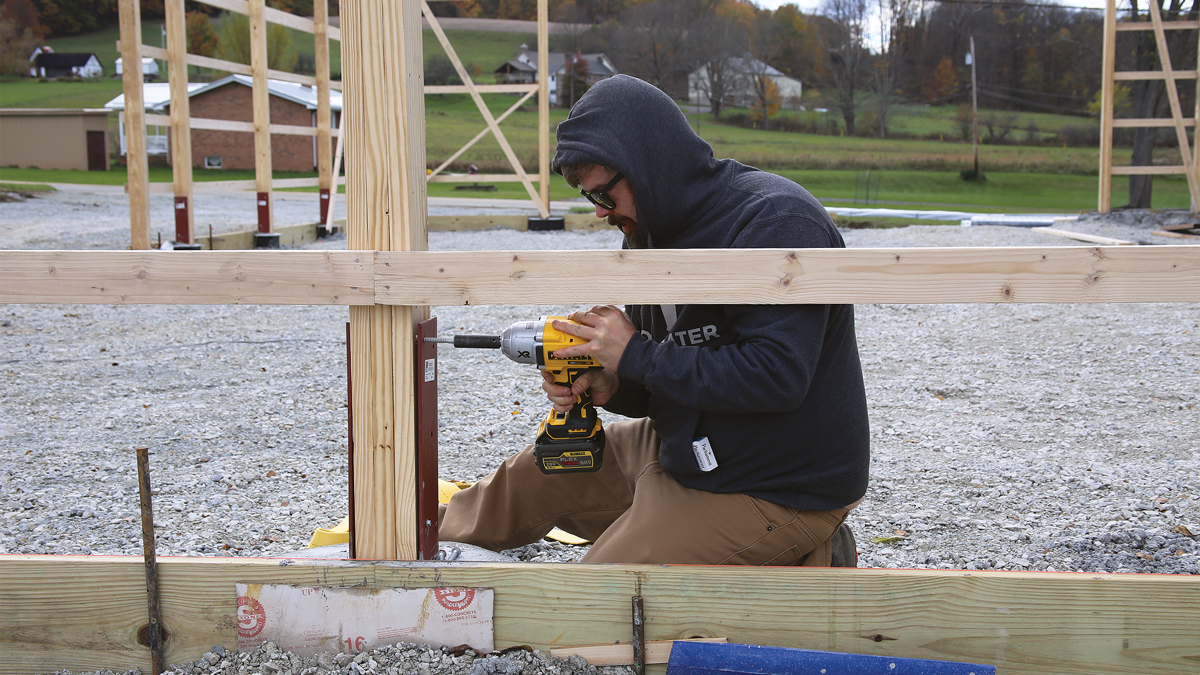 |
What kind of roof frame?
My next decision was about truss layout and purlins. The typical practice around here is for a 2×12 to be bolted to each side of the posts, creating a girder called a truss hanger. Trusses are then set on 4-ft. centers, 2×4 purlins are nailed flat on 2-ft. centers, and steel roof panels are screwed directly to the purlins. I was never wild about this system for several reasons. First, the roof bearing counts on fasteners. Even though I’m sure the engineering is sound and the 1⁄2-in. bolts will hold, it’s not ideal for me. Second, it makes swinging the trusses hard. We use 16-ft. material for purlins, and you end up trying to slip a 40-ft. truss under 12 ft. of drooping 2x boards. And last, it’s unsafe. A bunch of workers scrambling around on a temporarily braced building is an accident waiting to happen.
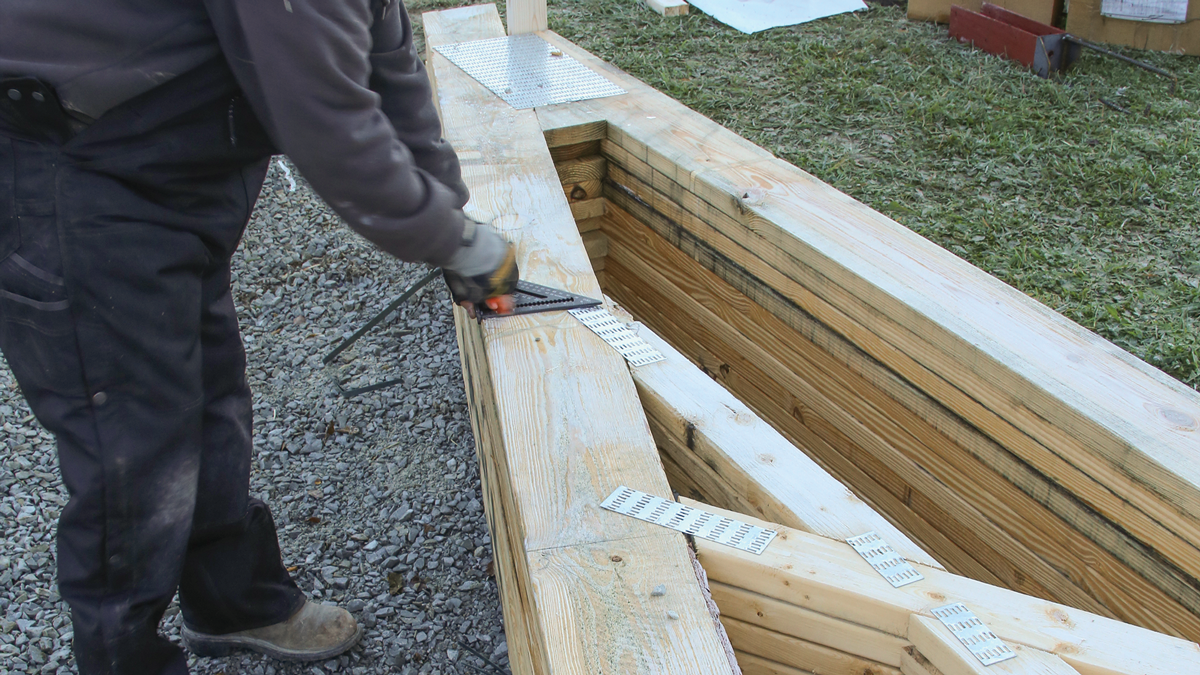
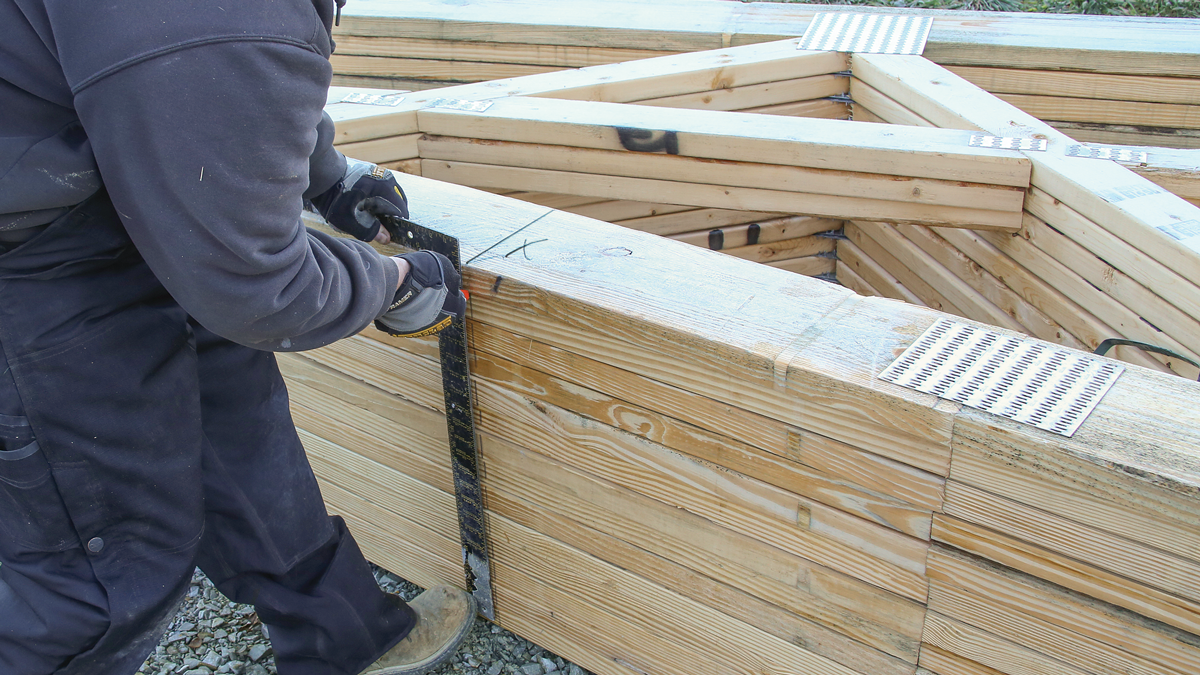
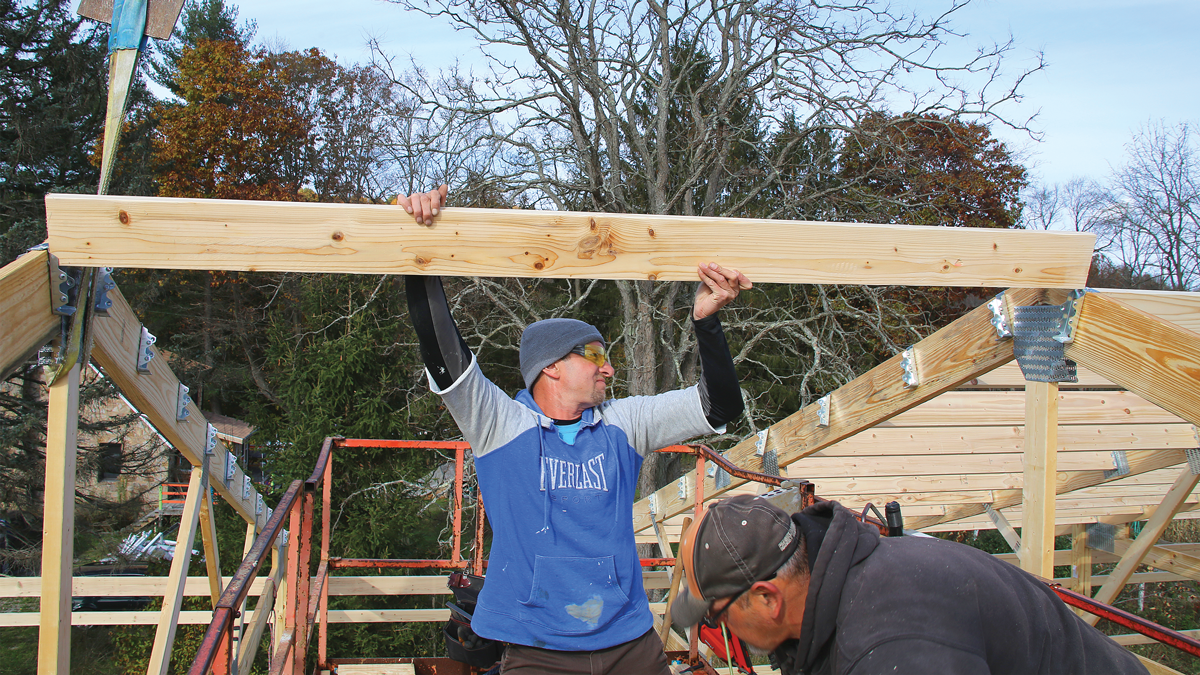
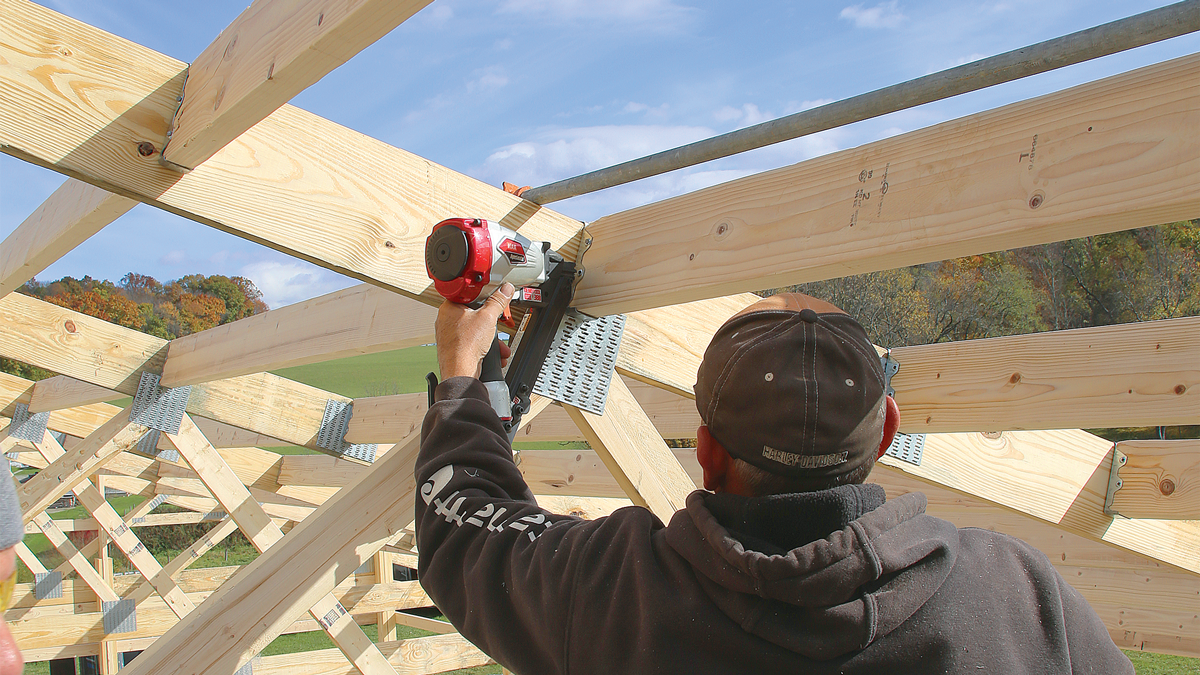
I had my trusses designed for 8 ft. on center, and I was able to order my posts “center ply low,” meaning a 5-ft. section of the middle ply was shipped loose. I cut it to length to allow for the depth of the truss at the building line to create a pocket. Each truss is dropped into the pocket and bolted to the post. This allows the load path to travel from the roof directly to the footing. On 8-ft. centers, purlins are typically 2x4s set on edge and nailed with a 40d nail to each truss. I don’t think this approach properly addresses uplift, and you still end up climbing around on a temporarily braced roof. I found a saddle-style doublepurlin hanger (MiTek JDS26) for attaching the purlins to the trusses.
We were able to install the hangers while the truss was on the ground, cut all the purlins to length on the ground, and install them from a platform lift with a metal-connector nailer without ever getting on the roof. The well-fastened connectors resist uplift better than nails, and we were able to install the purlins faster, easier, and more safely than any other way I’ve tried.
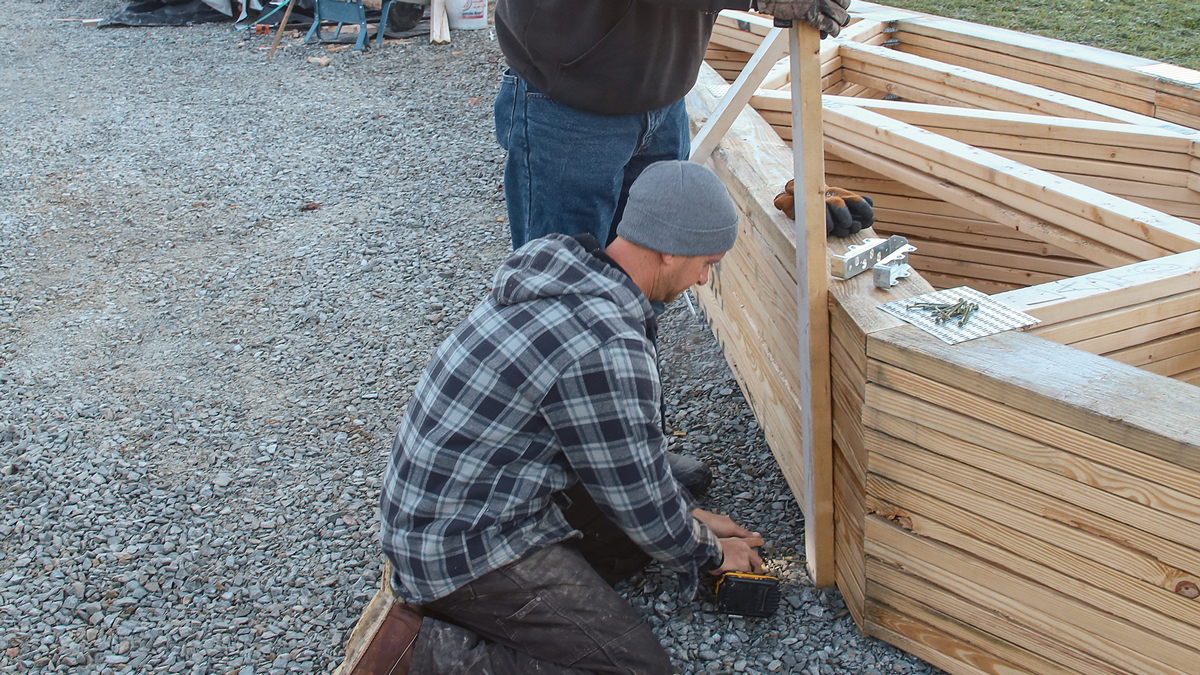
Prep and set a gable truss prepIt makes the most sense to work from one end of the building toward the opposite end. My building had a large overhead door on one gable, so we started at the opposite wall and worked toward the opening. If your building doesn’t have a large opening to drive the forklift through, you may have to use a crane. 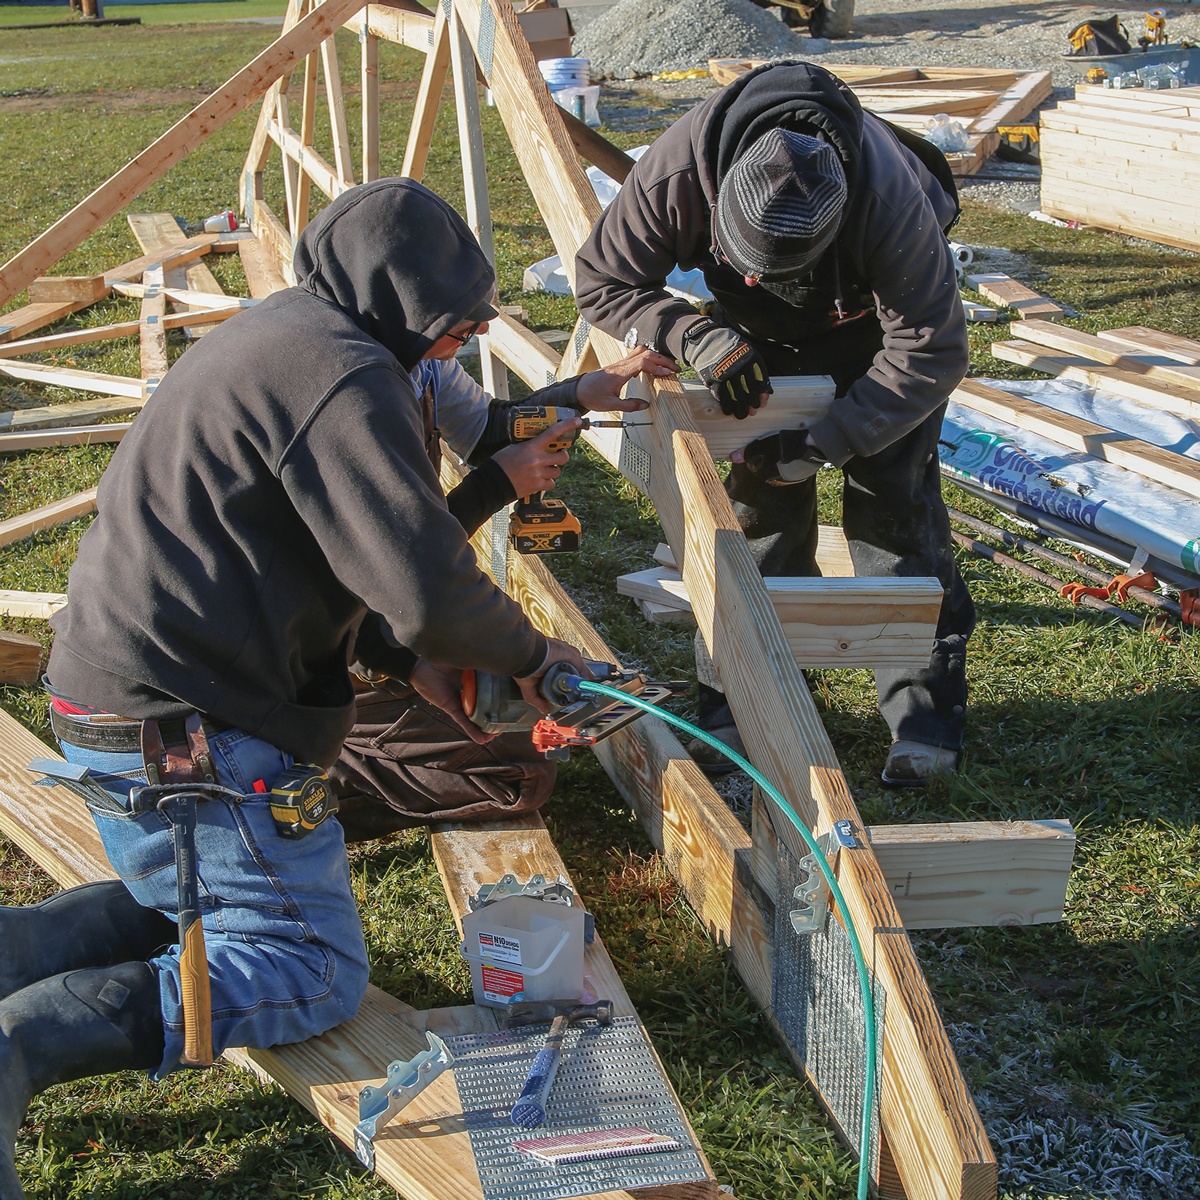 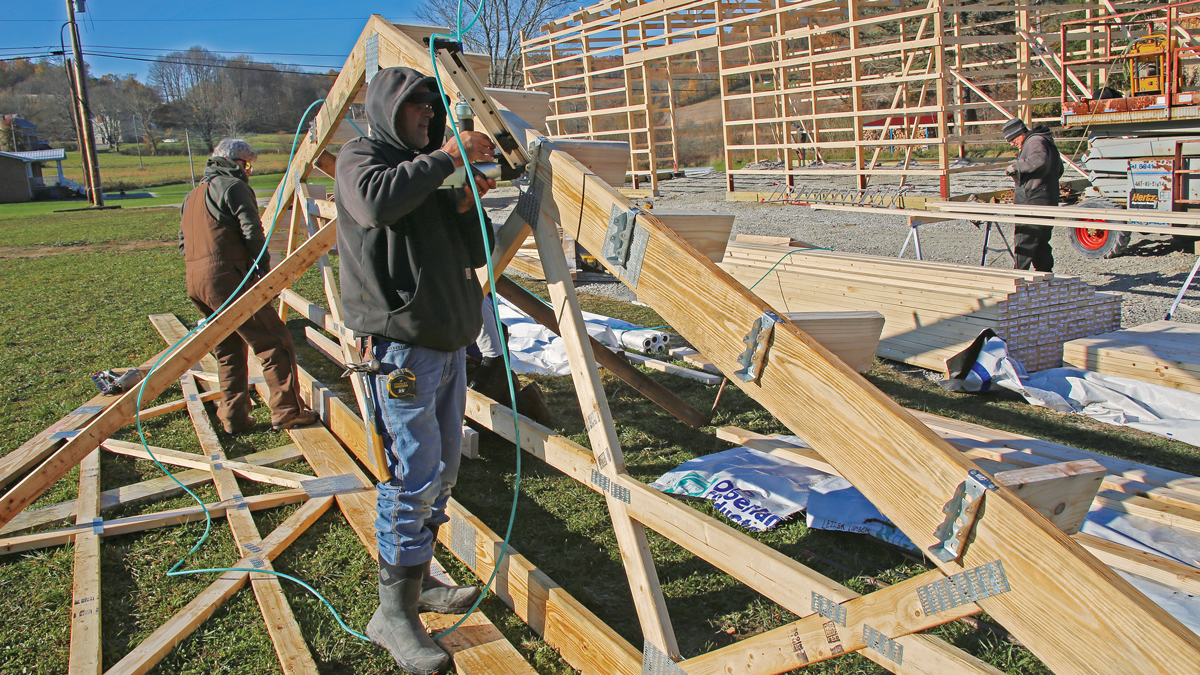 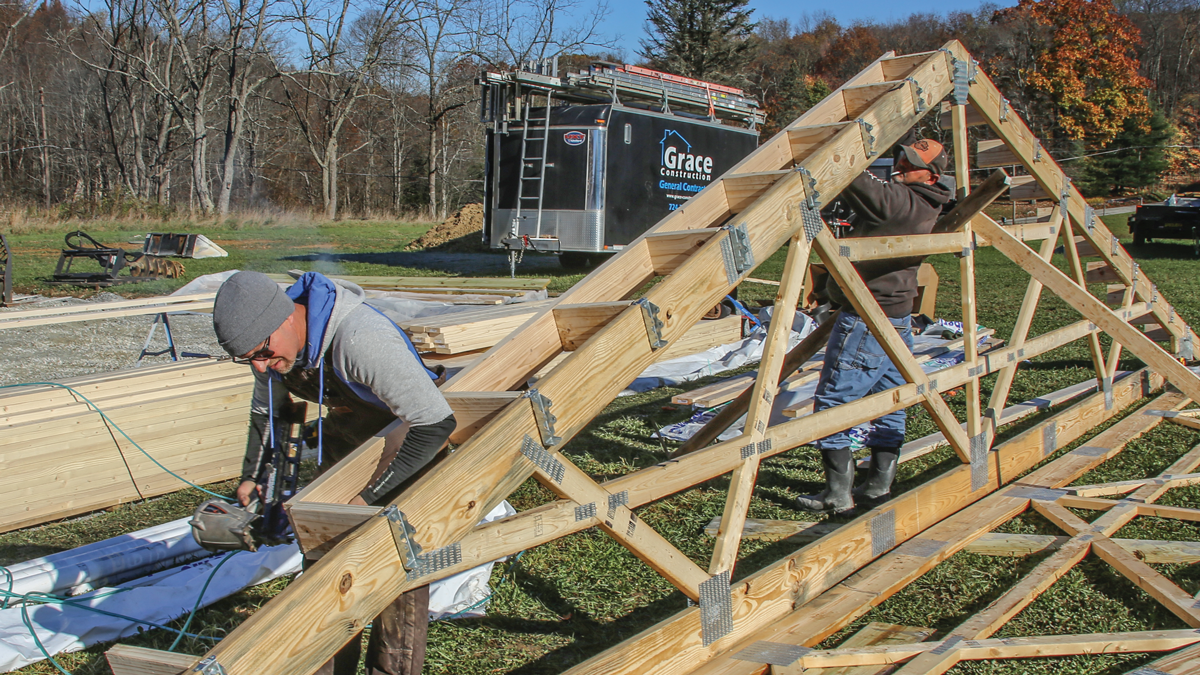 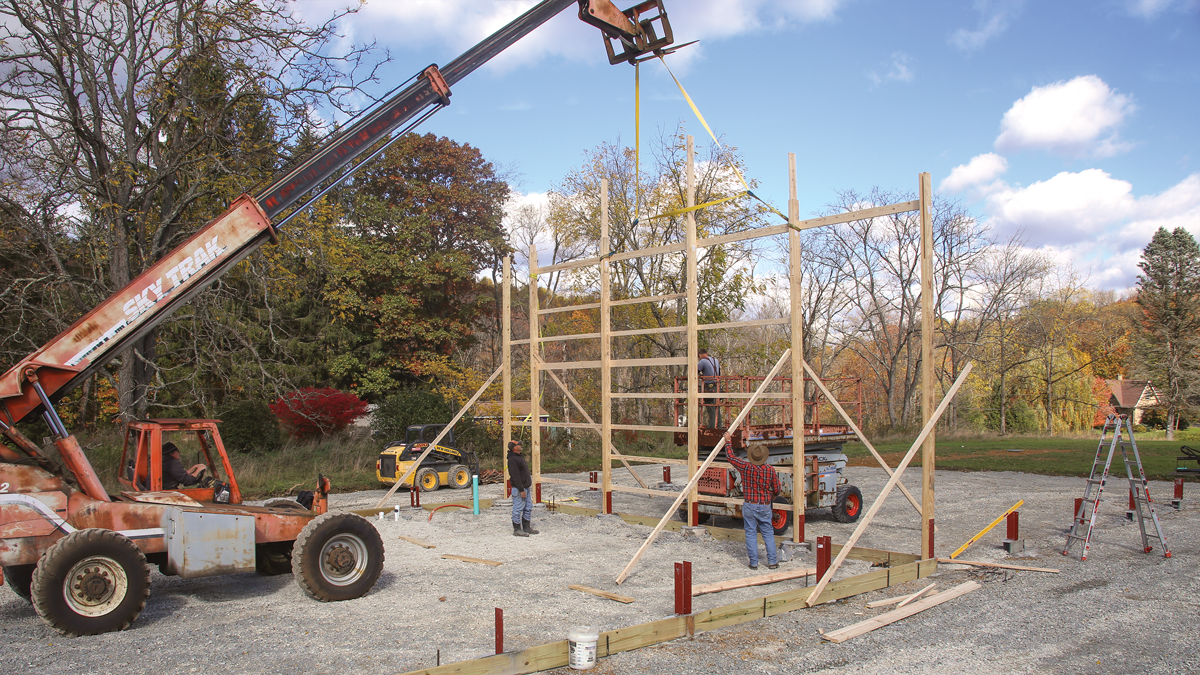
|
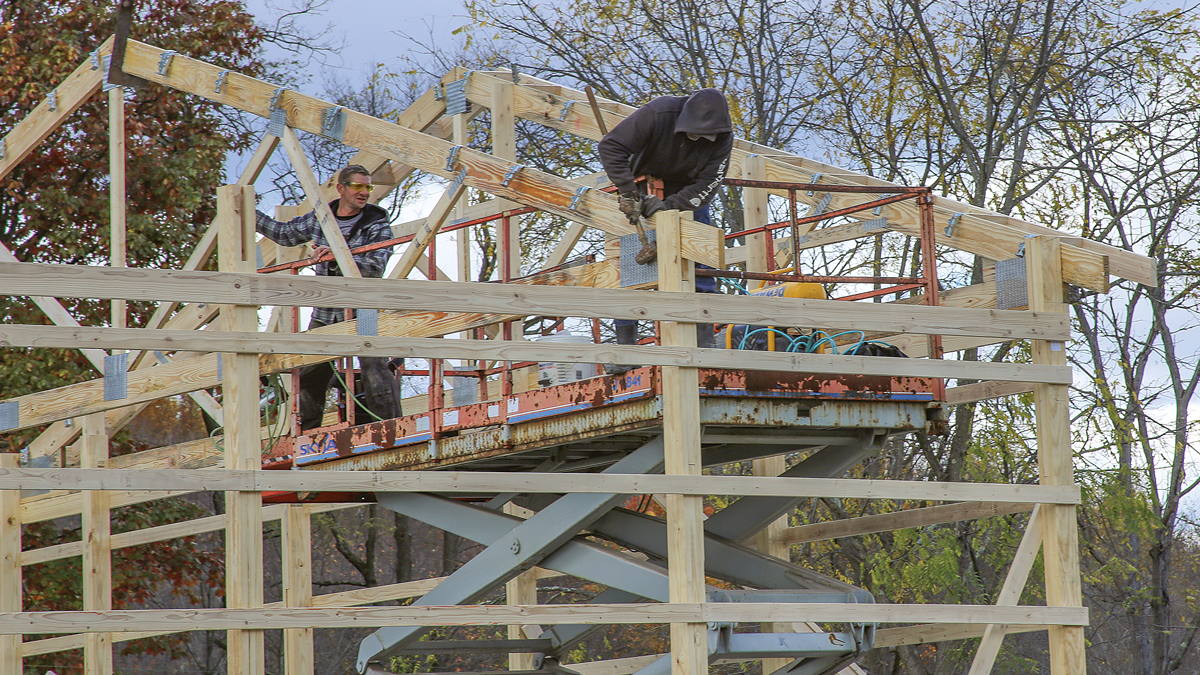
Prep and set the common trussesMost post-frame builders use an all-terrain forklift for setting trusses. When choosing a rental machine, make sure it has enough reach to set the last few (three in my case) trusses from outside the building, because there’s not enough room to place them from inside the structure with the other trusses in place. If the site is cramped, consider hiring a crane to set the trusses; moving them around the site with a forklift requires a lot of room. 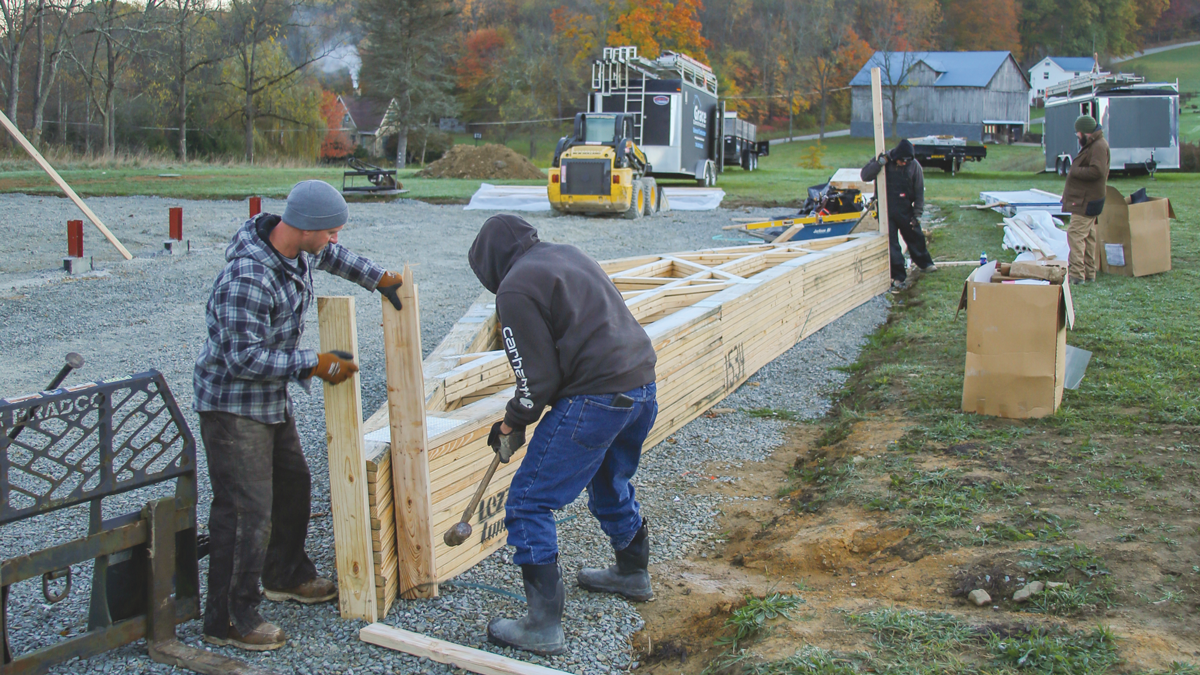
       |
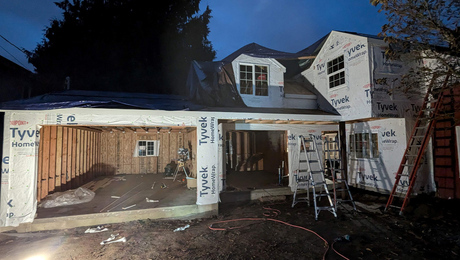
Skin the outside
Without continuous sheathing, post-frame buildings can rack. Surprisingly, the metal roofing and siding is what helps the building resist racking. Temporary bracing is important to hold the building plumb, level, and square until the cladding is installed. We did install internal X-bracing in the building corners, and we also installed all the roof-system bracing specified by the truss designer.
How did it turn out?
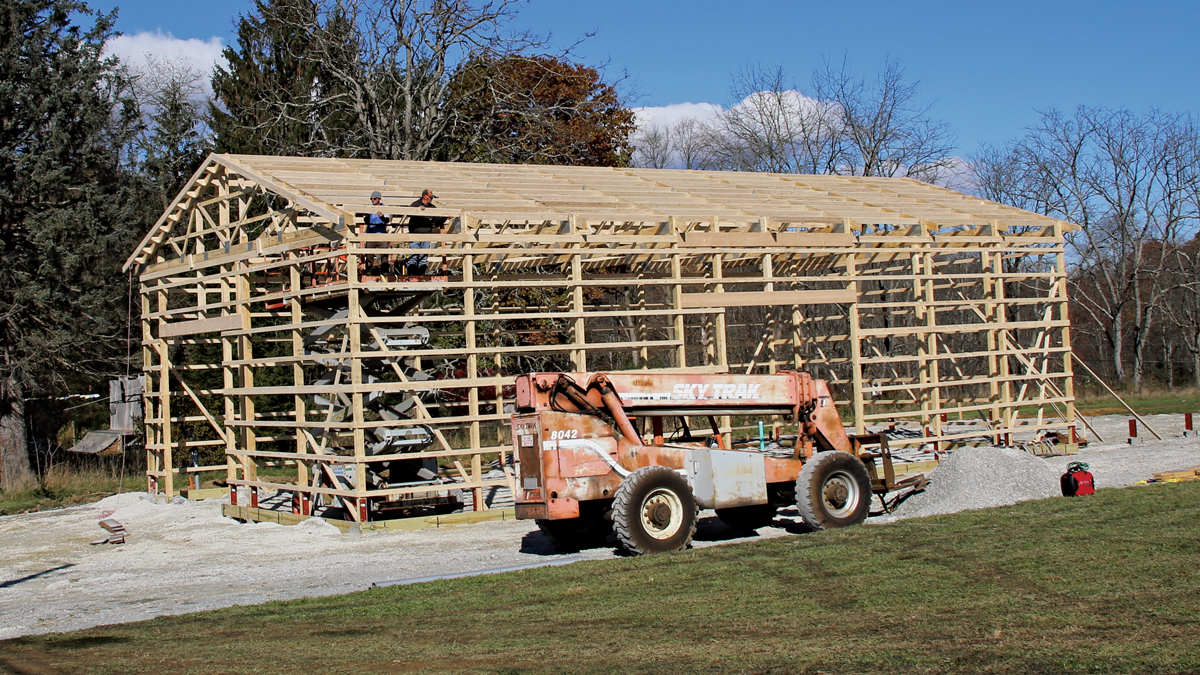
There are a lot of ways to build a post-frame building, and I’m sure most of them work. This was the best way I could think to do it, and when all is said and done, I’m pleased with the decisions I made. Three of us built a 3600-sq.-ft. building, most of which is 18 ft. high, without breaking our backs or the bank. We had a lot of help from an all-terrain platform lift and a telehandler, but we could have done it in other ways that take more time.
The toughest part for me was to stop thinking like a house framer. Post frames are a different animal. Window and door framing takes some getting used to, and installing blocking for all the trim and flashing requires a fair amount of forethought. But the building is simple if you have strong carpentry fundamentals and, as with anything else, you focus on the details.
Finish the front gableTo provide more room for maneuvering the forklift and lifting the trusses, the framing was left incomplete on the front gable. Once the common trusses were all in place, the gable wall was framed and the final truss was prepped and lifted, using the same overhang details as the other end. 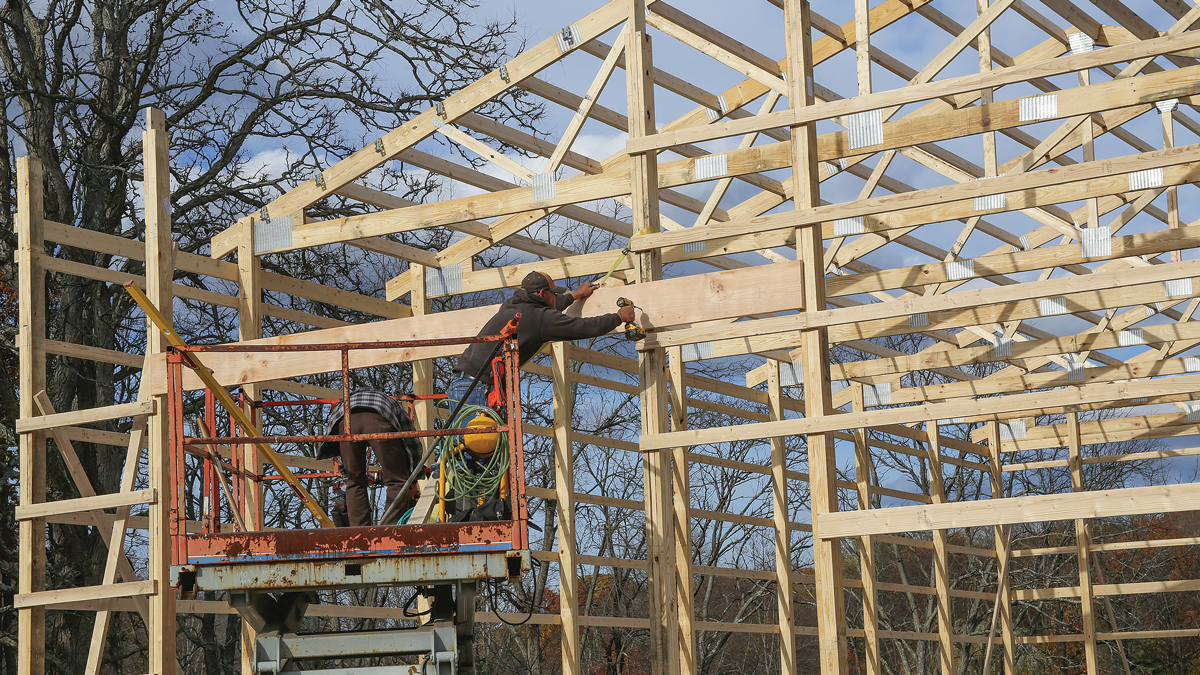 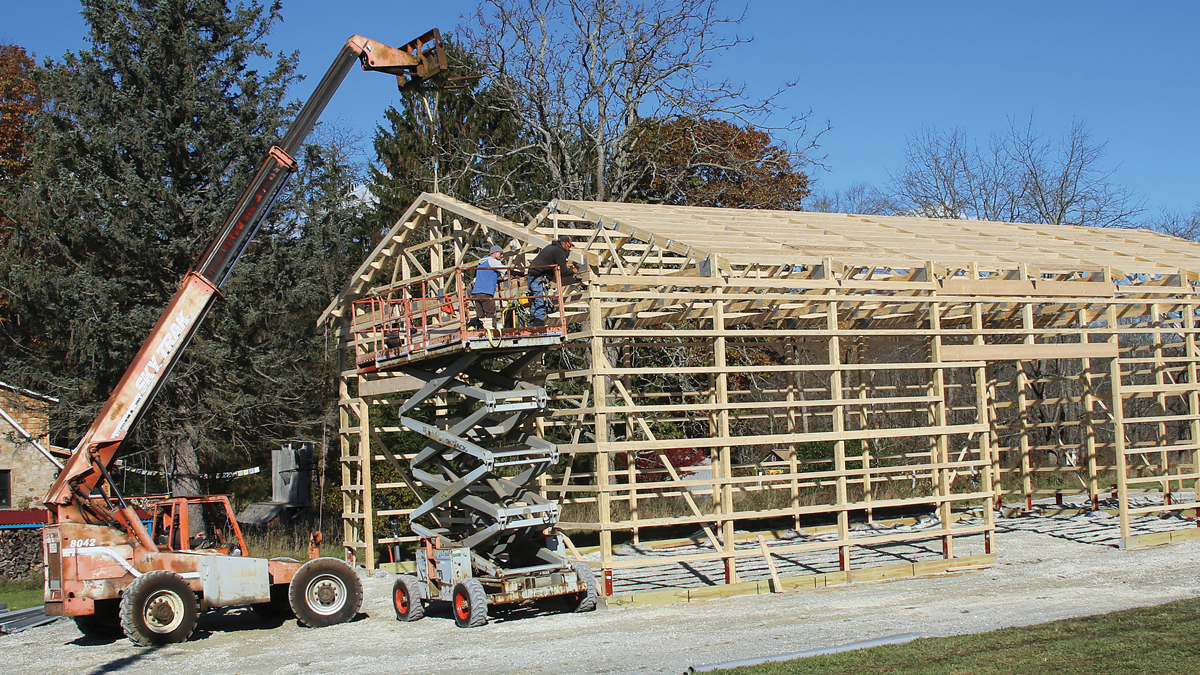
 |

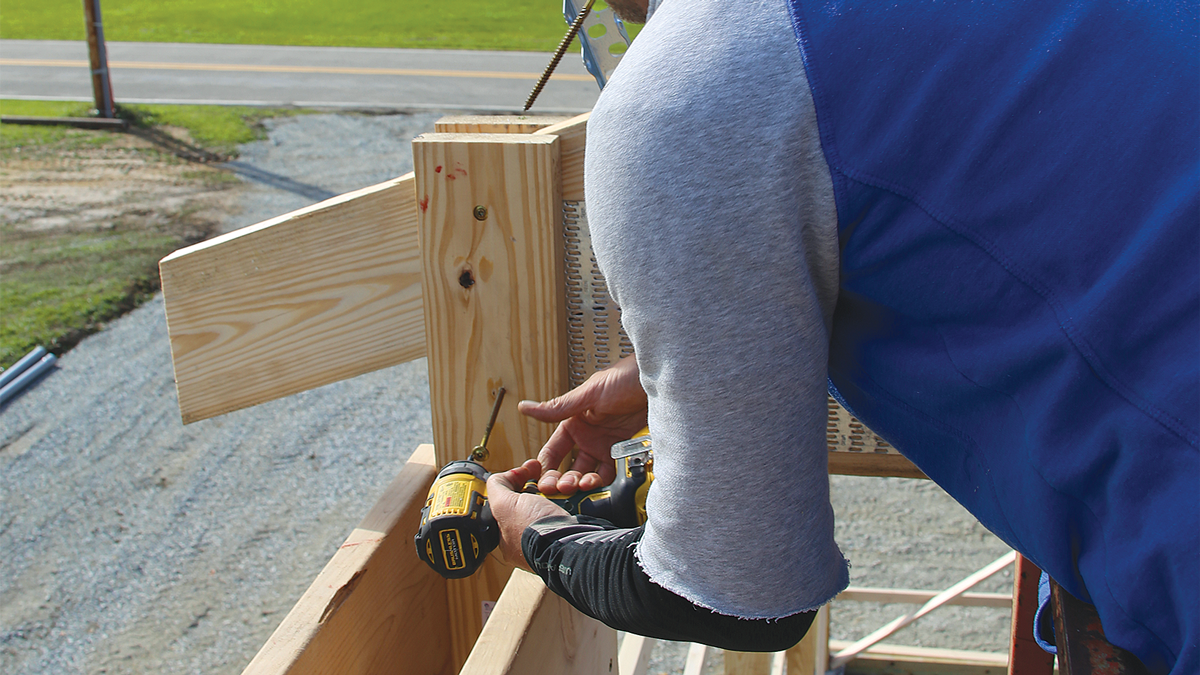
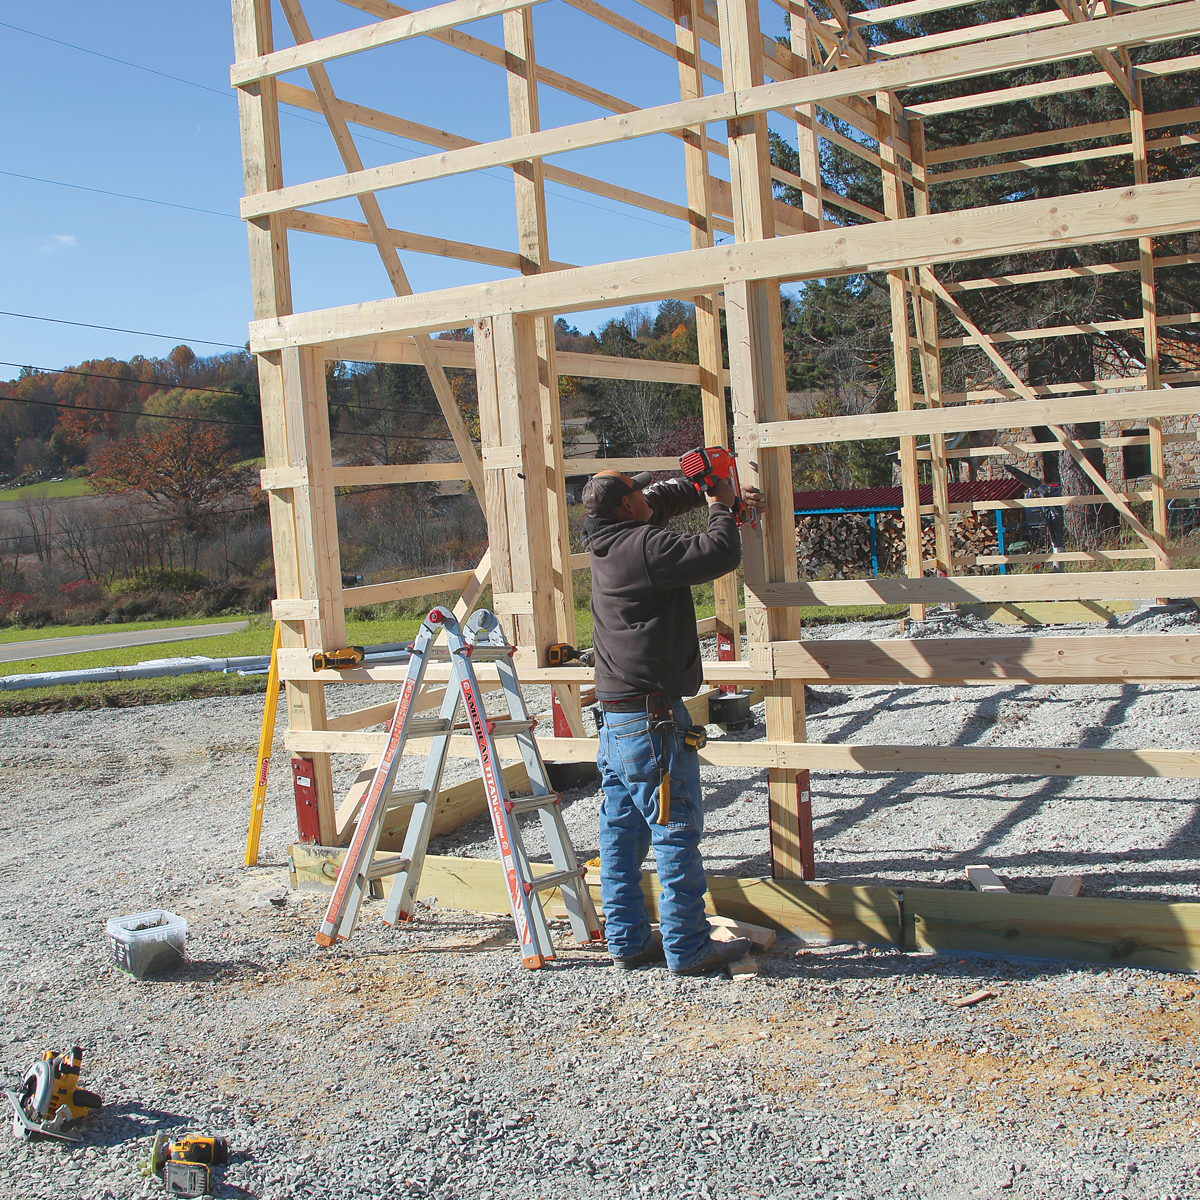
Add door and window openingsSince the posts are the bearing members, entry door and window openings don’t require conventional headers. Instead, 2×6 bucks screwed to the girts create window and door openings. I used the 8-ft. girt as the header height. Girts can be added if the top of the opening or the rough sill doesn’t land on common girts. I used 2×6 girts at the tops and bottoms of windows to strengthen the wall and allow more room for window nailing flanges and trim. 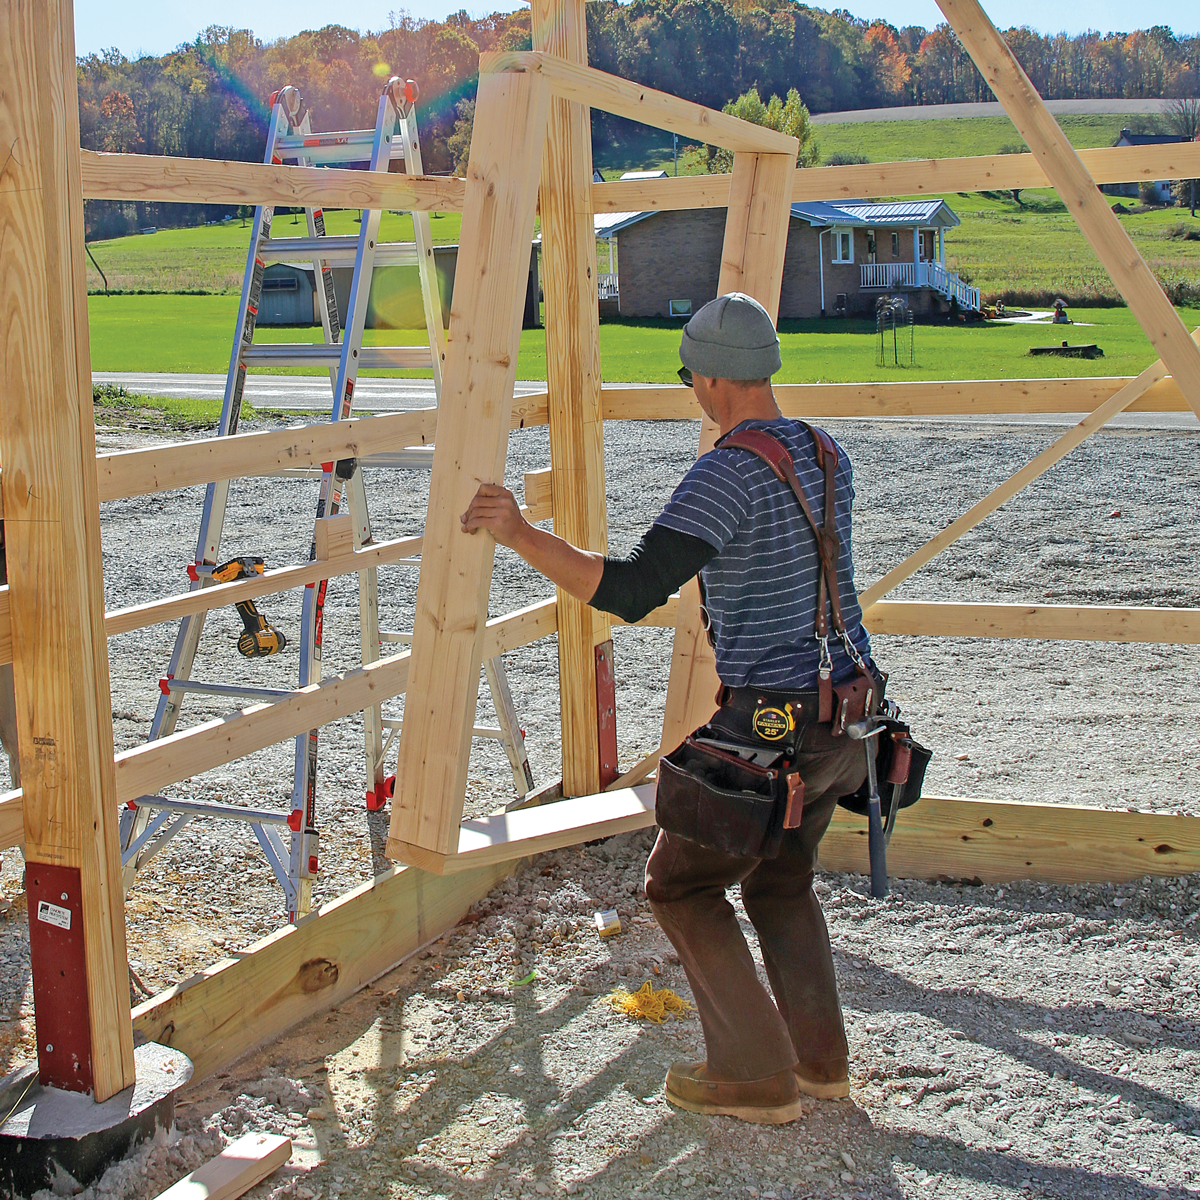 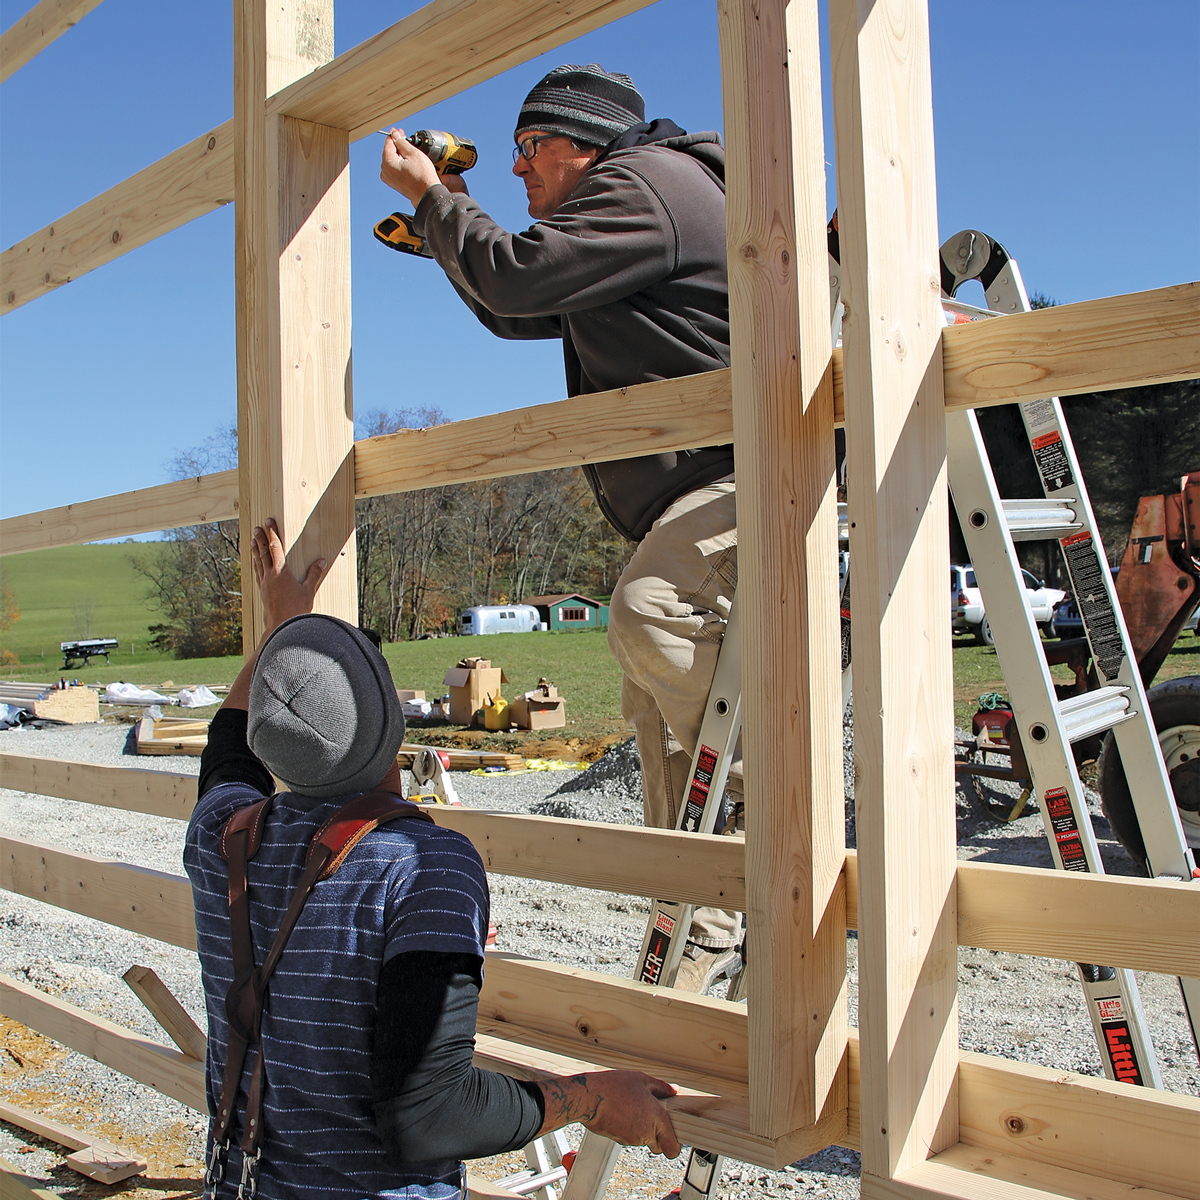 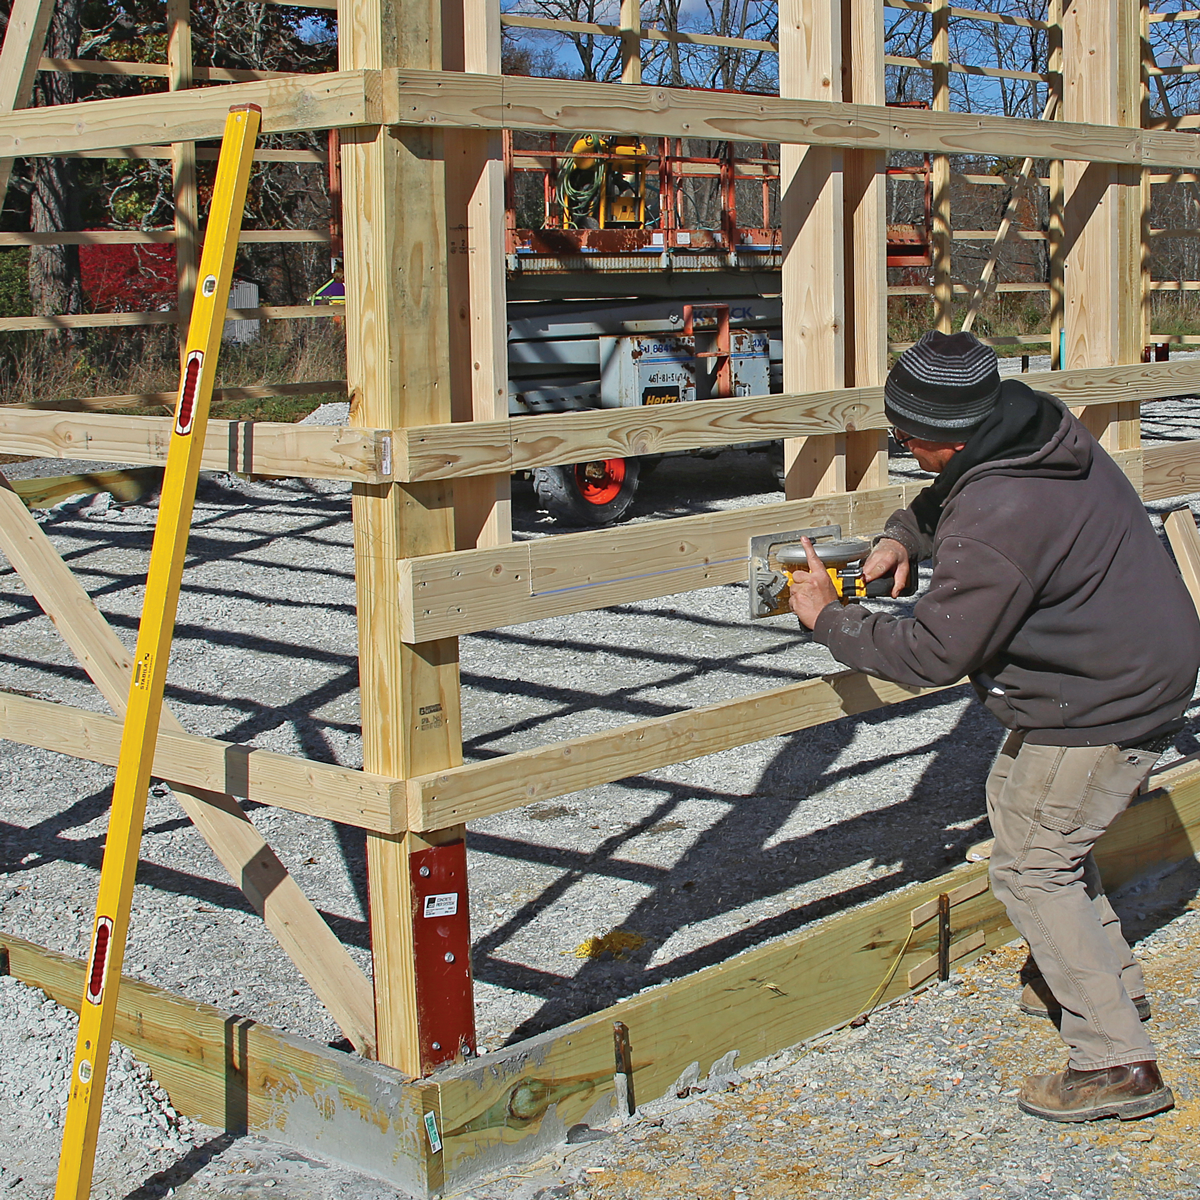
|
Andrew Grace is a builder and remodeler in Ligonier, Pa. Photos by Patrick McCombe, except where noted
From Fine Homebuilding #307
RELATED STORIES
- 5 Steps to Laying Out Concrete Piers
- Podcast 301: Stick vs. Post Frame, Upside-Down Clapboards, and Caulking Cedar Shingles
Fine Homebuilding Recommended Products
Fine Homebuilding receives a commission for items purchased through links on this site, including Amazon Associates and other affiliate advertising programs.

Plate Level
Leather Tool Rig

Speed Square