
Choosing and Mixing Mortar
Learn time-tested mortar recipes and mixing tips for a variety of masonry projects from 2nd-generation stonemason Cody Macfie.
Mortar is a crucial ingredient in most masonry construction. It is generally used to describe the wet, sticky paste that binds together blocks, bricks, and stones when building walls, columns, chimneys, fireplaces, steps, and patios. Mortar is typically made from cement or lime, sand, and water. You can mix mortar on the job (see mortar recipes below) or buy bags of premixed mortar ingredients at your local home supply store.
Concrete, on the other hand, is a composite construction material made of aggregate (gravel), cement, and water. It has a high compression strength, which makes it great for footings, patio slabs, and filling blocks. Concrete is sold in bags and in bulk. For small projects, such as a stone column, I recommend buying bags and mixing the contents with water in a wheelbarrow or a concrete mixer. For larger projects, such as footings for a retaining wall or slabs that are 50 sq. ft. or more, have material delivered.
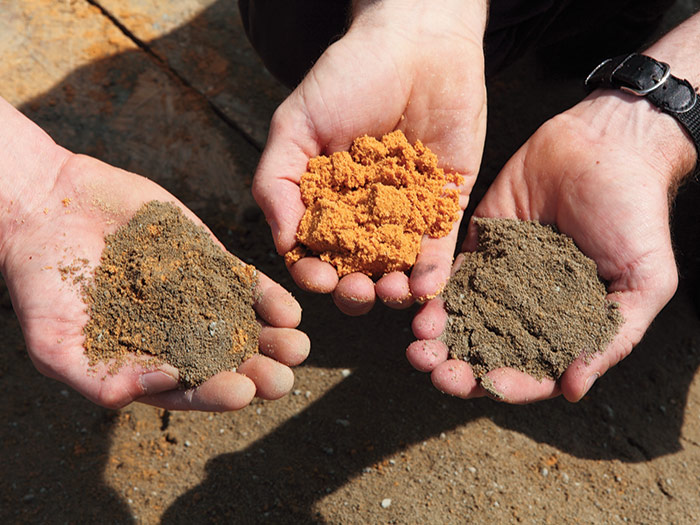
Mortar RecipesCement, sand, and water make mortar. Recipes will vary based on the type of mortar and the amount of each ingredient you use. Use the following recipes for the projects featured in this book. Different amounts of water are required depending on the job and weather.
|
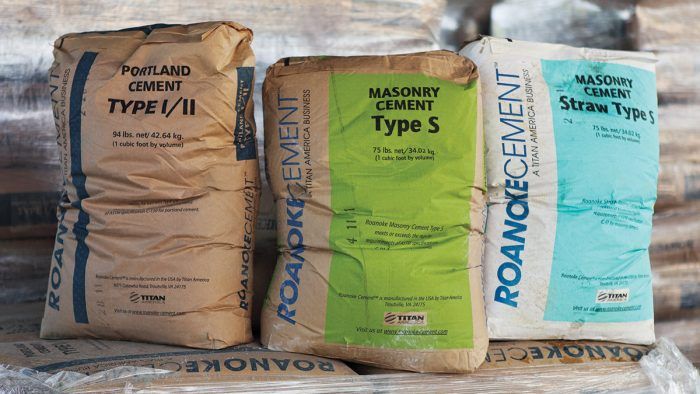
You can make stucco mortar by mixing cement, sand, coloring, and water to a pasty consistency. It also comes premixed in buckets in multiple colors. Mortar for brick and block is similar, made by mixing cement, sand, and water. To get different colors, add dye to the mix or buy premixed, colored mortar. Mortar for stone is similar. It is made of a combination of portland cement, sand, and water.Hand-Mixing Mortar
On some projects, using a mortar mixer is not practical. The terrain may be too steep or too rough to stage a mixer near the work. Maybe you don’t have a vehicle that will tow a mixer. Or perhaps the job is too small to justify the expense. Whatever your reason, sometimes hand-mixing mortar is the easiest way to go. There are two good methods for hand-mixing mortar: in a wheelbarrow, and on the ground on a clean sheet of plywood.
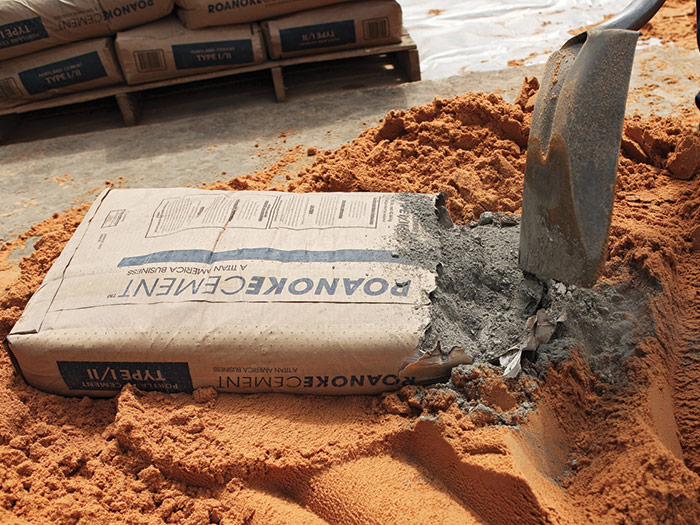
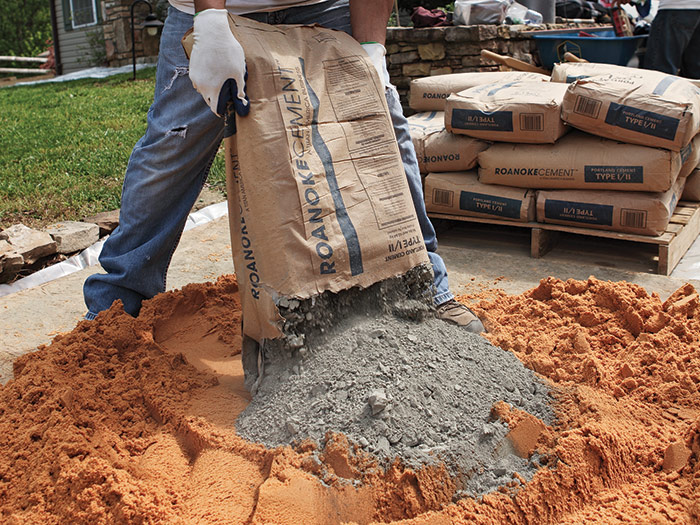
Easy-Open BagTo reduce dust and muscle strain, open a bag of cement by first placing the unopened bag where you want to mix the contents. Then use a shovel to open one end. Empty the bag by elevating the unopened bag end as smoothly as possible. To reduce dust, have a helper lightly spray the contents with a hose as it exits the bag.
|
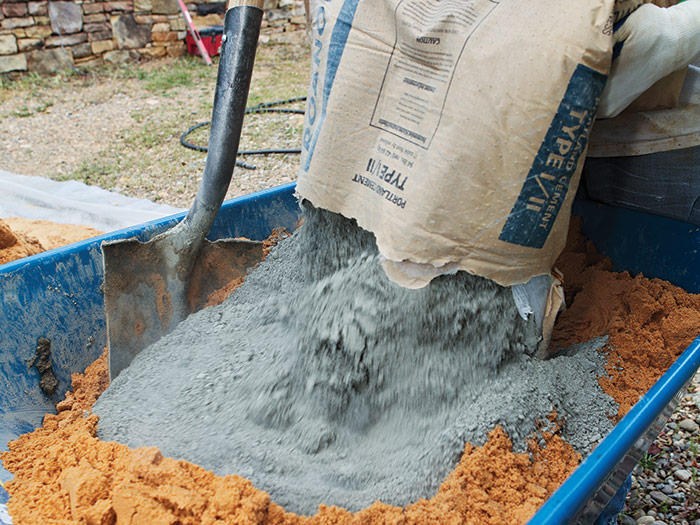
Mixing mortar in a wheelbarrow
Mixing mortar in a wheelbarrow keeps the materials contained, reduces the labor of moving materials, and is kinder to your back than mixing it on the ground.
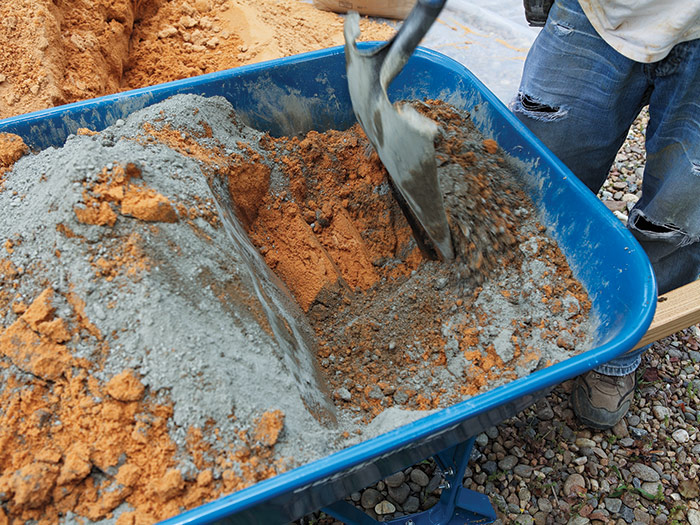
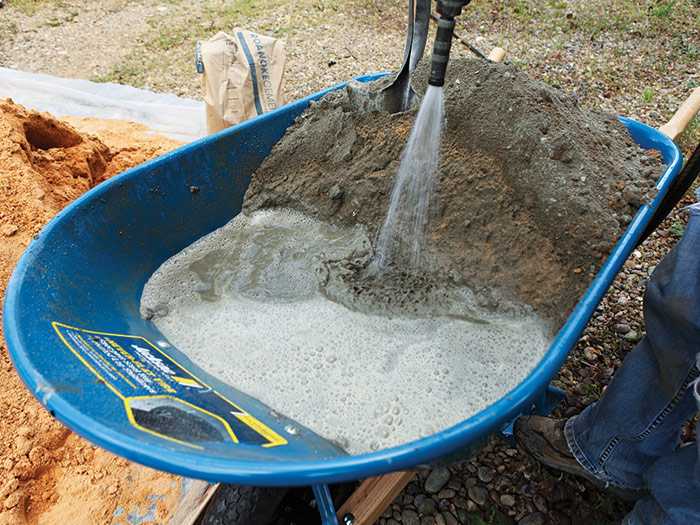
To mix in a wheelbarrow, shovel half the sand into the wheelbarrow 1, add the cement 2, and then add the rest of the sand. Use a shovel (preferably with a square blade) to pull the dry mixture toward you in the wheelbarrow, chopping with the shovel while pulling 3. When all the mix has been moved to one end of the wheelbarrow, walk to the opposite end and pull the dry mix to that side. Repeat this until the dry ingredients are thoroughly mixed. Add a couple inches of water to the free space in the wheelbarrow 4. Then, pull the dry mix through the water using the same chopping motion with the shovel 5.

| TRADE SECRET: It is always easier to add a little more water to a too-dry mixture than it is to add sand and cement to an overly wet one. Each batch is unique with regard to the amount of water needed, but you will begin to get the feel of how much to add after a little practice. |
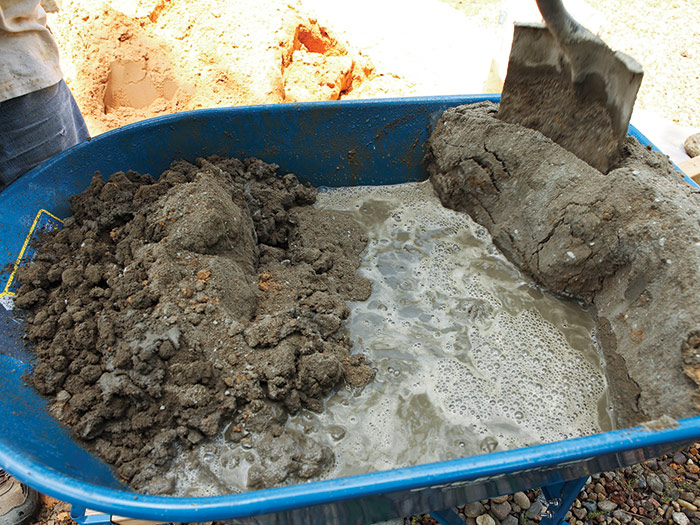
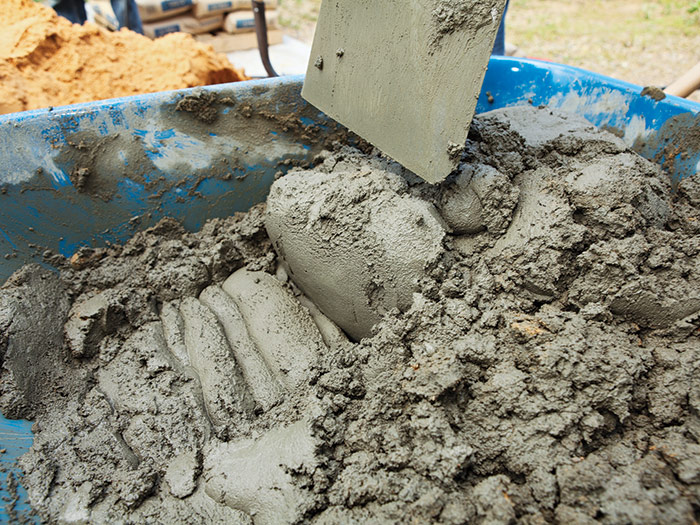
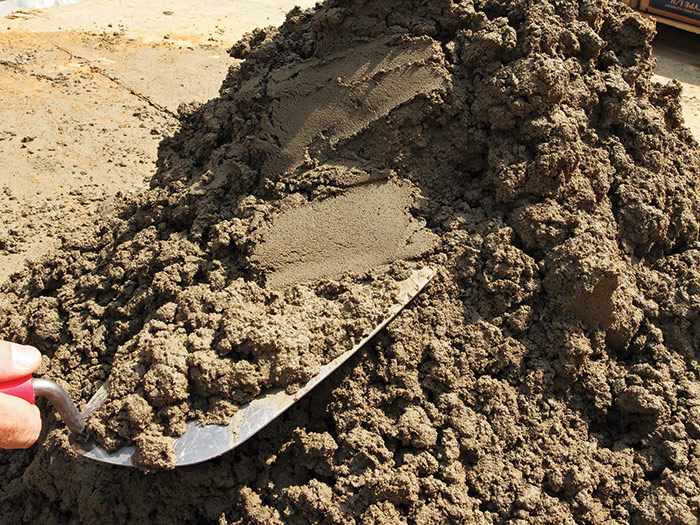
Repeat the process of moving the mix from one end of the wheelbarrow to the other until the water is evenly mixed in. Add more water in small increments, mixing each time, until the mortar is the proper consistency. Each project is different and requires a different amount of water to achieve the appropriate consistency 6.
Mixing mortar on plywood
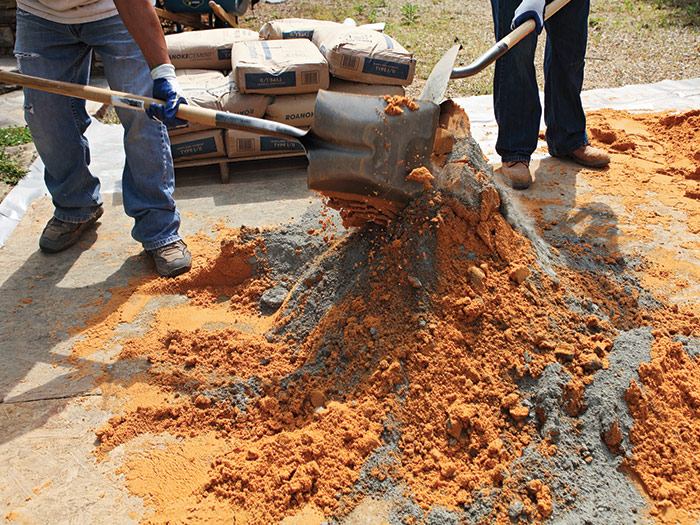
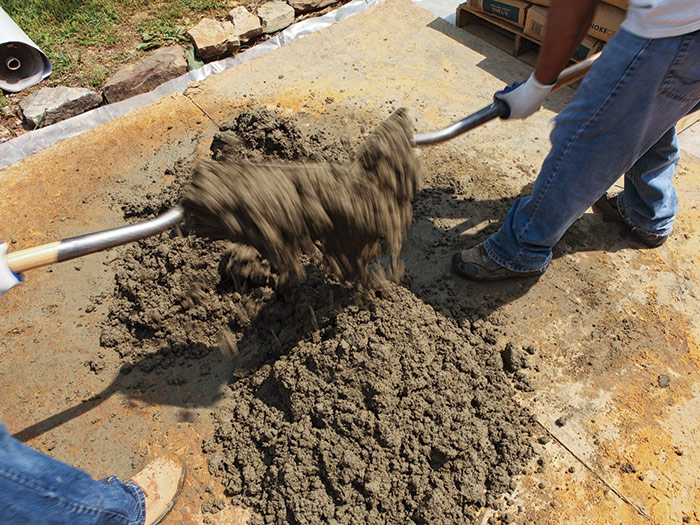
Mixing on plywood is similar to mixing in a wheelbarrow, but it gives you a bit more room to maneuver a shovel and mix the ingredients. Also, two people can mix with shovels, which makes the process go twice as fast. Spread the sand in a pile in the center of the plywood. Form a shallow crater in the sand, add cement and spread it evenly around the crater 1. Then shovel the sand into the crater center until all the cement, and sand is in one pile 2. To thoroughly mix the dry ingredients, move the pile from one side of the plywood to the other, and then back again 3. The mixing is done when the dry ingredients are a uniform gray color without significant pockets of sand or cement 4.
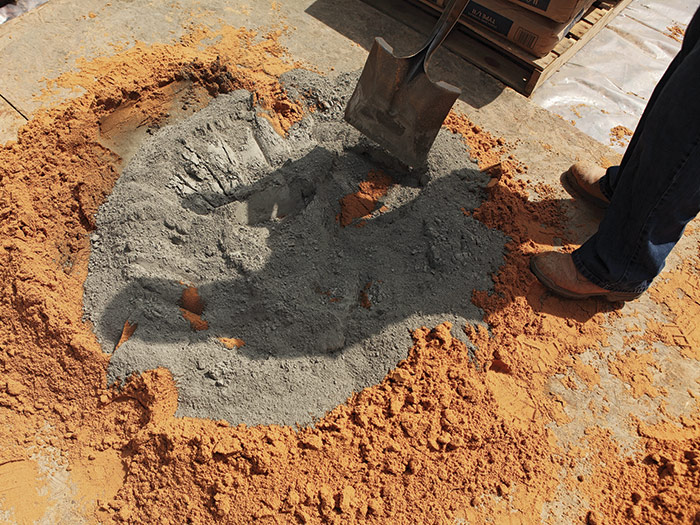
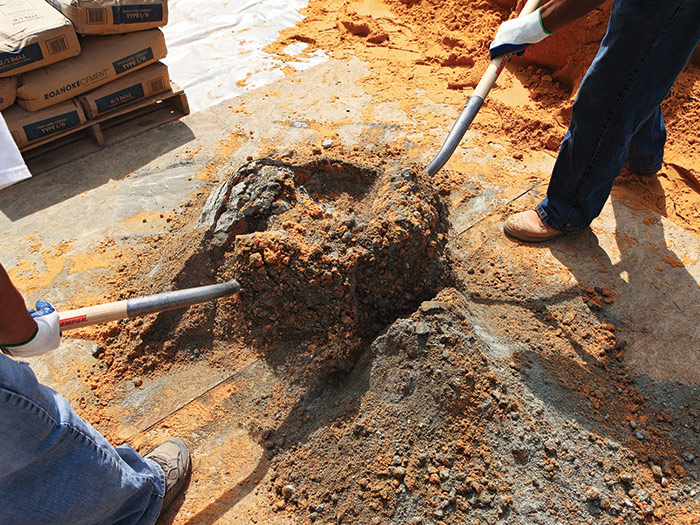
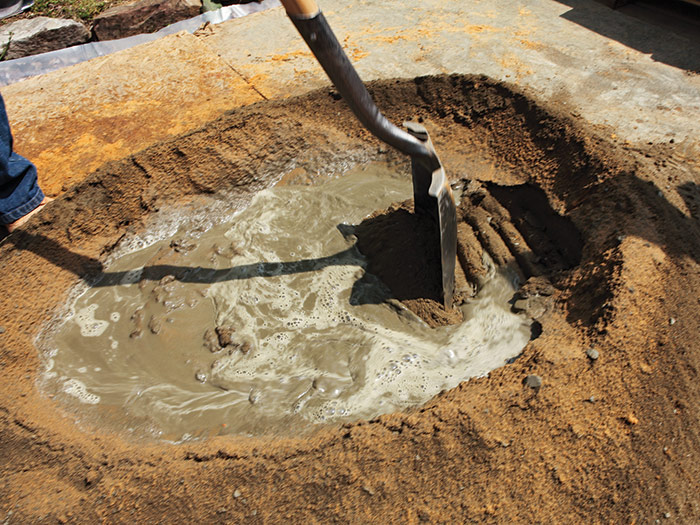
To mix in the water, form a new crater and fill it about halfway with water. Use the shovel in a chopping motion to draw the dry mortar from the edges into the water 5. Be careful not to let the water escape from the pile. After you shovel all the dry mix into the center, keep mixing the mortar by shoveling from one side of the plywood to the other, in the same manner as you mixed the dry ingredients 6. If you need to add more water, use a sprayer and lightly mist it, just a little at a time. Keep mixing until you reach the desired consistency 7, which is specific for each project.
Type S vs. Type N Masonry CementType S masonry cement has a higher compressive strength than Type N. It is used for structural purposes, such as load-bearing concrete masonry unit (CMU) walls. It bonds to brick, stone, and block. Type N masonry cement is nonstructural, which means it will not bond as tightly to masonry. The advantage to Type N masonry cement is that if the wall cracks slightly, the mortar joints act independently of the brick. The joints will crack, but the brick won’t. The joints can be regrouted. |
Excerpted from Masonry Complete (The Taunton Press, 2012) by Cody Macfie
Available at Amazon.com.

