Podcast 477: Air-Sealing Electrical Boxes, 2x3s for a Shed, and Keeping Pipes From Freezing
Kiley, Ian, and Patrick hear from listeners about climate control for sheds, energy audits, and water-heater condensate before taking questions about air-sealing electrical boxes, building with 2x3s, and keeping pipes warm with insulation.
Follow the Fine Homebuilding Podcast on your favorite app. Subscribe now and don’t miss an episode:
 |
Help us make better episodes and enter for a chance to win an FHB Podcast T-shirt:
www.finehomebuilding.com/podcastsurvey
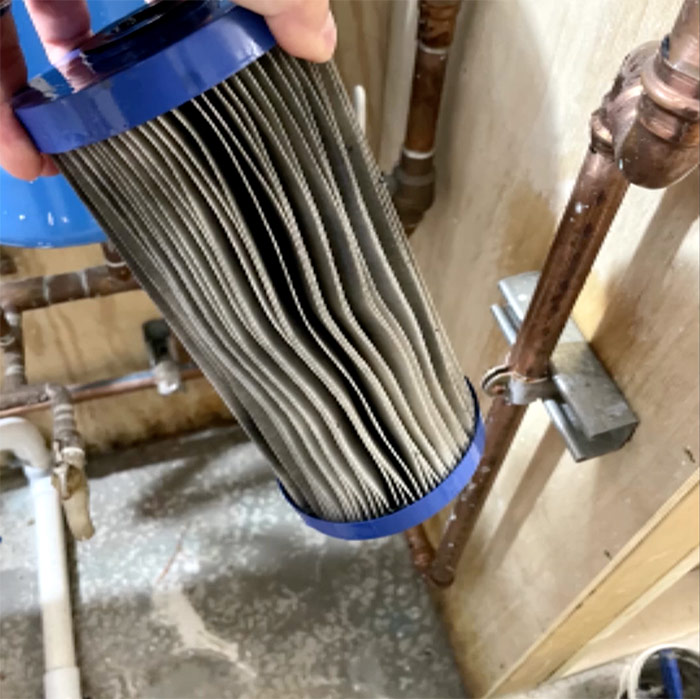
Sean suggests a DIY minisplit for heating and cooling shed workshops. Charles provides an update on his home’s energy efficiency. Jim asks how the blue goo reaches the ends of studs. Lee shows us his heat-pump water heater. Adam asks how to air-seal old-school metal electrical boxes. Justin wonders if he can build a shed with 2×3 lumber. Dan asks for feedback on his plan to keep his pipes from freezing.
Editor Updates:
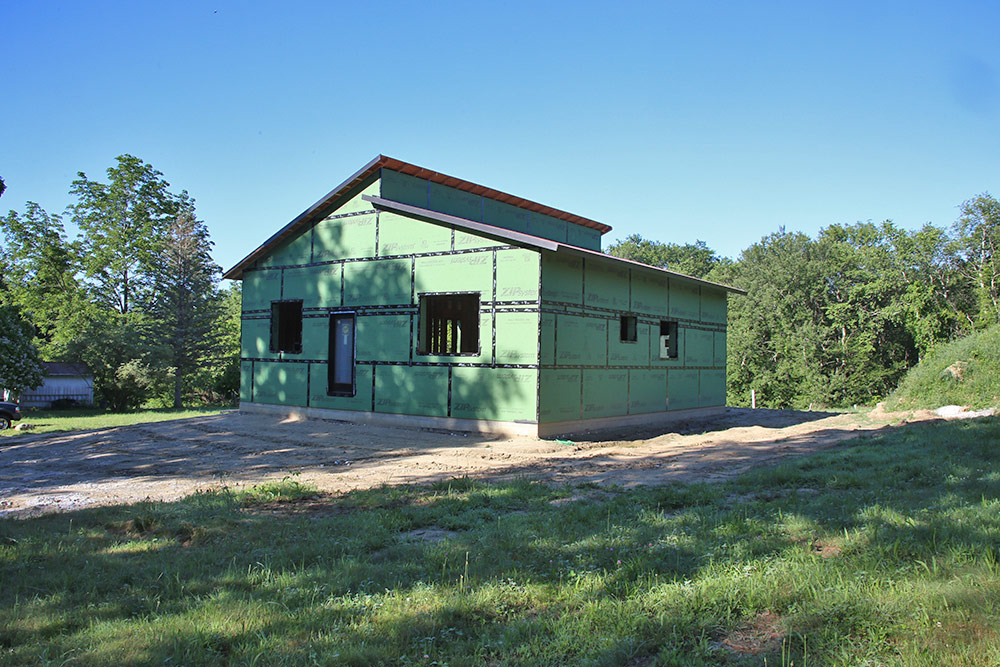
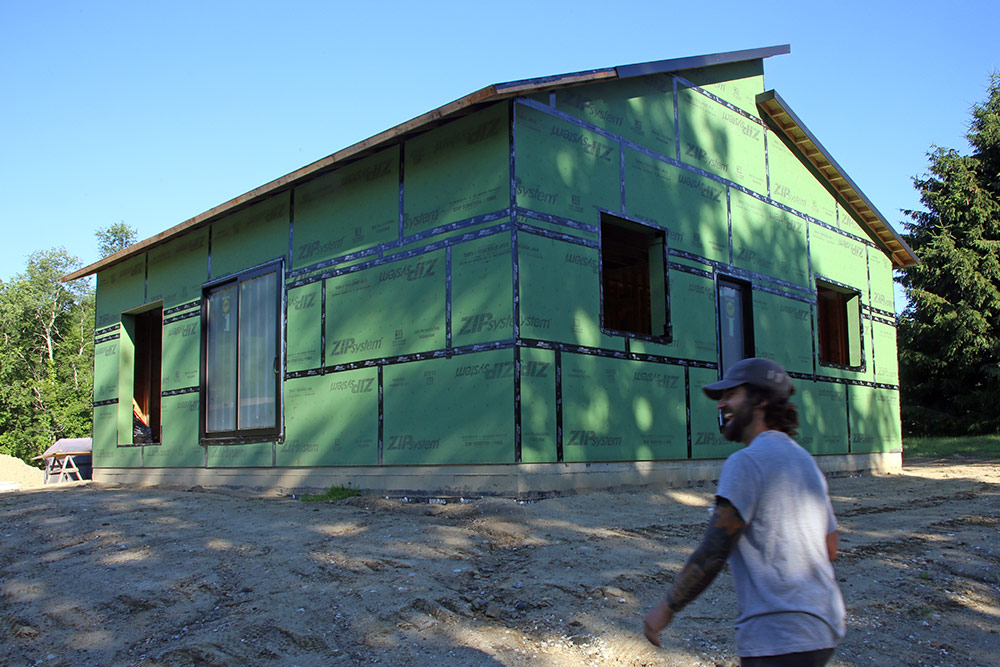
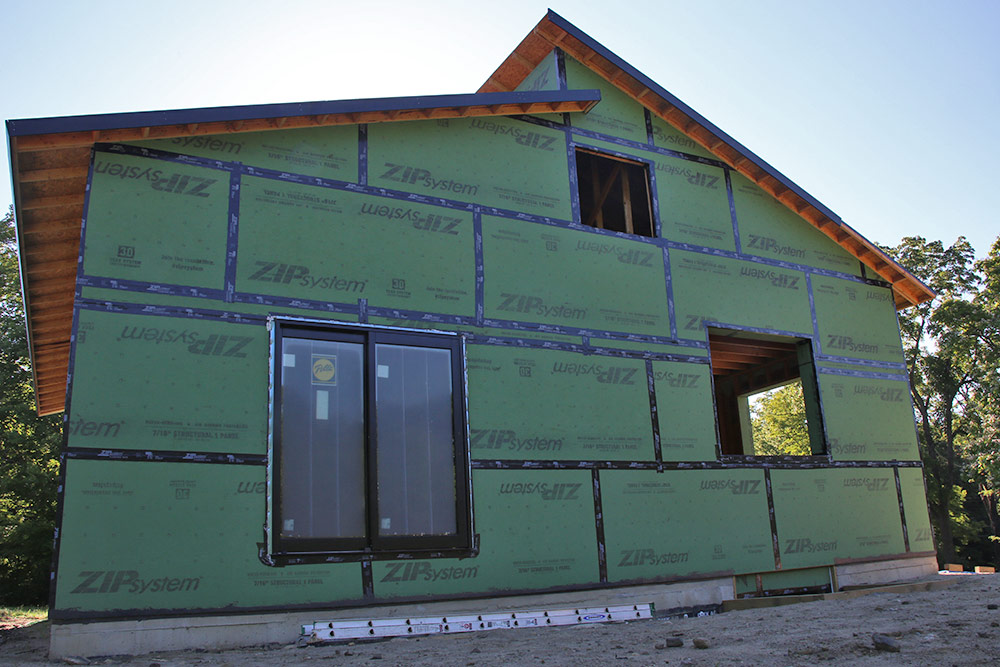
- Patrick helps Brian with windows
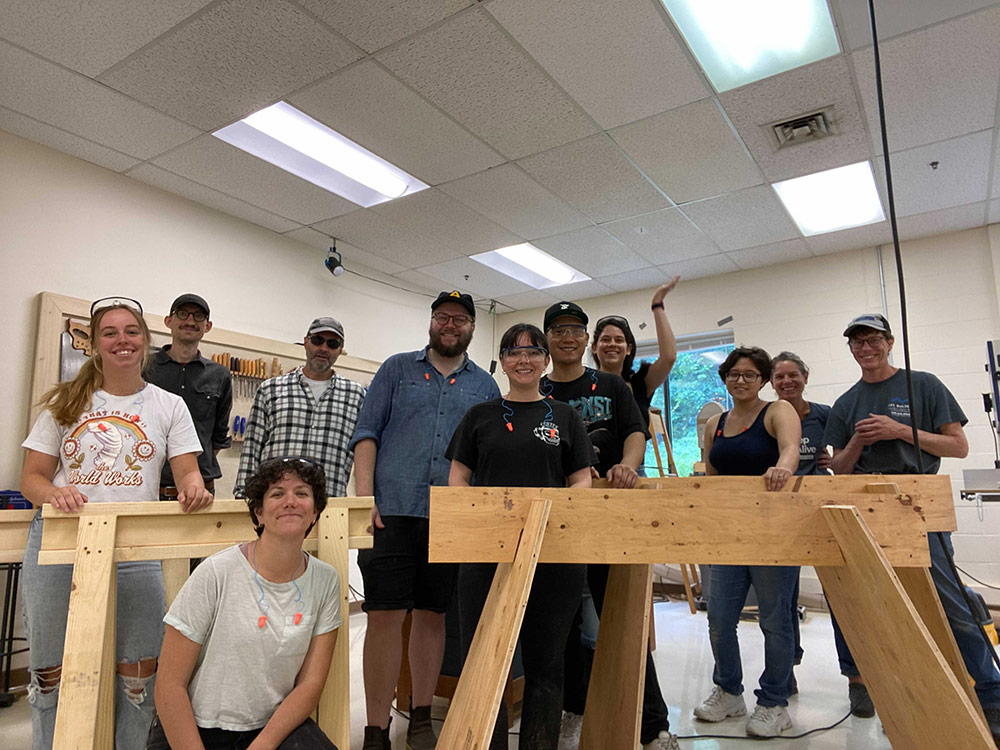
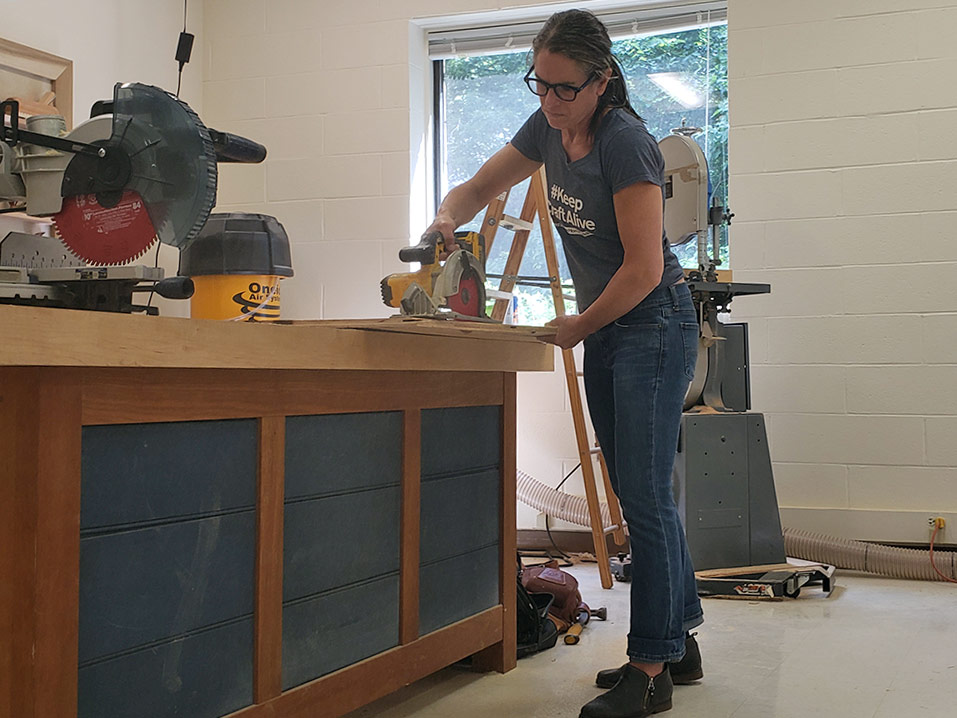
- Kiley’s sawhorse build
- Jeff’s outside stuff
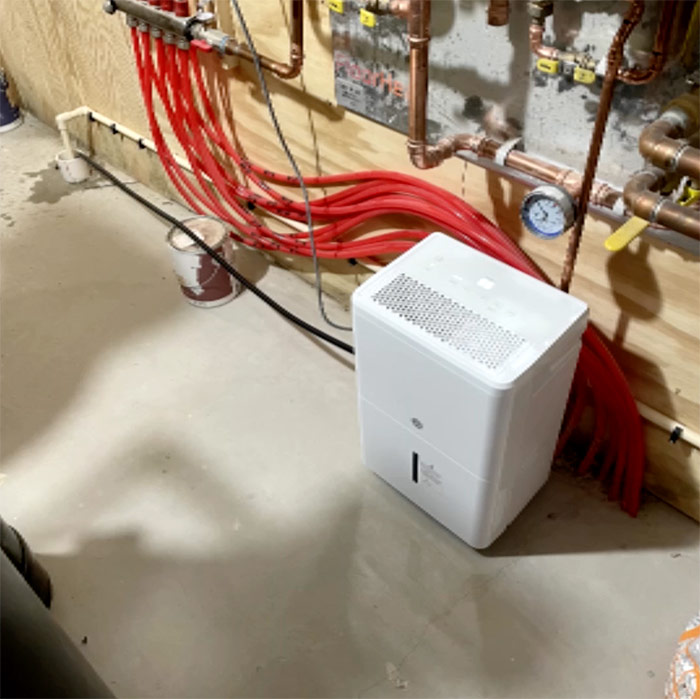
- Ian’s dehumidifier
 |
 |
 |
 |
 |
 |
 |
Listener Feedback 1:
Sean writes: Hi FHB Team, I have some feedback on episode 471 for all my shed shop friends. I am planning on building a shed shop soon that will be 12×16 which puts me under the permitting requirements of my local jurisdictions. It is going to be far from a shed and will basically be constructed like a house (zip sheathing, rockwool or froth pack spray foam), insulated floor, etc.). I am building it to be multi-functional with the only mechanical missing being plumbing.
I have considered the same issue of how to heat and cool the room. The comments around floor space are exactly what caused my concerns with the air conditioner, heater and dehumidifier setup. I know the listener decided on a window unit already, but his quote of $4K+ for a minisplit did seem high compared to the other options. I also want as few penetrations as possible, so my current design has no windows.
I settled on the “DIY MiniSplit” option that a lot of manufacturers are making now. The process is very straight forward and does not require any professionals if you follow the instructions and don’t mess up the refrigerant line steps. If power is already at the shed, the entire process can be completed in less than 1 day.
With the smallest unit, these can be had for $1,200-2,000 depending on manufacturer and interior air handler options. This might not be low cost enough for some, but it comes closer to the 2x the price of a separate piece of equipment for each purpose. But most importantly it preserves my floor space for all my tools (currently at 10 tool boxes according to my wife). Keep up the great work! Thanks Sean
Related Link:
Listener Feedback 2:
Timothy writes: While you were talking about the shed HVAC I was shouting at my screen he needs a Midea unit that I bought for my bedroom in the spring. Mine is 12,000 btu U shape that I found at a discount/damage freight retailer for ~$250. I think retail might be 400 ish.
Anyway, it cools quite well and is quiet. Other added benefits that I found after I installed it is it also has a dehumidifier setting as well as a heating mode. I have not used the heating mode in June in the Midwest and I don’t know if it is resistance or heat pump.
It came with a remote and also has bluetooth and wifi connectivity. Is fully programmable for time of day and day of week. It would be perfect for keeping a small out building around 45 in the winter and 85 in the summer and controlling humidity and can be set to heat or cool to 70 from your phone either when you wake up or are driving home from work.
Listener Feedback 3:
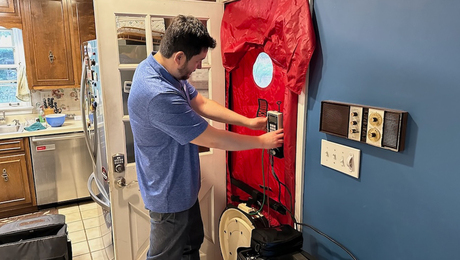
Charles writes: Hey folks, I wanted to follow up on my previous feedback as read on episode 457. I’d recommended to Andrew the MN Center for Energy and the Environment for a blower door test, part of an energy audit offered for $100 here in Minneapolis. My follow-up visit happened last week. We found that air leakage since my first visit in 2010 was cut in half, from roughly 8.5 to about 4 ACH50. As a reminder, our main efforts were air sealing of the rim joist and upper half-story with closed-cell spray foam. I’m content with the final result for my 80-year-old house.
Even more heartening was the crew that came to visit—an older energy auditor was training in a younger recruit. Overhearing the explanations of trade tools, theories, and auditing techniques swelled my heart with pride for their “keeping craft alive.” That the transfer of knowledge flowed across racial and gender lines was even better, toward what feels like a triple win for social, environmental, and community benefit.
I hope to use my audit information to be well-equipped for HVAC replacement conversations in the future, to avoid oversizing equipment and hopefully to transition from natural gas to electric energy (i.e., air-to-air central heat pump). We do have a modern gas fireplace, and this makes me wonder about a heat pump for most days with the ability to add about 21,000 supplemental btus (30,000 rating * 70% efficient) via the fireplace when temps drop. We’d be relying on the fireplace blower fan and return air to distribute these btus, but maybe that’s enough to keep up. While the fireplace’s efficiency is far below our 97% efficient gas furnace, the ambiance and coziness is unparalleled and we run it hours each day in winter. Still, I’m sure my future HVAC salesperson will find this approach dubious. I also wanted to say thanks for the members-only after-show—I’m all the more glad to have upgraded to all access this spring.
Related Links:
- Find Air Leakage With the Minneapolis Blower Door
- The Value of a Diversified Workforce
- Keep Craft Alive
Listener Feedback 4:
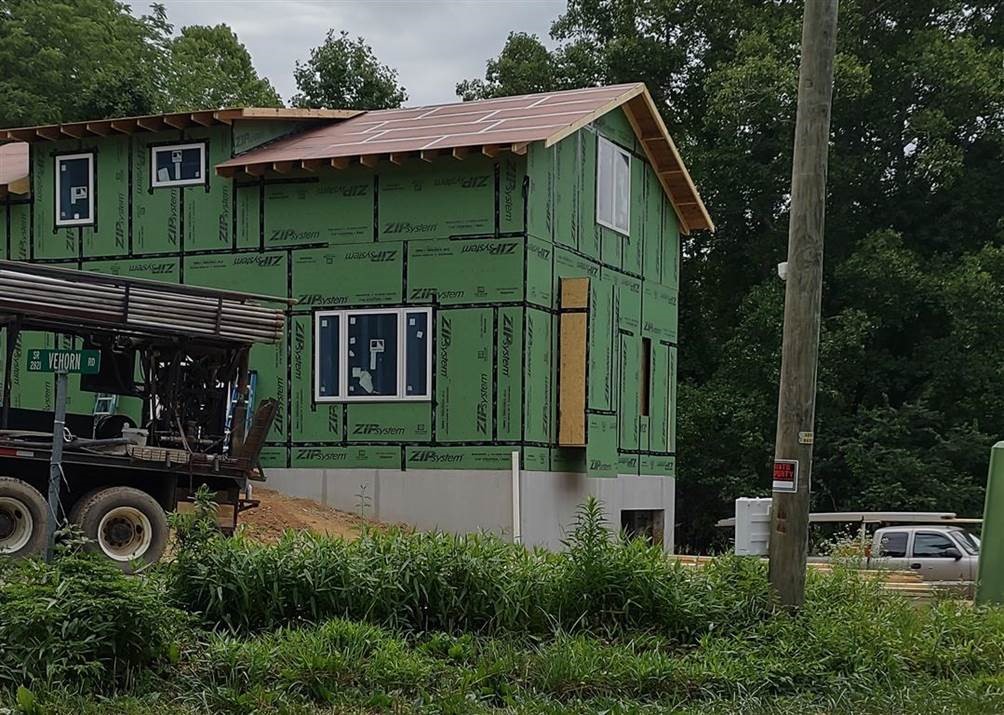
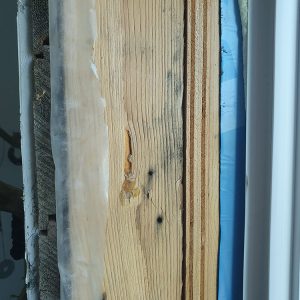
Jim on Blue Goo in #469 writes: I heard your response about my question on the “blue goo” on the framing. I guess my real question was “what about the ends of the studs?” Pretty sure that the blue goo and those ends have never met. I’ve seen a lot of contractors skip treating the ends of pressure treated wood after cutting it. Is this an accepted norm? I’m busy jacking up a deck to replace 10’ high 6’x6’ PT support that rotted from an untreated raw end. I see this sort of thing all over our area while I’m out on bike rides:
Related Link:
Listener Feedback 5:
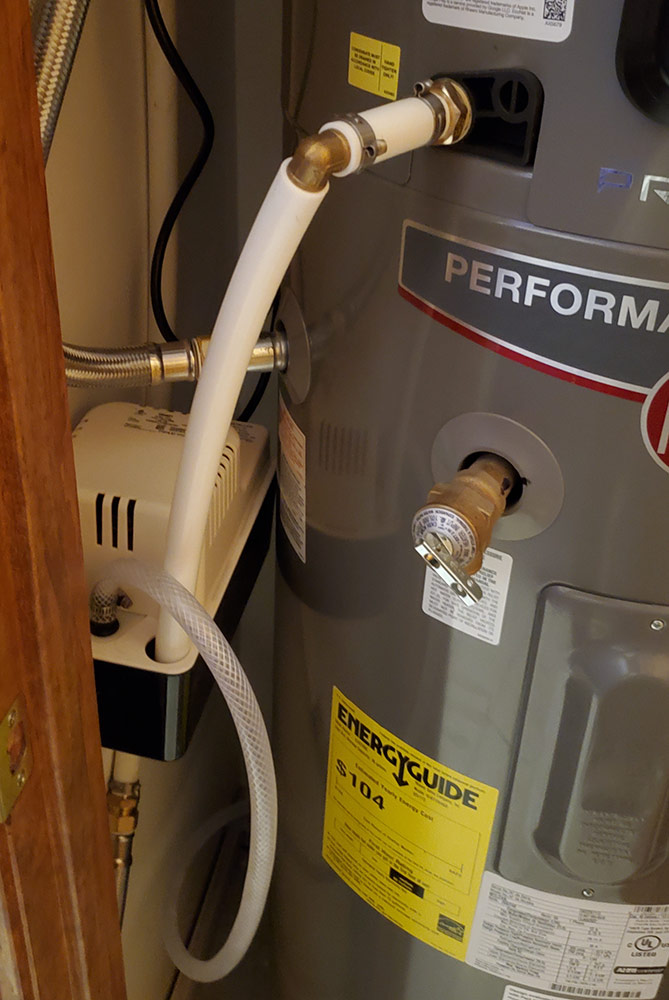
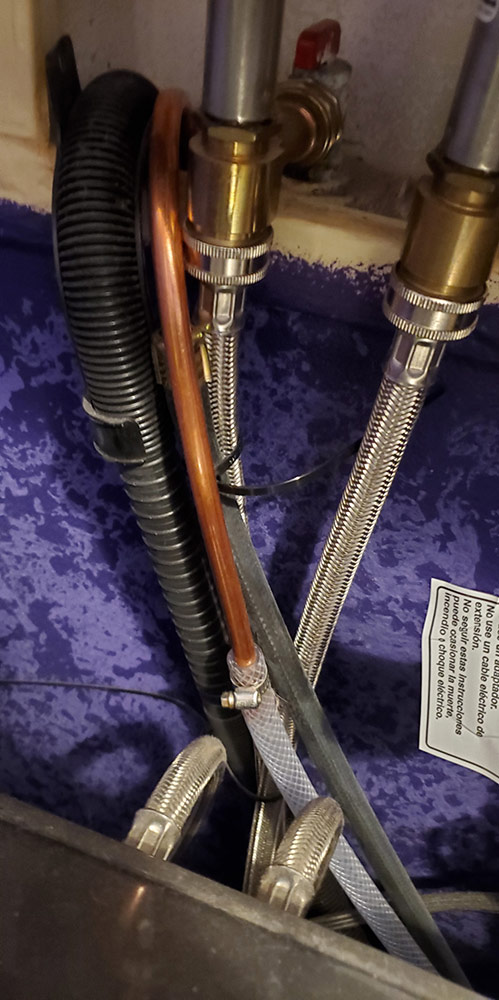
Lee writes: I crammed a heat pump water heater into the tiny closet where my builder grade “tall” unit had been dwelling for the past 12 years. I’ve attached some pictures including the condensate pump that pushes water into the washer drain. You can wire the heat pump water heater to stop working when the condensate pump fails. I didn’t, but it is a thing that is detailed in the instructions.
 |
 |
Related Link:
Question 1: How should I seal old electrical boxes?
Adam writes: Hi Fine Homebuilding gang, I recently found your podcast and binged a good chunk of your back catalogue on a recent work trip that had me driving back and forth across the territory. I was amazed that every episode had something relevant to an amateur like me: V-pumps work great as long as you have a high-pressure input and low pressure on the output side. We build houses on piles too. And tuck tape is life. I have a few down jackets patched with the stuff.
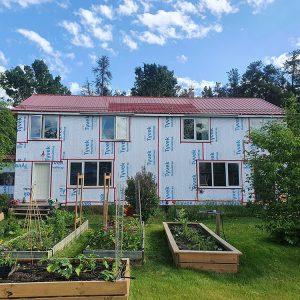
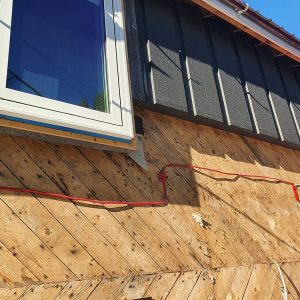
I am doing an energy retrofit on my 1950s duplex in Fort Smith, Northwest Territories, Canada. The government provides homeowners with energy efficiency assessments so we can target the most effective upgrades for our homes from an energy savings standpoint. So far we’ve upgraded the old windows that didn’t close properly and have wrapped our house in R20 insulation. This should bring us up to R32 (which is just slightly higher than the minimum R30 that is generally required for new construction in the NWT). The project stalled last fall with one wall uninsulated and our main heat source (our wood stove) disconnected. As such, we had to rely on our oil furnace for heat. Despite the long cold winter we managed to burn less oil than we have in previous years even though we normally use the furnace only for the shoulder seasons and when I get complacent with keeping the fire going.
 |
 |
 |
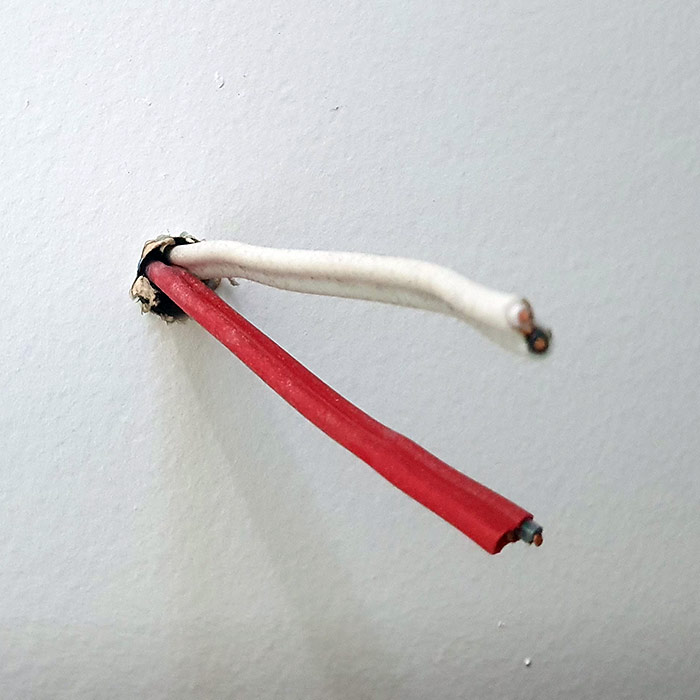 |
As we’re getting close to the end of this phase of our project I am wondering if you have suggestions for sealing metal old work electrical boxes (these were the only option locally). When we removed the siding, we had our contractor run some lines for new outlets throughout the house as most of the rooms only had one outlet and these are largely occupied by our floor lamps. These lines run between the exterior insulation and the sheathing and then penetrate through the wall cavity, a poly vapour barrier, more shiplap and then drywall. I am concerned about the penetration through the poly vapour barrier. Will that let moisture into the walls that can’t escape? Any suggestions will be very much appreciated
Adam
Related Link:
Question 2: Are 2×3 studs sufficient for a basic shed?
Justin in New Jersey writes: Hey Fine Homebuilding! I am a long-time listener, and subscriber. I love all of your content, it even helps us “lawyers by day,” and “craftsman by night” guys. I have some questions about a shed I am building soon. I have the space for an 8×12 shed to store the lawn mower, outdoor tools, pool supplies, and maybe a few of my wife’s outside decoration totes. Obviously, no one wants to spend too much money, but I want to build this thing to last, and build it well. It’s going to be a typical shed with an A framed roof. This will not be a party shed or anything. I’ll put some Hardie board on the side facing the house, LP smart board sheathing for the rest, and some PVC trim.
My first question is, are 2×3 studs sufficient for the walls? Or should I just spend a little more for the 2×4’s? I’ve seen some plans call for 2x3s at 24 inch on center! Maybe I’m wrong in thinking that this may not be strong enough, it’s not supporting anything more than a roof but I would love your thoughts. Additionally, do you have any other “must do’s” or good storage tricks for a shed?
Related Links:
Question 3: Will my plan to insulate my bump out work?
Dan writes: Hi Patrick, I enjoyed listening to your team response to my bump out issue. First, yes you got me, I’m a retired engineer. I laughed at the comment about my deck being attached to the bump out. This is a new IPE deck that I recently installed with a friend of mine. Yes, we installed 4 footings/piers close to the bump out, in addition to those at opposite end of deck. Note the original deck did NOT have these additional footings and the footings at the far end were only about a foot in the ground!
Anyway, I obviously agree that the only way to not worry about freezing pipes is to move them inside, however, I am not planning on going that far at this time. The question came up on the podcast if these pipes were part of a remodel, and no, they are original (1988) except the copper pipes into kitchen were replaced with PEX about 10 years ago after developing pin hole leaks due to acidic water and very thin-walled pipes installed by builder. Before the podcast, I thought putting pipes in bump outs was a standard practice, from your reaction, I now understand this is a no no.:)
What I plan to do is an incremental improvement. Similar to below sketch, I will keep air communication (by natural circulation) between the bump out and the basement and insulate the heck out of the underside beneath the pipes and far end. I will add 3 inches of XPS (foamular 150) outside underneath, sandwiched between plywood and also on outside of deck ledger (but slope at top so water can drain). On the inside of bump out bays I will air seal and use unfaced fiberglass insulation underneath pipes and at far end of bump out. I understand that I should not use impermeable insulation on inside because I have impermeable on outside and therefore the assembly needs to dry to the inside. The 3 inches external impermeable insulation and 3 to 5 inches of internal fiberglass appears to satisfy code N1102.1.2 (R402.1.2) for Zone 5 as far as minimizing risk of dropping below dew point. Would love to know the assumptions and details behind those dew point heat transfer calculations supporting the code (is it a transient or steady state calculation and what are temperature conditions assumed for zone 5?). Perhaps you know someone I can contact about this?
Finally, I am seriously thinking about installing some temperature sensors on or near pipes hin the bump outs. (Been wanting to experiment with Arduino and this is a good excuse 🙂
I think this will at least be an improvement. Let me know if y’all have any concerns with this approach. Thanks for all the great info on your podcasts, Dan
END NOTES:
Check out the Members-0nly Aftershow Podcast.
Check out one of our Project Guides: Siding & Exterior Trim!
Check out our FHB Houses:
Visit the Taunton Store • Magazine Index • Online Archive • Our First Issues • All Access
Help us make better episodes and enter for a chance to win an FHB Podcast T-shirt: www.finehomebuilding.com/podcastsurvey

If you have any questions you would like us to dig into for a future show, shoot an email our way: fhbpodcast@taunton.com.
If we use your question we’ll send you a FHB Podcast sticker!
FHB Podcast T-shirts!
Represent your favorite podcast! Available in several styles and colors. Made from 100% cotton. Find the Podcast t-shirt and more cool products in the Fine Homebuilding Store.
This episode of the Fine Homebuilding podcast is brought to you by Andersen Windows.


Fine Homebuilding podcast listeners can now get 20% off anything in the Taunton store, including Pretty Good House.
Use the discount code FHBPODCAST to take advantage of this special offer.
We hope you will take advantage of a great offer for our podcast listeners: A special 20% off the discounted rate to subscribe to the Fine Homebuilding print magazine. That link goes to finehomebuilding.com/podoffer.
The show is driven by our listeners, so please subscribe and rate us on iTunes or Google Play, and if you have any questions you would like us to dig into for a future show, shoot an email our way: fhbpodcast@taunton.com. Also, be sure to follow Fine Homebuilding on Instagram, and “like” us on Facebook. Note that you can watch the show above, or on YouTube at the Fine Homebuilding YouTube Channel.
The Fine Homebuilding Podcast embodies Fine Homebuilding magazine’s commitment to the preservation of craftsmanship and the advancement of home performance in residential construction. The show is an informal but vigorous conversation about the techniques and principles that allow listeners to master their design and building challenges.
Other related links
-
- All FHB podcast show notes: FineHomebuilding.com/podcast.
- #KeepCraftAlive T-shirts and hats support scholarships for building trades students. So order some gear at KeepCraftAlive.org.
- The direct link to the online store is here.










View Comments
The podcast episode "477" covers essential topics like air-sealing electrical boxes, utilizing 2x3s for shed construction, and methods to prevent pipes from freezing, offering valuable insights and practical solutions for homeowners and builders. Ducted AC