Brick Walkway: Planning and Prep
Collect all the necessary tools and materials before you start to ensure that your project goes smoothly.

Before you start your project, make sure you have enough brick on hand. Brick sizes vary, so there is no set formula for calculating how much area the brick will cover. To estimate quantity, lay down a 2-ft. by 2-ft. square using your bricks, and count them. Divide by 4 to calculate an approximate bricks-per-sq.-ft. ratio. In the event you don’t have enough bricks, take a sample to your local masonry supplier and ask for help matching the color and size. Keep in mind that an exact match is not necessary. As long as you can find something close, you can weave it in with the bricks you have.

Using recycled brick
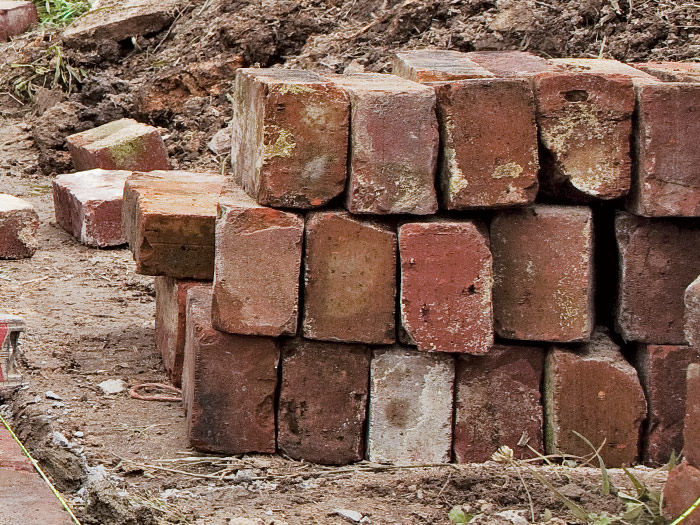
Used brick can be a great way to reduce the cost of a walkway or patio, but plan on spending some time chipping off old mortar with a hammer. Even if you want a vintage look, remove enough mortar to square up the bricks. The classifieds, craigslistSM, and even your local masonry contractor or building recycling center are all good places to check for used brick and other discounted paving materials.
Adding steps and borders
It doesn’t take much of a slope to make adding walkway steps a good idea. Excessive slope makes for treacherous walking during wet or freezing weather. Even when it’s nice out, it’s no fun to feel as though you’re trudging uphill. In addition, a gentle slope decreases the force of rainwater as it flows down the walk, which will reduce the risk of erosion or wash-out during heavy rains. In general, 1⁄4 in. per foot pitch (slope) is recommended.
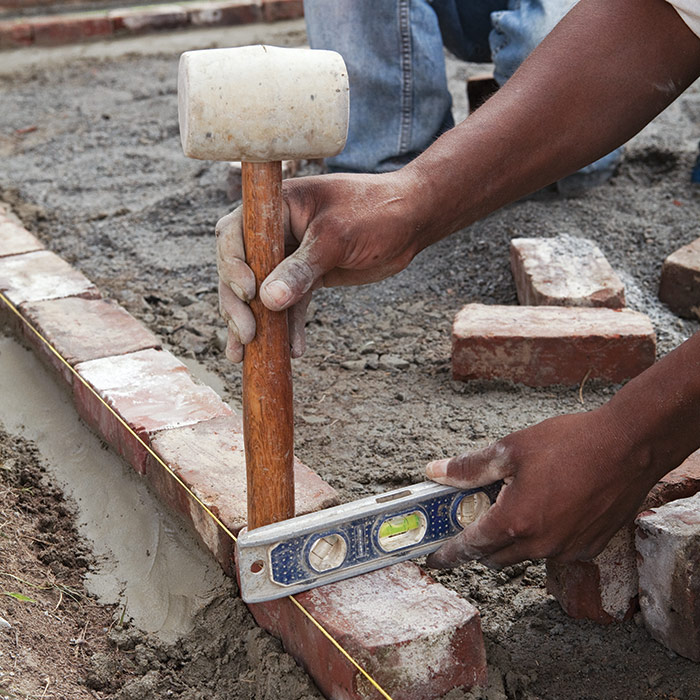
If a walkway borders landscaping elements, such as a lawn or flowerbed, consider setting the perimeter bricks in mortar. A mortared border will prevent the walkway bricks from spreading (shifting) and the edge bricks from sinking. Adding a mortared border won’t change the look of the path, and it doesn’t cost much more.

Excavating
Deciding whether to hire an excavator or to excavate by hand may not only depend on how many shoveling calluses you’re willing to earn. If you have shrubs and garden beds that can’t be disturbed, rule out any heavy equipment, such as a backhoe. For medium-sized jobs, skid-steer loaders can do most of the heavy lifting and can often work in the footprint of the walkway or patio. For small jobs, excavating by hand is often the only practical option.
Determine the elevation of your walkway before you begin. Keep the top of the walkway flush with your yard, or slightly above (1 in.) if possible. If there is a noticeable drop in elevation near the street, mark in a rough position for a step before excavating. Remember to keep a slight slope to prevent standing water. If there is no slope to the grade, make one side of the path slightly lower than the other side or build a slight crown (convex curve) into the path.
Before You Begin
For any excavation, call 811 before you dig to get assistance with finding out where utility lines, such as gas, water, and electrical lines, are buried. Also, check for subsurface drainpipes, cisterns, and tanks. Don’t assume that because you’re digging only a few inches down that you’re safe. This is especially true if you plan to use excavating equipment.
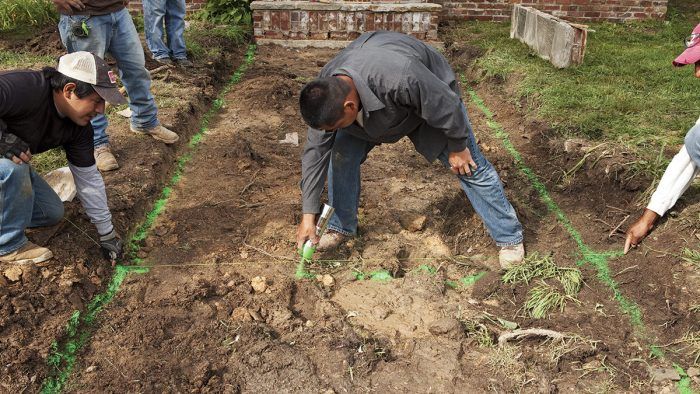
After getting the all-clear, roughly lay out the walk to calculate the amount of materials you’ll need, whether or not to incorporate a step, and where to locate it. If there will be a step, plan on putting it where the elevation changes most drastically.
Protect existing grass by working on top of plastic or plywood. Protect shrubs and flowers by covering them with plastic. If small plants and shrubs are in the way, temporarily move them. (You want to avoid doing what one homeowner I know did: remove an existing concrete path with a backhoe, destroying many plantings in the process.)
What You’ll Need
|
Excerpted from Masonry Complete (The Taunton Press, 2012) by Cody Macfie
Available at Amazon.com.


