Custom Screened-Porch System
Adaptable in the field, this system from Screeneze allows you to enjoy outdoor living without the bugs.
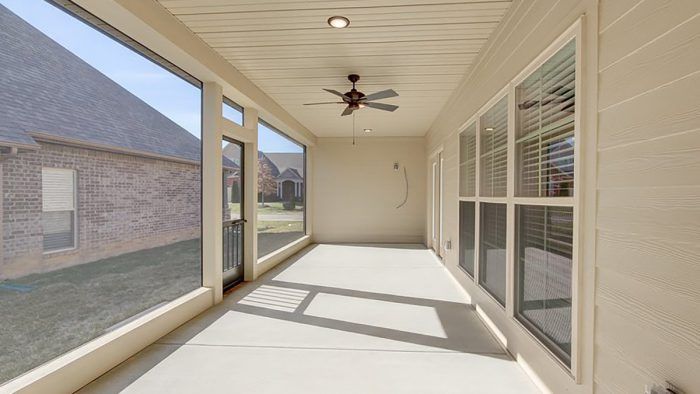
When we built our house, I made it a point to put a roof over our 10-ft. by 45-ft. southeast-facing deck. I wanted protection from rain and the hot summer sun. After enjoying the cool nights of fall and spring, we knew that our nighttime usage of the deck during the summer would come to an end with the arrival of mosquitos and other bugs associated with rural living. Having previously used the Screeneze System on another project, I decided to source the materials and plan out how best to turn our deck into a screened porch.
The primary benefit of using Screeneze is the ability to create a custom screen panel up to 150 sq. ft. in size in the field. Our build required five panels total: two at 80 sq. ft., two at 115 sq. ft., and one at 90 sq. ft. The essential component of the Screeneze system is an aluminum track with a vinyl cap that holds the screen in place, available in 8-ft. and 12-ft. lengths. It can be installed both horizontally and vertically over the corner of the screened-porch frame or inset flush with the wood framing.

I installed cedar 2×4 framing on the deck boards and on my porch ceiling, adding vertical panel dividers behind the wrapped 6×6 posts that support the porch roof to attach the track. I used the corner-mount method for installing the track, choosing to miter the corners instead of using the available corner plinth kits. If I was to do this again, I would use Screeneze’s plinth blocks as this lets you cut the ends of the track square, speeding up the installation process.
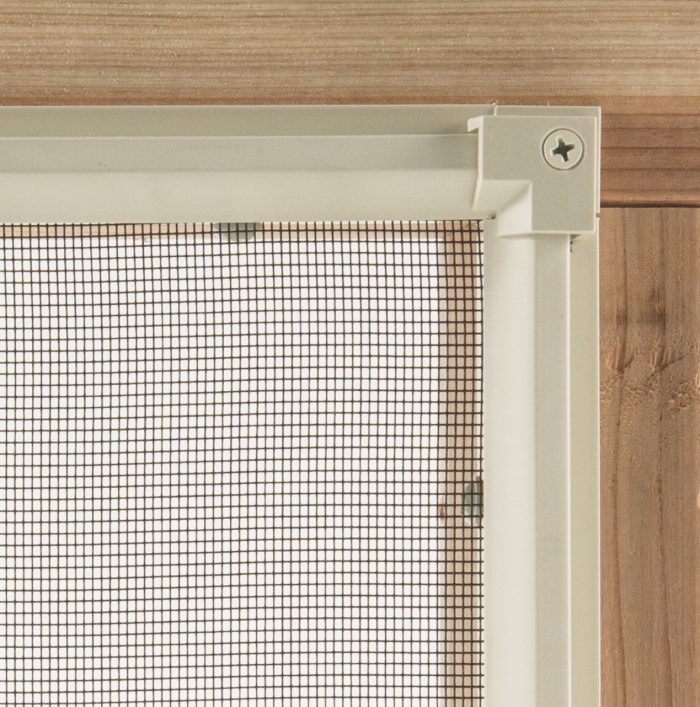
I precut the first screen panel so that it was 6 in. bigger in each direction than the wood frame. This proved to not be enough screen to grab onto for tensioning while installing the vinyl caps. I cut the rest 12 in. bigger in each direction and that made the process easier for the remaining four panels. All told, we had all our screening installed in about two hours with minimal need for re-tensioning. We found the upper sections of the side track nearest the corner to be a source of difficulty for us to get tight, but we were still able to do it. Over the course of two weekends, we installed the wood frames, Screeneze track, and screening at a material cost of under $2000.
The track and screen came in at about $3 per sq. ft. You can learn more and find a dealer at screeneze.com.
RELATED STORIES
- The Particulars of Porch Design
- Adaptable Aluminum Pergola for Shade and Sun
- A Simple Screened Porch
Fine Homebuilding Recommended Products
Fine Homebuilding receives a commission for items purchased through links on this site, including Amazon Associates and other affiliate advertising programs.
Jigsaw
Flashing and Joist Tape
Cepco BoWrench Decking Tool
