Podcast 489: Garage Walls, Builds That Take a Long Time, and Radon in the Root Cellar
Andrew, Ian, and Patrick hear from listeners about one- vs. two-story builds and thermodynamics before taking questions about detailing garage-separation walls, building a new house in stages, and the risks of a root cellar with radon.
Follow the Fine Homebuilding Podcast on your favorite app. Subscribe now and don’t miss an episode:
 |
Help us make better episodes and enter for a chance to win an FHB Podcast T-shirt:
www.finehomebuilding.com/podcastsurvey
BD shares his thoughts on one- versus two-story builds. Marc has a suggestion for Barbara’s garage. Nat reminds us that FHB has great resources for building a dry basement. Jim has more on heat flow and air buoyancy. Brad asks if the OSB-covered wall separating his house from his garage is right. Jay wants to know if he can build his house over a few years’ time. Pete wonders if he should worry about radon in his root cellar. Josh ponders what makes nails work loose over time.
Editor Updates:
- Andrew’s Boundary Waters trip
- Ian’s shop-made floating shelves with hover brackets
- Jeff’s yardwork
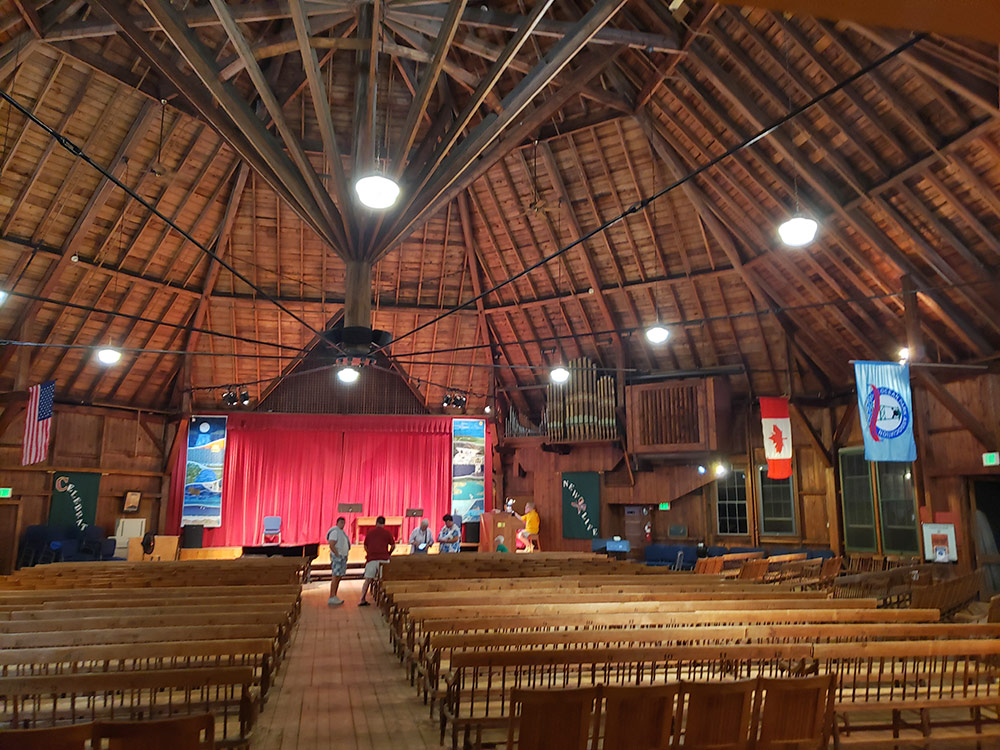
- Patrick’s beach trip to Maine
Related Links:
 |
 |
Listener Feedback 1:
BD writes: Hi Patrick, I just wanted to write in mostly to say a big thank you for answering my ADU related questions a few episodes back—I really appreciate everybody’s feedback. I think I’m actually going to go with the flea market chandelier option for my lighting. You can keep your eye out at the Elephant’s Trunk for me; there could be a modest commission in it for you if you spot a good one. I am starting to realize that the Fine Homebuilding podcast is more high brow than I bargained for; it must be your Greenwich perspective.
The discussion in episode 479 regarding the cost of building one story versus two also really piqued my interest. I actually went through a similar thought/spreadsheet exercise when considering my ADU. Interestingly I think that my conclusions were a little bit different than what Ian found when analyzing the options for his palatial 2000 square-foot home. When I analyzed 1 vs 2 story options for my theoretical 770 ft² ADU the tipping point making the 1 story option cheaper was the extra area required for stairs and wall thicknesses in a 2-story build. I determined that to have the same useable net area you need about 100ft² of extra gross area for the two-story option. This extra 100ft² can probably easily be lost in the butler’s pantry of a 2000ft2 palace but it is 13% of 770 ft2 adding quite a chunk of cost.
In the end I decided to go for the single floor option for more pragmatic reasons like the accessibility, aesthetics, overlook on to other properties and the ease of building. I also agree that there is probably more cost savings to be had in material choices, assemblies and building form than just in the 1- vs 2-story decision.
If you are running low on questions, I also had a bit of a fun one for you. What fasteners/consumable supplies does everyone keep on hand as amateur remodelers/homeowners/building geeks? Do you buy as needed? Store them in a certain way? Have a few random stuff jars that constantly get in the way? I’d be interested to hear what everyone has to say.
Anyways thanks as always and I will hopefully be reaching out again soon to Jeff for his officiant services once I find the right patio door to commit to.
All the best, Brent
Related Links:
- The Rise of the Accessory Dwelling Unit (ADU)
- Small Prefab With a Big Impact
- Must-Have Hand Tools for A Remodeler’s Kit
Listener Feedback 2:
Marc writes: Hi Podcast Crew: Thanks for the show—it is a welcome addition to my commuting playlist and the mix of advice and experiences shared is informative and entertaining. With Barbara’s room-in-room shop project talked about in episode 475, no one mentioned the possibility of actually framing a room inside the space and I wondered if that would work?
There is added expense because she would be framing two additional walls at the perimeter, but it would allow the walls to be assembled and then easily insulated and air-sealed. Plus, if the ceilings of the original building are tall enough, frame a flat ceiling, air seal and insulate as you would in typical home construction. This approach could easily be reversed as well. If she used screws for assembly, that would make deconstruction even easier. Where the room is not a structural component, the use of screws should be ok. Thoughts?
Best regards, Marc
Listener Feedback 3:
Nat writes: Dear Fine Folks of Fine Homebuilding, First, thanks for all the great tips, tricks, thoughts, and banter you offer every week; listening to this podcast has helped get me through some tedious bits of work (mostly in the office, but occasionally on site as well – more on that below.)
Second, I was listening to the recent segment regarding workshop space in a damp basement and it made me think of two resources. The first is a FHB article on dampproofing basements for three severities of water intrusion and has some really good graphics and explanations. Sadly I can’t track it down right now, but it was integral to the design of our tall crawl insulation and drainage system. The second resource is Building Science Corporation’s “Builder’s Guide to Mixed-Humid Climates” and I think it has a solution that might be right up your listener’s alley: creating a semi-permeable sleeper system to control dampness while also facilitating drying. The detail can be found on page 180 and goes as follows: paint a semi-permeable sealer on the top side of the concrete slab over which you install a thin layer of semi-permeable foam (3/4″ XPS is spec’d, but I assume there are others that would work or may even be better). On top of the foam, you install 1x furring strips at 16″ or 24″ O.C. and install plywood subfloor. Excess moisture can migrate up through the assembly and be dealt with by the dehumidifier. Hope this helps.
Third, I was wondering if you all could offer some advice. My wife and I are doing a complete rebuild of an old farmhouse – as in, there was a house, then there wasn’t a house, and now there is a house again, and she and I are the ones swinging the hammers! (Actually, I am doing her a disservice if I didn’t say that she is pretty good with a nail gun these days). We just got a line on some reclaimed flooring; the only catch is that we need to demo and move it. It is 2 1/4″ wide red oak from the looks of it. Do you all have any recommendations for removing it with the least amount of damage and then storing it for a few months in a way that will resist as much warping as possible? Anything I should keep in mind when we are reinstalling it? Any advice you can throw our way would be greatly appreciated. 
Thanks for all the great content and motivation, Nat
P.S. – Sad I missed the conversation about manual labor. As the son of a landscaper, I really love digging holes and then filling them back in, and “punishment” growing up was “having” to go out to the wood pile to split wood by hand.
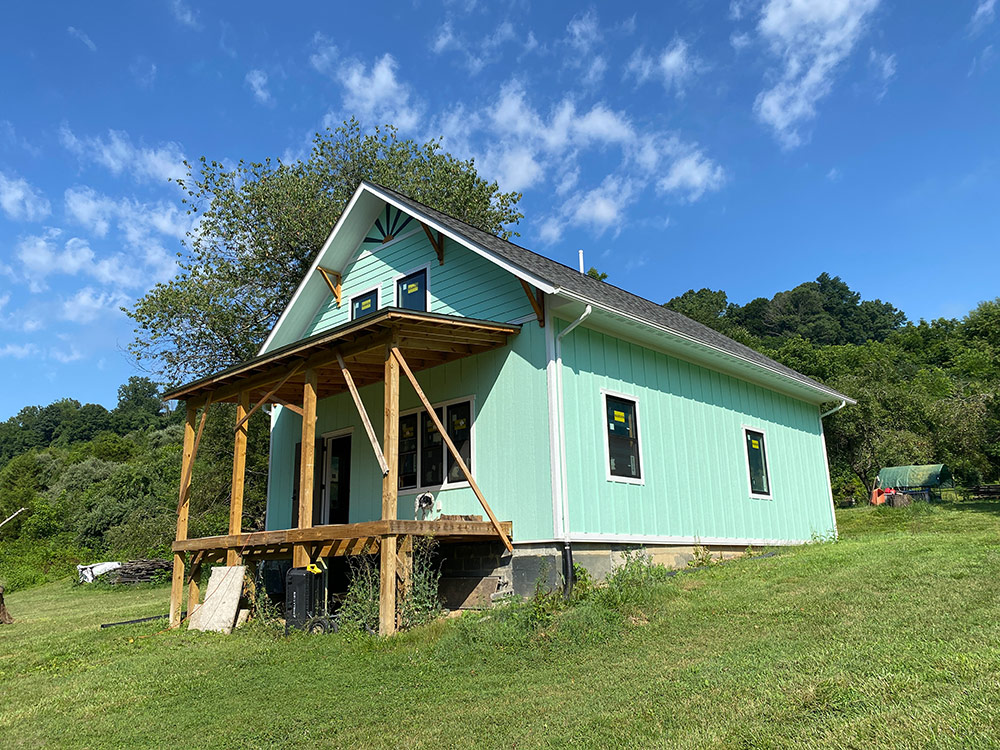
Patrick, Thanks for the quick response: building and talking about building are about the best life I can imagine, so I would say you are living the dream! Thanks for the feedback on the color. We were actually 100% sure it was staying when we saw how the salvaged studs (also red oak) turned corbels/soffit brackets played so well with it.
The flooring is in an old house slated for demolition at the end of the year. It was conditioned at some point, but not any longer. We are in Southwest Virginia, Climate Zone 4.
Looking forward to that after show!
Related Links:
- Build Dry, Risk-Free Finished Basements
- The Gutster Demo Bar
- Builder’s Guide to Mixed-Humid Climates
- How to Acclimate a Wood Floor Correctly
Listener Feedback 4:
Jim writes: To FHB podcast team: I enjoy listening to your podcasts discussing building and the science involved. Recently you requested feedback on the science of thermodynamics as it relates to its understanding by people involved in construction. With an early interest and experience in building I became a journeyman carpenter while studying for my degree in Chemical Engineering. I have been a continuous FHB print subscriber from the very first Feb/March 1981 issue.
Episodes 473 and 479 discussions on heat were of particular interest to me. The HVAC contractor saying that radiant heat in the ceiling was wrong as “heat rises thru the ceiling” may have better reasons like keeping feet warmer on a radiant heat floor. Actually, as pointed out by your panelists and your engineer responders the heat will radiate out from the source in straight lines warming anything it hits. The correct design for the ceiling or floor is to insulate the cold side to help keep the heat in the building envelope. The concept of warm air rising is more of a primary characteristic of a forced air system but air heated from any source will rise. Temperature for our thermodynamic purpose is a measurement of a substances’ average kinetic energy. With higher temperature molecules move faster and collide with other molecules more often and with greater force. This converts kinetic energy to heat. The molecules move in all directions with the net effect of “heat moves from hot to cold” per the second law of thermodynamics. The movement outbound reduces the density resulting in the warmer air being more buoyant than the cooler air around it and thus rising.
I can’t confirm or deny that moisture problems in an attic are caused by humid air rising but I believe it is a factor. To make a case for less dense humid air verses dry air I have to get into the weeds (physical chemistry) a bit. Apologies for running over my time. A fellow named Avogadro found that under the same conditions of temperature and pressure equal volumes of different gases contain an equal number of molecules. The molecules of water, H2O (18 grams/mole) weigh less than the molecules of Nitrogen, N2 (28 g/m) or Oxygen, O2 (32g/m) that air is made up of.
Given a specific volume when you have water molecules replacing O2 or N2 molecules the resulting volume has a lower weight and therefore a lower density. The humid air is more buoyant than dry air.
Scientists are best suited to provide the theoretical principals of thermodynamics. Architects, engineers and builders can then apply the principals to the design, equipment and construction of the structure. If you are interested in more information on thermodynamics the web is a good source or checkout a book like “Einstein’s Fridge” by Paul Sen.
Thanks for the podcasts. Happy building!
Question 1: Should I put drywall over OSB or take the OSB down for proper air-sealing?
Brad writes: Hello from Southern Ontario! It sounds a little cliché but longtime listener, first time writer here!
I just moved into a new house at the end of June and I have a question about proper separation and air-sealing of the garage from the house. The walls of the garage are covered in unpainted OSB, a material that I initially looked at and thought yes, I understand why you did that, but boy it is bad looking (the ceiling is drywall). I am thinking I would like to put drywall on the walls, mostly because it looks better and would brighten the space. The house is about 10 years old; I believe there is fibreglass insulation and appears to be a polyethylene vapour barrier directly underneath the OSB.
Now that we have been in here a while, I am actually wondering how well sealed the wall is between the house and the garage although I don’t have a particular reason to suspect that it is not well sealed as is beyond questioning the use of metal electrical boxes. Would you put the drywall right over the OSB or take it down and do a proper air-sealing job?
Thanks so much, I really enjoy the podcast and particularly the sharing of your projects at the beginning of each episode.
Related Links:
Question 2: Can I pour the footings, foundation walls, and basement slab and then let them overwinter before continuing to build?
Jay writes: Dear FHB Friends, Question here from a long-time listener. My partner and I could use your help and expertise. We are about to embark on a small house build in rural Western Massachusetts, Zone 5. The house size will be between 800 and 900 square feet, a simple single-story ranch design. We would like to have a full basement and do not have the elevation for a walkout but are considering a bulkhead. The building site is level and dry. Previously there was a 1790s farmhouse, of which only a fieldstone dry-stacked foundation remains. There is a hole, but there was never a full cellar.
Due to financial and time constraints, the house must be phased construction over several years. Can we pour the footing and foundation walls and basement slab—with the appropriate insulation and drainage according to code—in Year 1, then let that overwinter for a year or two without any building on top? We are concerned about the possibility of frost heaves, cracks, or other expensive damage. If it’s not feasible, what foundation would be more appropriate for our extended building timeline?
Thanks, Jay
I asked Jay, “Why not wait until you have enough time and money to complete the build?”
Excellent question! The answer is twofold. First, the building site is located in a river buffer zone and we have been granted permission by the state to build there due to it being in the footprint of the old farmhouse. For us this is preferable to clearing or building on undisturbed ground. However, that permission requires us to initiate the construction and show some progress within a three-year window. Second, we plan to build the house ourselves, and as two working folks with myriad obligations, this will require us to fit much of the work into weekend and vacation time, which unfortunately stretches the timeline.
Hope this clarification helps!
Related Link:
Question 3: Would radon levels affect food stored in my cold room cellar?
Pete writes: Hello FHB fam, Your favorite bearded interior designer here from Caledonia, Ontario Canada. (I’m smirking just thinking of Patrick struggling over this one). We recently conducted a radon test at our 1880s old farmhouse. The radon test kits are conducted during the winter season when windows are shut and furnace is on, and the testing pod is placed in a space regularly occupied. When I discussed our result of 44 Bq/m2 with my wife I was happy to note we were lower then the ’concerning and actionable’ level of 200 Bq/m2 based on Canadian standards. Below are my two questions
1. What are the ‘acceptable’ radon levels in the states? Seems the range here is 0-200 not concerning or actionable
200-400. Consider action 400-600. Actionable and dangerous
2. The wife brought up a great point that I had never considered. We grow many of our own vegetables and store them in the basement in a constructed cold room cellar. That space is heavily insulated from the remainder of the house and cooled in the spring months to extend food supply but the exterior mass stone wall and concrete floor of the cooler is exposed (similar to the basement assemblies). Would radon affect food stored in a space such as this? Seems like radon levels would be higher there.
We did not place the tester in the basement at all because it is not an occupied portion of the home
Love to hear your thoughts,
Pete
Radon reduction systems work. Some radon reduction systems can reduce radon levels in your home by up to 99 percent. Most homes can be fixed for about the same cost as other common home repairs. Your costs may vary depending on the size and design of your home and which radon reduction methods are needed. Get an estimate from one or more qualified radon mitigation contractors. Hundreds of thousands of people have reduced radon levels in their homes.
Related Links:
Question 4: Is my grandfather’s theory about the sun’s impact on nails true?
Josh writes: Fine Podcasters, Really enjoy your podcast and your insights – thank you! Years ago, my father and grandfather were re-shingling a wood shingle roof on the barn and I was tagging along, probably 8-10 years old. The ridge was simply two 1×4 cedar boards nailed together and then nailed to the ridge—not a woven cedar shingle ridge. Many of the nails on the original ridge boards had pulled out – probably 10d commons sticking out about 1″ or so (this is where my memory gets foggy – I sort of remember it was particularly the nail on the “sunny side”). Being a curious/naive kid, I asked why the nails were left sticking out. My grandfather said they had been fully driven when the ridge board was nailed down (by my calculations that would have been around 1920) and the sun had pulled the nails out over time. Not sure, but I think he was implying that it was the gravitational pull of the sun. Was this just my grandfather throwing some answer my way, thinking I would forget it or is there some element of truth to his answer? My guess is that it would be related to moisture and the expansion and contraction of the wood and the nail moving in the easiest direction… Over the years, I have seen nails that have pulled out, but not too often – probably because material and fasteners have changed.
Thanks for keeping us informed and chuckling, Josh
Related Links:
END NOTES:
Hey listeners: What are you waiting a long time to get? Lead time for windows and building products. Let us know at: [email protected].
Members-only Aftershow Podcast 489: Ian, Andrew and Patrick talk about the building/construction/maker related skills they wish they knew more experience with.
Check out one of our Project Guides: Siding & Exterior Trim!
Check out our FHB Houses:
Visit the Taunton Store • Magazine Index • Online Archive • Our First Issues • All Access
Help us make better episodes and enter for a chance to win an FHB Podcast T-shirt: www.finehomebuilding.com/podcastsurvey

If you have any questions you would like us to dig into for a future show, shoot an email our way: [email protected].
If we use your question we’ll send you a FHB Podcast sticker!
FHB Podcast T-shirts!
Represent your favorite podcast! Available in several styles and colors. Made from 100% cotton. Find the Podcast t-shirt and more cool products in the Fine Homebuilding Store.
This episode of the Fine Homebuilding podcast is brought to you by Andersen Windows.

Professional builders know the value of a durable and versatile construction adhesive. Say no to second guessing quality, say yes to Loctite’s strongest adhesive, PL Premium Max. Equally effective for interior and exterior use, PL Premium Max can be applied in all but the most extreme weather conditions and bonds to all common building materials. It offers 20 minutes of working time and cures solid in 24 hours, with no air bubbles for maximum durability. Whether you’re framing a custom home, upgrading to granite kitchen counters, or adding rigid foam and comfort to an existing basement, PL Premium Max is the right adhesive for the job. Say yes to Loctite’s strongest construction adhesive. Visit Loctiteproduct

Fine Homebuilding podcast listeners can now get 20% off anything in the Taunton store, including Pretty Good House.
Use the discount code FHBPODCAST to take advantage of this special offer.
We hope you will take advantage of a great offer for our podcast listeners: A special 20% off the discounted rate to subscribe to the Fine Homebuilding print magazine. That link goes to finehomebuilding.com/podoffer.
The show is driven by our listeners, so please subscribe and rate us on iTunes or Google Play, and if you have any questions you would like us to dig into for a future show, shoot an email our way: [email protected]. Also, be sure to follow Fine Homebuilding on Instagram, and “like” us on Facebook. Note that you can watch the show above, or on YouTube at the Fine Homebuilding YouTube Channel.
The Fine Homebuilding Podcast embodies Fine Homebuilding magazine’s commitment to the preservation of craftsmanship and the advancement of home performance in residential construction. The show is an informal but vigorous conversation about the techniques and principles that allow listeners to master their design and building challenges.
Other related links
-
- All FHB podcast show notes: FineHomebuilding.com/podcast.
- #KeepCraftAlive T-shirts and hats support scholarships for building trades students. So order some gear at KeepCraftAlive.org.
- The direct link to the online store is here.


