7 Steps to a Perfect Exterior Paint Job
High-quality exterior painting depends on flawless prep and application.
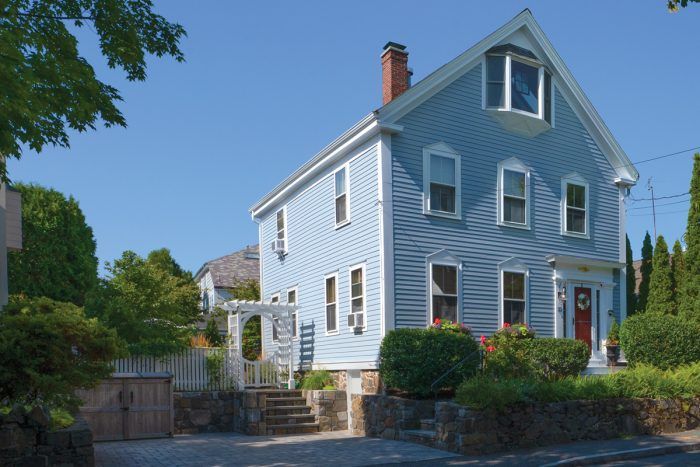
Synopsis: Planning and executing an exterior paint job can pose a challenge, as the slightest of mistakes can impact appearance and performance. Brooke Cambridge, owner of BLC Painting in Salem, Mass., breaks down a process of seven steps that her and her team like to follow for a successful exterior paint job.
When it comes to exterior painting, mistakes mean future appearance or performance problems, and nine times out of 10, the mistakes are made before the painting even starts. I’ve learned in my 20 years of painting that there are always new things to learn. Fortunately, my participation in a local pro-painter network and the national Painters Contracting Association (PCA) help keep me and my team up to date on procedures and problem prevention. One of the recurring themes I hear at meetings and from trade publications is that if you put sufficient effort into preparing for a paint job, the work your client often doesn’t see will pay dividends with an easier and longer-lasting paint job.
I’ve been painting exteriors in Boston for 20 years and now own my own painting company, BLC Painting. One of the ways I ensure quality is with a comprehensive approach to paint prep. While there are dozens of tools we use in our line of work as painters, one of the most effective has been our standard operating procedure checklist. This checklist has proved helpful in getting a typical exterior paint job done right, every time.
Watch the weather
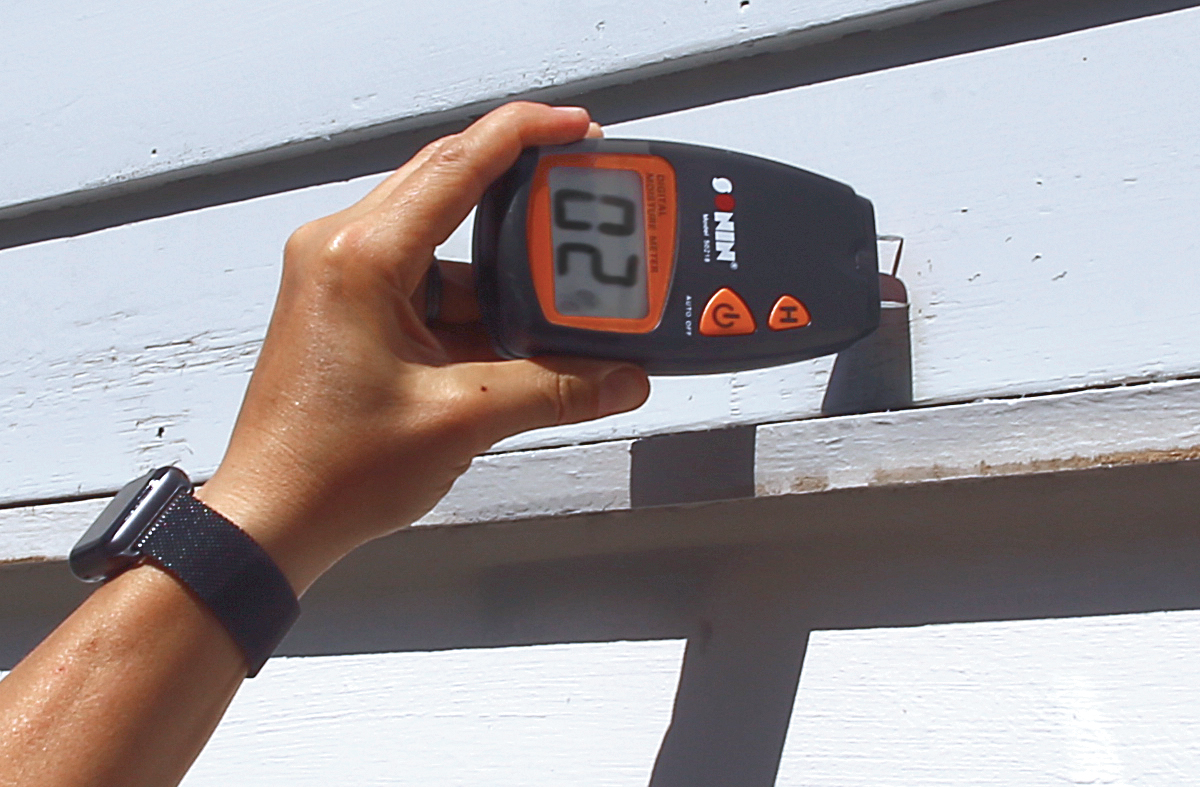
Waiting for the right conditions before you start priming and painting is critical. Paint failure is most often caused by not giving enough time for drying, which includes considering the weather. You’ll want to avoid temperatures below 50°F and above 80°F. Too cold, and condensation will start to form on the top layer. Too hot, and the paint will dry too quickly. Even in the right temperature, you’ll want to pay attention to the sun. If you paint in direct sunlight, the top surface of the paint can dry prematurely, leading to blistering and bubbling. If you rush, you may have to fix spots, or even redo everything at your expense.
While there’s no set rule of thumb when it comes to deciding where on a house to start first with exterior painting, I do have a personal preference. With my team, I like to set up on one side and scrape it all down. Then we clean up and move half the crew to the back side to start that same process. Two people stay and power-wash the side we just scraped, and we move around the house like that. This leaves more time for drying and is most efficient to keep the job moving.
Stepping back to admire your work is said to be the best part of the job, but even better is when your see your clients looking at their newly painted home and showing the same satisfaction.
Step 1: Protect and cover
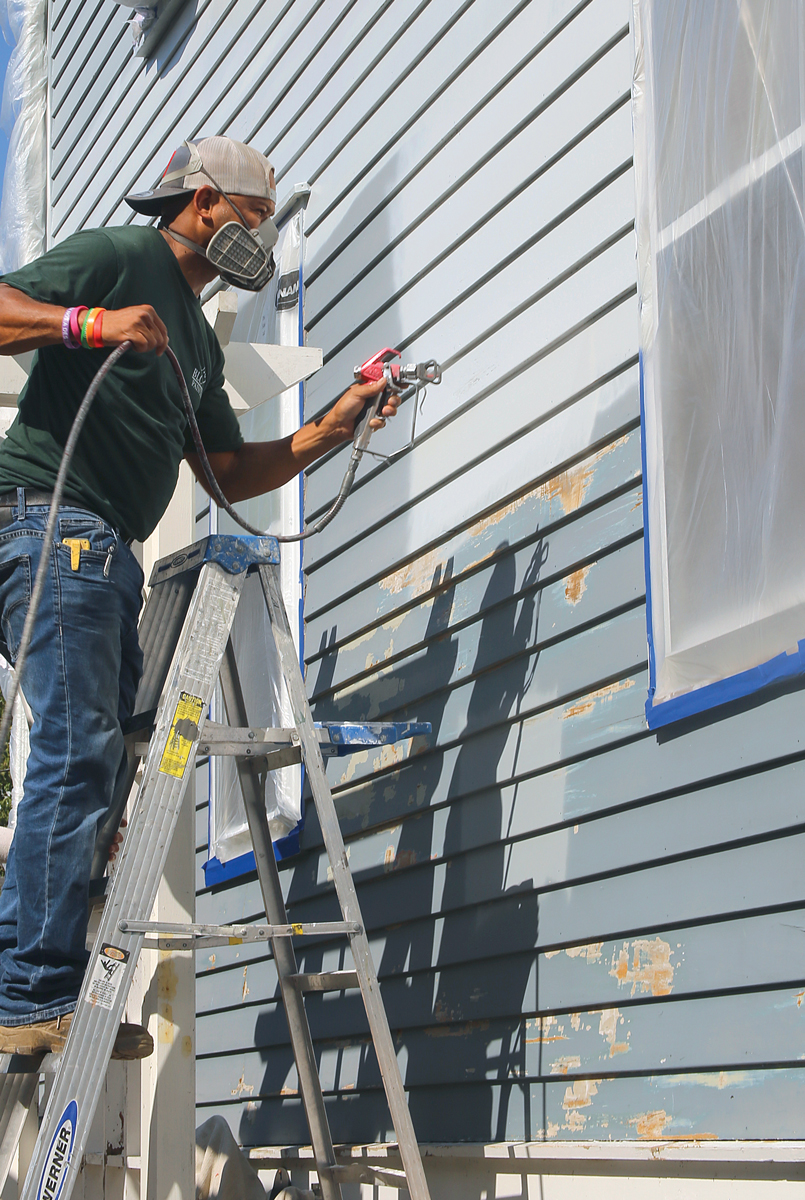
One of the most important steps is to protect and cover anything not being painted. Drop cloths and masking not only prevent damage, they help you look organized and professional to clients and neighbors.
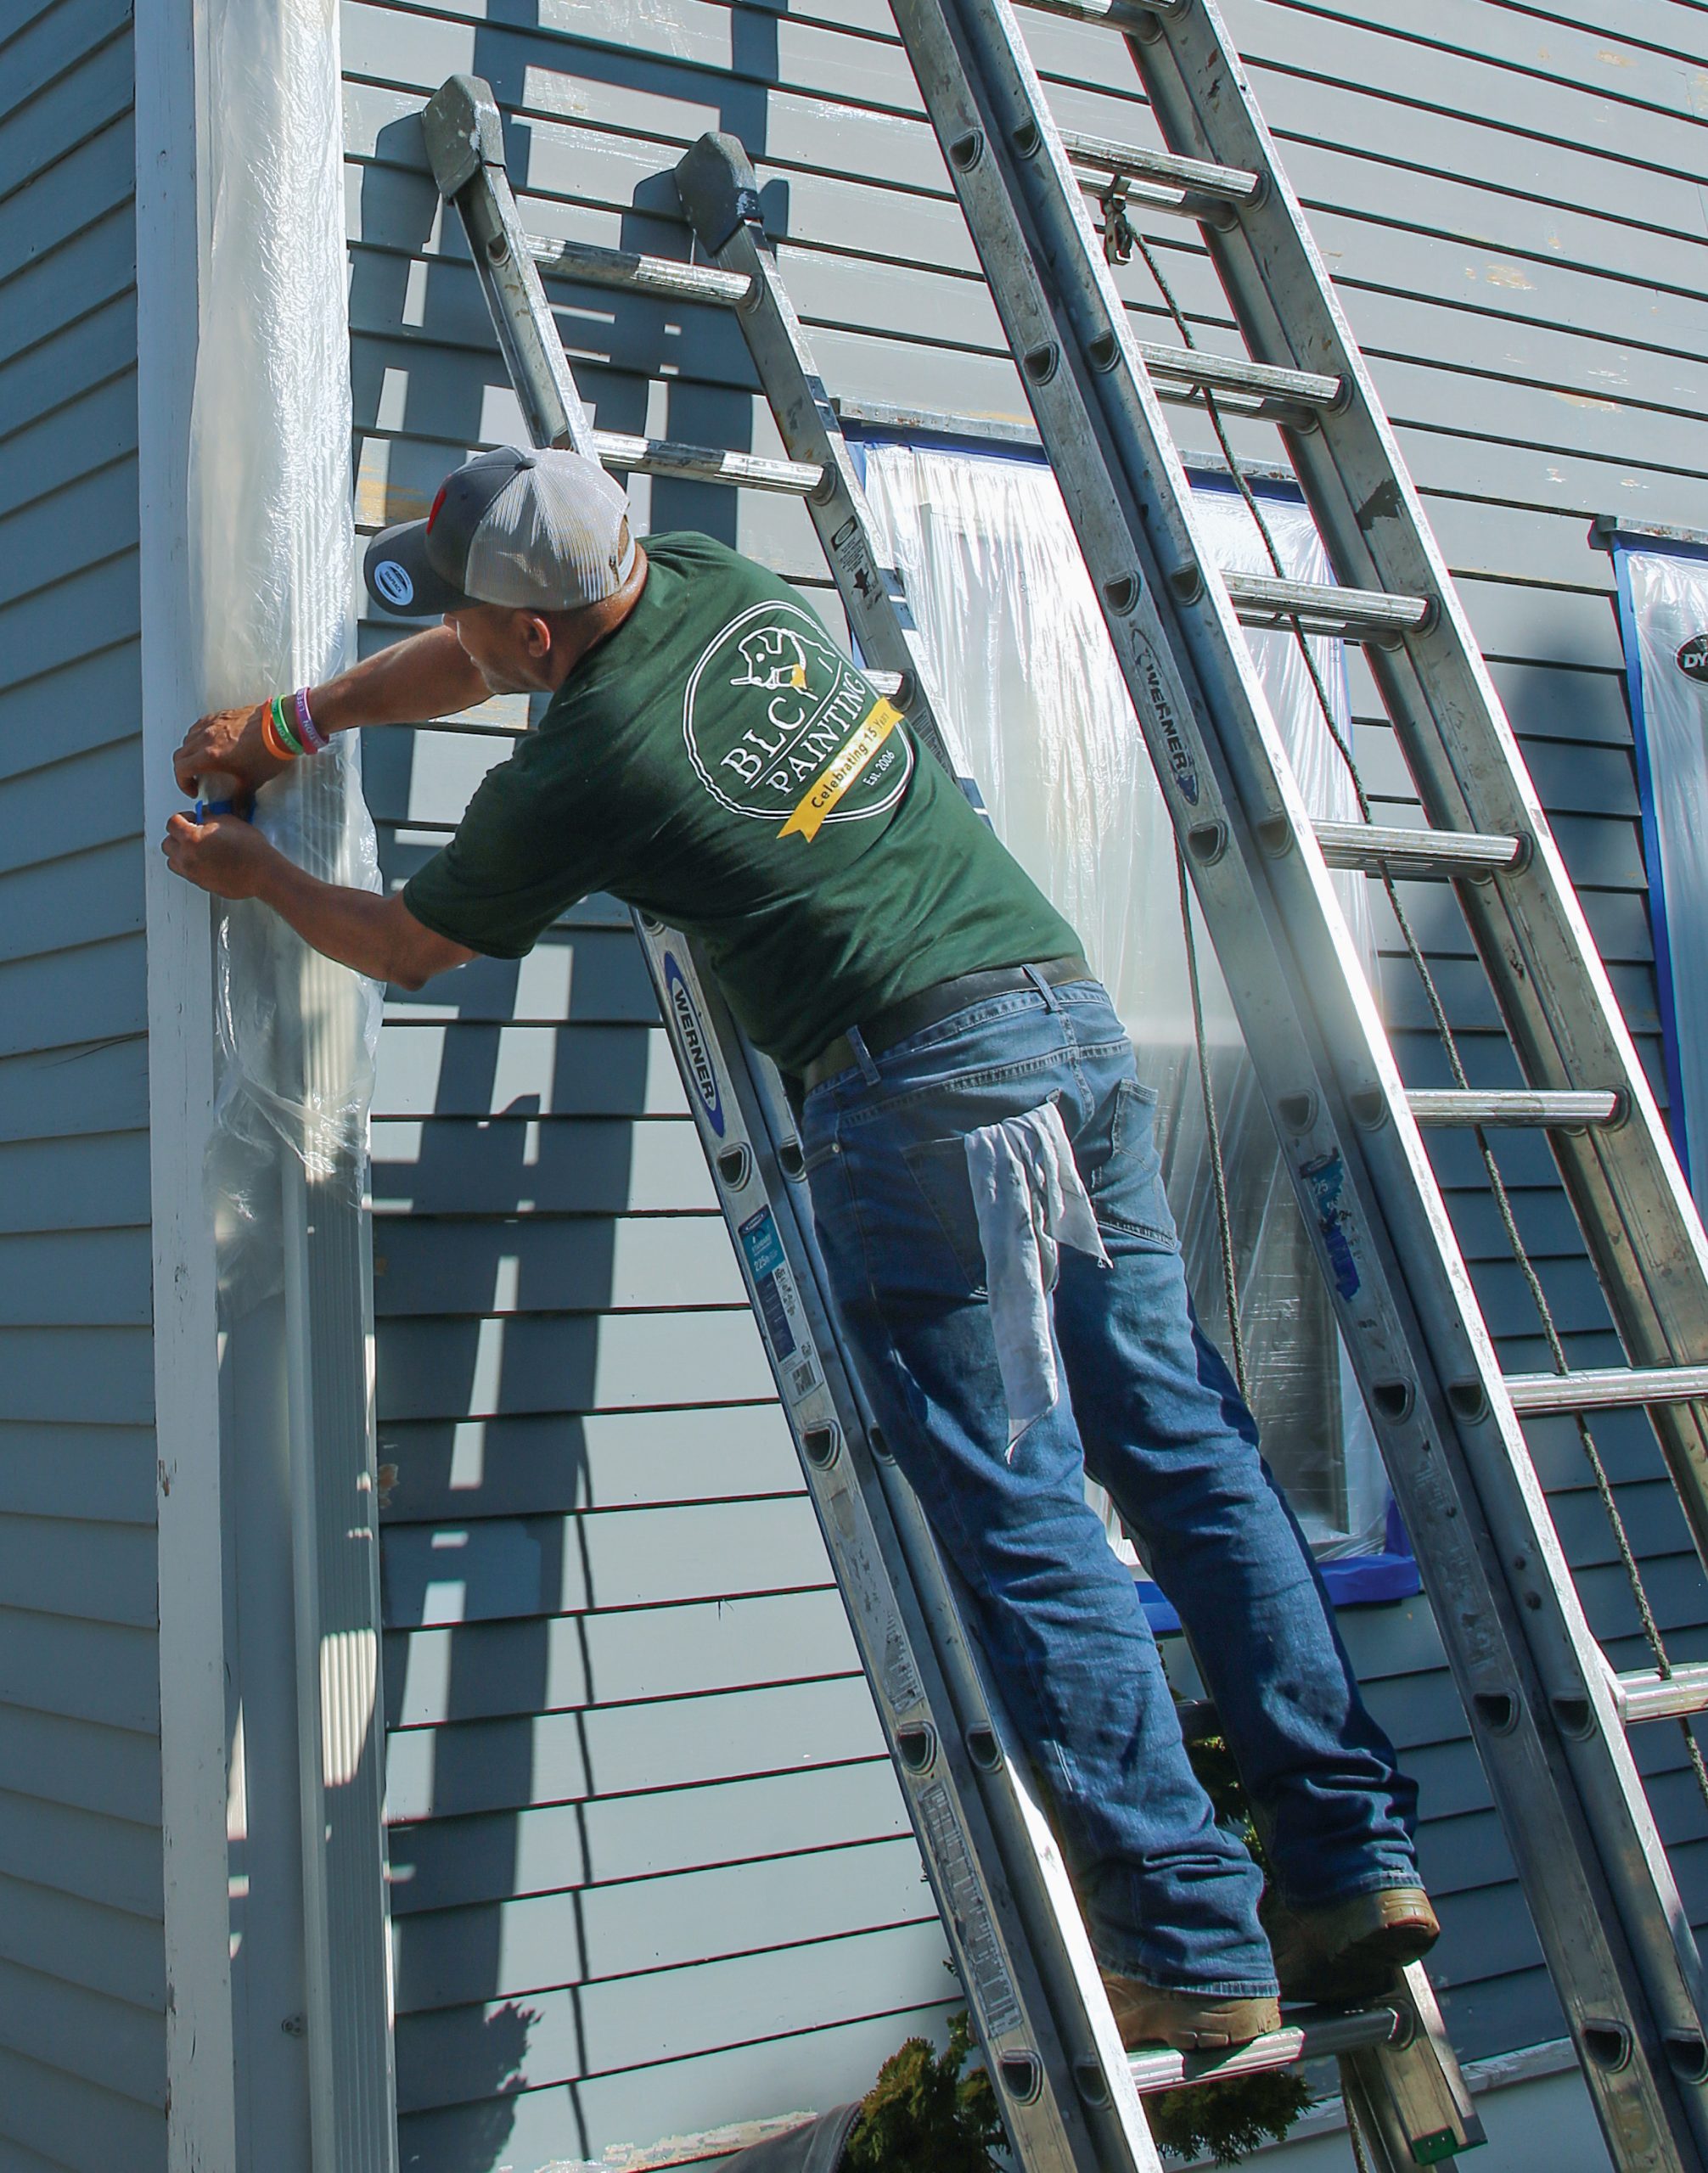
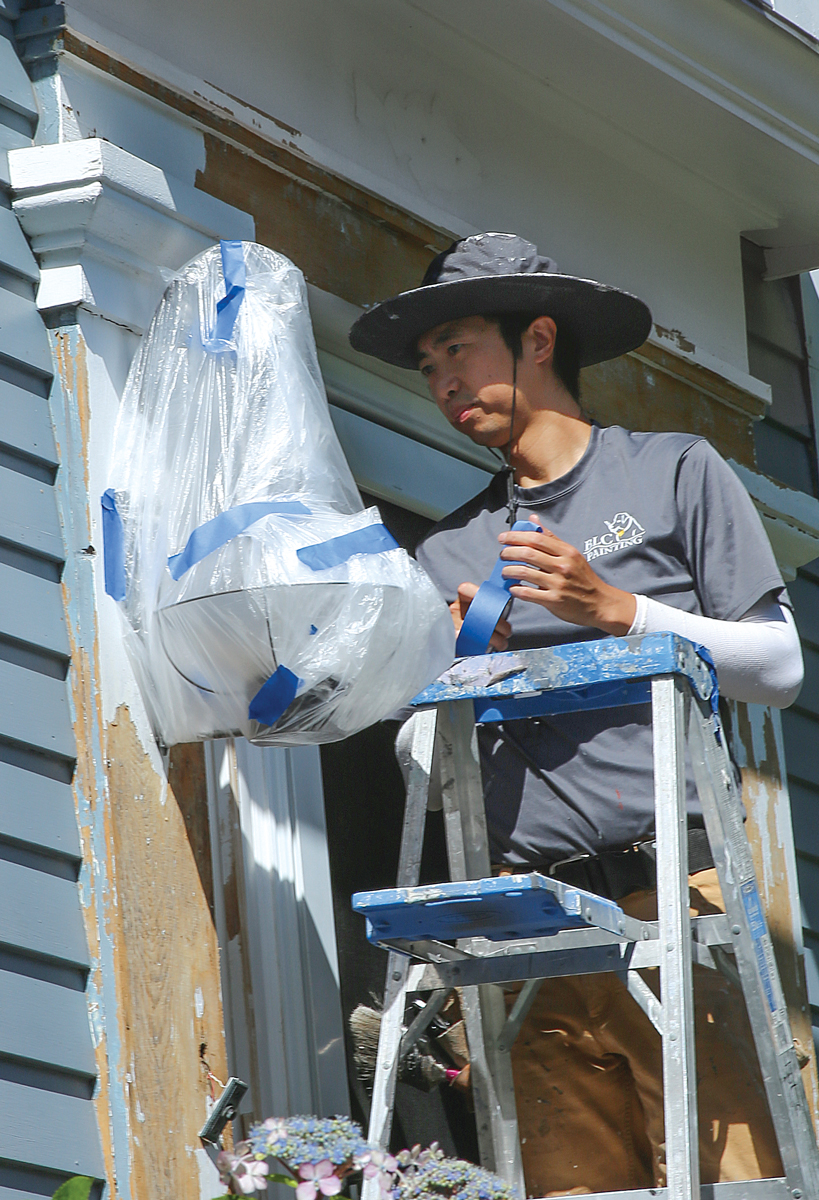
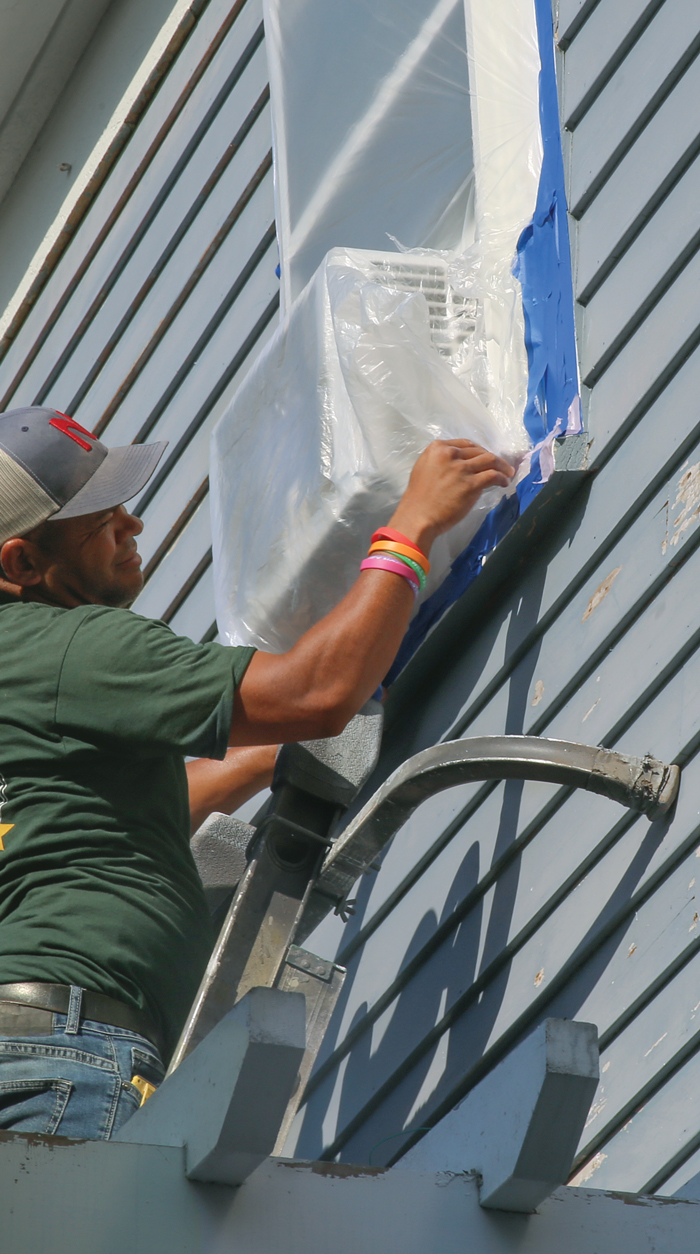
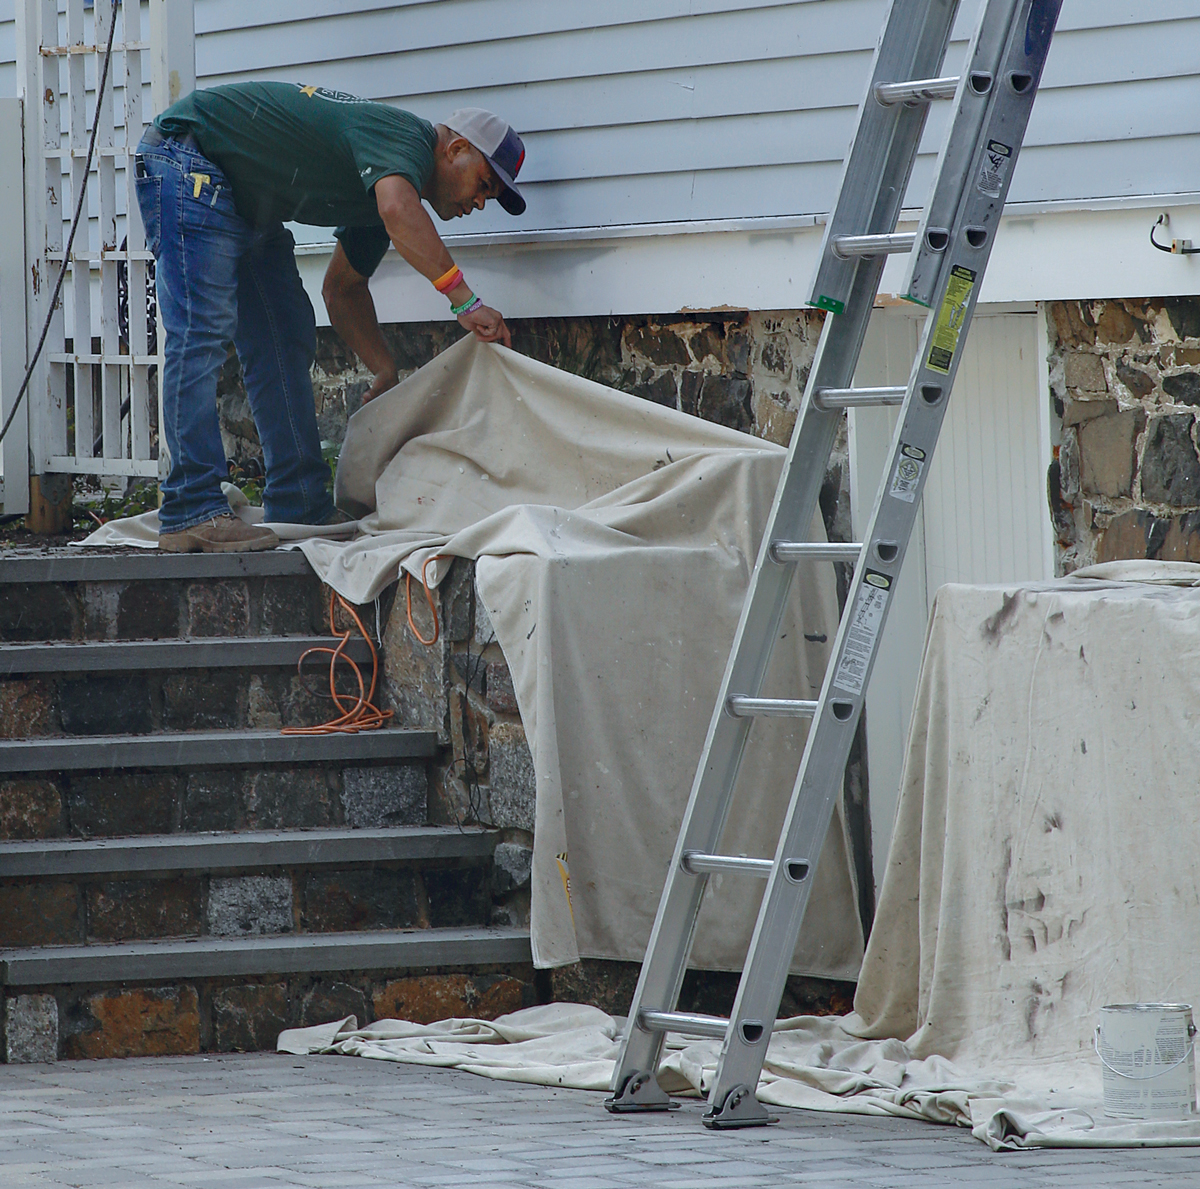
Step 2: Scrape and Sand
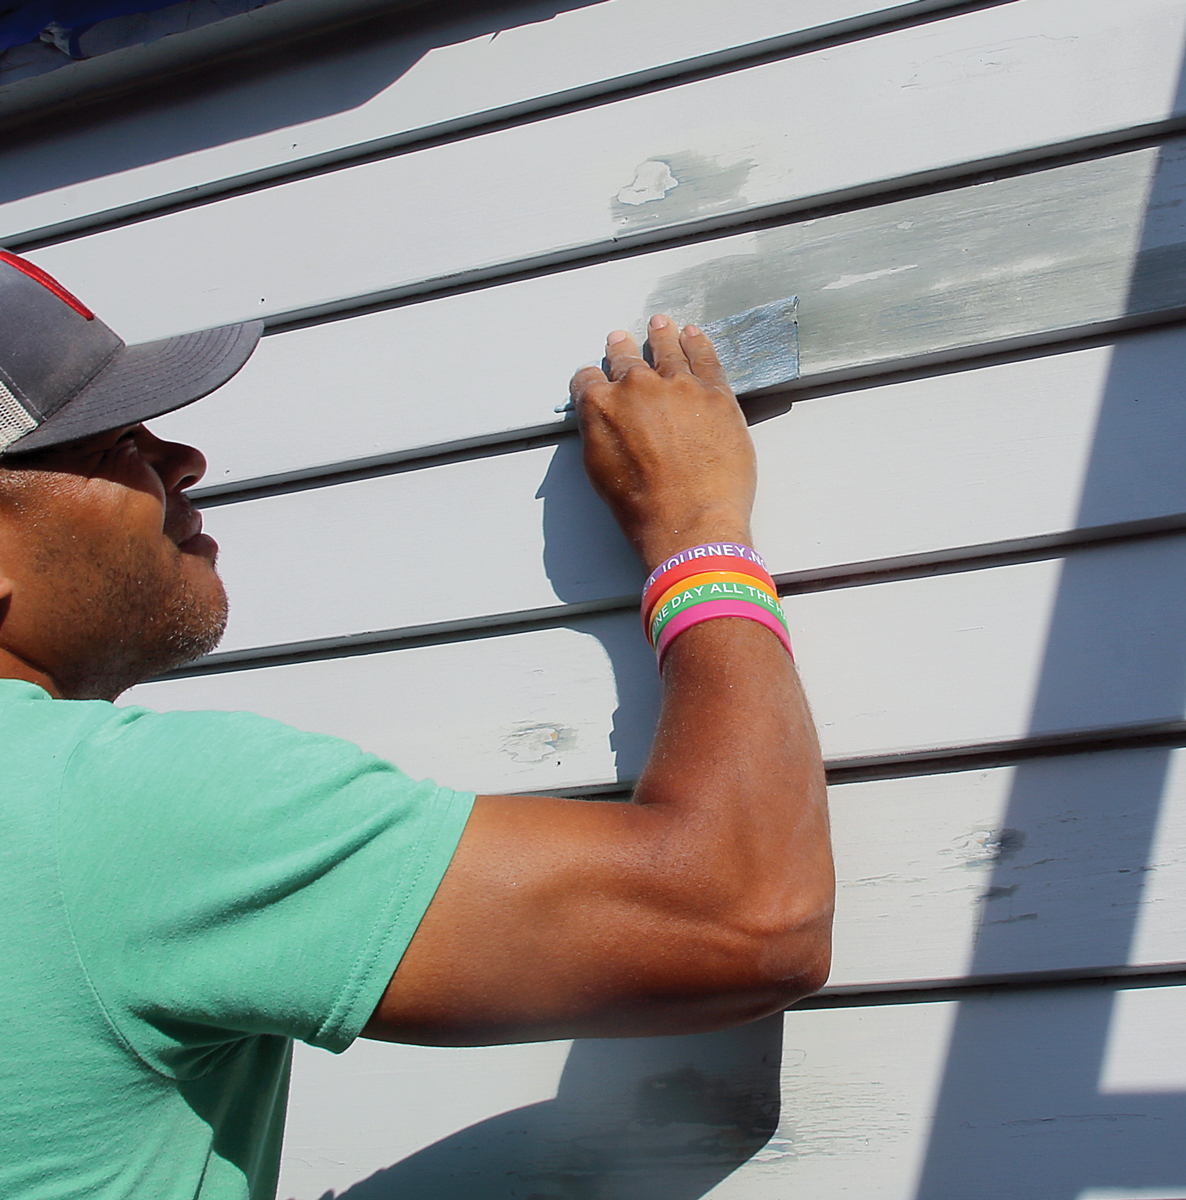
Although some painters go straight for the pressure washer, you should first scrape off all loose, peeling, or bubbled paint with a carbide scraper, which will prevent you from blowing paint chips all over the lawn. After scraping, we sand all the scraped areas.
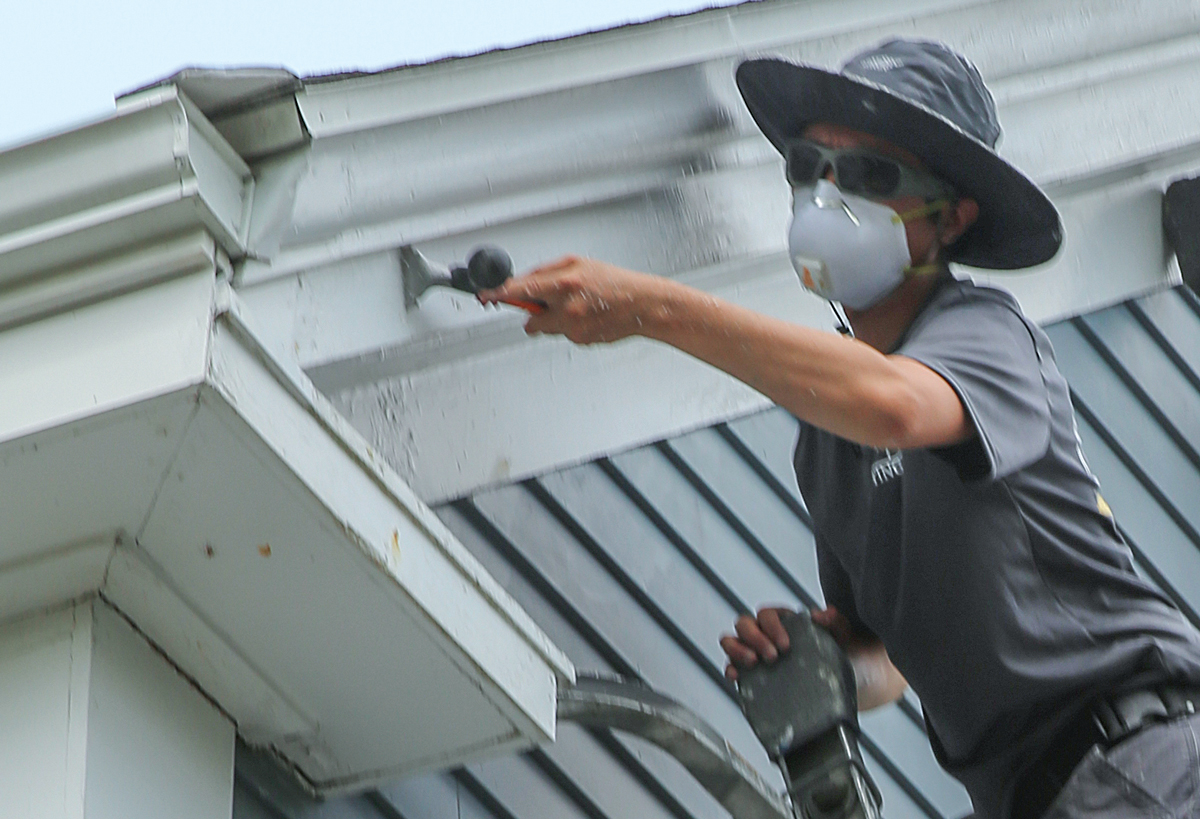
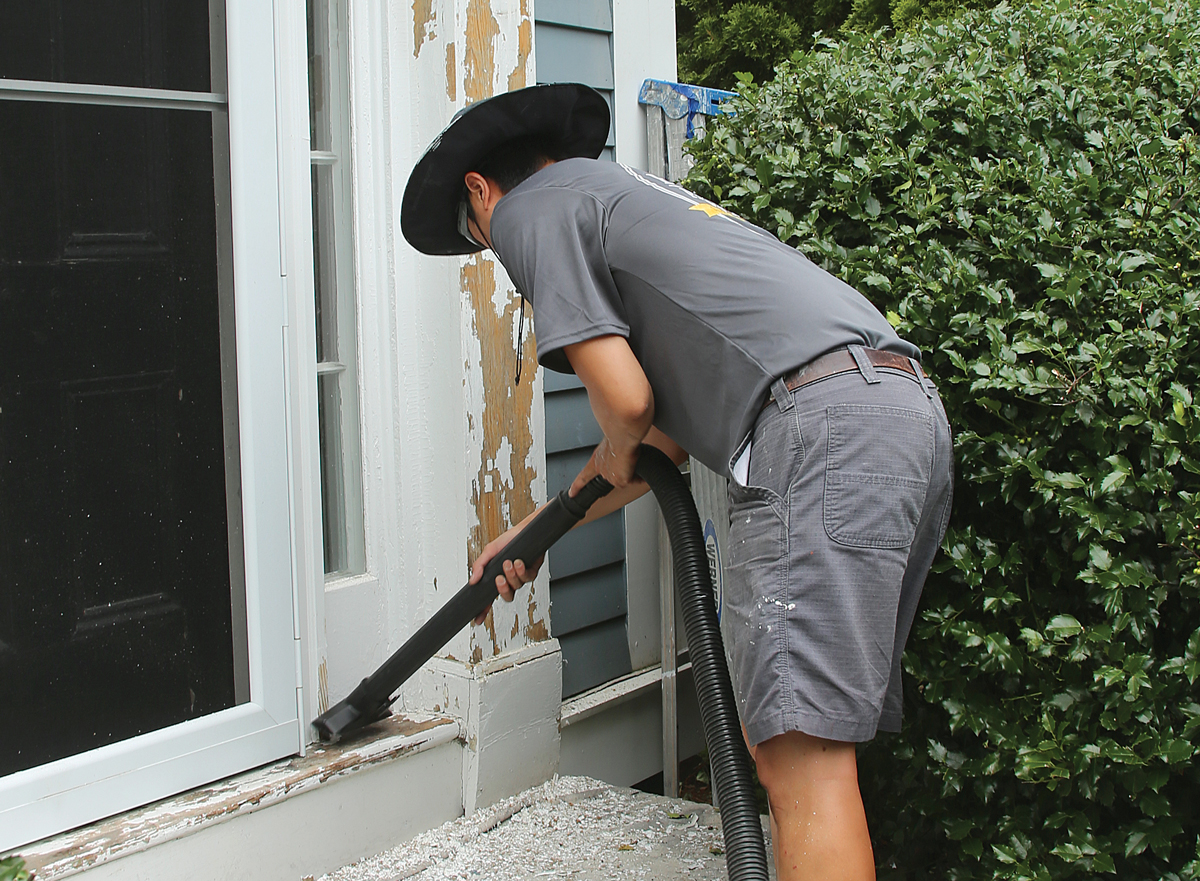
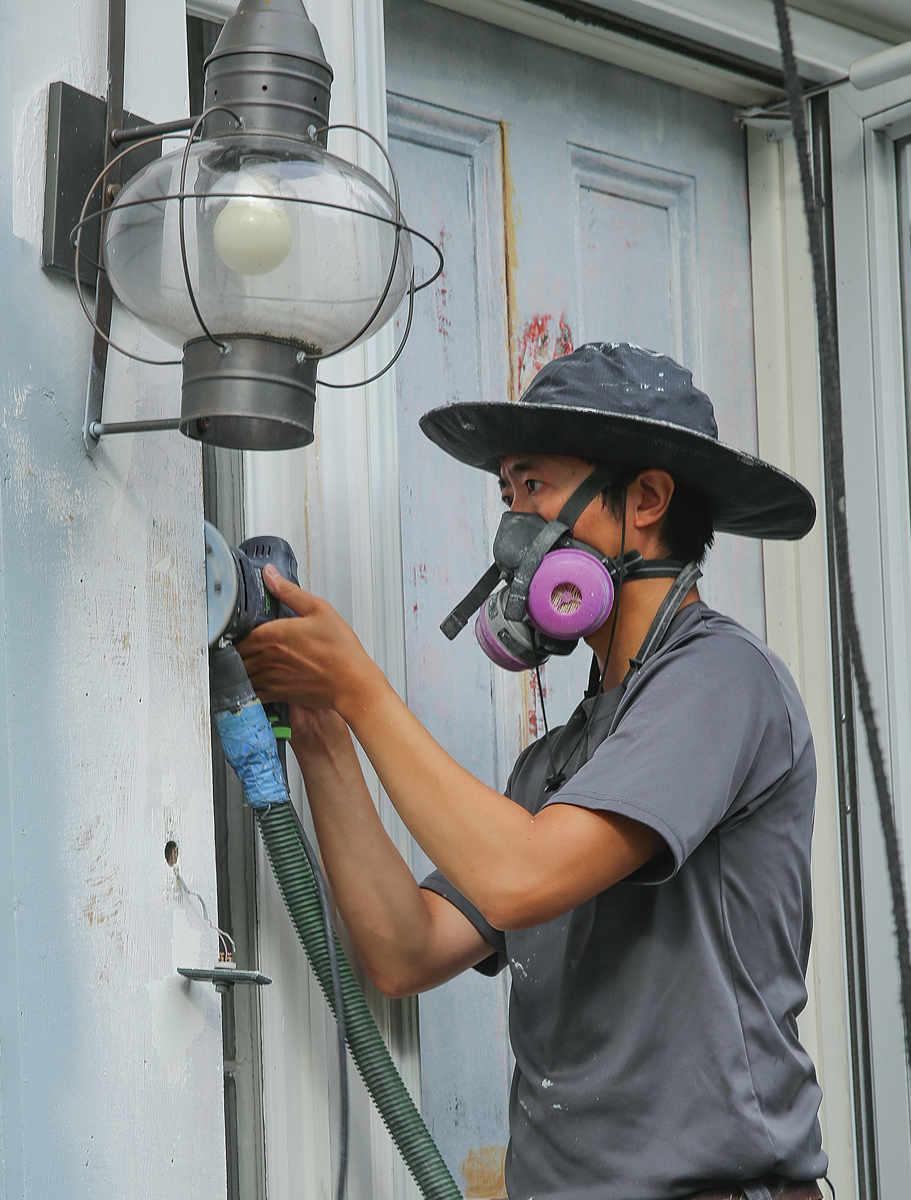
Step 3: Wash away dirt
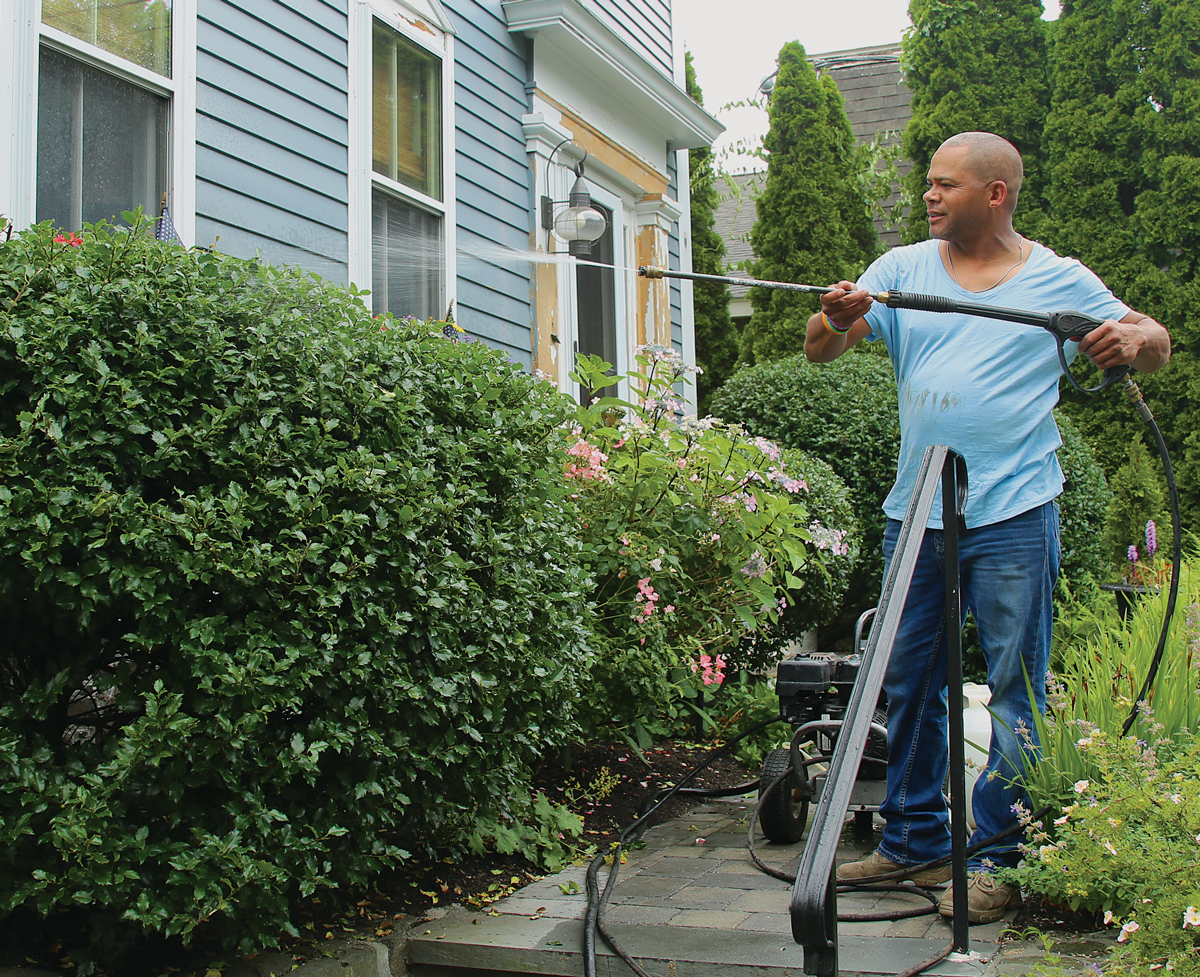
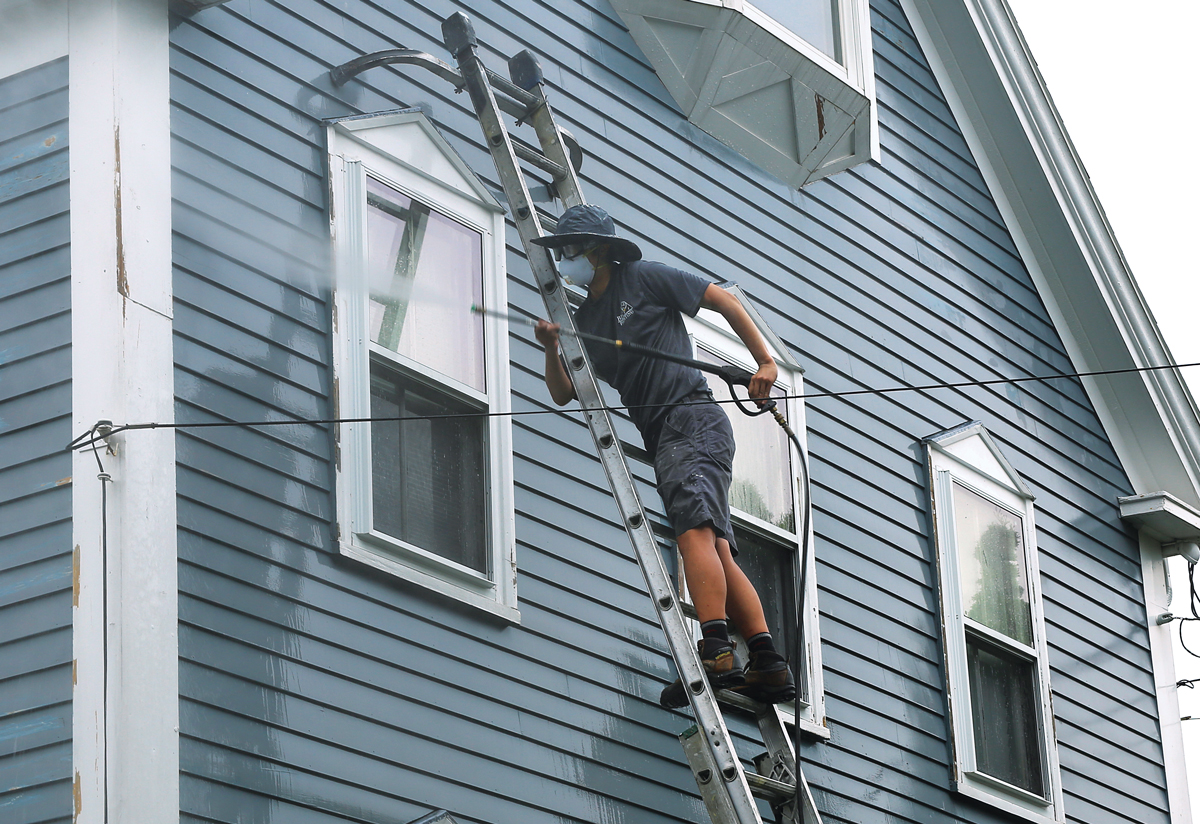
Now it’s time to address the mold, mildew, and dirt that’s collected over the years, but not every house will get the same washing treatment. We generally pressure-wash with a solution made from 1 cup of bleach to 5 gal. of water. We use bleach and TSP (trisodium phosphate) if a house is very dirty or to de-gloss old paint. For clients who prefer a greener product, we use Wicked Strong All-Purpose cleaner, which is phosphate-free. We use gas pressure washers so we don’t trip our clients’ breakers. When pressure-washing, closer is not better. We stand back several feet and stick with green and white spray nozzles, which provide a softer wash, to prevent damage to the home’s exterior.
Step 5: Plan to spray or brush
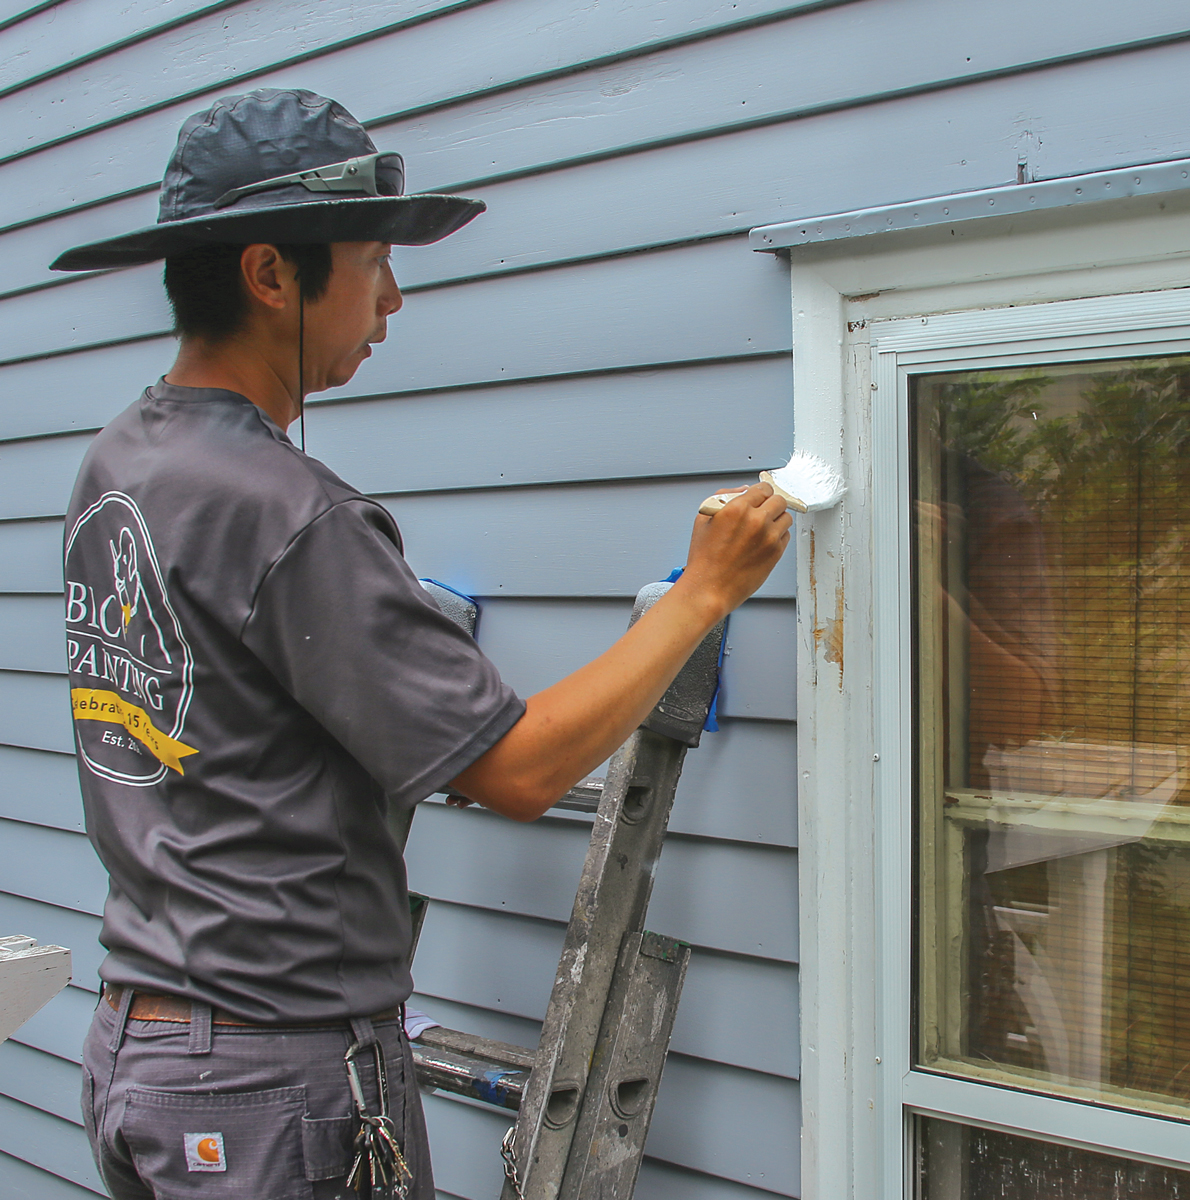
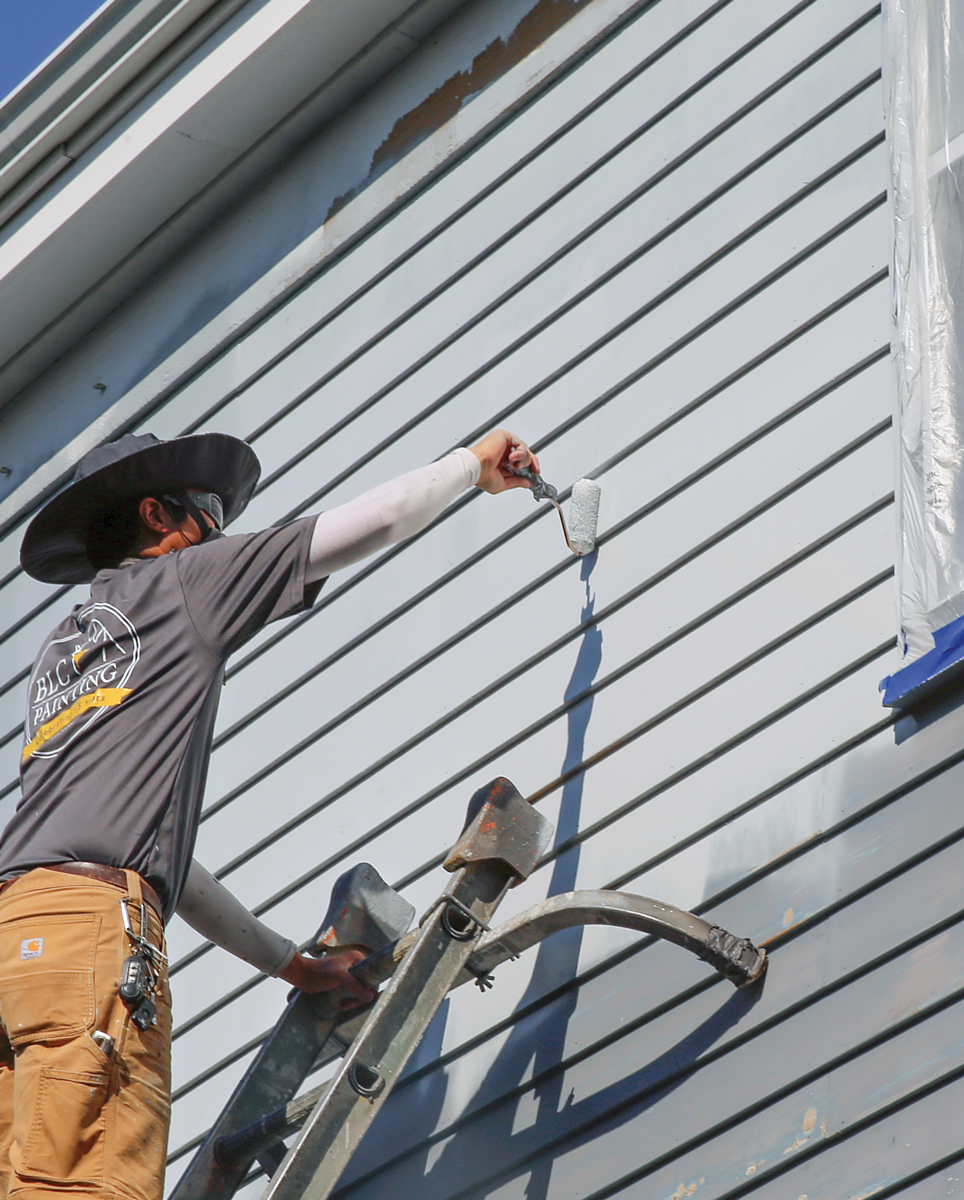
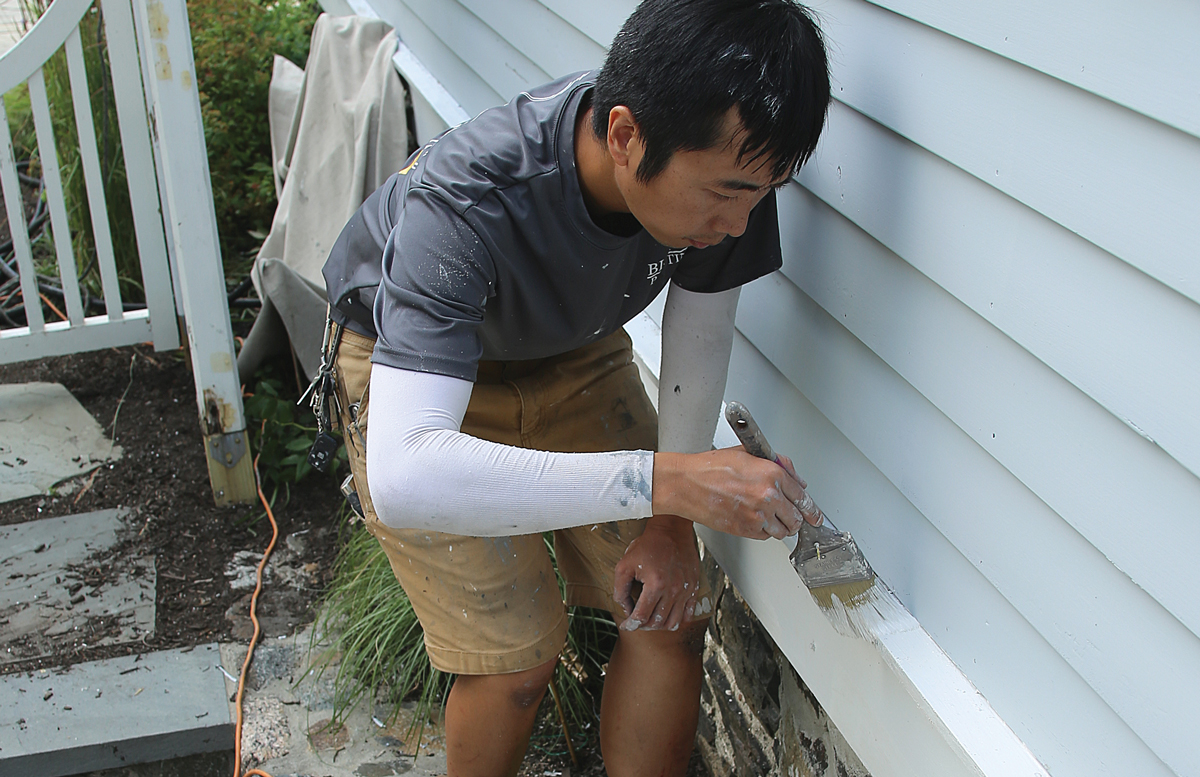
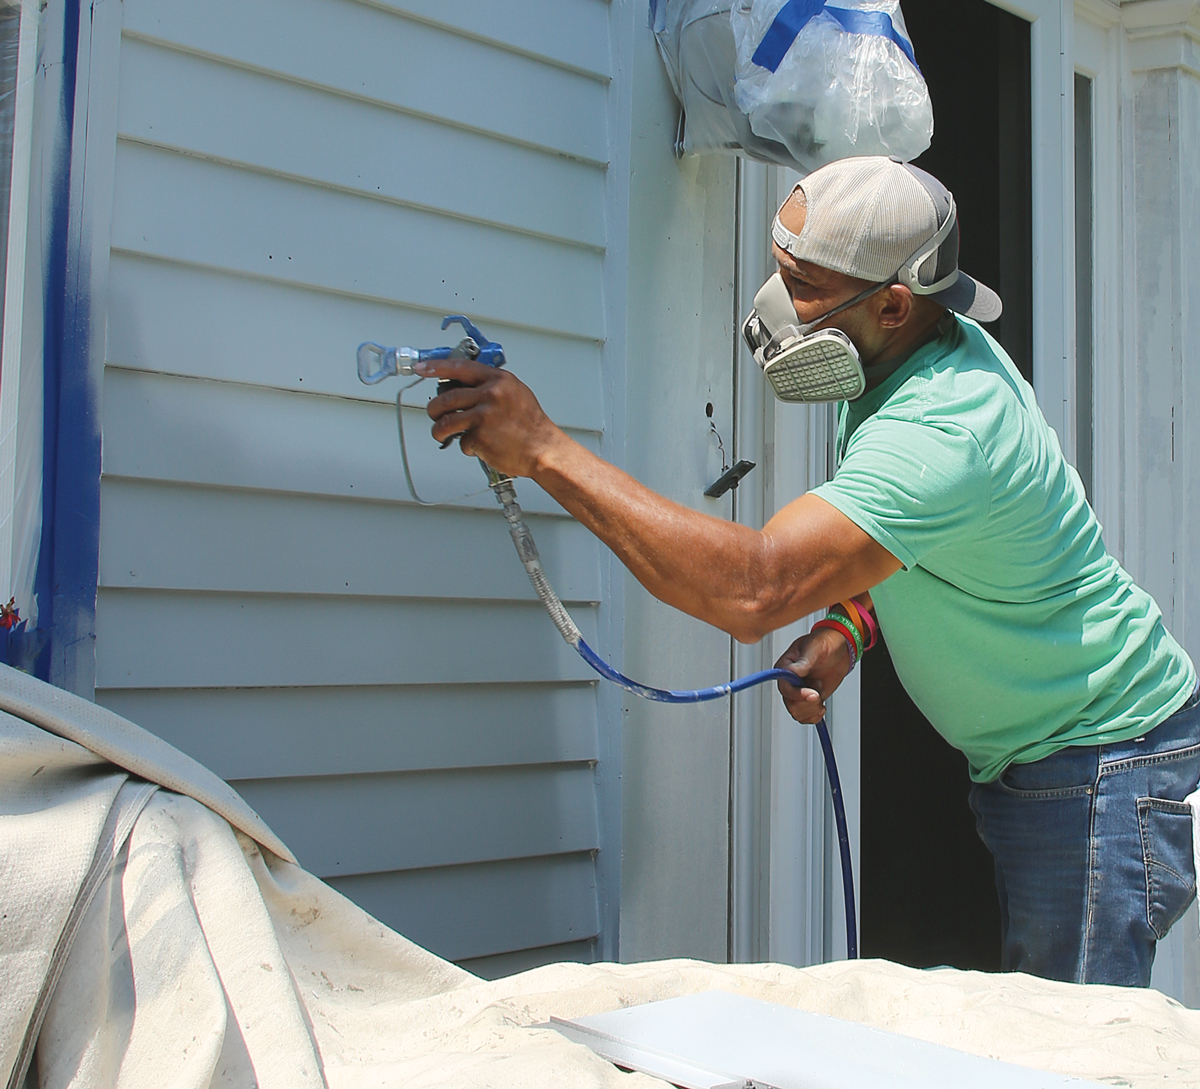
Spraying provides a nice even coat and it takes half the time of brushing, but the ability to spray depends on what’s around you and the weather. Brushing and rolling are preferred for small areas that take too long to mask and when neighboring structures or cars can’t be protected from overspray.
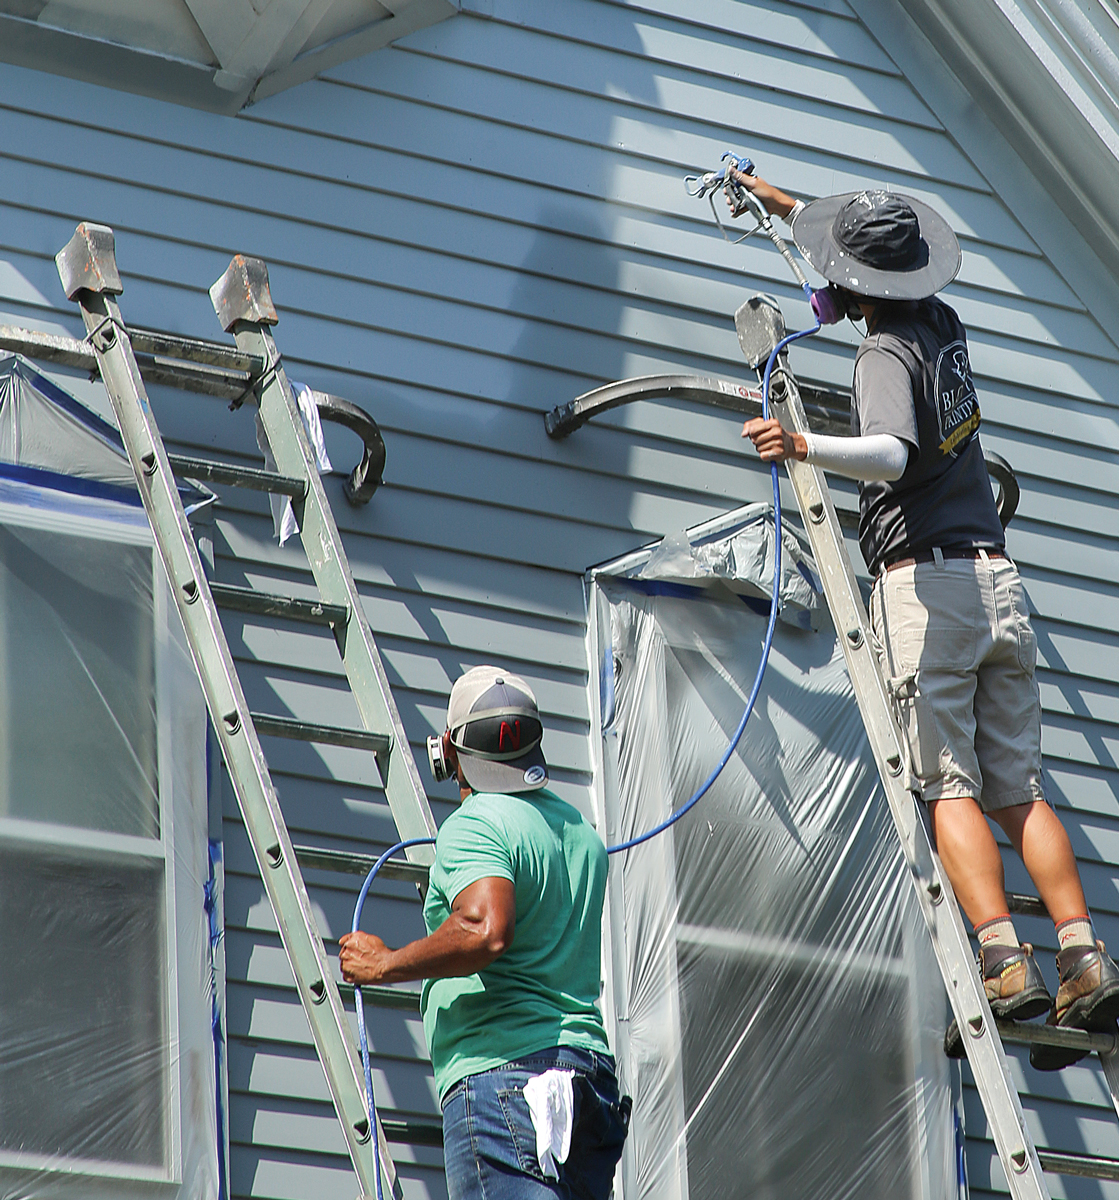
Step 6: Time to prime
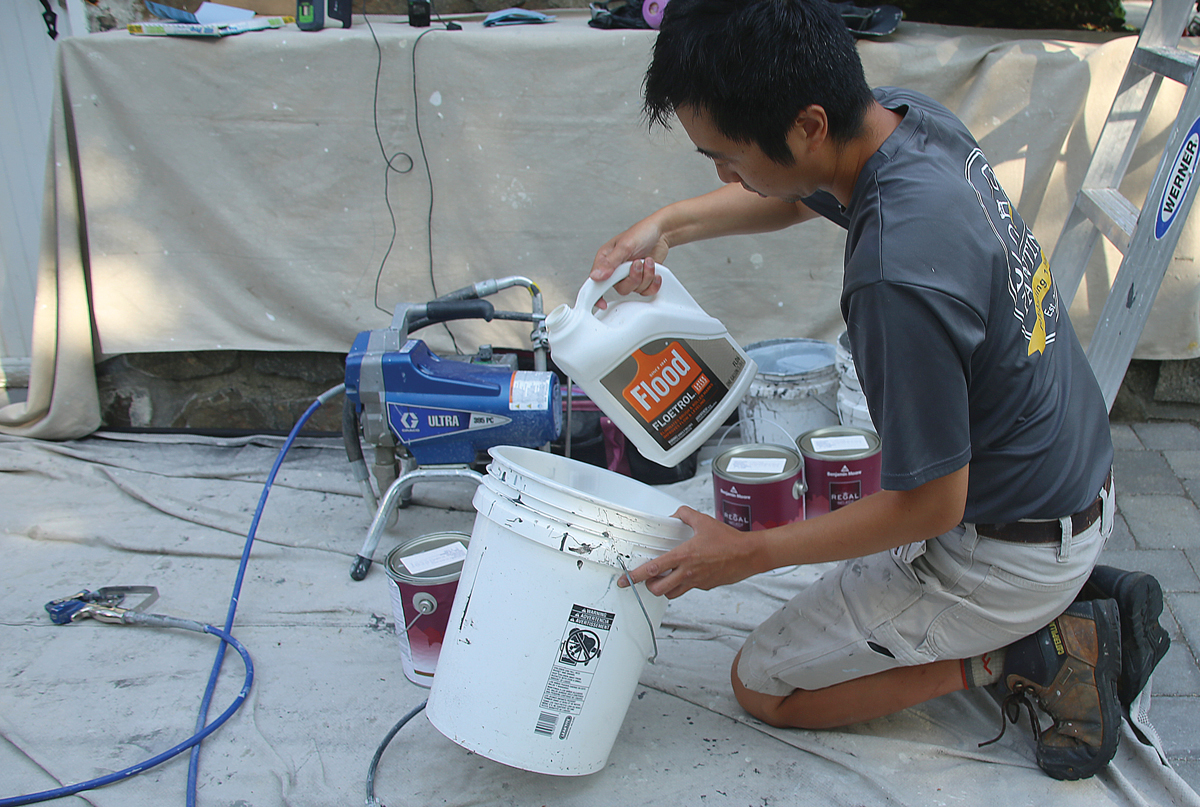
It’s best to prime the whole house versus spot-priming damaged areas, because the primer helps the paint stick and cover the substrate. We generally tint primer to the exact color of the top coat and we use oil because it seems to adhere better than water-based primer in our coastal New England climate.
Step 7: Time to topcoat
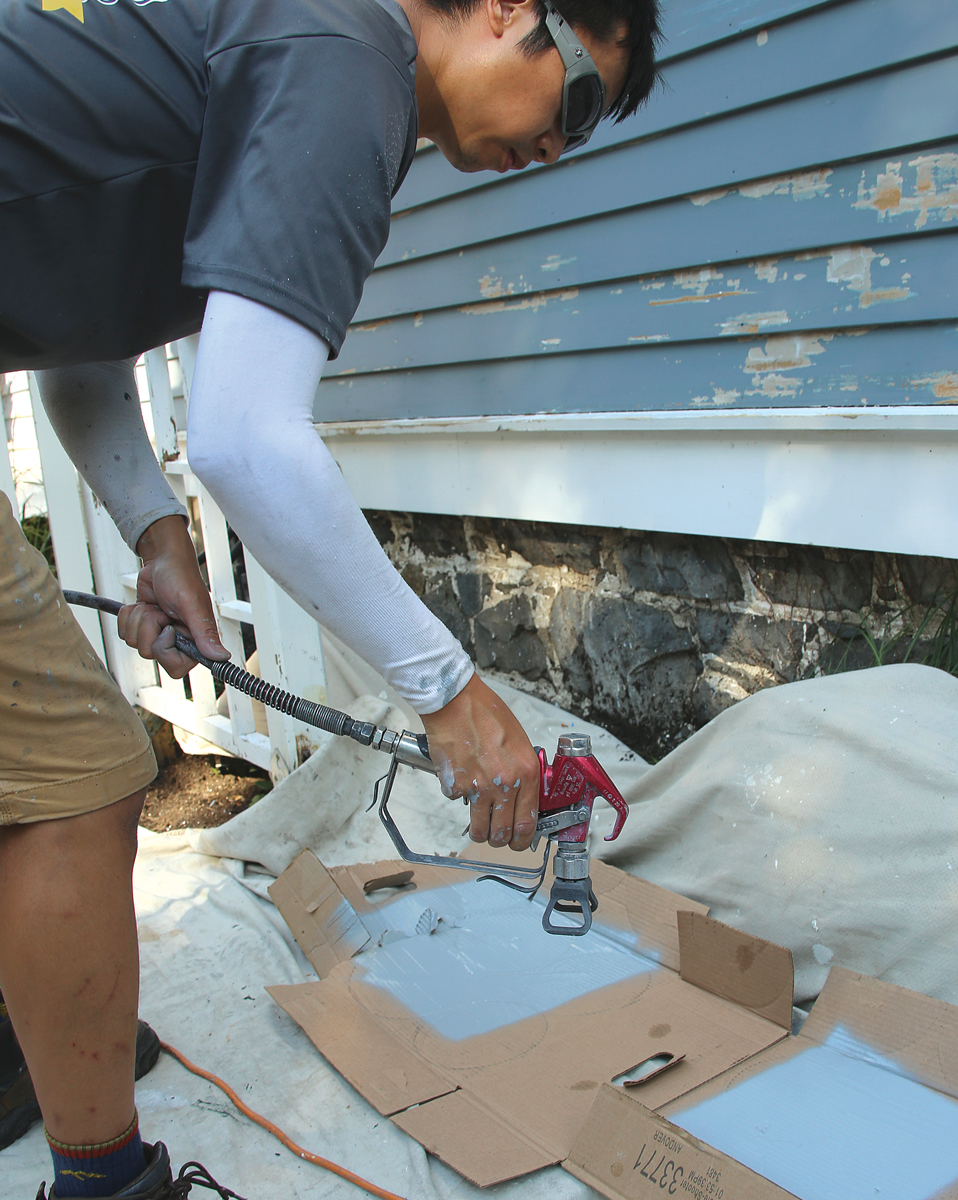
Modern acrylic latex paint is our preferred topcoat for most projects. Latex is more elastic, which prevents cracks that come with changes in temperature, and more vapor-permeable, which prevents peeling.
Brooke Cambridge is the owner of BLC Painting in Salem, Mass. Photos by Patrick McCombe, except where noted.
From Fine Homebuilding #311
RELATED STORIES


View Comments
What is most effective way to seal *slightly* rusty nail heads, to prevent stains from bleeding through acrylic-latex primers & top coats?
My roofers installed about 240 feet of 2nd story, fascia boards.
Boards were latex primed on site, before installation.
Unfortunately, the primer-only boards weathered for over a year, nail heads rusted, and it's now time to overall prime again and topcoat.
The nail heads are electro-galvanized (not hot-dipped) and sound metal.
There are 100s, maybe 1000s of these nail heads
I am thinking spot prime to seal nail heads, but with what?
BIN original shellac primer?
Cover Stain oil-base primer?
Rustoleum "Rusty Metal" primer (oil base)?
Something else?
TIA
Great article, but a note to the editorial staff regarding the Synopsis:
...a process of seven steps that SHE and her team like to follow..."
Kind of like a big blemish in the middle of that beautiful paint job! :-)
Dry scraping/sanding ONLY failed paint won't give a lasting base for the full paint job; intact paint around those areas likely will fail in the future. Removing all the paint down to bare wood is a stronger base for adhesion. Powerwashing with chemicals to kill mold, etc drives water into the bare wood which takes days to dry. The Eco-Strip method of infrared paint removal gets all the paint off fast, kills mold at the same time, and doesn't risk damaging wood or windows. No drying time; immediate painting.