Dress Up a Ceiling With Reclaimed Beams
Old timbers get new life as a decorative element in a cottage renovation.
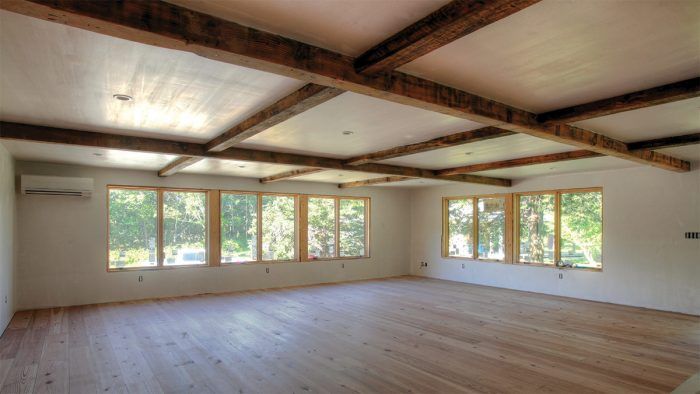
Synopsis: To create historical character in this carriage-house remodel, decorative reclaimed beams were installed on the great-room ceiling. The heavy beams needed to be supported structurally, which involved anchoring the beams to the walls with nailing plates. In this article, custom builder Jim Wolffer describes the process of creating the mortises and tenons in the beams, lifting the “joists” and larger summer beams into place, and fastening the joists and beams to the walls and from the ceiling above.
When this project of remodeling a 1200-sq.-ft. carriage house was still in the design phase, the homeowner invited the architect and myself to a lunch meeting. The restaurant was in a converted mill building from the 1760s with its original timber-frame structure and wide pine flooring. Surveying the interior of the building, the client said, “This is what I want the inside of the carriage house to feel like.”
The carriage house is a multifunctional structure with an large open living space. To create the historical character, we decided to install antique heart pine flooring and wood wainscot milled from reclaimed lumber. But the focal point of the cottage is a grid of reclaimed beams on the great-room ceiling.
A historical precedent
The history of reusing building materials goes back to colonial days. When buildings of that era outlived their original purpose, they were often dismantled and the timbers and building components salvaged and incorporated into new structures. Today as old buildings come to the end of their useful lives, there is a trend to dismantle them stick-by-stick and reuse the salvaged beams and timbers.
Introducing reclaimed building materials into contemporary projects is not only an eco-friendly approach, keeping materials out of the landfill—using reclaimed lumber can also provide a unique combination of history and character. The charm of a 150-year-old piece of wood can’t be replicated by a new piece of wood bought at a lumberyard today.
Finding reclaimed lumber
There are many mills around the country that specialize in reclaimed lumber. In this area I have been working with Nate Adams at Cataumet Sawmill in East Falmouth, Mass. Nate’s company purchases reclaimed materials from demolition companies that raze old buildings, and then processes those materials into usable timbers, beams, flooring, and interior millwork.
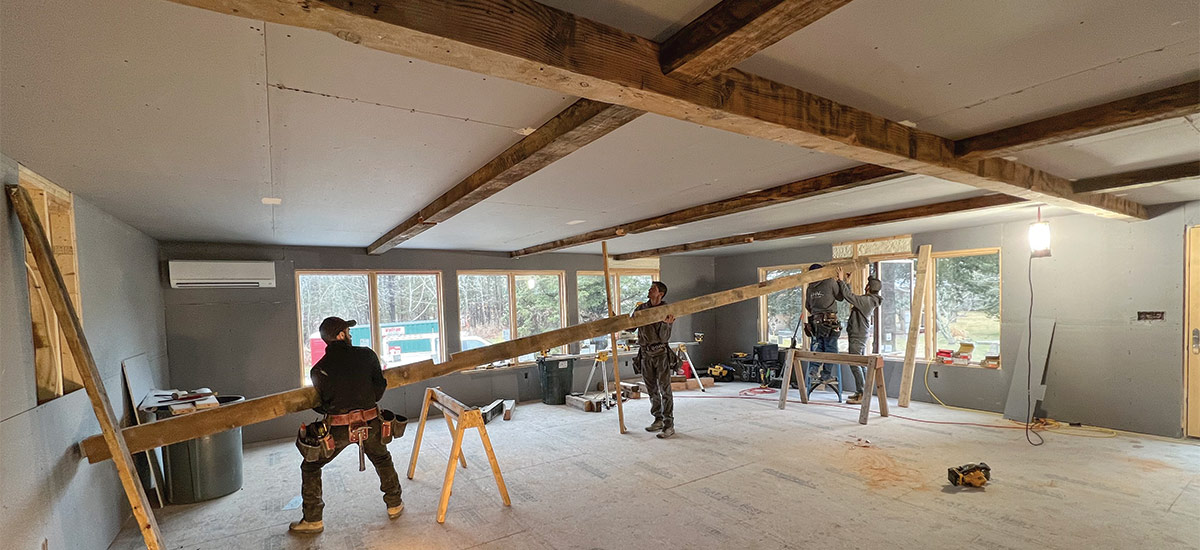
Nate worked with us on this project, poring through stacks of material to find the decorative, nonstructural beams we used in the photos shown here. First we chose a few 6×8 “summer beams” (the traditional name for heavy, supporting horizontal timbers) that would span the entire 27-ft. width of the great room. We also found a number of 4×6 beams at just under 10 ft. each to simulate joists. In the end, our careful planning and measuring paid off, and the installation of the beams went off without a hitch.
Prep the room
The carriage house has 2×6 wall framing and a truss roof, and the beams needed to attach to the underside of the ceiling or to the bottoms of the roof trusses. The summer beams weighed in at just over 200 lb. each, and the smaller joist beams at just under 50 lb. each. The roof-truss design was more than adequate to support the weight of the beams, but still I wanted the walls to take as much of the load as possible.
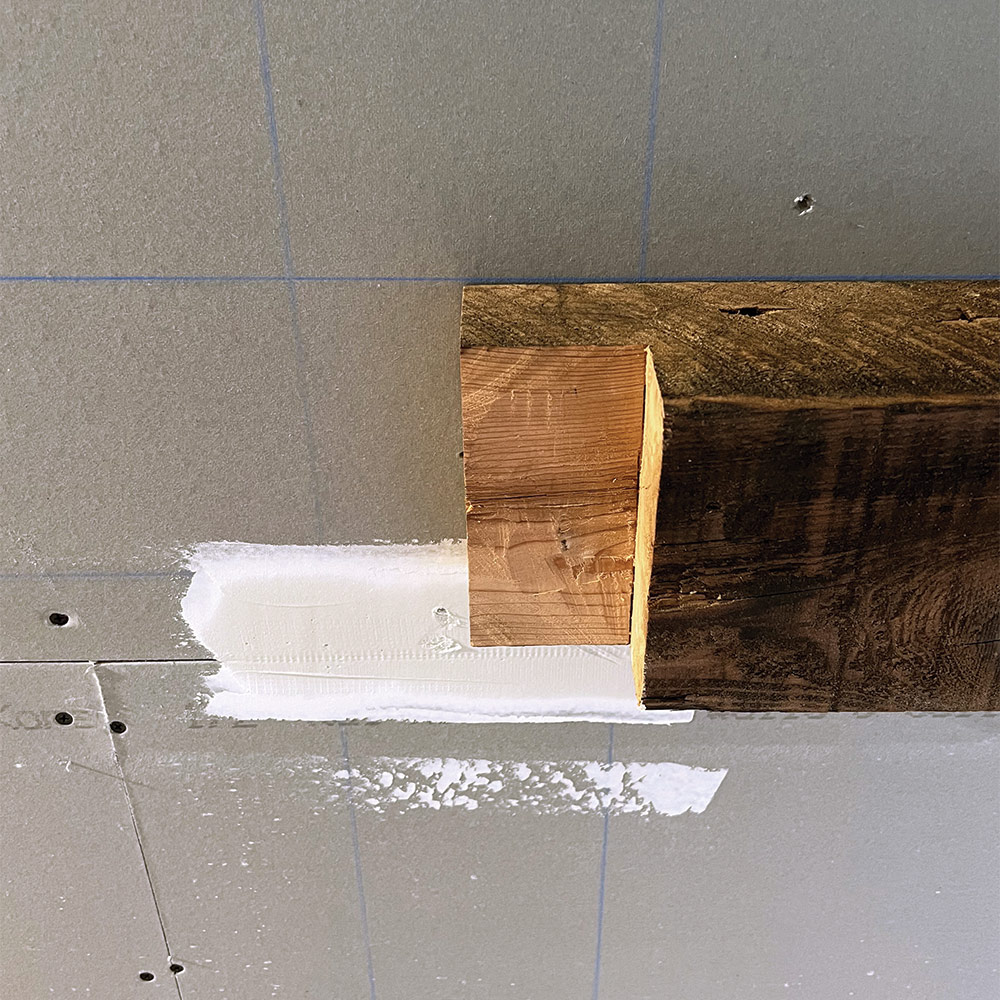
Before the installation began, I met with the crew to discuss and devise a process for installing the beams, and to stress the importance of avoiding mistakes with these unique and expensive pieces of reclaimed lumber. The first big decision was whether to install the beams before or after the blue board and plaster. After consulting with the plaster subcontractor, we opted to have him hang the ceiling and walls first. We then strategically removed sections of wallboard where the beams would attach to the wall’s double top plates. The plaster sub would come back in and skim-coat everything after the beams were installed.
Simple joinery
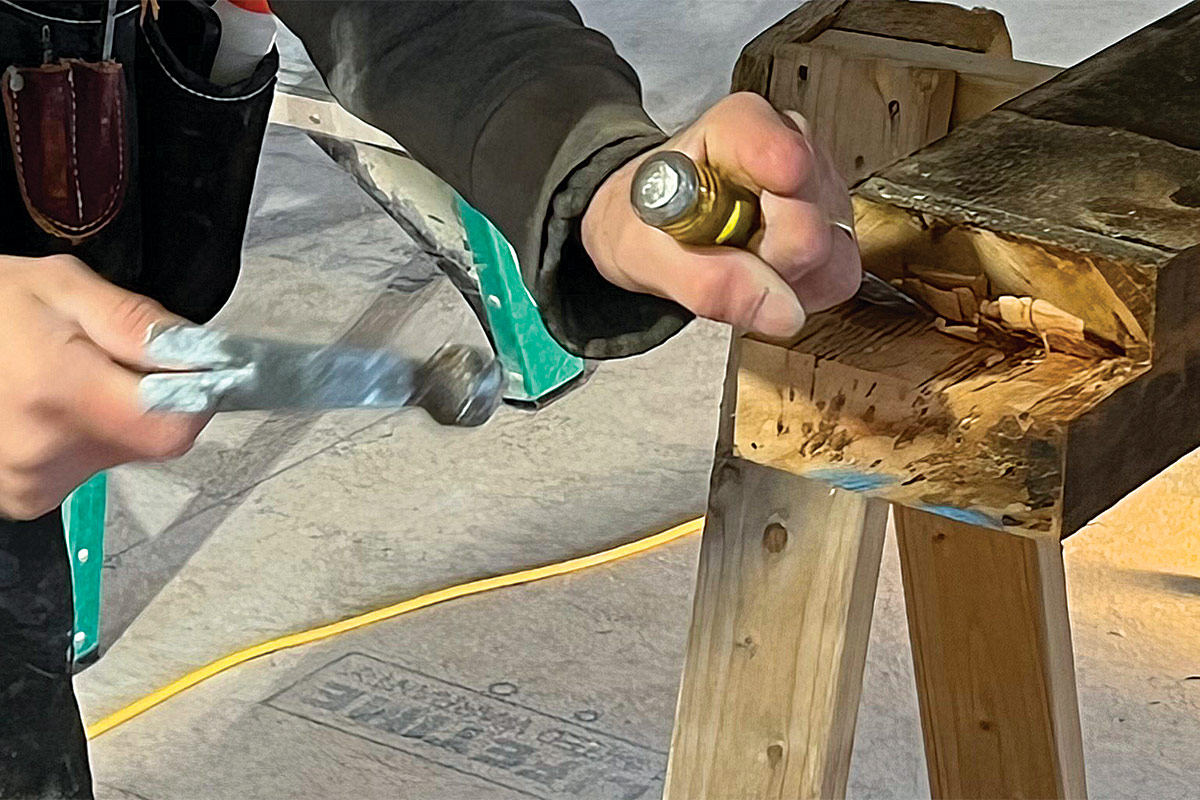
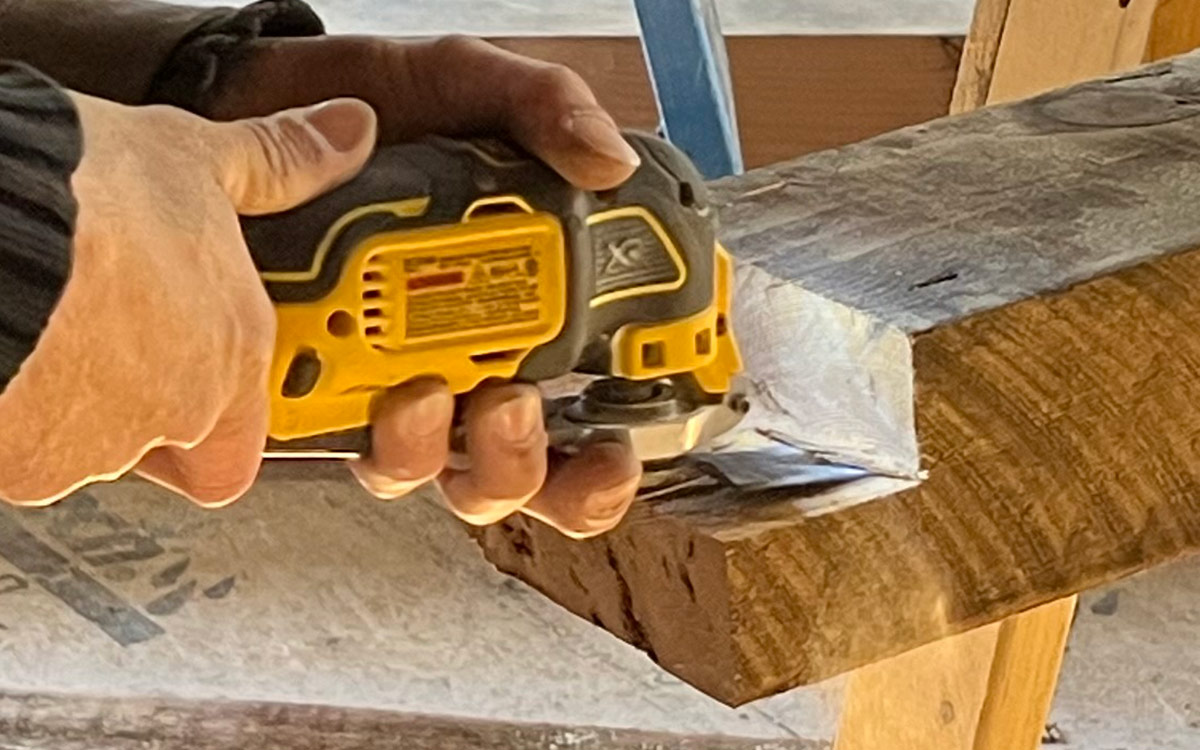
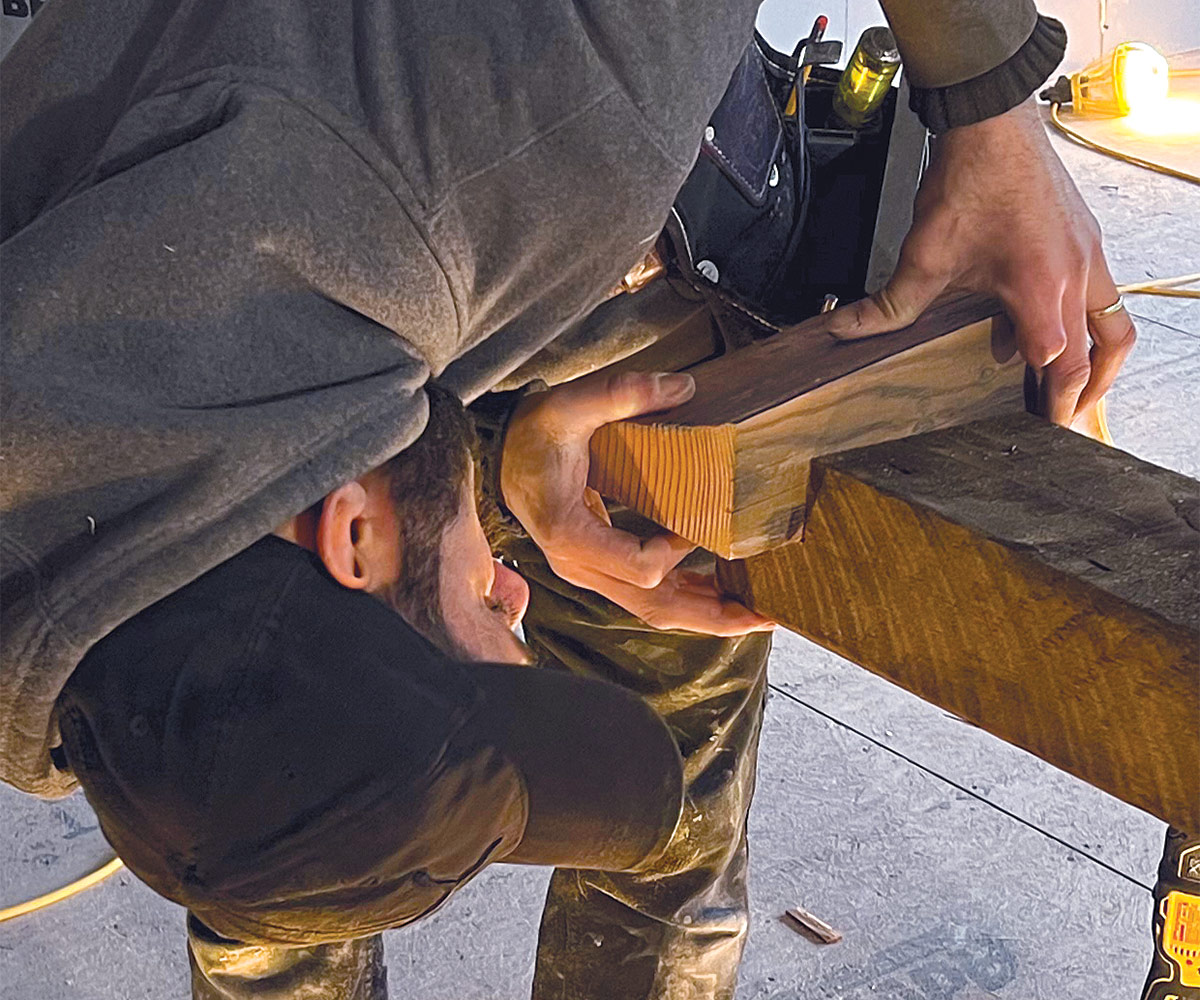
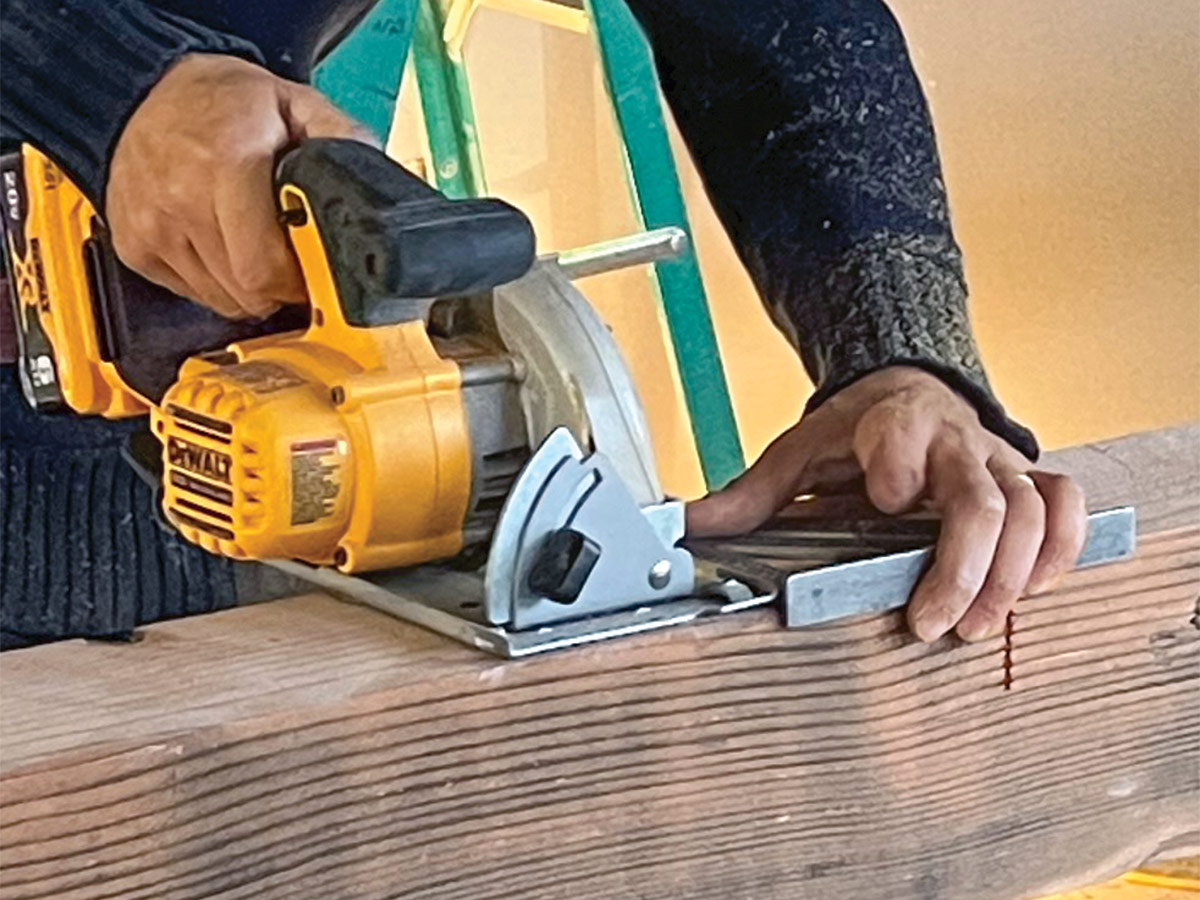
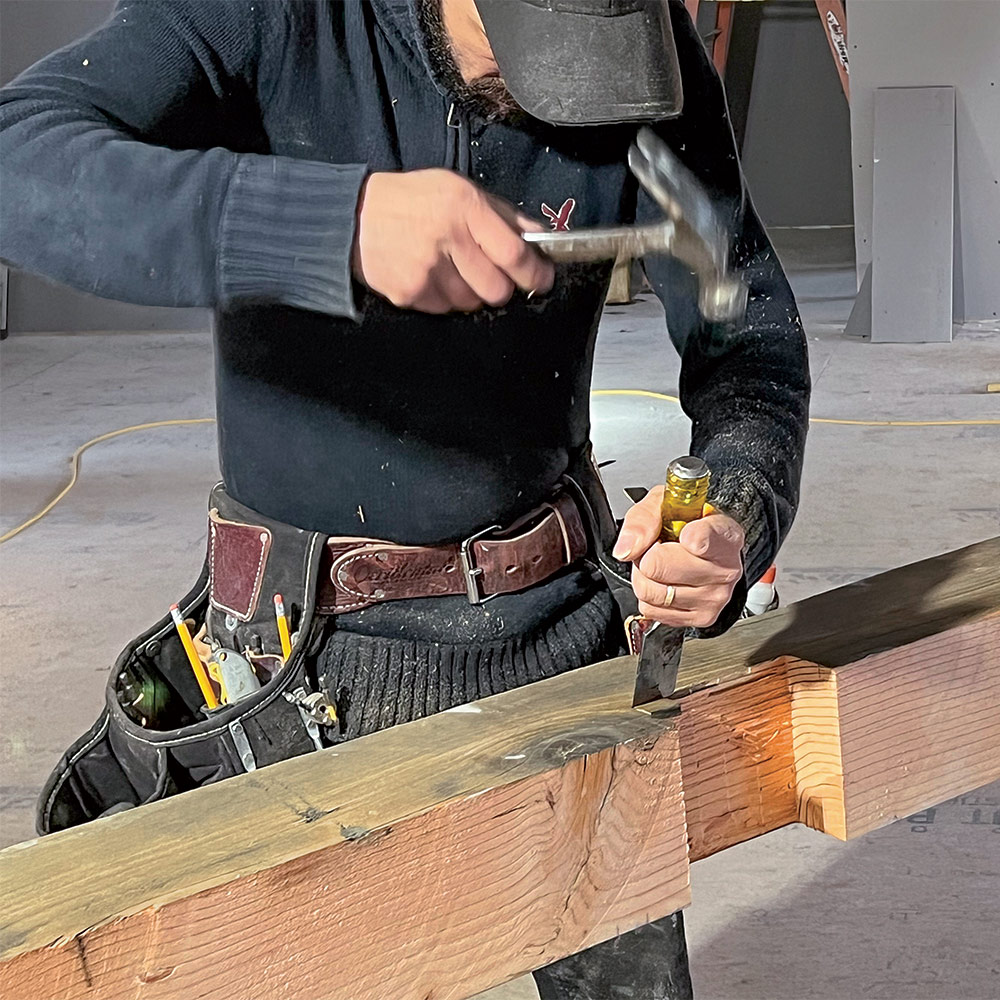
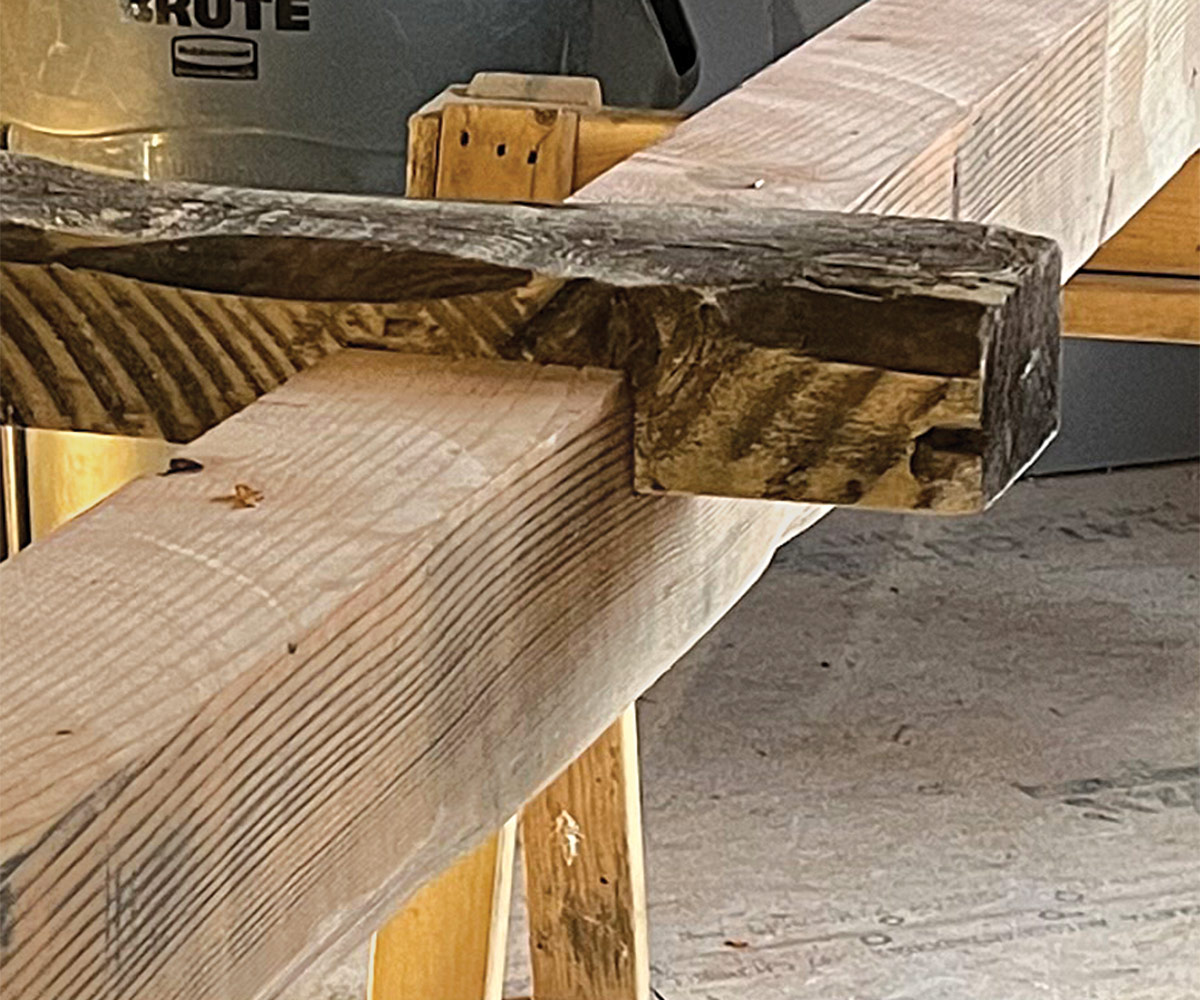
The process for installing the beams goes in the reverse order of typical framing, with the joists installed first and then the supporting summer beams. We measured directly off the lines on the ceiling, cutting the stock to length with a circular saw for each set of joists. With the exception of the first set of joists that begin at the wall, all the joists have half-lap tenons cut at both ends, which fit into mortises cut into the summer beams. Adjusting the tenon after the joists are installed is out of the question, so it’s important to test and refine the fit at this point.
Secure the joists
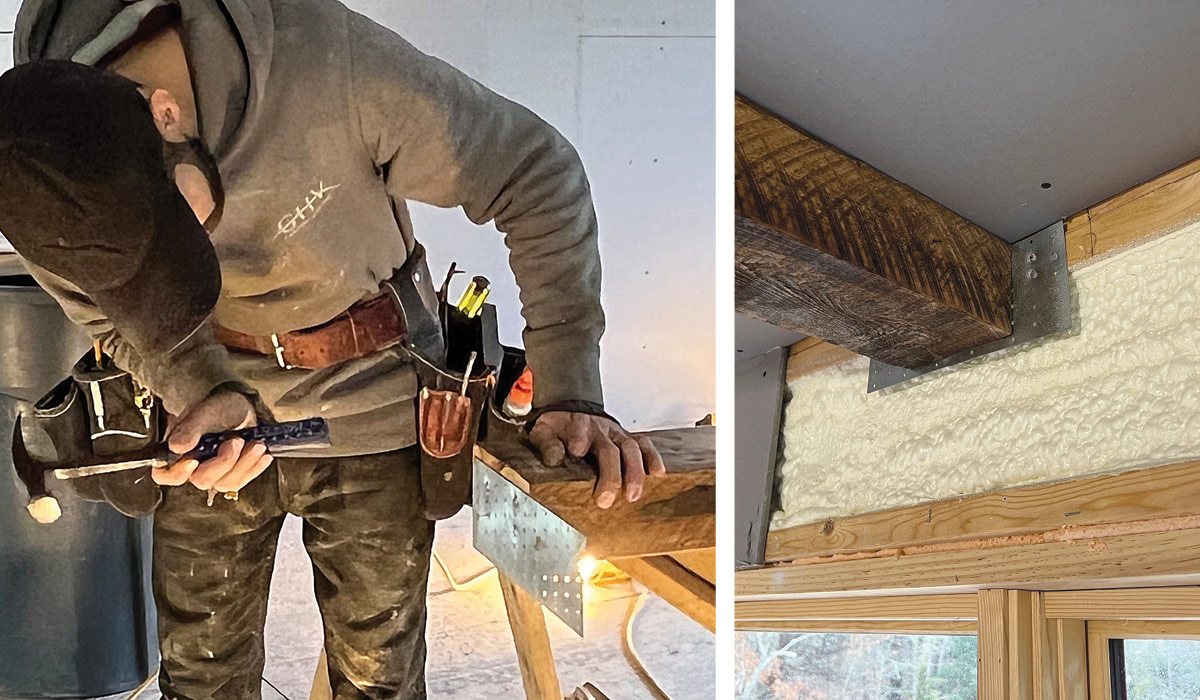
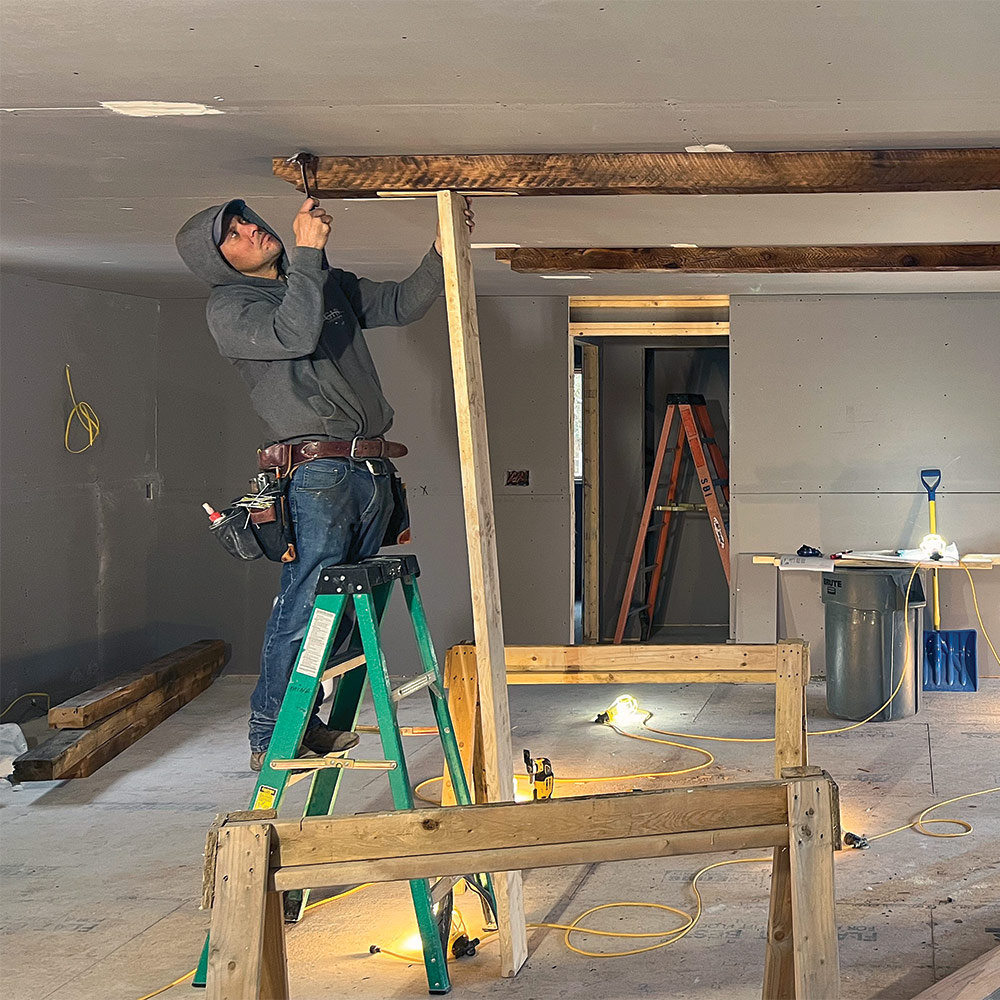
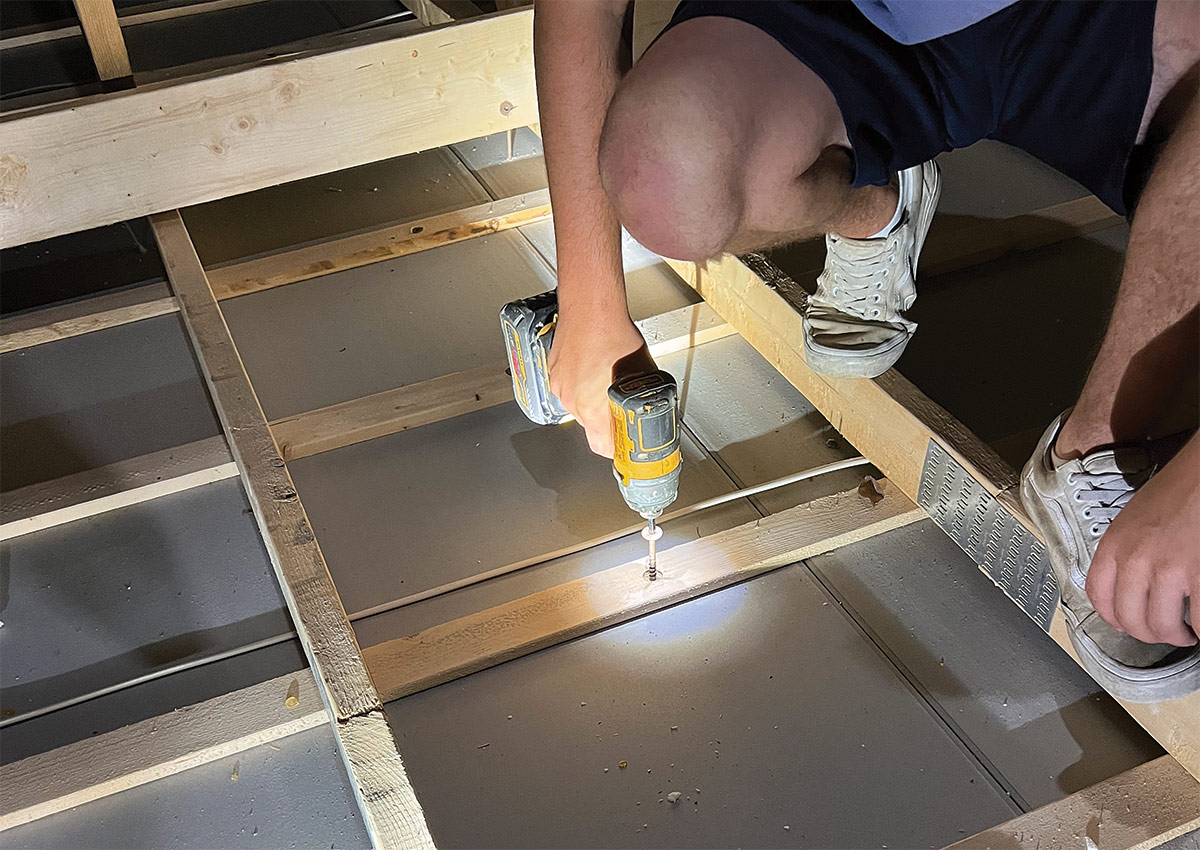
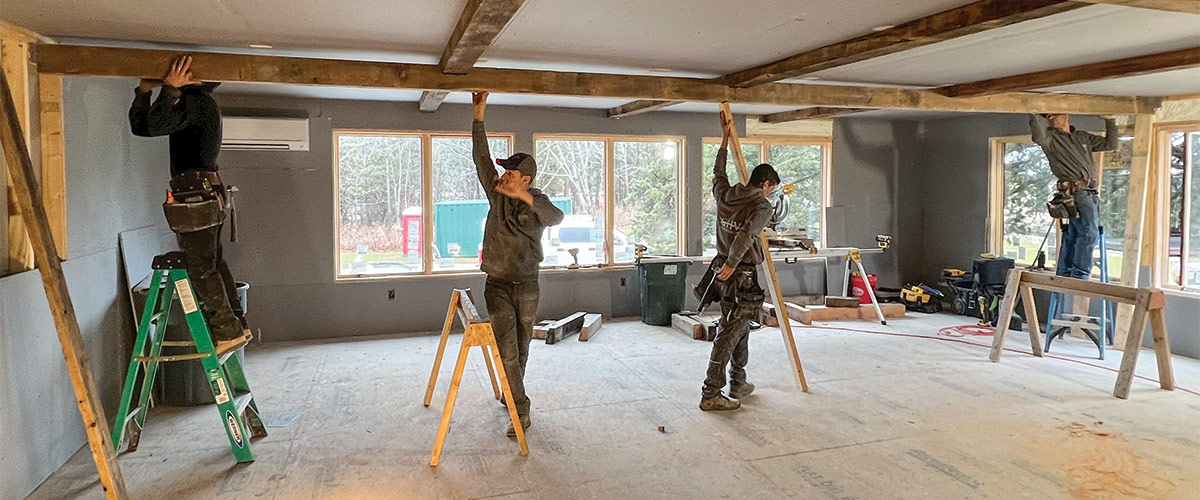
Originally we’d planned to frame pockets in the walls to support all the beams, but that would have taken a ton of extra work, and it would have caused a logistical nightmare—especially with the summer beams, whose lengths were the exact width of the room. To anchor the beams to the walls, we decided to use Simpson TP411 nailing plates attached to the ends of the beams. Before raising each joist, we drove a locator screw through the ceiling board centered in the field of the joist; then we positioned the joist against the ceiling and secured it from above. The process continued for all of the joists.
Lift and fit the big beams
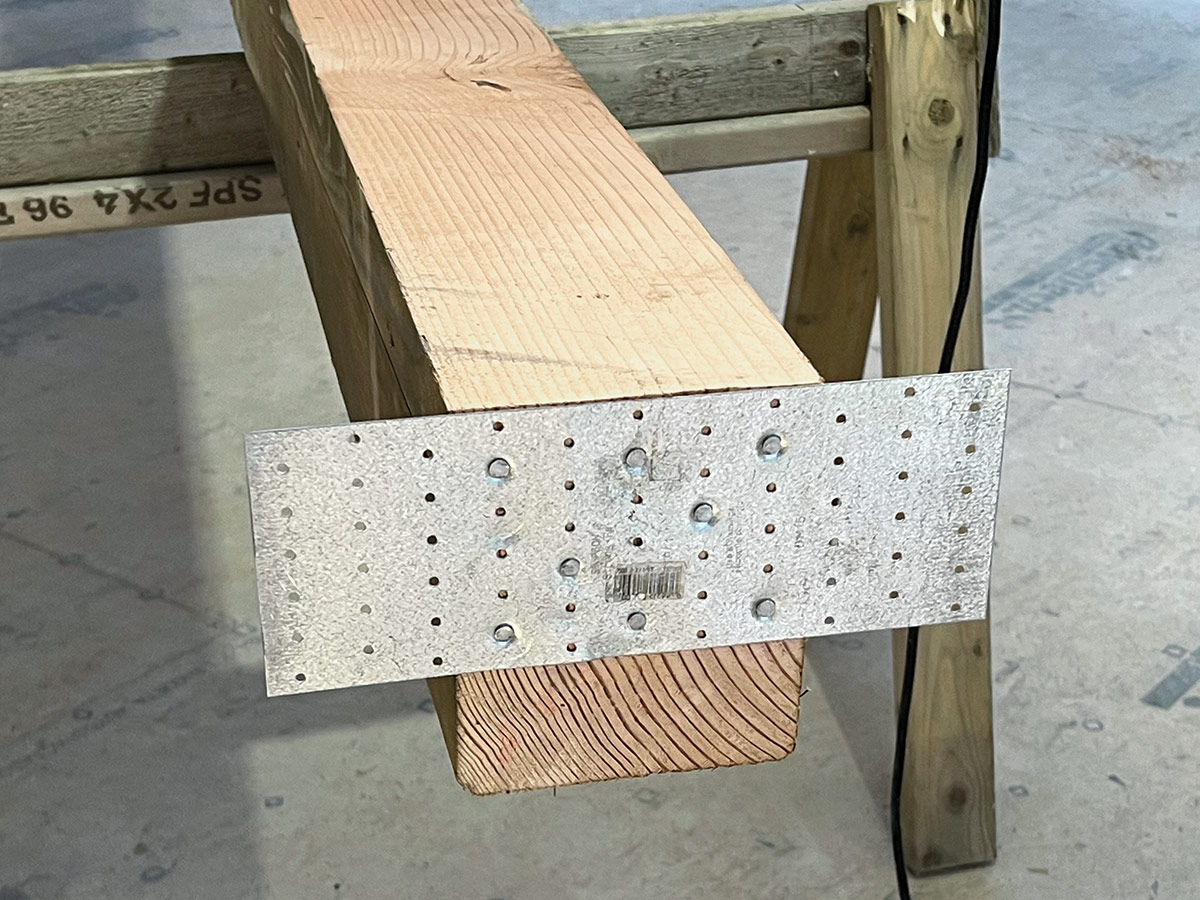
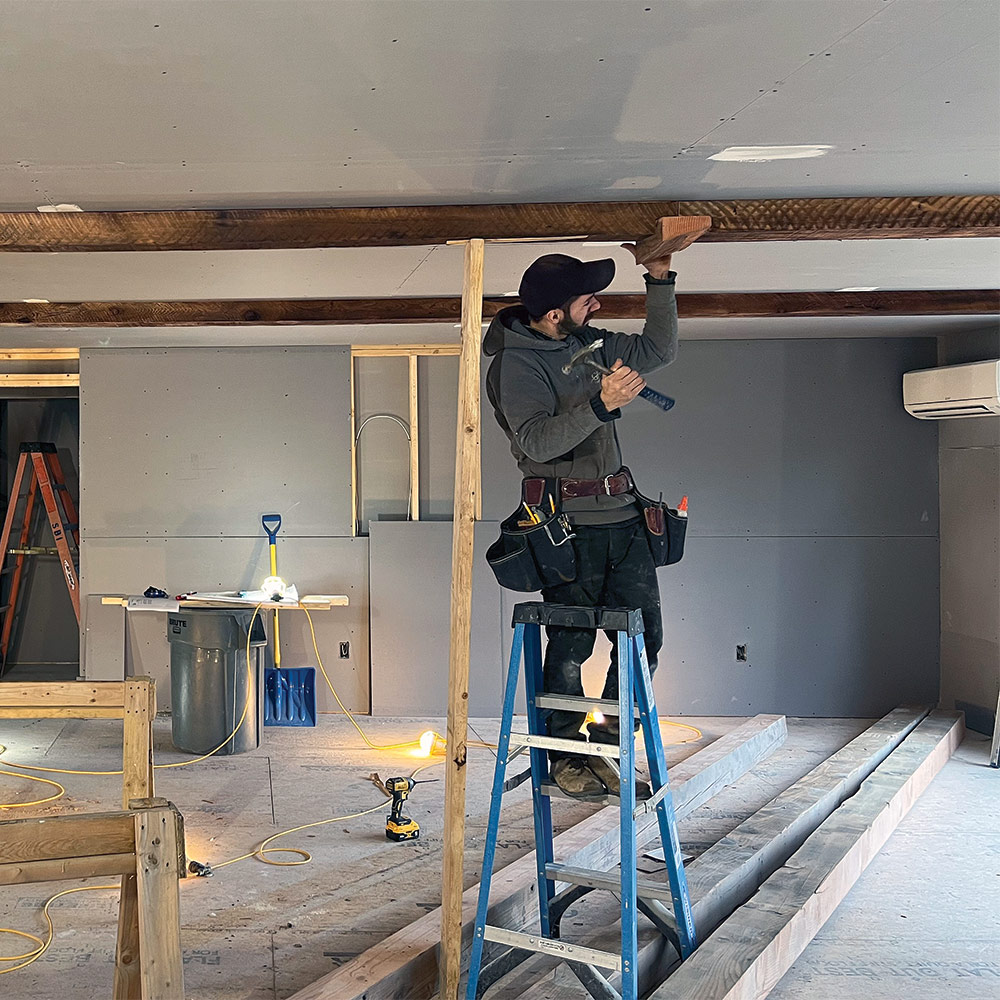
The big summer beams are installed next, and each needed to be cut to its exact length to fit between the walls. Each beam also needed three half-lap mortises that fit into the spaces created by the joist tenons, so getting these measurements precise was extremely important—miscalculation would mean ruining an expensive, one-of-a-kind beam. With the mortises cut, the beams were lifted into position and braced in place. The beam mortises fully engage the spaces created by the half-lap tenons—we devised a lever system that closed these joints before the beams were anchored to the wall. With a beam tightly wedged to the ceiling, the crew again moved into the attic space to fasten them from above. First they placed 2×6 cleats across the bottom truss chords, then drove 10-in. screws through cleats and into the summer beams every 4 ft. A 2×6 strongback attached to the fastening plates stiffens the assembly and prevents the plates from deflecting.
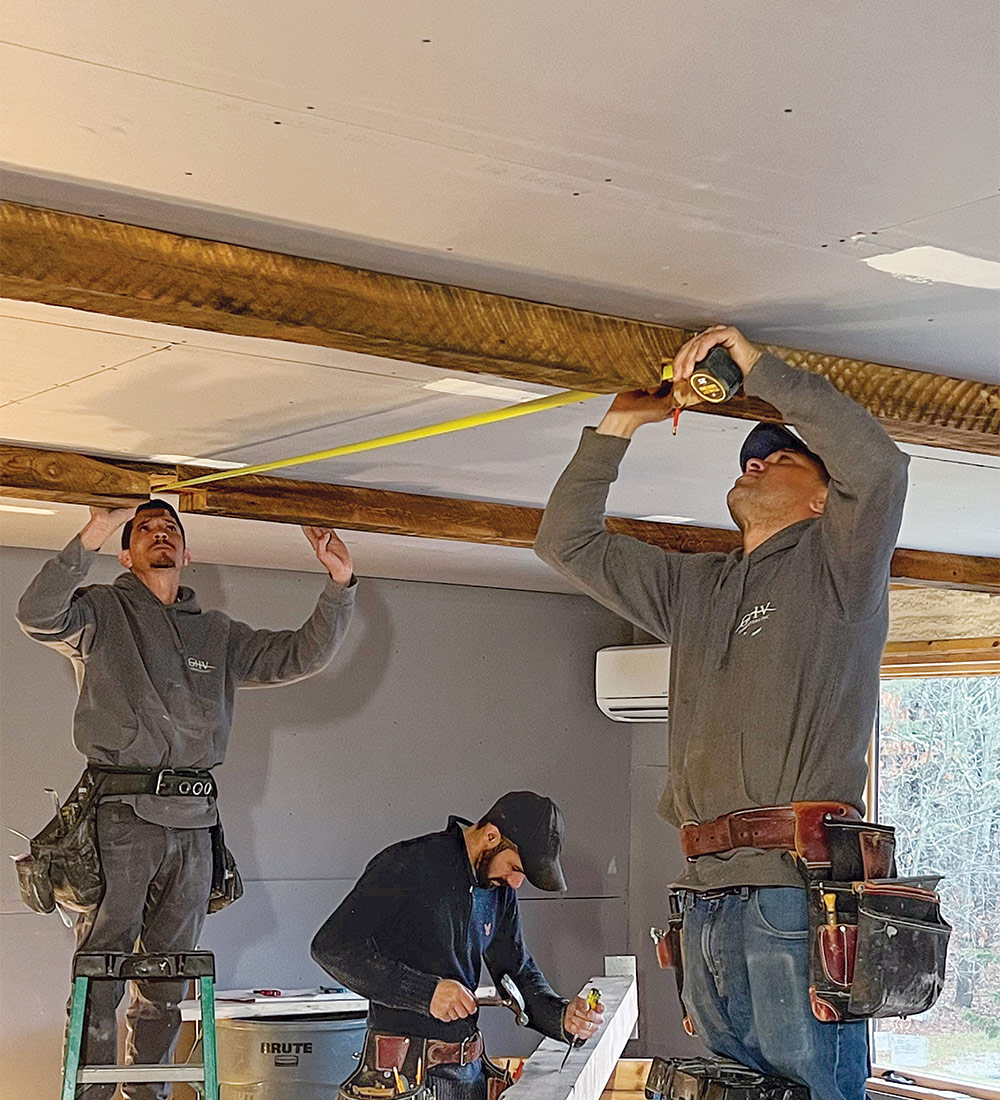
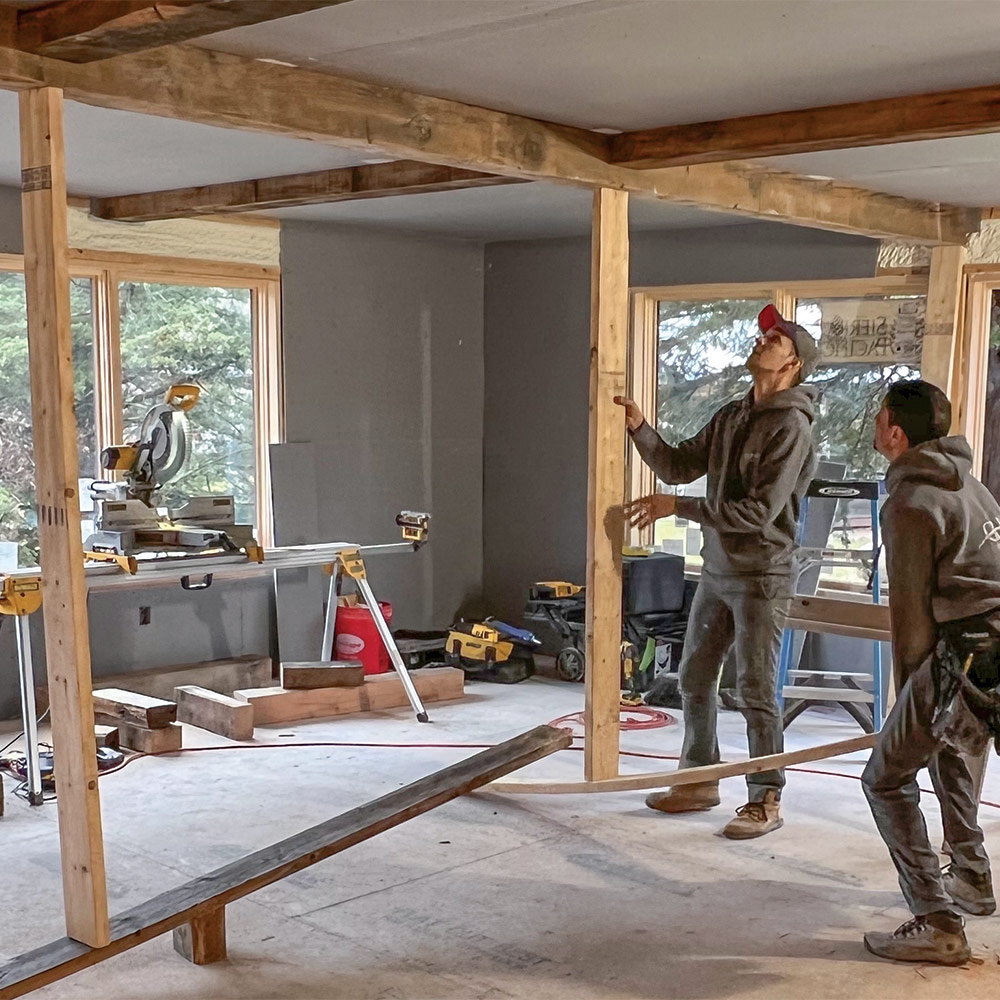
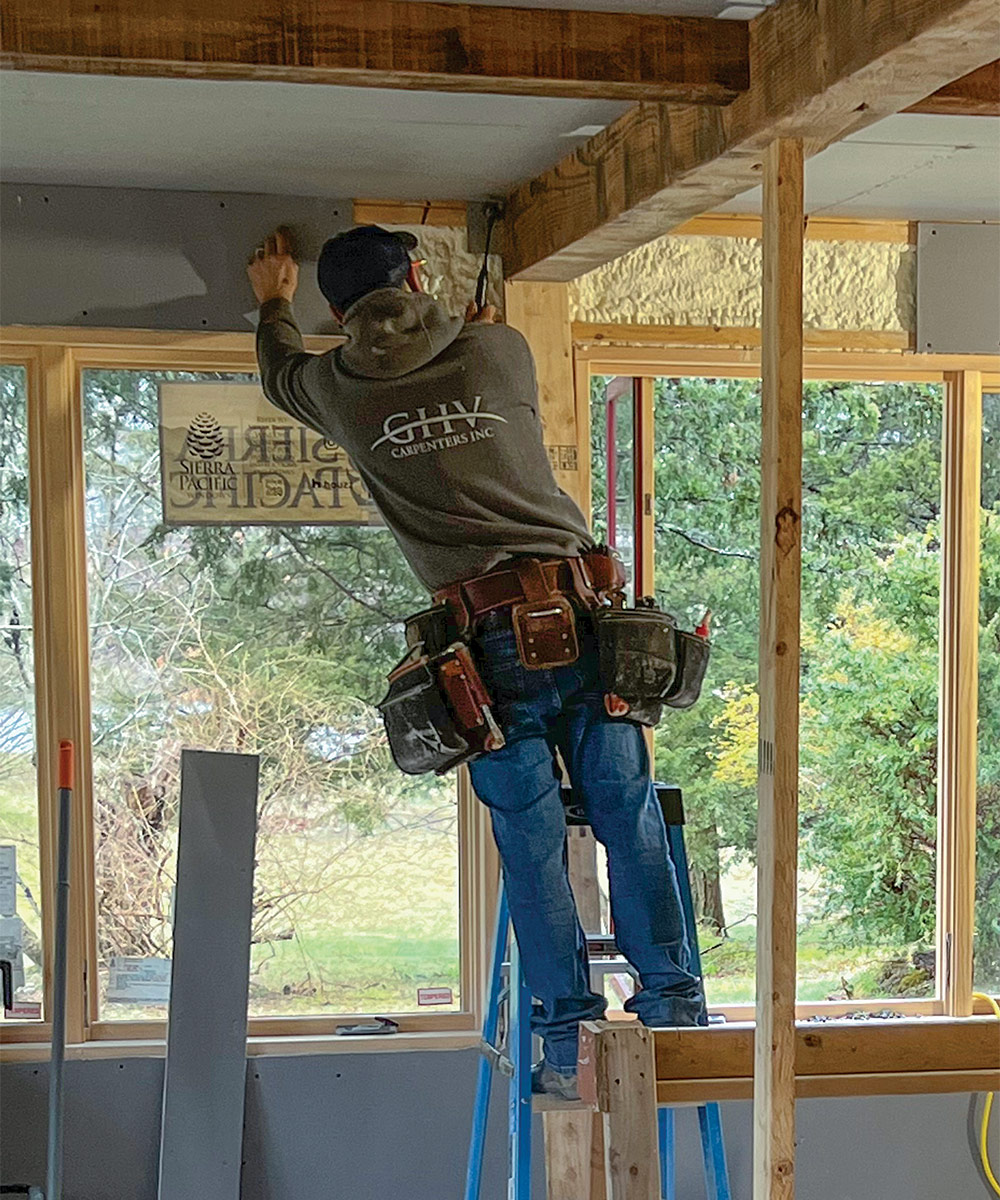
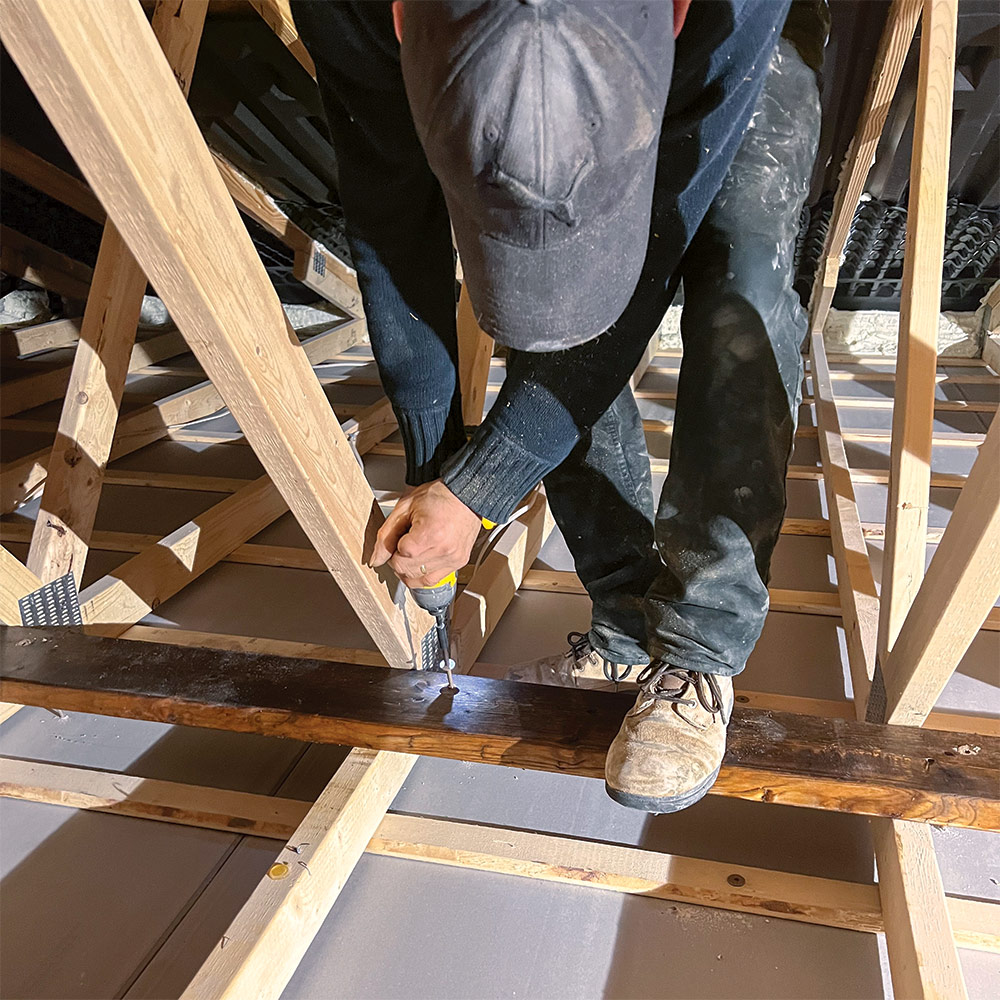
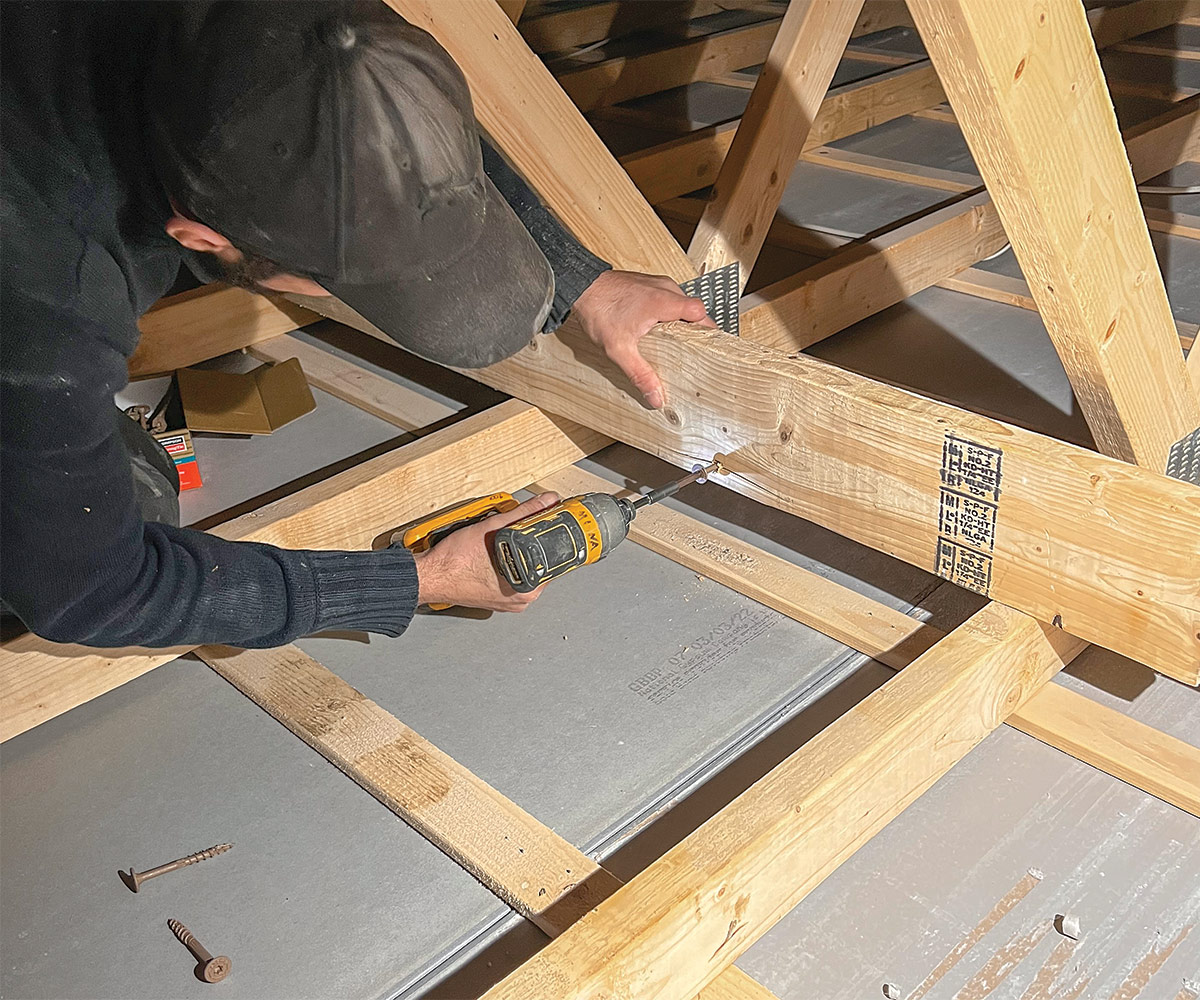
After all of the beams were in place, the crew reinstalled the blue board around the ends of the beam. The plaster subcontractors came back, taped off the beams, and skim-coated plaster on the walls and ceiling.
Jim Wolffer and his wife, Judith, own Shoreline Builders, Inc., a custom building and remodeling company based in Scituate, Mass. Photos by author, except where noted.
From Fine Homebuilding #313
RELATED STORIES







View Comments
Nice. Or use fake foam? Same look, a lot cheaper in time, material and installation!