Building a Fire Pit: Freestanding Seat Walls
Make these matching structures to create a cohesive and inviting hang-out space.
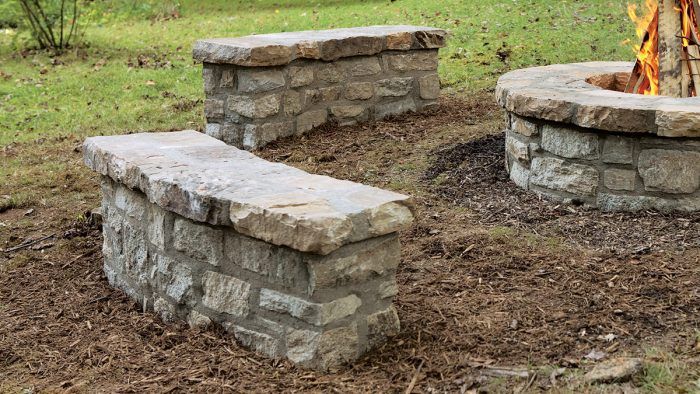
Most of the techniques used to shape and set wall stones and capstones for a fire pit are also used to build seat walls. The seat walls are curved, mortared walls, 12 in. wide and 16 in. to 18 in. high, capped with 3-in.-thick fieldstone or flagstone (we used the latter for our project). That said, there are some key differences that involve a few extra steps with layout, installing the footing, and finishing the ends of the walls.
Pull a Radius to Lay Out Seat Walls
Orienting walls on a radius curve
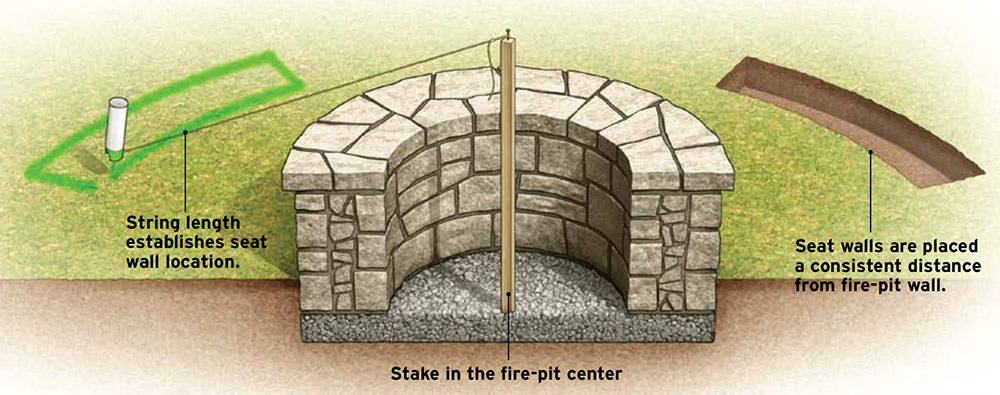
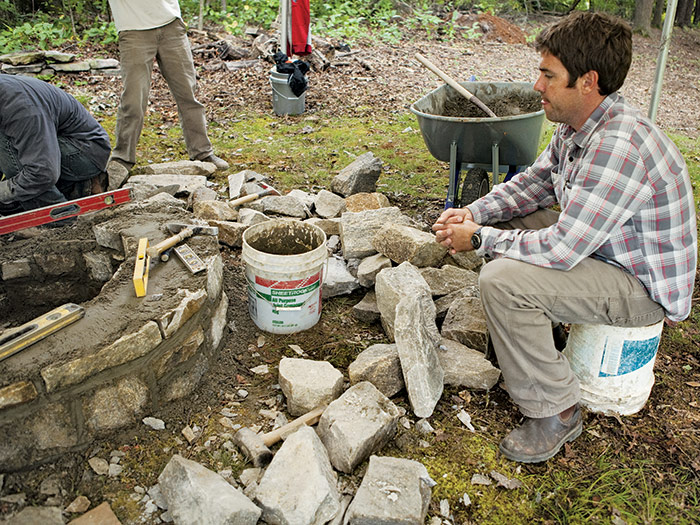
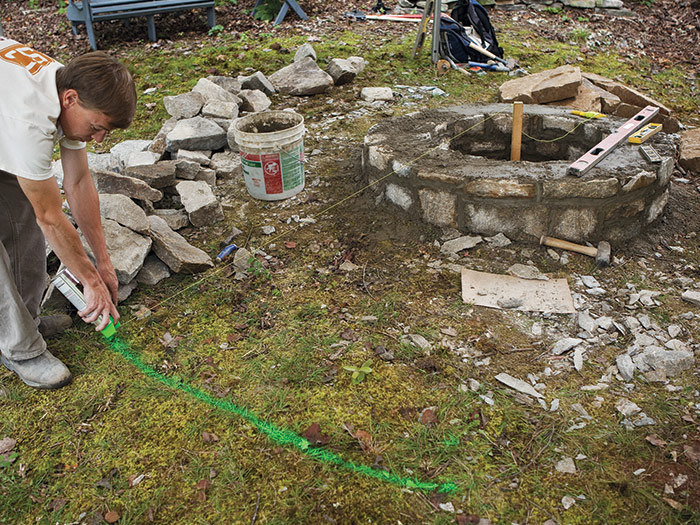
Lay out the curved seat walls using the fire pit’s center to establish a radius. Generally, 3 ft. to 5 ft. between the seat walls and the fire-pit wall allows enough room for people to move around comfortably—and yet still feel the warmth of the fire. However, the exact location of the seat walls really comes down to personal preference. As mentioned earlier, a good way to decide where to put seating is to grab something to sit on 1, and move around until you find a spot where you feel comfortable. Then mark the spot, and lay out seat walls to match the curve of the fire pit wall.
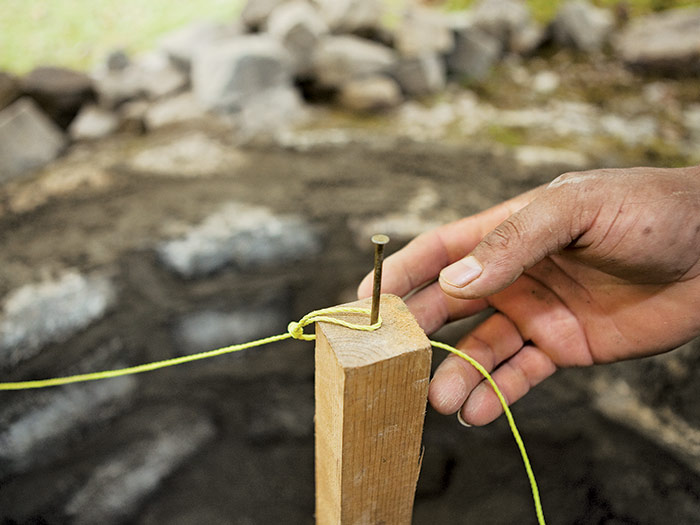
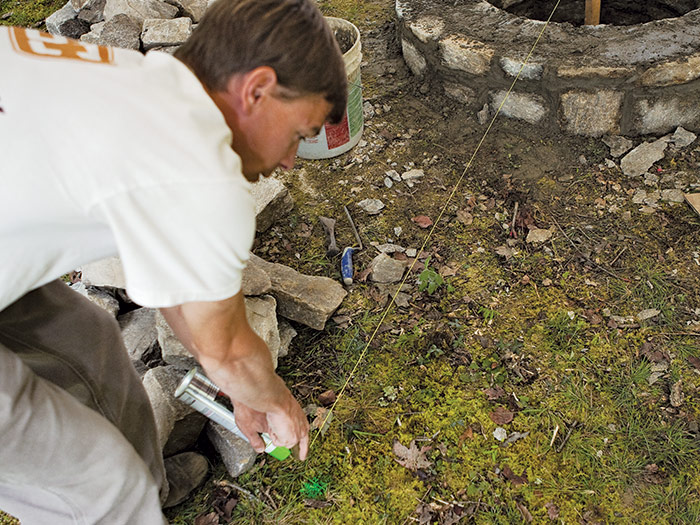
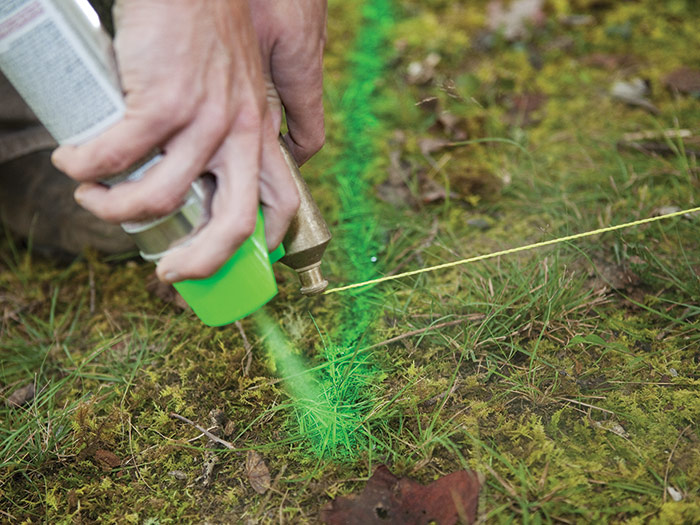
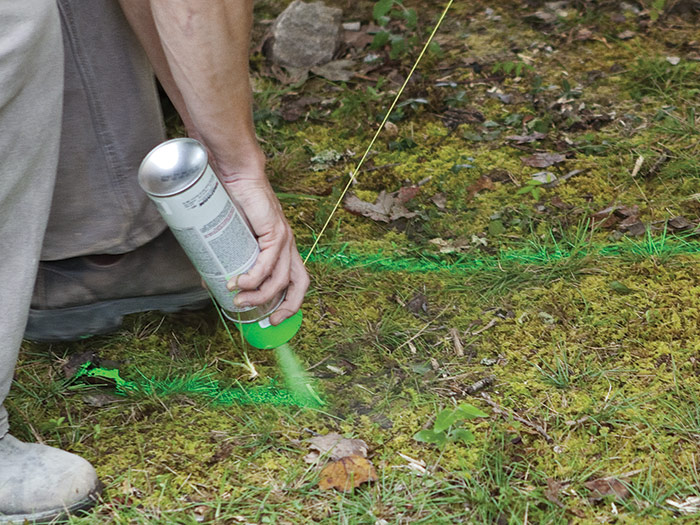
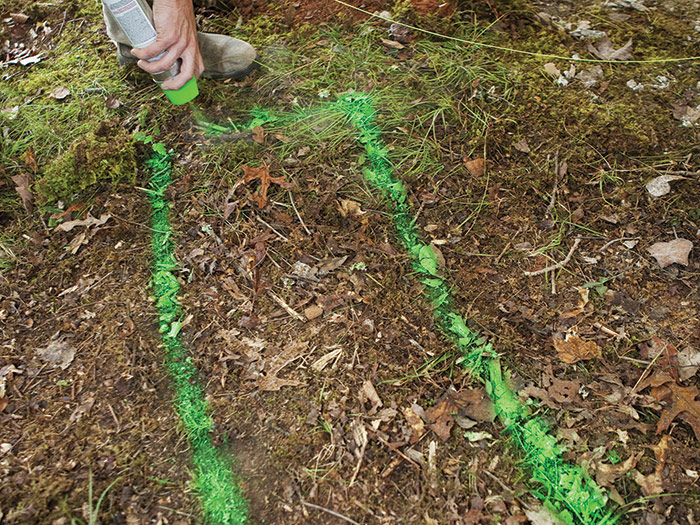
Drive a tall stake into the ground at the center of the fire pit 2. Then drive a nail into the stake, make a loop at the end of a length of twine, and slip it over the nail 3. You can also use the string of a plumb bob. Pull the string to the seat-wall location 4, and hold it taut. Then, holding a marking can at the end of the string, rotate around the stake and mark an arc 5. This line represents the front of the seat wall 6. Mark a second arc for the back of the seat wall 12 in. from the first 7. Last, carefully square the ends at the length you desire 8.
Installing the Footing
An earth-formed concrete footing adds stability to a small wall that might otherwise shift or tilt. There usually isn’t a need to add rebar. If you locate a seat wall adjacent to a driveway, where it may get bumped, consider adding rebar with vertical ties.
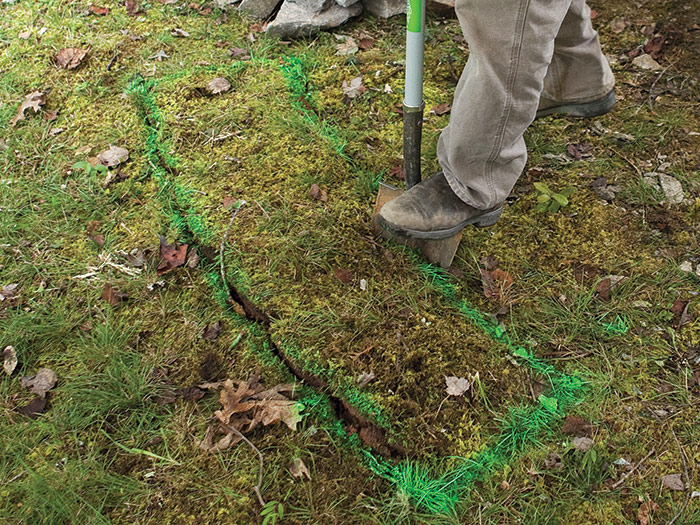
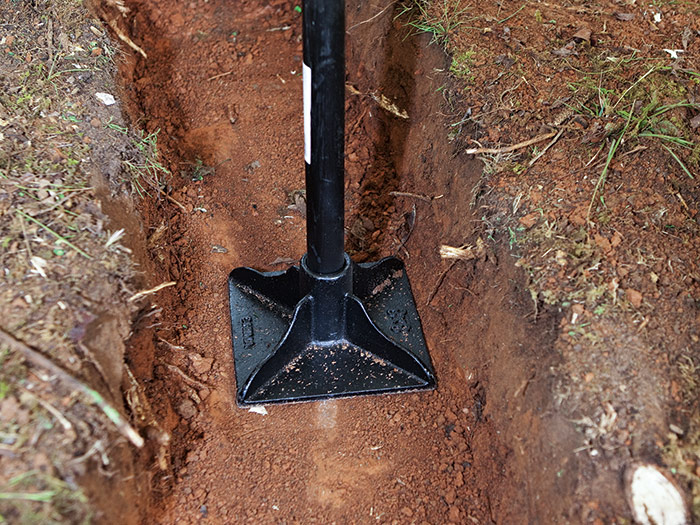
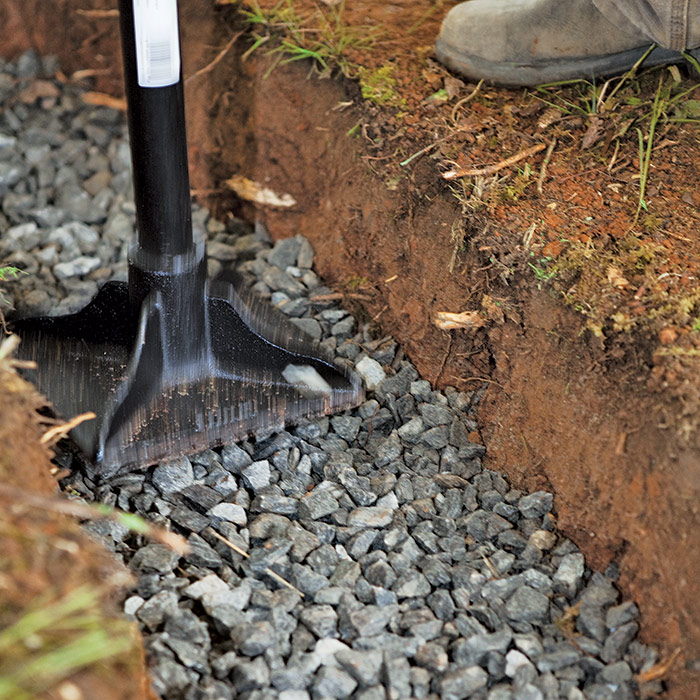
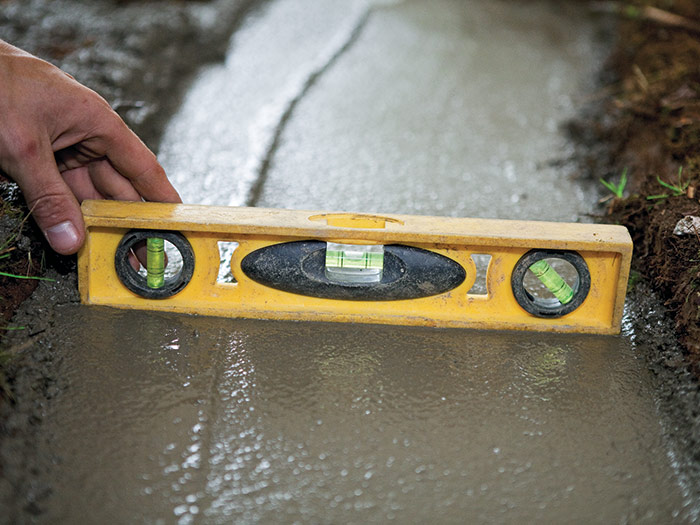
Carefully dig the footing trench following the marked lines as closely as possible 1. Dig to a depth of 8 in. and then square the sides and level the bottom of the trench. Use a tamper to compact the soil 2. Add 3 in. of gravel and use the tamper again to compact the gravel thoroughly 3. Mix and add concrete until it fills the trench to 1 in. below grade (2 to 3 bags of premixed concrete). The surface does not need to be pretty, so you can flatten it with the back of a square shovel. However, it does need to be level in two directions 4. Let the footing cure for 24 hours before building the wall.
Building Mortared Walls
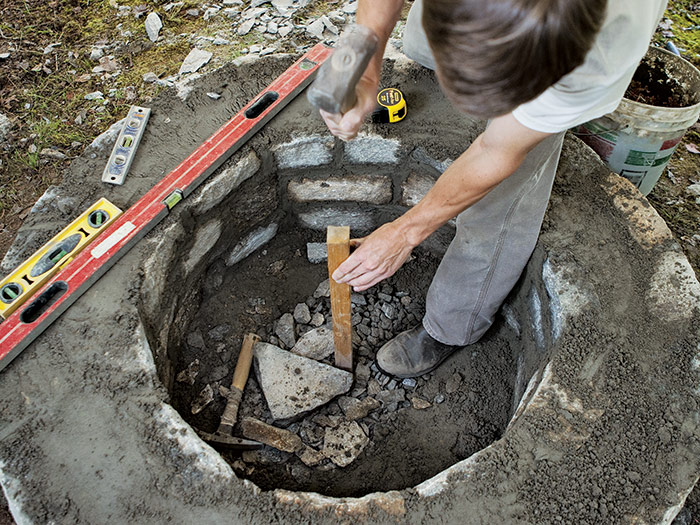
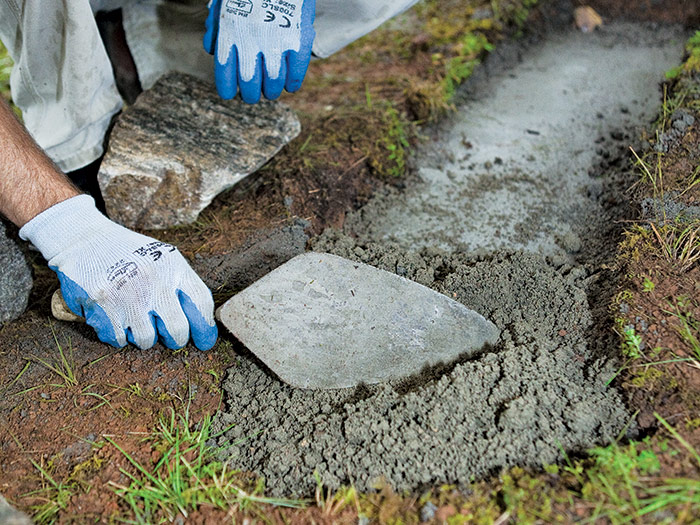
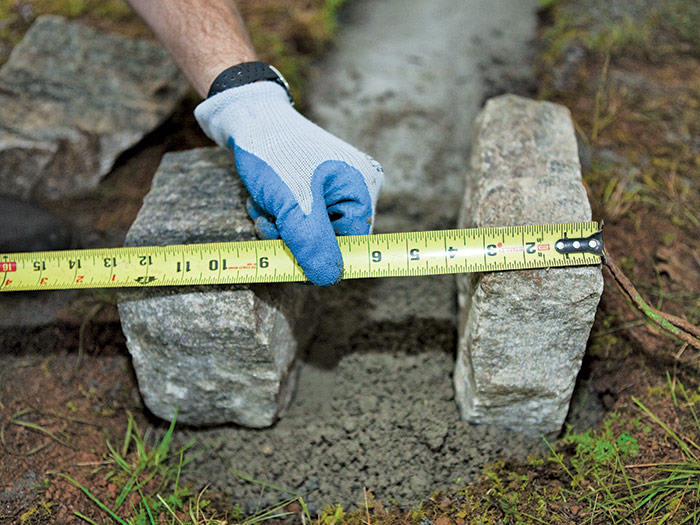
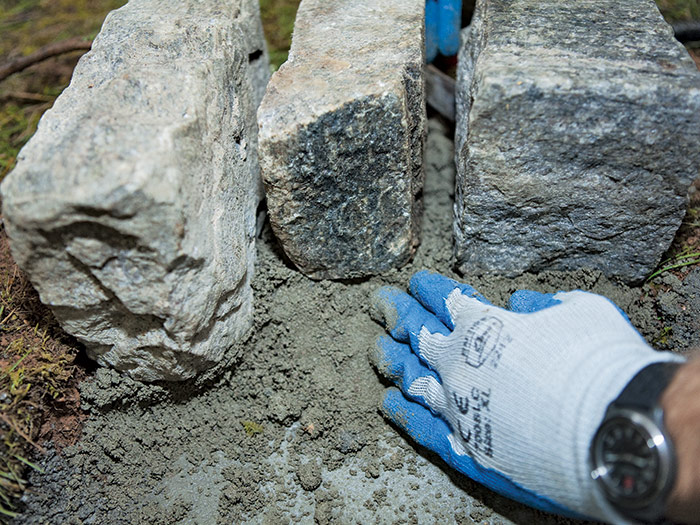
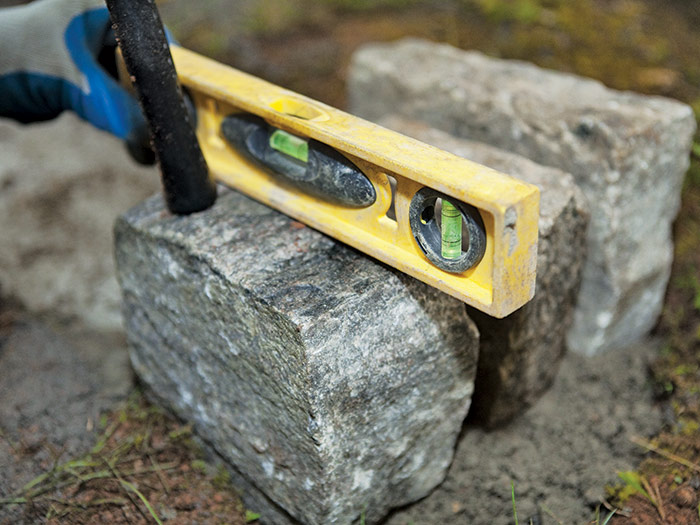
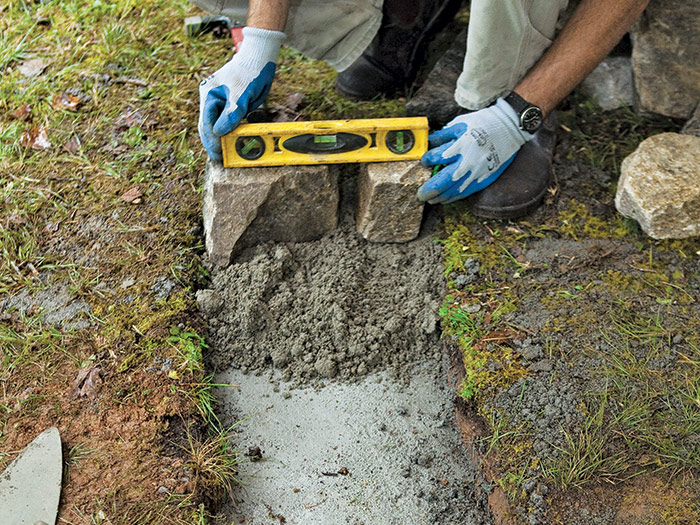
The easiest way to build a short, mortared wall is to build the ends first and then build the sides for each course. Spread a 2-in. layer of mortar for the end stones 1. Set two corner stones the width of the wall apart 2. Fill the space in between them with another stone, creating approximately 1-in. joints. Stabilize the stones by packing mortar behind them 3. Tap the stones into the mortar to fully set them, and level their tops 4.
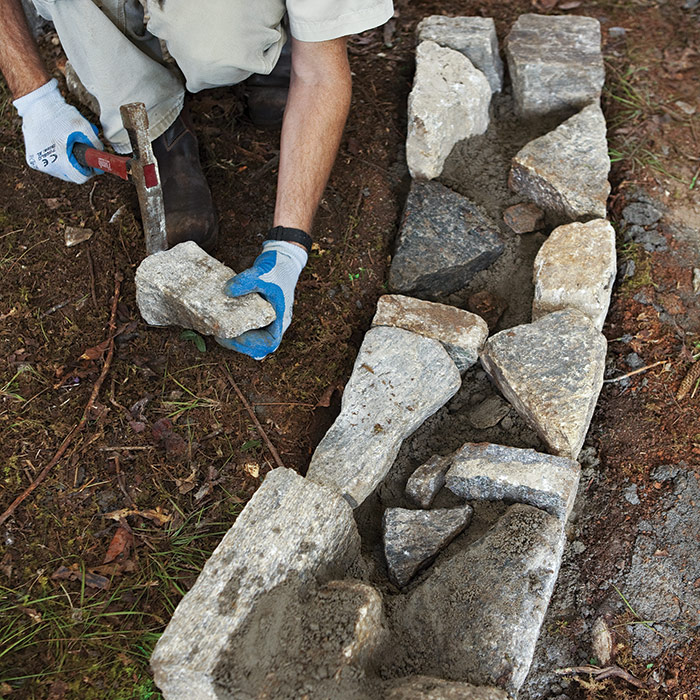
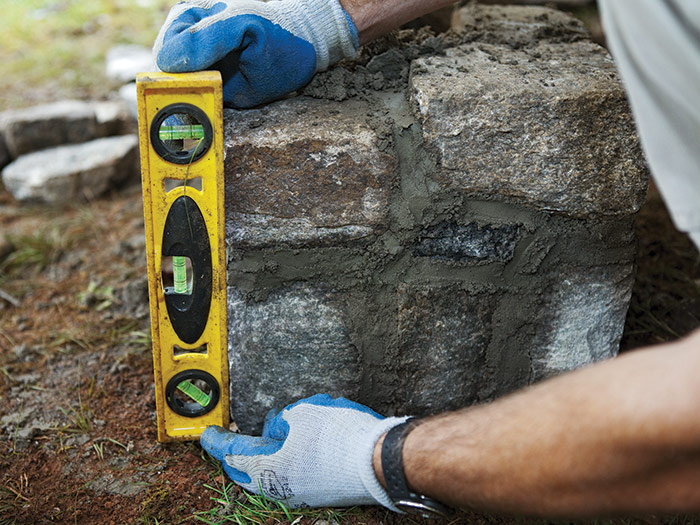
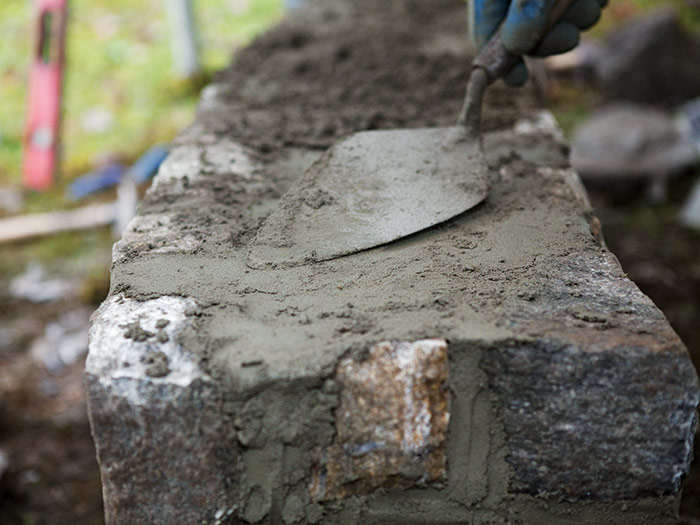
Repeat these steps at the other end of the wall 5. Then, lay the first course between the ends in the same manner as you laid the fire-pit walls (set the inner and outer stones and fill with rubble and mortar) 6. As you build the wall, check that each corner remains straight and plumb 7. Pack mortar in the joints for each course before you lay the next course. Scrape the joints flush once they have dried a bit but before they set up. At the top of the last course, 13 in. to 15 in. above grade, level the stones. Then pack the wall’s interior with mortar and level the top 8.
Setting the Seat Capstones
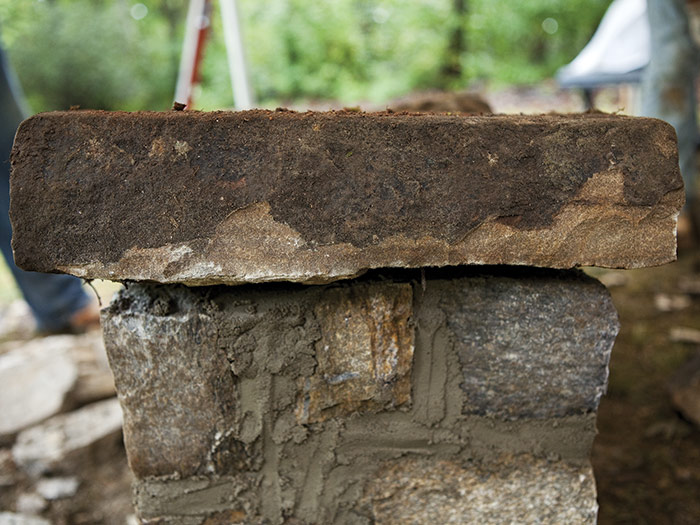
Setting capstones for a curved bench top is similar to setting capstones for a circular fire pit. Pay extra attention, however, to the surface of candidate stones before selecting them. Small protrusions, bumps, or dips that would otherwise go unnoticed are uncomfortable to sit on. When setting stones, aim for a smooth surface without height changes at joints.
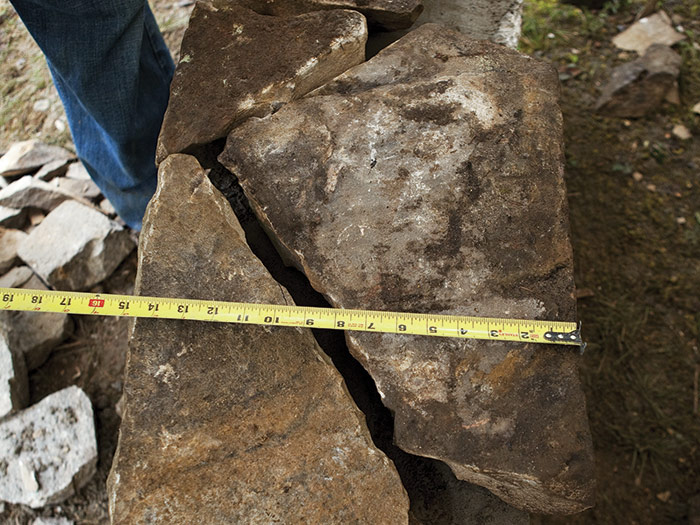
Cut all the caps and dry fit them on the ground before mixing mortar. This makes it easier to make slight adjustments and will prevent the setting mortar from drying while you make the cuts. Try to arrange the stones so at least a couple will span across the top of the wall and avoid a running joint. End stones are good candidates for this 1. Stones that have a diagonal side can make fitting easier. Set stones with opposing diagonals across from each other, and shift them slightly to change the overall width while keeping the joint width consistent 2.
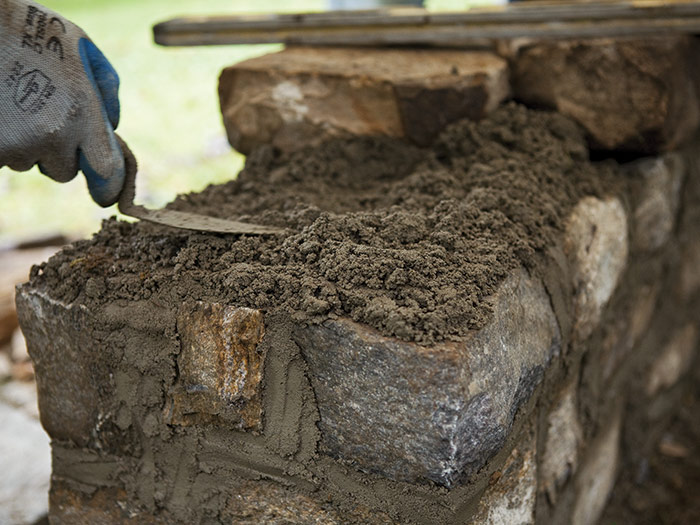
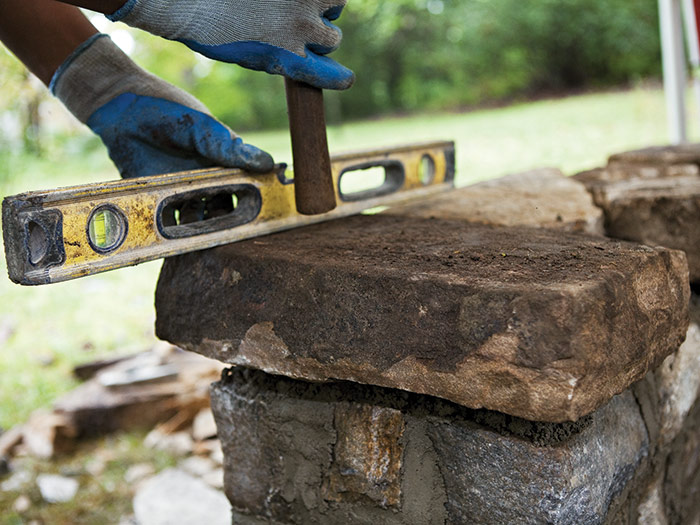
Use the same mortar recipe for setting caps as you did to build the walls, but add a little extra water. This recipe creates a less-porous mortar that helps prevent water from seeping into the wall and efflorescence from leaching out. Spread a 1-in. layer on the walls 3 and set the caps perfectly level in two directions. 4. Even a slight slope will be noticeable after sitting on it for a few minutes.
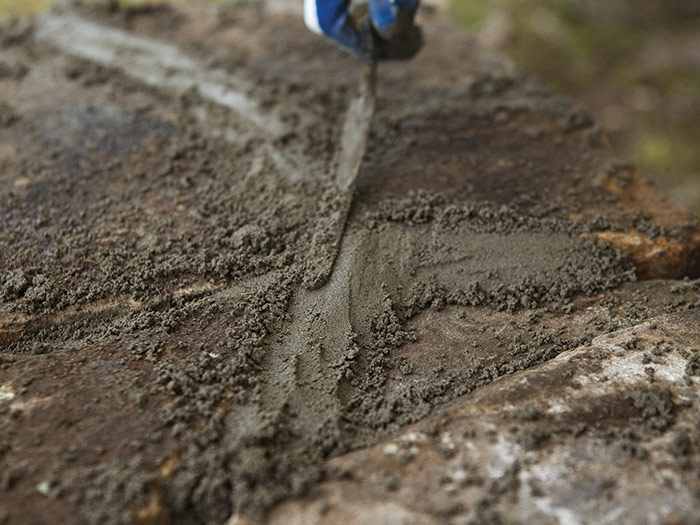
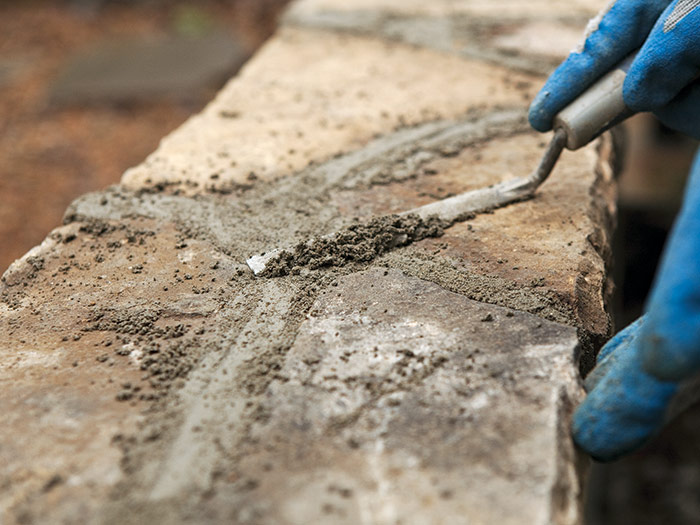
Once the capstones are set, use a pointing trowel to pack mortar into the joints, letting it mound up slightly on the edges 5. Let the mortar dry until you can scrape it without leaving stains on the capstones—but before the mortar has set 6. Scrape the mortar flush and sweep away the excess.
Excerpted from Masonry Complete (The Taunton Press, 2012) by Cody Macfie
Available at Amazon.com.

