Building a Fire Pit: Installing Capstones
These carefully set stones create an attractive and durable top on your fire pit.
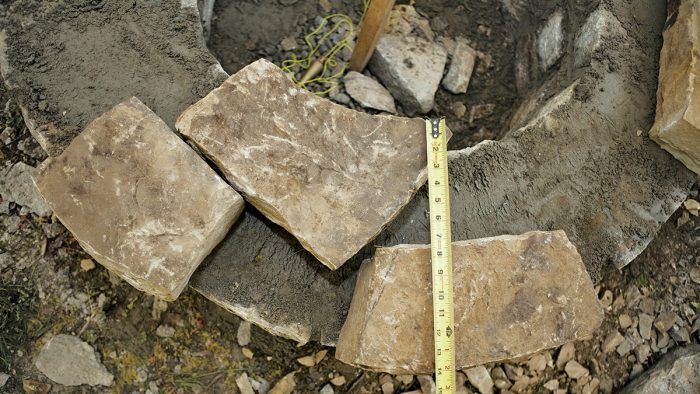
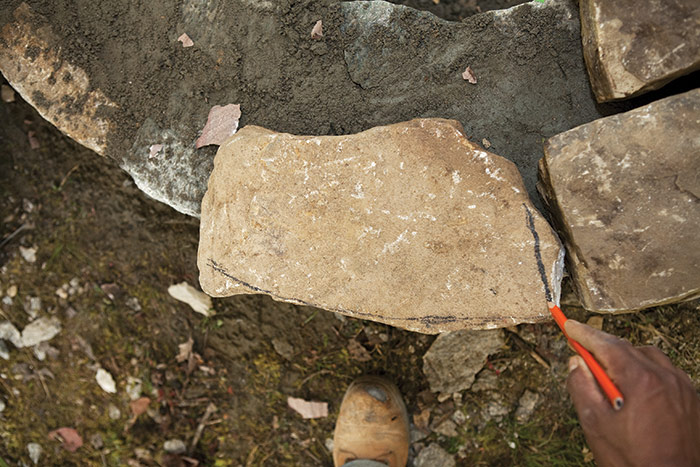
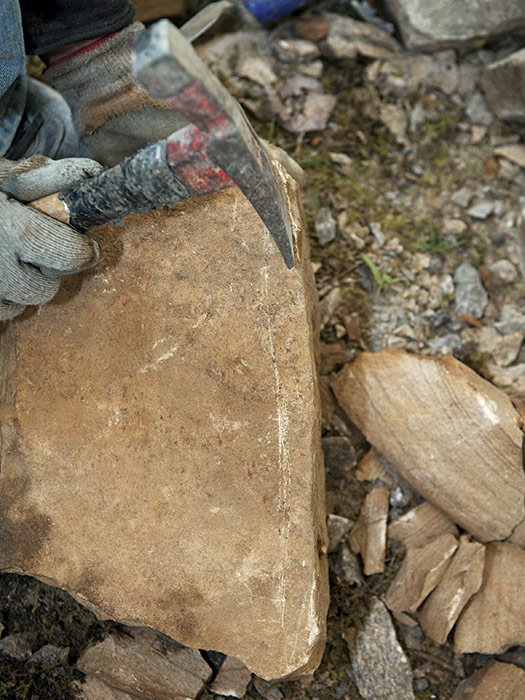
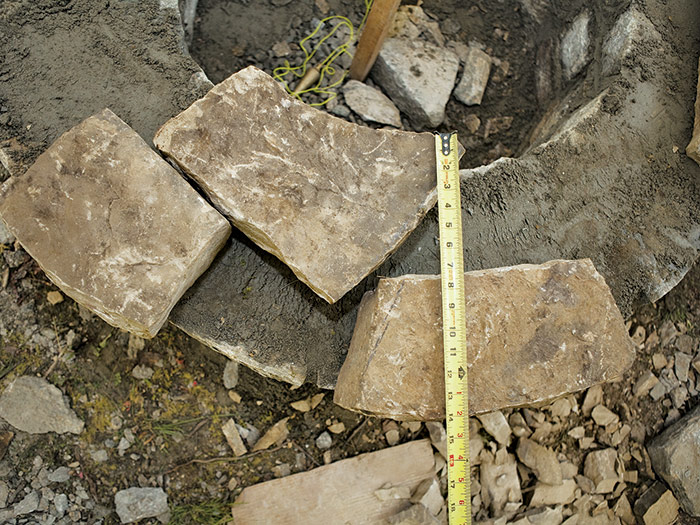
Shaping and setting capstones in a curve is essentially the same as setting other stones except there is more fitting and shaping. Because the process takes more time, shape stones for the entire cap and dry-fit them before spreading a mortar bed. As with the wall stones, take advantage of stones that already have some curve to them 1. For stones that don’t have a ready curve but are generally the right size, position the stone to remove the least amount of waste but still fit the space. Then sight from above and mark the cut line 2. For longer stones that cover more of the curve and make it harder to sight from above, trace the curve of the wall on the bottom of the stone 3. Then allow for the overhang when shaping it 4.
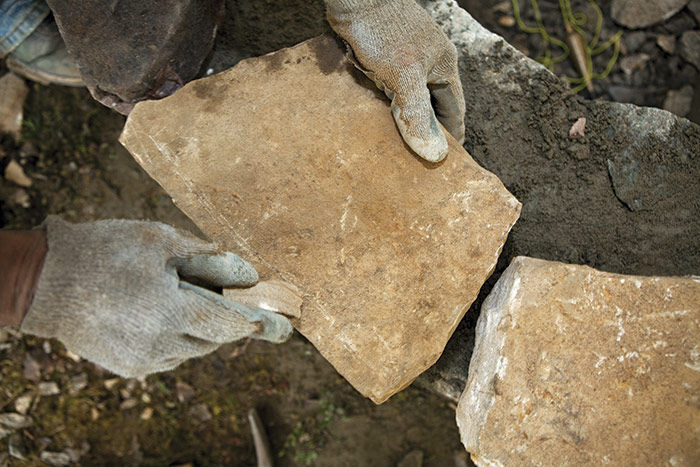
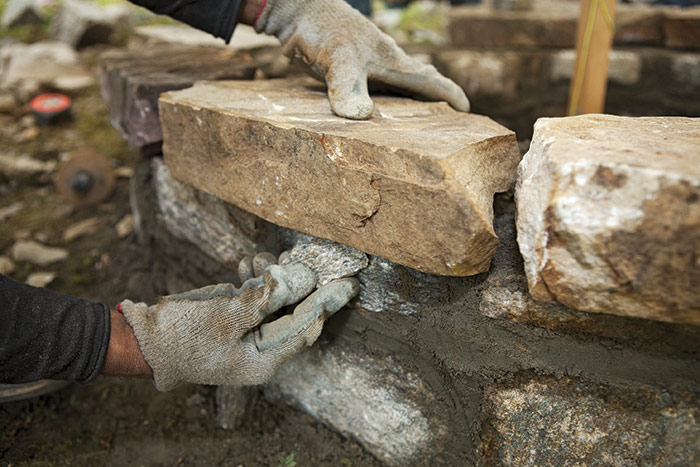
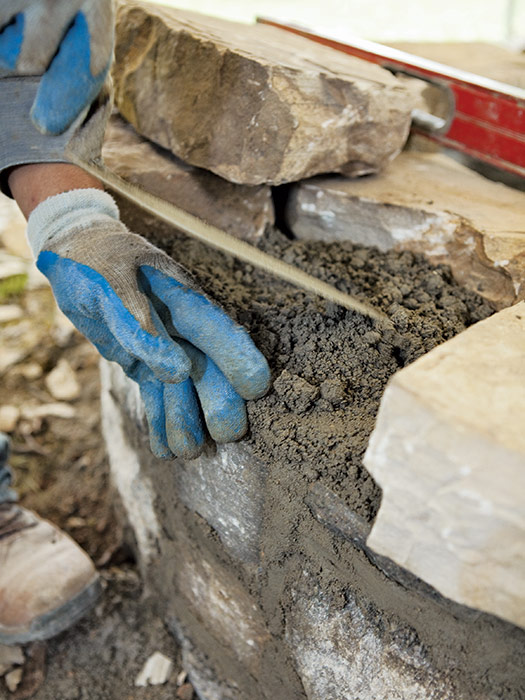
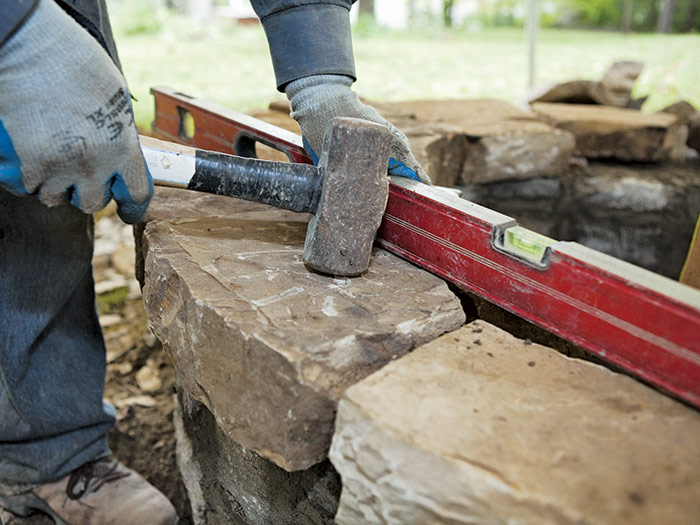
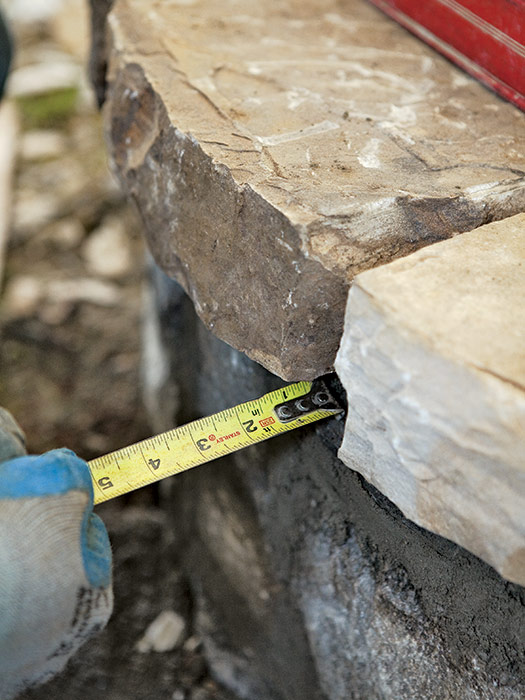
Once all the capstones are shaped, lay a 1-in. mortar bed and form an edge with the back of your hand 1. Stabilize and level the stones across the wall by pushing mortar beneath them. Then set each stone level with adjacent stones by placing a level across the top and tapping the stone into the mortar 2. If you’re concerned about chipping or scratching the caps, use a rubber mallet to set them. As you progress, frequently measure across the wall to check for consistent cap width. Remember to hold the tape so that, if extended, it would intersect the center of the pit; otherwise, your measurements will be off 4. Also, after setting each stone, check the overhang 5. It is very easy to wander off the line, especially when setting curved stones.
Excerpted from Masonry Complete (The Taunton Press, 2012) by Cody Macfie
Available at Amazon.com.

