Building a Fire Pit: Assembling the Walls
Adding fireclay to the mortar will allow you to have blazing fires without worrying about damaging the stone walls.
Laying the First Row
Fire pits are not likely to fail. The circular design is inherently strong, and there is no force on the fire-pit wall from soil being retained. By carefully locating the fire pit and properly preparing its base, drainage and other water-related issues are easily dealt with. For these reasons there is no need to incorporate a large footing or rebar.
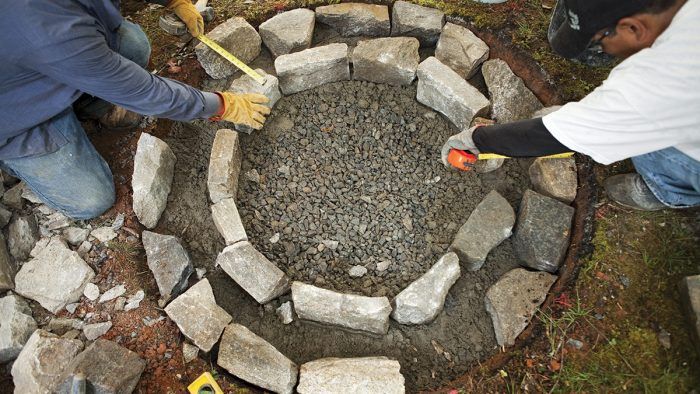
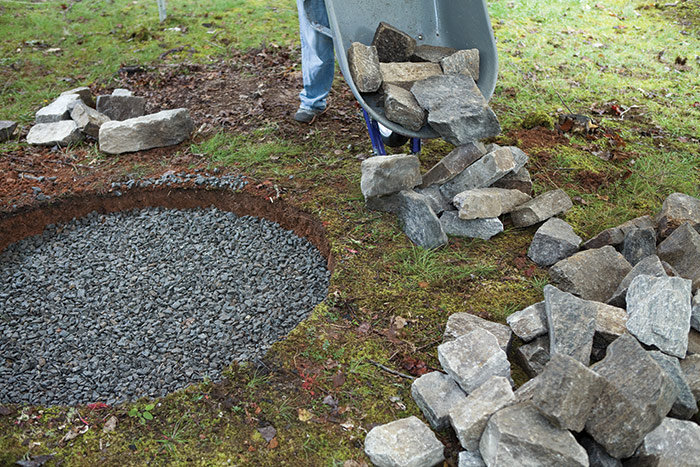
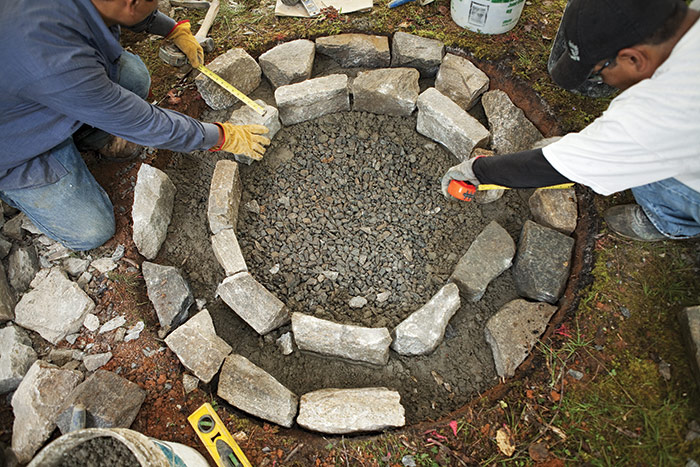
To avoid extra movement while laying the first course (and risk stepping on and collapsing the carefully cut sidewall), shape a decent pile of stone and put it within easy reach 1.
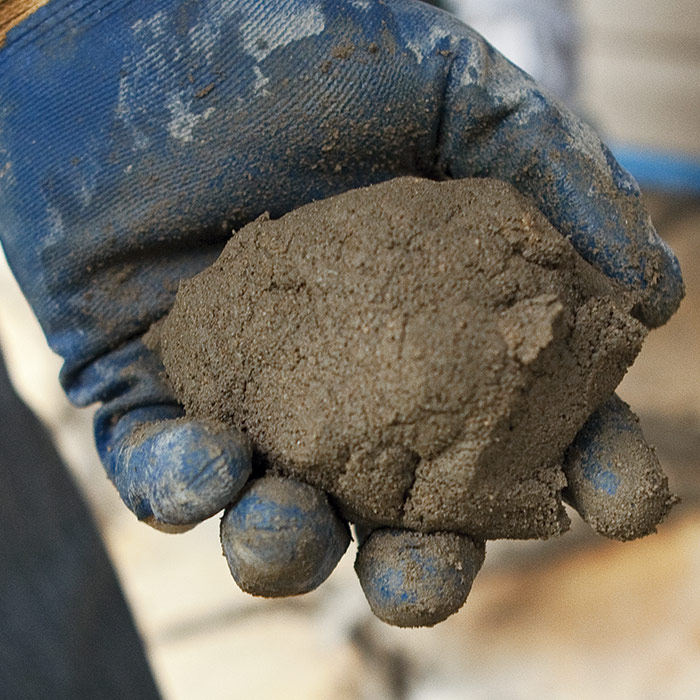
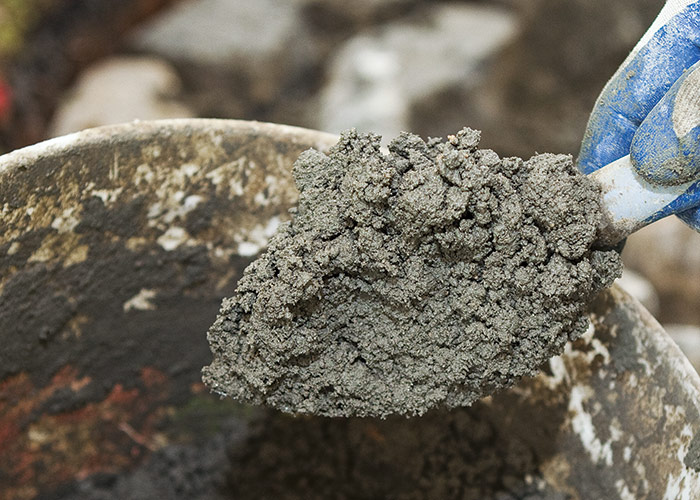
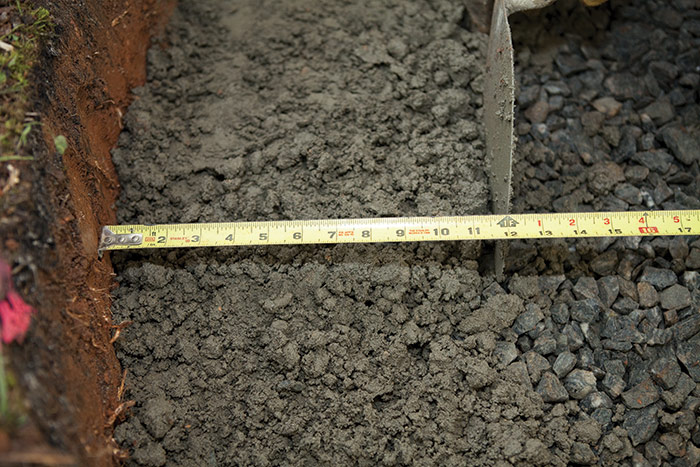
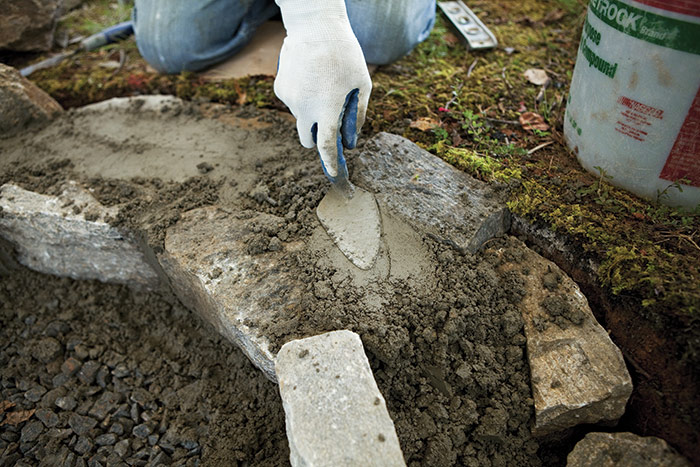
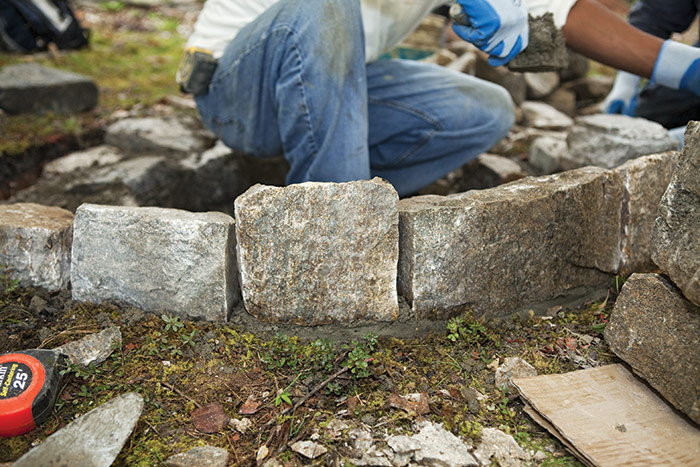
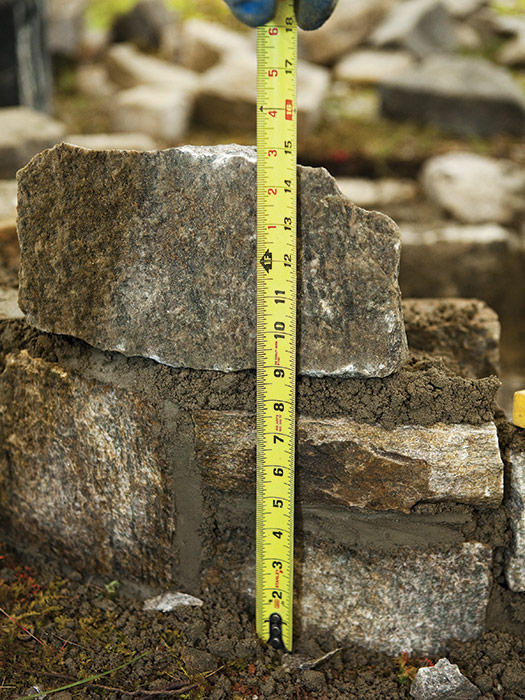
For a jointed fire-pit wall like the one shown here, mix mortar using one part portland cement, one part masonry sand, and two parts fire clay. To avoid staining the stones, do not mix the mortar too wet 2. For a mortared wall in the dry-stack style, mix a wetter, but not soupy, mortar. Spread the mortar bed 3 in. deep and 12 in. wide 3. If you dug the sidewall of the hole with care, simply butt the end of the tape against the soil to measure for the mortar bed 4.
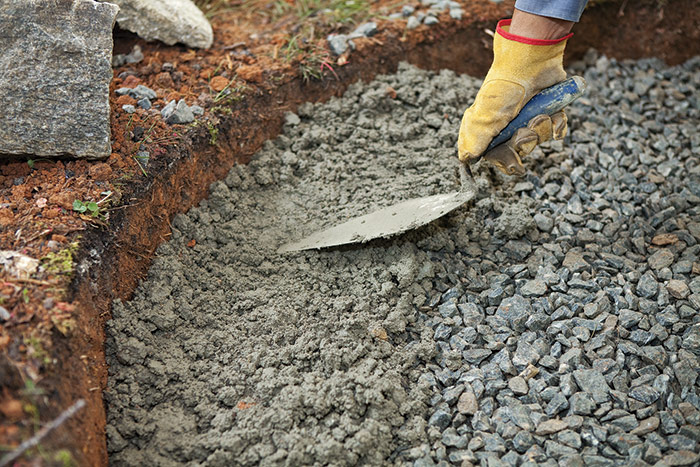
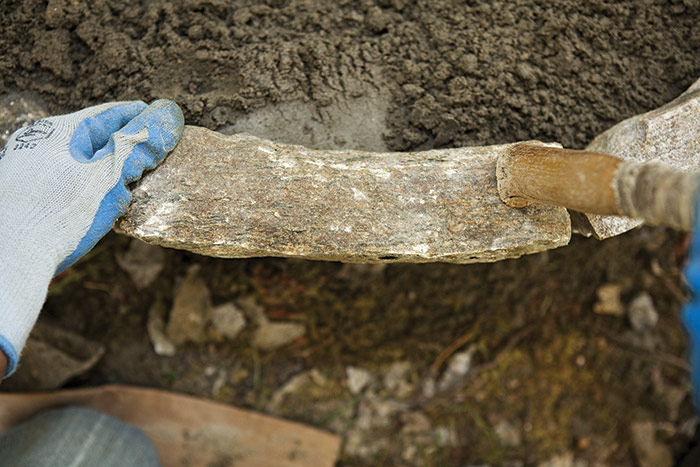
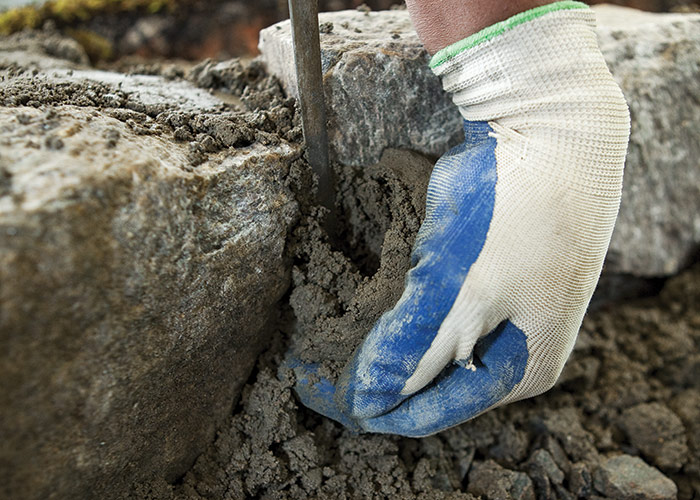
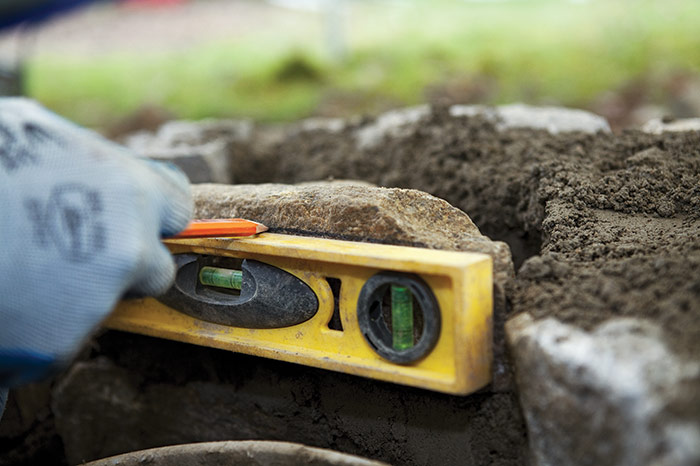
Lay the first stone against the earthen sidewall, and pack mortar behind the stone to stabilize it 5. When laying stones for the first course, try to use stones with tops and bottoms that are parallel, which will make setting a stable foundation easier. Measure 12 in. from the outside face and set the face of the inside stone 6. Then pack mortar behind the inside stone to stabilize it.
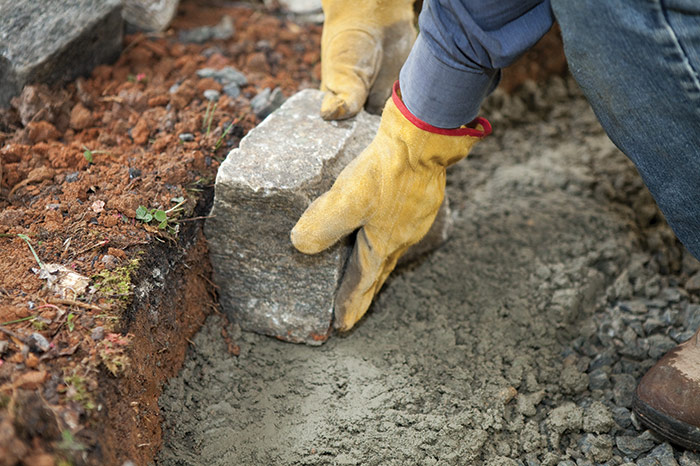
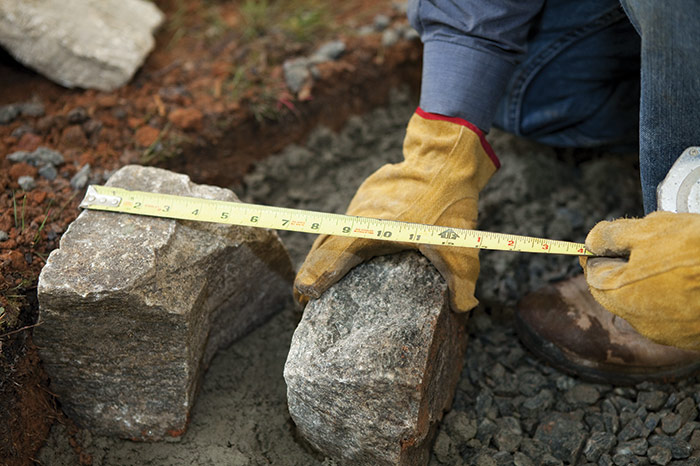
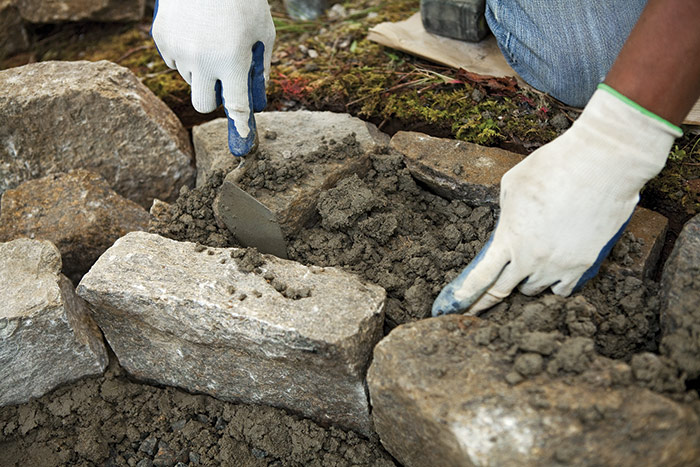
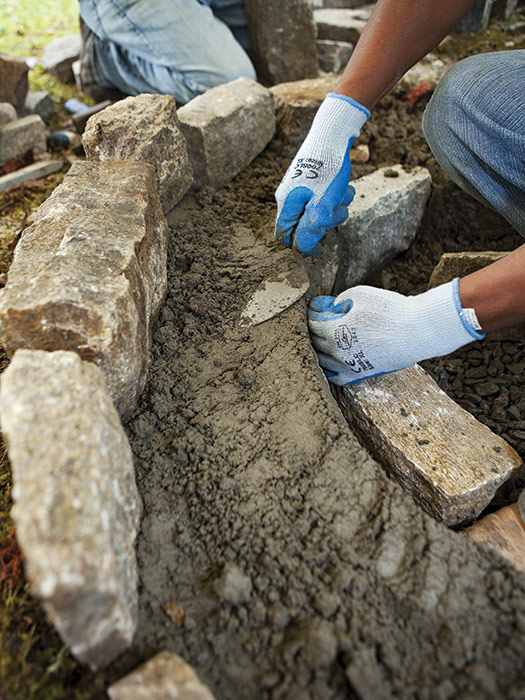
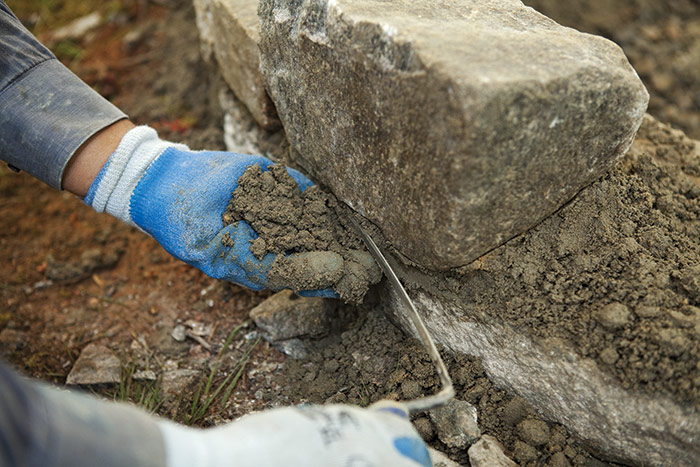
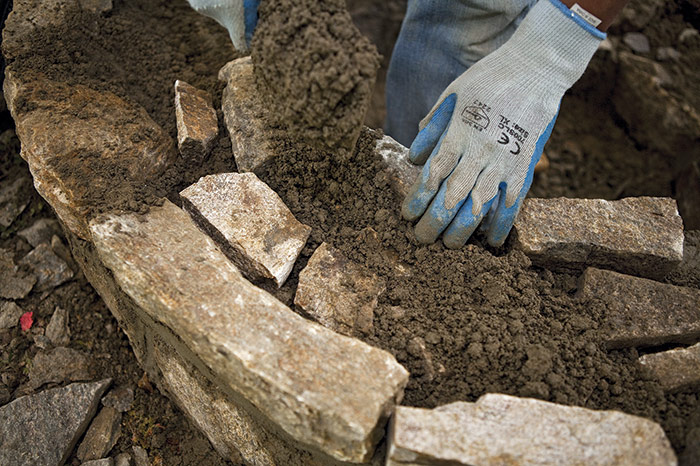
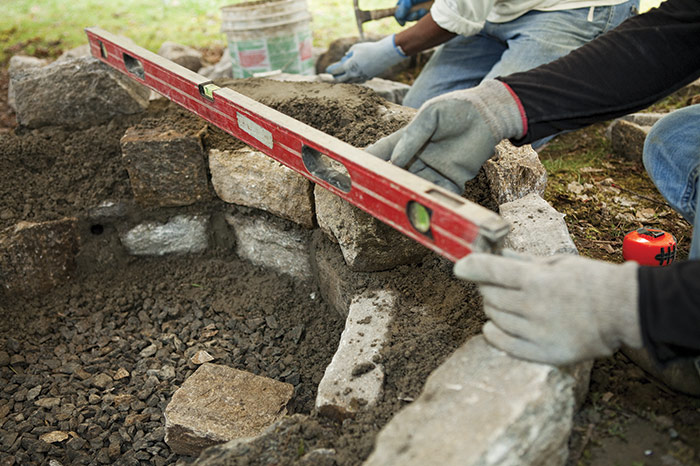
Continue setting the first course of stones using the side-wall of the pit excavation as the outside reference and measuring back 12 in. to set the inside stones 7. Level the tops of the stones as you set them 8, and pack mortar underneath to keep them level. When the first course is set, fill between the stones with shards and rubble left over from shaping (set them in the mortar bed rather than just dumping them in) 9. Fill the rest of the space with mortar using your trowel and fingers to pack the mortar into the crevices 10. Add mortar to fill to the top of the stones, and then pack it down with a trowel 11. Continue adding and packing mortar until it doesn’t yield to moderate pressure. To complete the first course, pack mortar between the joints with a pointing trowel 12.
Continuing the Coursework
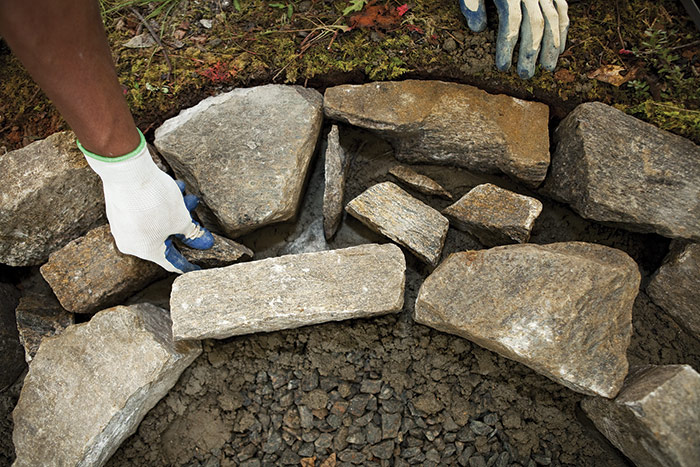
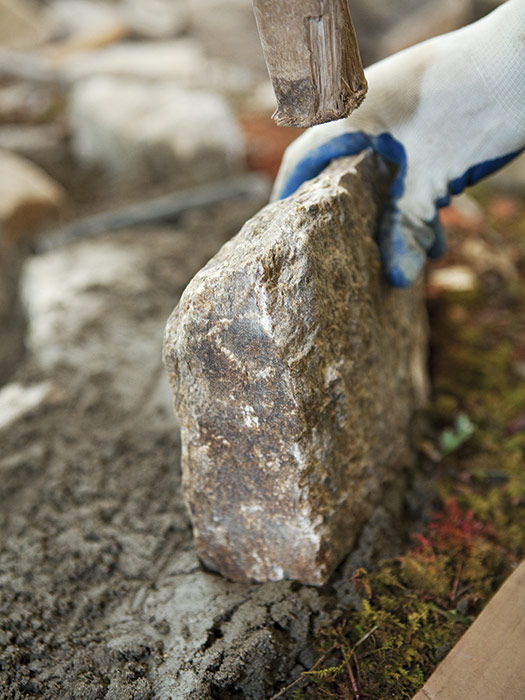
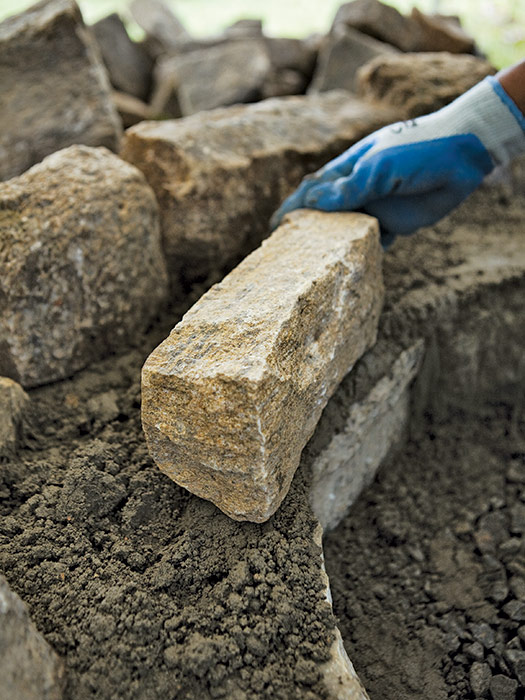
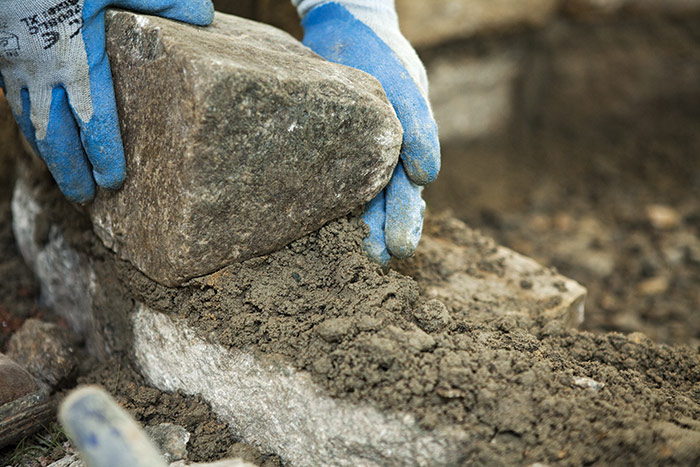
Continue building the circular fire-pit wall by spreading a 1-in. layer of mortar where you’ll set stones. Use your hand and trowel together to build up mortar at the edge 1. Align the face of each stone with the course below, and gently tap it into the mortar bed 2. Vary the stone heights to break up long-running horizontal joints 3 and create a more pleasing overall pattern.
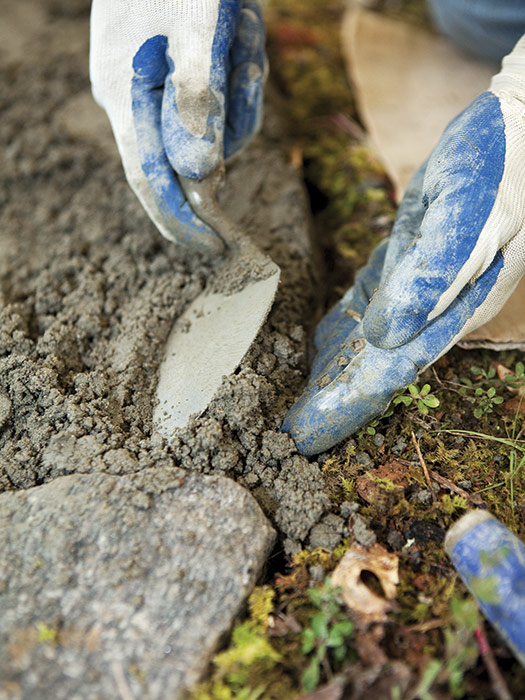
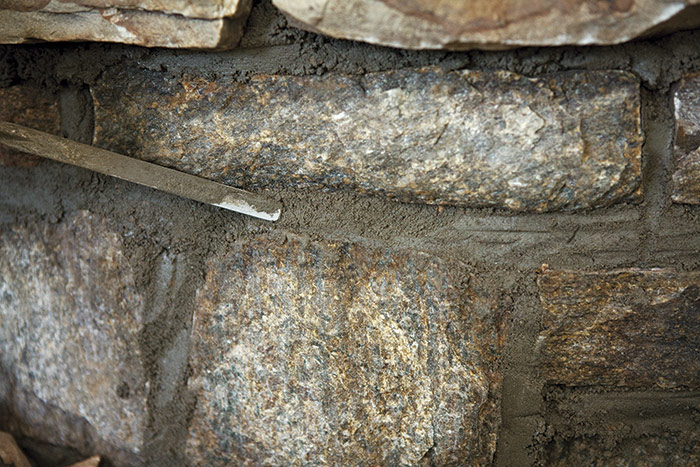
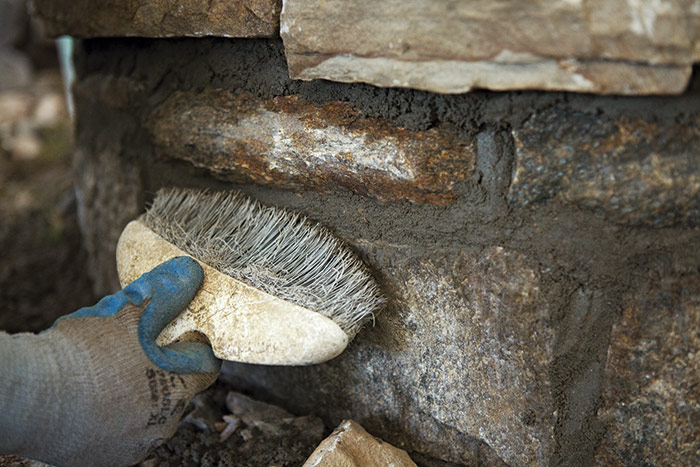
To set the stones on the fire pit’s inside face, use your hand and trowel to build up a 1-in.-thick mortar bed along the inside edge 4. Set a stone with the face aligned with the course below 5. Then level the top and pack mortar behind it 6. Use a pointing trowel to pack mortar into the joints until it is flush with the face 7. Sometimes it’s more efficient to lay a long course of stones and then pack mortar (or grout) around the stones all at once, instead of working each stone individually. Make sure you grout all around the stones of one course before beginning the next. Finally scrape the joints flush after they dry—but before they harden—using a pointing trowel 8. Brush away the excess mortar with a whisk broom 9.
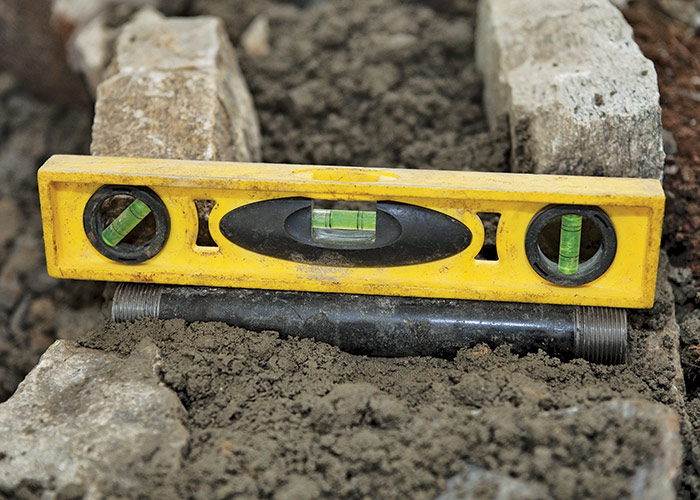
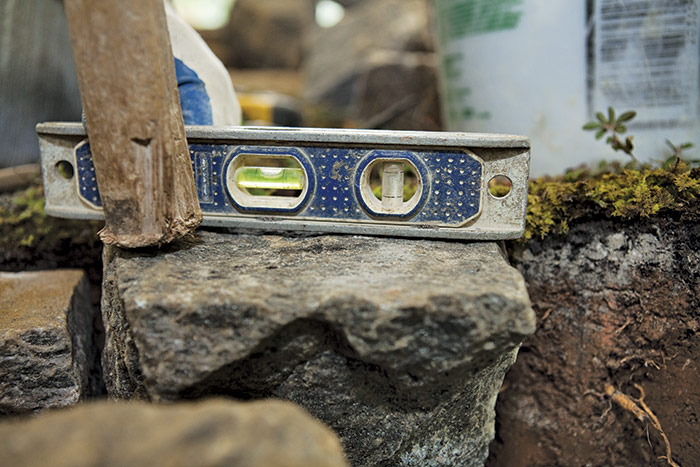
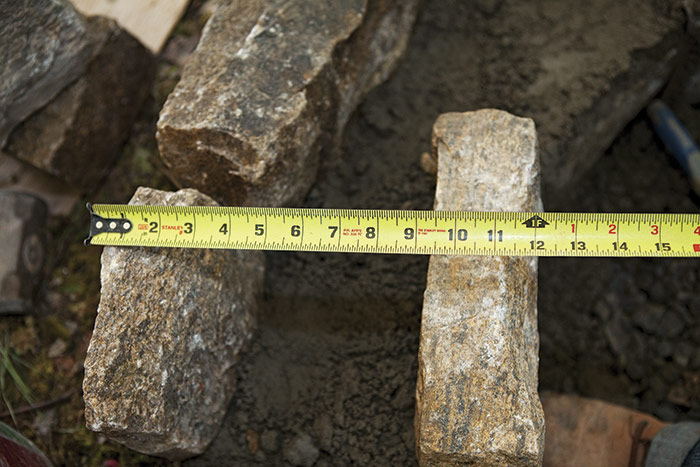
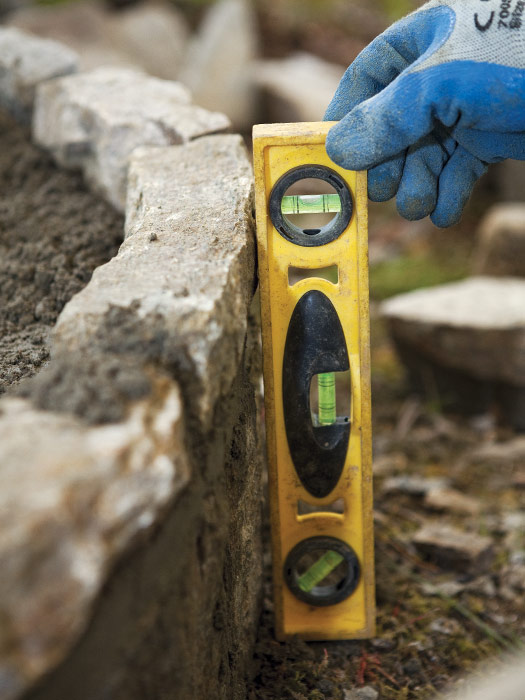
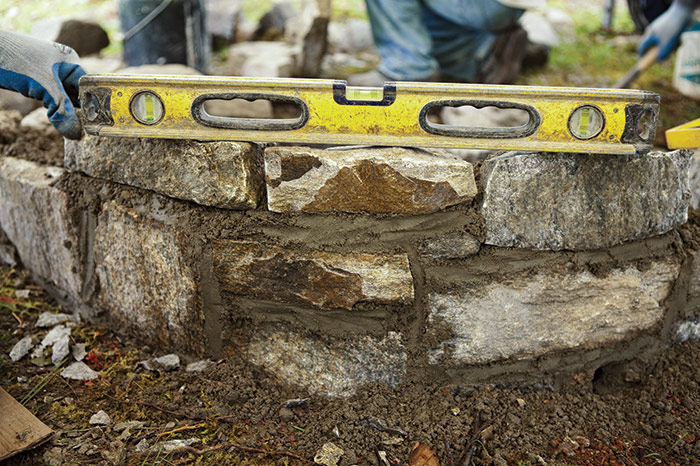
As you work, measure across the stones frequently to make sure you’re maintaining a 12-in. wall thickness 10. Also check the wall, inside and out, with a level to be sure it stays vertical 11. The inside and outside rings do not need to stay level across the top while laying courses until you reach the top. As with the first course, fill the inside of the wall with rubble and pack the crevices with mortar 12. It’s important to fill all the voids, so keep adding mortar and pressing it down until it is firm. Completely fill between the stones and then smooth the top of each course.
Finishing the Coursework
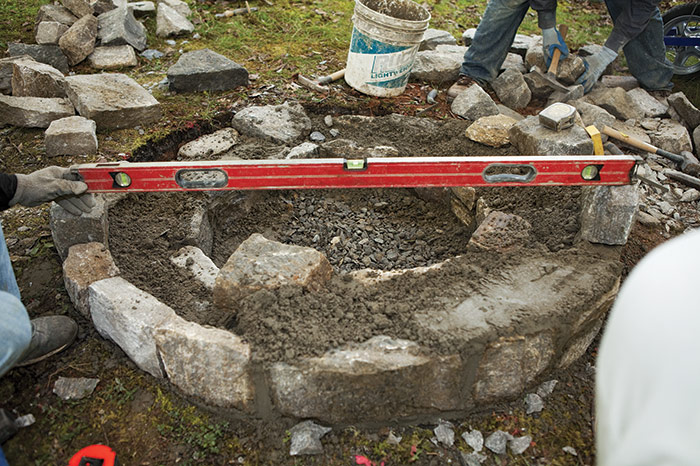
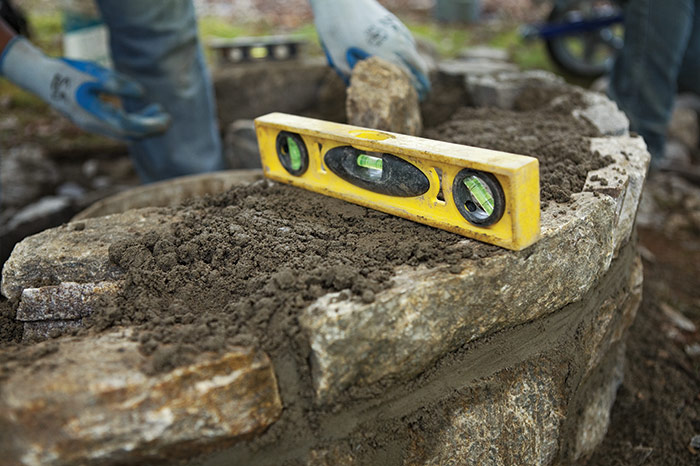
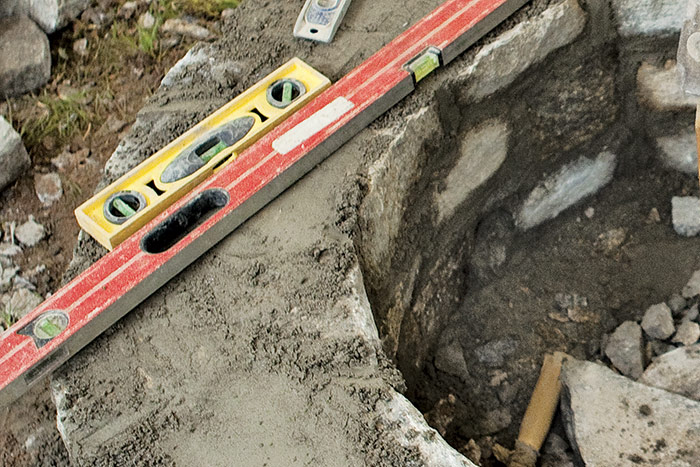
For a 19-in.-high wall (as for this project), the regular coursework ends at 15 in. 1. This leaves room for mortar and 3-in.-thick capstones. To level the top of the coursework all the way around, pick one spot that is the correct elevation. Then set the opposite-side stone to the correct height 2. Repeat this process, setting a pair of opposing stones 90 degrees from the first pair 3. Use these four stones as a guide to set adjacent stones to the correct elevation 4. As you work, level across the wall to be sure that both the inside and outside faces are at the same elevation 5. For stones that rest slightly high, it is better to mark and cut the stone to the proper elevation rather than set it deep and reduce the joint size 6. Fill the inside of the wall with mortar, and pack and smooth the top 7.
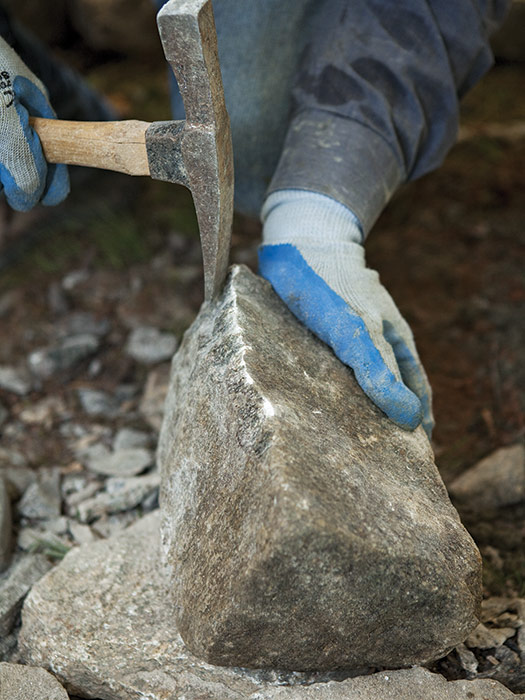
Making Curved StoneworkCut a slight curve onto the face of each stone as you set them around the circle. To do this, take the sharp edge of a brick hammer and chip away the face of the stone in a downward motion on the left and right side of the stone. Some stones will have a natural curve to them, which can save you a lot of work. Train your eye to look for these stones and take advantage of them whenever possible. |
Excerpted from Masonry Complete (The Taunton Press, 2012) by Cody Macfie
Available at Amazon.com.

