Fastening an Exterior Door With Brick Mold
With the right sequencing, fastening an exterior door with brick mold is easy to accomplish for a solid, smooth operating installation.
Sponsored by ProVia
Fastening an Exterior Door With Brick Mold
Video Player is loading.
Fastening an exterior door with brick mold is a straightforward process when done in the right sequence. Follow our video tutorial and step-by-step guide to ensure a secure, smooth-operating door that’s properly sealed and installed.
The Door Fastening Process
- Start by setting the first half of a shim combo at each hinge location.
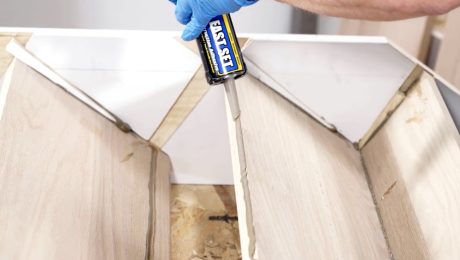
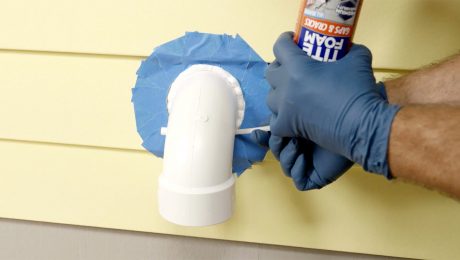
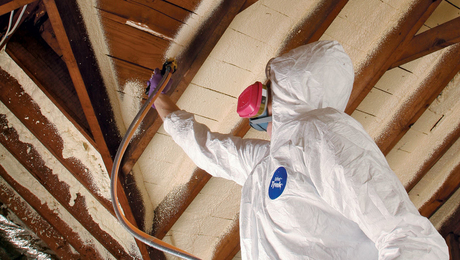
- Add sealant or flashing tape to the back side of the brick mold to seal the unit to the WRB once installed.
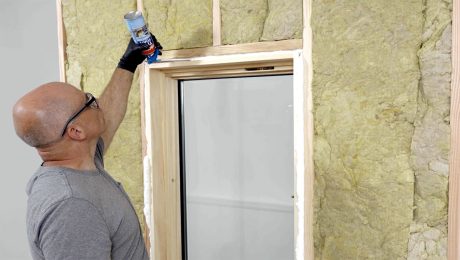
- Set the door on a level sill pan centered in the opening and check for plumb and level.
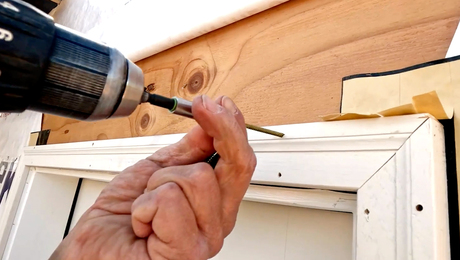
- Drive exterior trim screws through the face of the brick mold to lock its position tight against the building.
- Complete the shimming at each hinge point and drive the manufacturer-supplied screws through the hinges to lock the door frame to the rough opening.
- Shim and fasten the strike side. When installed properly, there should be an even gap between the door and its frame, and the unit is ready for final flashing.
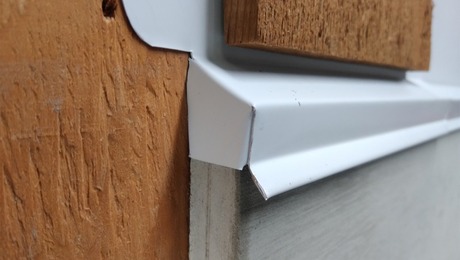
- Pre-made aluminum trim completes the installation.
RELATED STORIES