Episode 4: Final Coat and Sanding
In this video episode, Myron demonstrates how to get this last stage of drywall finishing in the best shape for a smooth final product.
Sponsored by USG Sheetrock® Brand
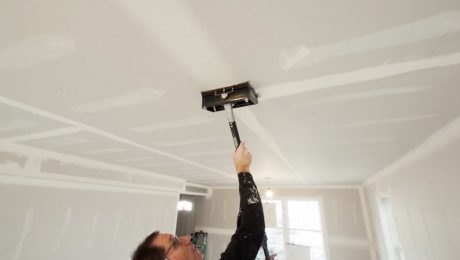
These are the last steps before priming and painting, and this process sets the stage for a great-looking finished room. With the fill coat dry, it’s time to work on the finish coat. First, I quickly sand all the seams and the inside corners with a pole sander and 220 grit sandpaper.
Sand before the finish coat
The goal with sanding at this stage is to feather out both the compound start-and-stop spots and the tool marks so that the finish coat will go on smoother.
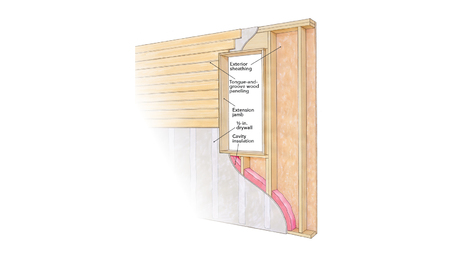
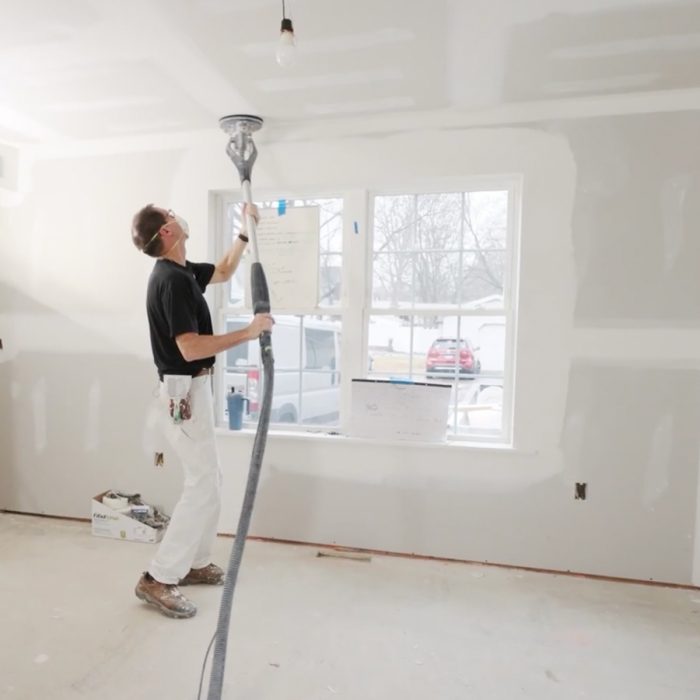 At this point, you’re not finished sanding: you’re just brushing over your seams to clean them up. In this case, I have thick edges around the window build-outs, so I’ll use my power sander to help knock down those tool marks.
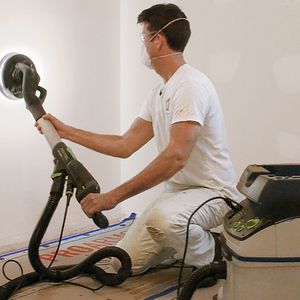
A drywall sander is a very useful, time-saving tool. It generates lots of dust, so connecting it to a vacuum and wearing a dust mask is essential. This sander and vacuum combo came with just one short hose and extension cord, so I modified it by attaching another extension cord and taped another hose together so I can work a much larger area. It has a variable speed, and I set it to level three because I find that speed gives me a little more control. Once the walls have been sanded, it’s time for the final finish coat.
Finish coat with a flat box
The finish coat should be tight to the surface. You don’t want to leave a crown or a large amount of compound. At this time, I turn the flat box dial setting to one or two, to dial in the right amount of compound. The compound on this coat is different, too. It should be a little bit thinner than what was used for the fill coat. Because it’s thinner, be more cautious about the compound spilling out of the box. Using the box does take quite a bit of force to push it out, but if you find that you’re pushing really hard and your arm is killing you, it’s probably because you have the mud too thick.
Similar to previous coats, go over the seams twice. You can go back later and point up intersections with your hand tools. On this project, we have some areas where butted seams that have intersected a beveled seam, so I’ll blend that in where I’ve taped from with my boxes earlier. This will also give me an opportunity to look things over and determine if I’m happy with the width of the seams.
Final touch ups
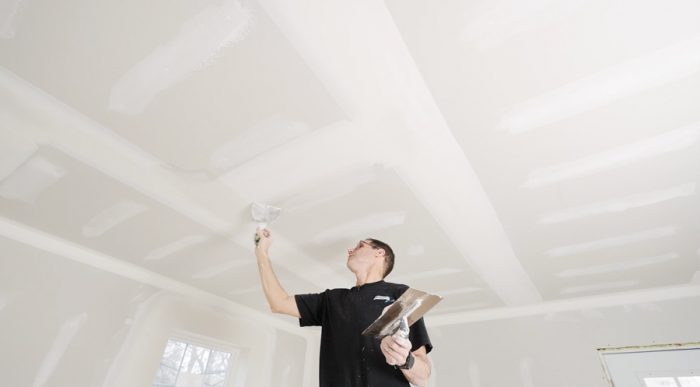
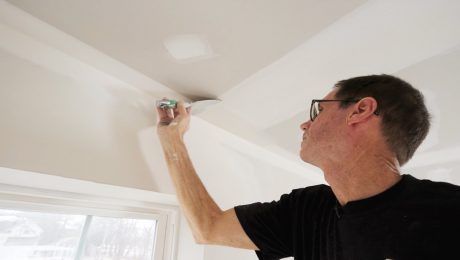
Back on the stilts, I touch up all the intersections with the butted seams, hit the beveled seams, and point up the inside corners for the final time. Since this is going to be sanded one more time, when it’s dry, my main goal now is not to make it perfect, but to get it looking pretty good.
RELATED STORIES








View Comments
Great tutorial Myron, thanks for taking the time to record it.