Exterior PVC Trim: Historical PVC Window Sill
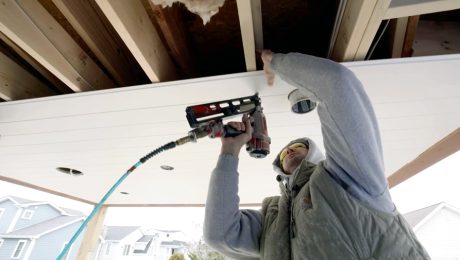
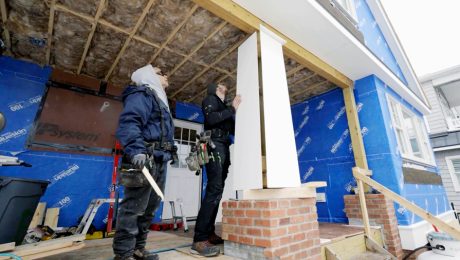
Dan Booth demonstrates how to properly cut, fit, and install a PVC sill to stay true to the nature of this renovation project.
Sponsored by VERSATEX
To remain true to the feel of the old entryway, Dan Booth selected a historical PVC window sill. To keep the trim looking sharp and clean, it’s important to maintain a consistent gap between window frame and sill, so the eye is not drawn to it. The same is true with the outside corner on the sill, this must look seamless and remain closed even against the tough elements.
In this video, Dan walks us through finding angles, cutting and fitting, gluing and installing VERSATEX’s Historic Sill on an outside corner.
Here’s the transcript:
Today we’re in the Annapolis Valley in Nova Scotia, Canada, which is where I live. Behind me is a building that used to be a general store; however, I’m bringing it back to life for my own residential use. Now that we’ve got the outside corner installed, I want to move on to the historic sill that’s going to run under the windows. But before we do that, we’ve got a couple of filler pieces that we’re going to have to install first. As you can see, we’ve already installed the seals on this corner. The biggest challenge here is maintaining a nice, tight, outside corner and keeping the reveal under the window consistent. I’m going to walk you through exactly how we do that.
The first thing you’re going to want to do is take a couple of scrap pieces, calculate your angle, and make some adjustments until you’re happy with the fit. Once you’re happy with the fit, you can just screw one of these temporary blocks in place, and that’s going to give you something to measure to. So now I can pull my measurements from my fireside to my long point here. I’m going to show you two different ways to find this outside corner angle. If you’ve got an angle finder, you can use that. Simply place it on your outside corner and then just read the gauge here. In this instance, it’s 33.5°. Another way to find this angle is simply to grab two scrap pieces of wood and line them up with your wall. All you have to do is scribe a line where they meet on the back side of this board and also on the front.
Now that you’ve got these two parallel lines, you can simply connect the dots and that’s your angle. This was our connection line. Simply put your speed square on your board, make sure your pivot point is making contact with the edge of your board, and then just follow the edge of your board down until you read the angle. In this case, it’s 33.5°. Now my angle is 33.5°. I’m going to overcut it by a half-degree. That way it makes sure that the outside corner is going to be tight. It’s important to make sure the back of your piece is flat against your fence like so. I’ve drawn a line here just for reference that I can see quickly and easily that my back of my piece is in fact in contact with the fence. When you’re making this cut, you can creep up to your mark. You don’t have to get it perfect the first time. It’s an easy way to make sure you’re not going to cut your piece too short.
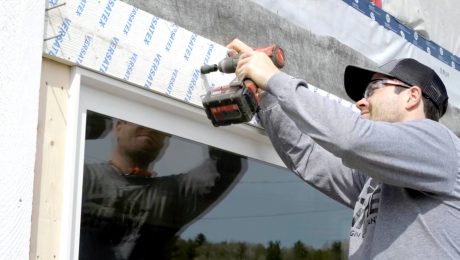
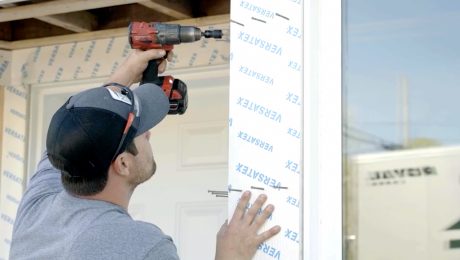
Now I’m ready to lay out my fastener pattern. It’s important to maintain your 16 in. on center and to make sure that you keep 1 in. away from the edge. When I get near the miter, I’m going to do two fasteners. This will help control the expansion and contraction of this joint, and hopefully make the expansion and contraction happen at the far end of my piece. I just want to line these up before I set a screw. So it’s important to make sure you’re maintaining your 1/8-in. gap below your window, and I’m going to go to the end and get that screw set. Again, I’m going to come back and cap all these holes with our plugs at the end of the project. Now I can take my temporary block. I can put it on the inside corner here. Now I can hook onto my long point on this inside corner and measure out to my long point on the piece I just installed.
So we’re just getting ready to cut the outside miter. Again, that’s 34°. Again, I want to make sure that I’ve got the back of my piece in full contact with the fence before making this cut. Now that I’ve got my one long point, I can measure off of that and mark my other long point. I’ve already determined this inside corner with the same method as I showed you on that outside corner. In this instance, it’s 21°, and I’m just making sure that I’m happy with this fit. Now I can set my saw to 21°. Again, you can creep up to your mark so you don’t cut your piece too short. So now I can just test my piece. I’m going to lay out my screws and get them started so it’s easier to install.
Now that I’ve got my pieces cut, I’m going to screw off the fireside and work my way toward this joint, and I’ve just left these screws proud so that I can pull them out, apply glue, and get this joint nice and tight before I send these screws home. With this being the summertime, I’m only going with a 1/8-in. gap between the window and the sill. If this was the middle of winter, I would go a little bit larger, knowing that that’s going to expand in the summer heat. As you can see, this sill has a slight roll to it. So all I’m going to do to fix that is drive a screw up through the bottom of the sill and into the trim. Again, we’re using the Weld-On, which is a PVC glue that VERSATEX recommends. Don’t be afraid to use a little more glue than you think you need. We want to maintain this joint nice and tight over the seasonal changes.
Now I just want to line up my joint and slowly screw this off. We’ve got a couple of minutes to make this joint perfect before the glue starts to set up. I’m happy with the joint, but I just want to make sure I’ve got enough glue in there. All I’m going to do is put some tape on either side of this crack, and I’m going to feed some extra glue in that joint just to ensure that we’ve got a good bond between our two pieces. This is at the front entry, so I really don’t want this joint to open up. Now the good thing about this glue is that it actually fuses the two pieces together, so having a little bit extra in here is not going to hurt anything. I’m just going to try and push it down into the crack a little bit with this brush. And the great thing about the VERSATEX Trimboard is that it has this protective coating on it, so I don’t have to worry about taping that off.
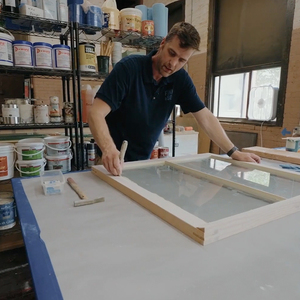
Now I’m going to remove the tape while the glue is still wet, and I can clean up any excess glue now before it starts to set up. We just finished installing the sill. It gave us a little bit of trouble, but we’re happy with the fit now. I’m going to be fabricating some panels to go below the windows, and I’m going to be installing them at a later date. All we have left to do now is to plug our holes, peel off this protective film, and install our drip cap flashing above.
RELATED STORIES
