Exterior PVC Trim: Joining Long Runs
Lead carpenter Dan Booth demonstrates his favored approach for installing and joining an extended section of PVC trim using shiplap joints.
Sponsored by VERSATEX
Lead carpenter and project manager Dan Booth of Niche Design Consultants makes his living in the precarious and often extreme weather conditions of Nova Scotia that vary from from blasting sun to extreme cold. On this project, Dan is restoring the entryway to an old general store that sits on the back of his property. He will likely use this space for a shop and personal space. As a material choice, Dan selected PVC, provided by VERSATEX, for its durability and workability.
In this video, Dan walks us through his preferred method for installing a long run of PVC trim when joining two pieces: the shiplap joint.
Here’s the transcript:
Today we’re in the Annapolis Valley in Nova Scotia, Canada. Behind me is a building that used to be a general store; however, I’m bringing it back to life for my own residential uses. With Nova Scotia being on the east coast of Canada, we deal with a variety of different weather conditions, from hot, sunny days to freezing cold temperatures. Dealing with such fluctuations in temperature means there’s a lot of expansion and contraction that can happen with your trim. I’m going to take you along and show you some of the things I do to help reduce those impacts.
Today we’ll focus on on the entrance to the old general store. We’ll be trimming out the windows and doors with PVC VERSATEX trim. We will restore this entire entryway, starting with these large windows. With these windows being so large, we’re going to have to install this piece by piece. If these were smaller windows, I would preassemble it and install it. The first piece we’re going to start with is this header piece that’s going to run all the way across and join the two windows. We’re going to start with that because it’s the longest run, and then we can butt all of our other trim up into it.
Some of the challenges when dealing with such long runs is you’re going to have a lot of expansion and contraction. You’re also going to have a joint, because this is longer than 18 ft., which is the length of a piece of VERSATEX. So when you’re dealing with a lap joint, there’s a couple of different options. The method I like to use is a shiplap. When I make my shiplap joints, I like to use a router. All you have to do is set your depth to half the thickness of your material and use your square as a guide, working your way up to your line.
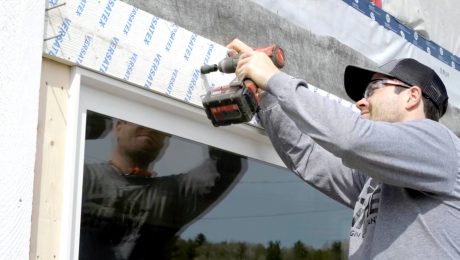
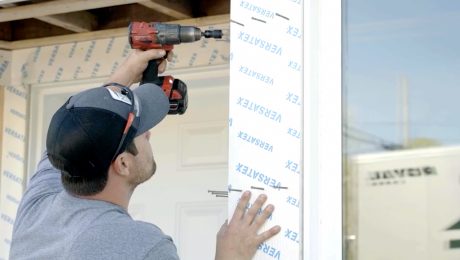
Now that I’ve got half of my shiplap joint cut, I’m going to lay out my screws and get them started so it’s easier to install. When fastening VERSATEX, I like to stay an inch away from the edge and an inch away from the end. When you’re fastening a shiplap joint, you’re required to have two sets of fasteners near the joint. Fastening patterns vary. With wider trims, you’re going to need more screws. This being a 1×8, we’re required to have three screws every 16 inches. I like to get the screws started so that way, when you put the board up in place, you can just send the screws right in.
As you can see, I’ve left a 1/8-in. gap between the window frame and the trimboard. VERSATEX recommends doing this to allow for adequate sealant or caulking. The great thing about these screws is there’s no predrilling required. The screw itself creates this cavity that is then capped with a plug once we’ve installed all our trim. On this piece, the end of this cut is going to be exposed. Anytime you have exposed cuts, VERSATEX recommends sanding those ends to seal them.
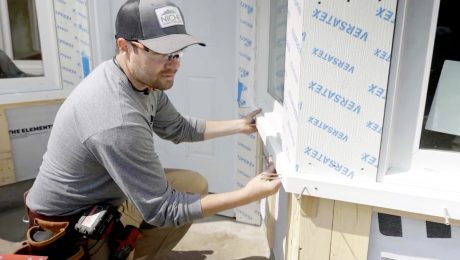
Now that I’ve got this end sealed, I’m going to work on the other half of the shiplap joint. It’s always a good idea to dry fit your pieces to see if you’ve got a good fit before you apply any glue or fasteners. When joining PVC with a shiplap joint, VERSATEX recommends two options. Option 1 is to use fasteners and leave a small gap and fill it with sealant. This is great for long runs, like fascia boards. When you’re doing a shorter run, like I’m doing here, we chose to glue the two pieces together and then face screw through the piece.
So all I’m doing here is applying this PVC glue, and this is what’s going to hold this shiplap joint together. You want to make sure you only apply it on one of the two pieces, and what happens is it actually bonds the PVC together. It’s a little viscous, so all I’m doing here is ensuring that I have even coverage. One of the great things about VERSATEX is that it comes with this protective film. It’s great for when you’re laying out your cuts or your screws, but it also helps protect the product while you’re installing it. You can take it off at any time. I prefer to wait until the product is installed; this helps protect it throughout the duration of the installation.
RELATED STORIES




View Comments
Interesting vids. Went to versatex website only to find zero dealers within a 500 mile radius of my zip code. No I don’t live in the boonies, there’s about 25 million people in that search radius. Yet another time that fine homebuilding highlights a product that isn’t readily available to me.