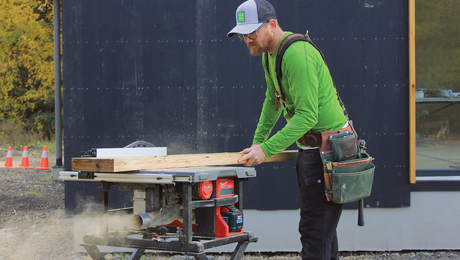
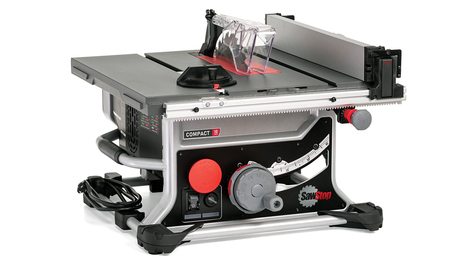
Dialing In a Job-Site Tablesaw
Tune up your saw and add a few simple jigs for an efficient, accurate, and dependable tool.
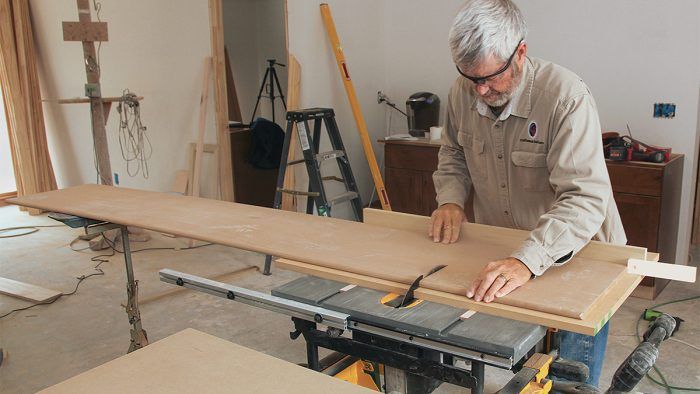
Synopsis: In this article, Gary Striegler shares his tips for adjusting a job-site tablesaw to enhance safety and accuracy. He covers these procedures: truing the blade and fence for precise cuts, providing infeed and outfeed support, ripping tapers, and making safe plunge cuts. He also shares his design for an easy-to-build sled for when he needs to crosscut pieces that are too wide for the miter saw, and he gives instructions for using the sled.
When I started my construction business, a tablesaw was one of my very first purchases. Since buying it, I have learned volumes about tablesaw setup and technique. And by working around dozens of great carpenters over the years, I have built up a sizable collection of tips and tricks for working safely and efficiently with a tablesaw.
As versatile as this tool can be, it can also be one of the most dangerous if not operated properly and carefully. A good starting point is “Make Any Tablesaw Safer” (FHB #293), an article that outlines the basics for how to use a tablesaw safely, including making a simple job-site push stick, understanding the benefits of riving knives and guards, using the right blade, and having the correct blade insert for the work you’re doing. With those basics out of the way, I’ll demonstrate here how to get a saw in shape for high-end trimwork.
Before turning on my tablesaw, I always check that it is adjusted correctly to help ensure the safest and most accurate cuts. After walking you through the process of adjusting the various parts of the saw, I will show you a must-have cross-cut sled and jigs for making long tapered rips safely and easily.
True the blade and the fence for precise cuts
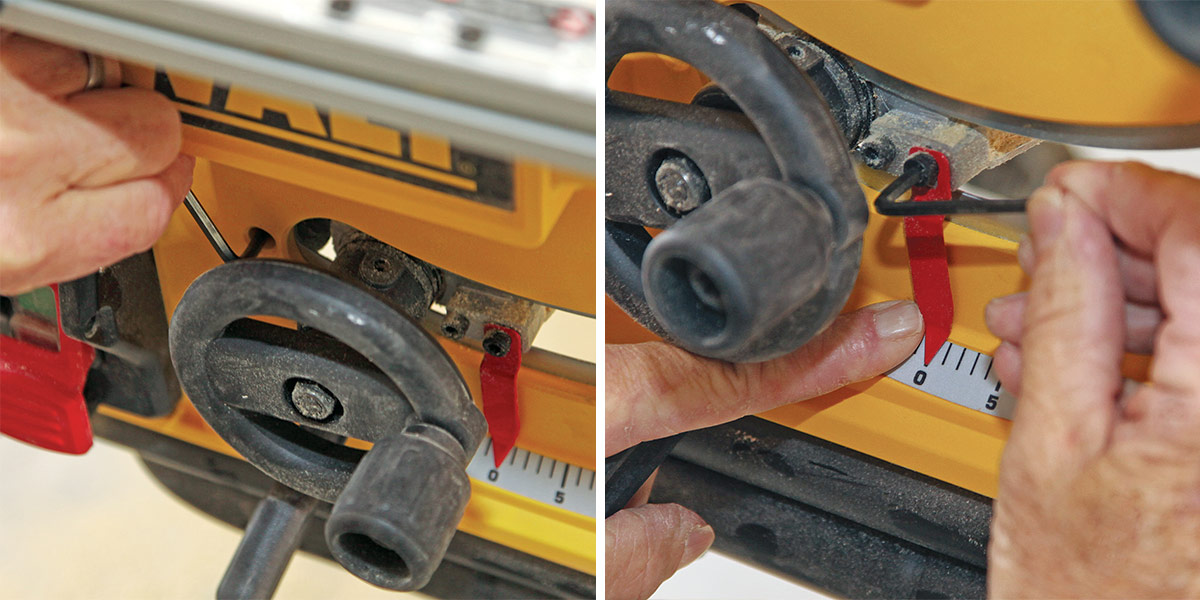
Square the blade to the table
Every time I move my tablesaw to a new location, I make sure that the blade is square to the table. This is critical for doing fine finish work. Many carpenters use a framing or rafter square, but I find it easier to use a board cut square on the miter saw. Once I have set the blade square and set the angle stop and pointer at 0°, I repeat the process to set the 45° angle stop.
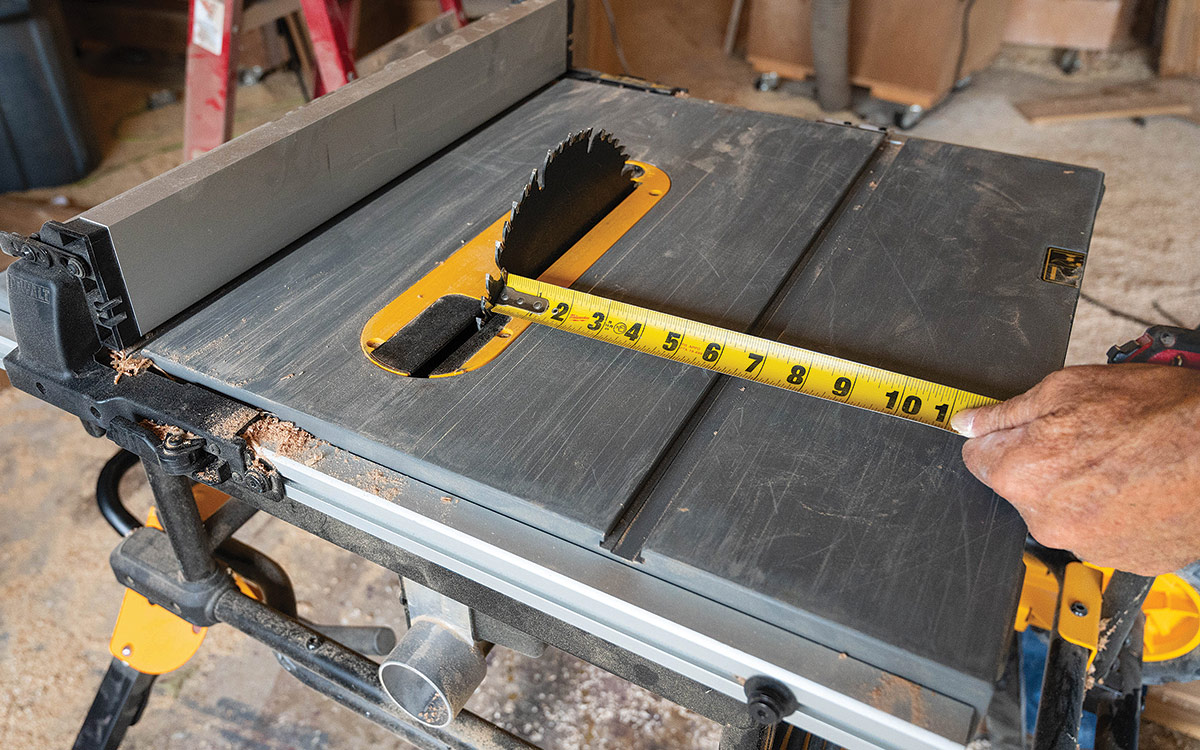
Align the blade to the miter slots
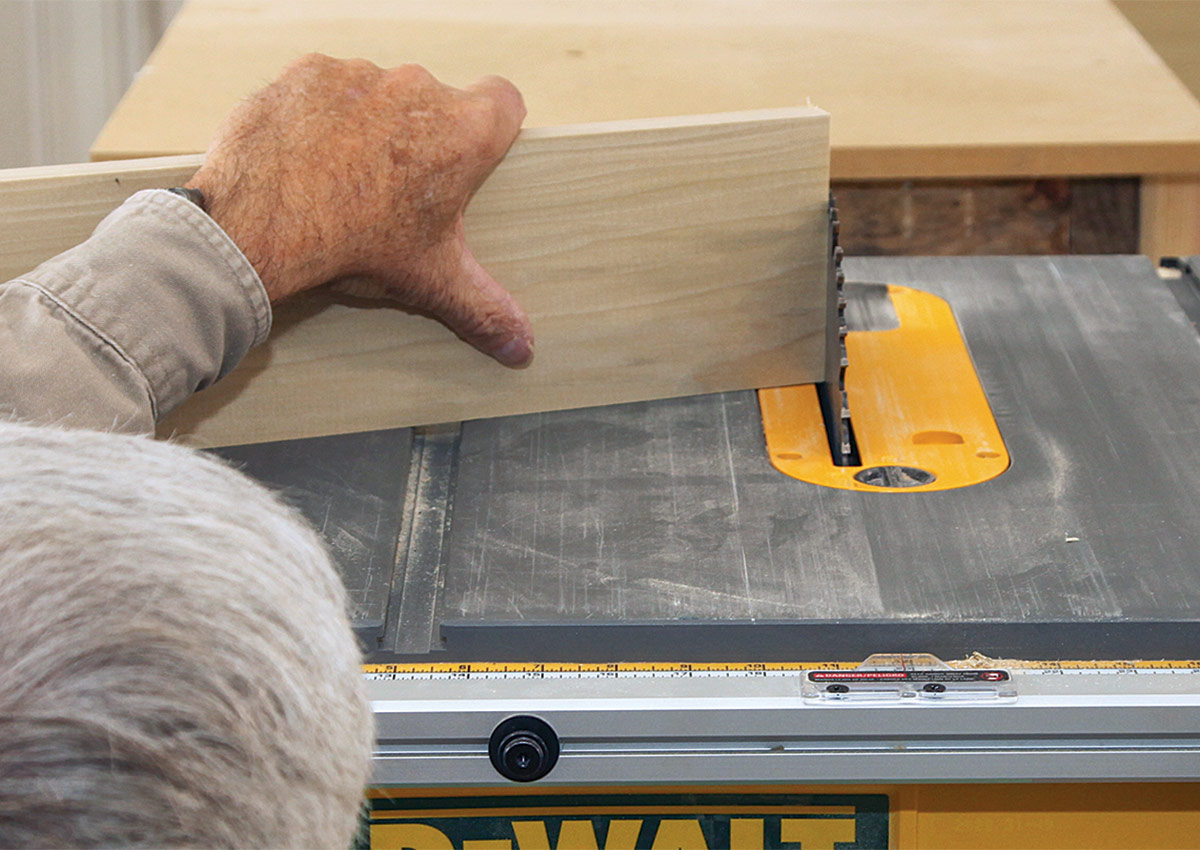
Another more subtle adjustment is making sure that the track of the blade is perfectly parallel to the miter slots in the table. That adjustment usually involves moving the motor housing slightly. This adjustment is absolutely critical for making and using a sled jig.
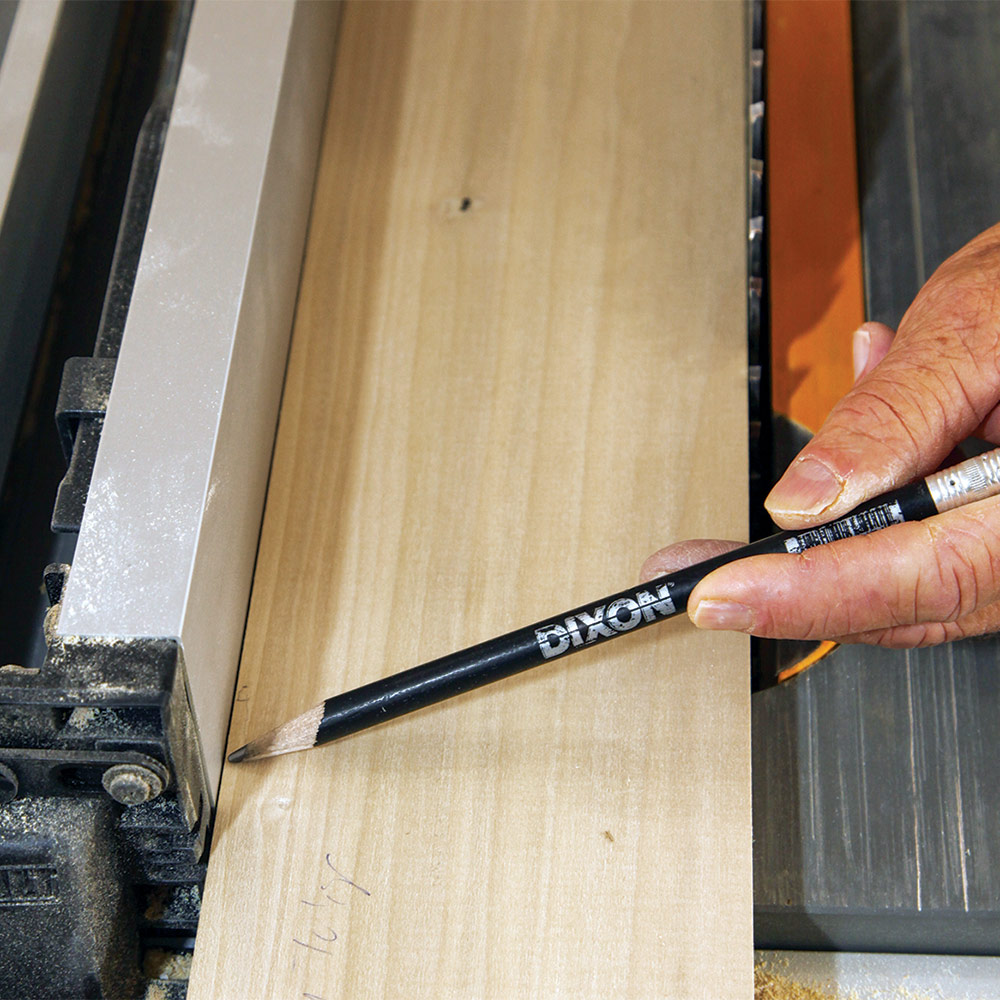
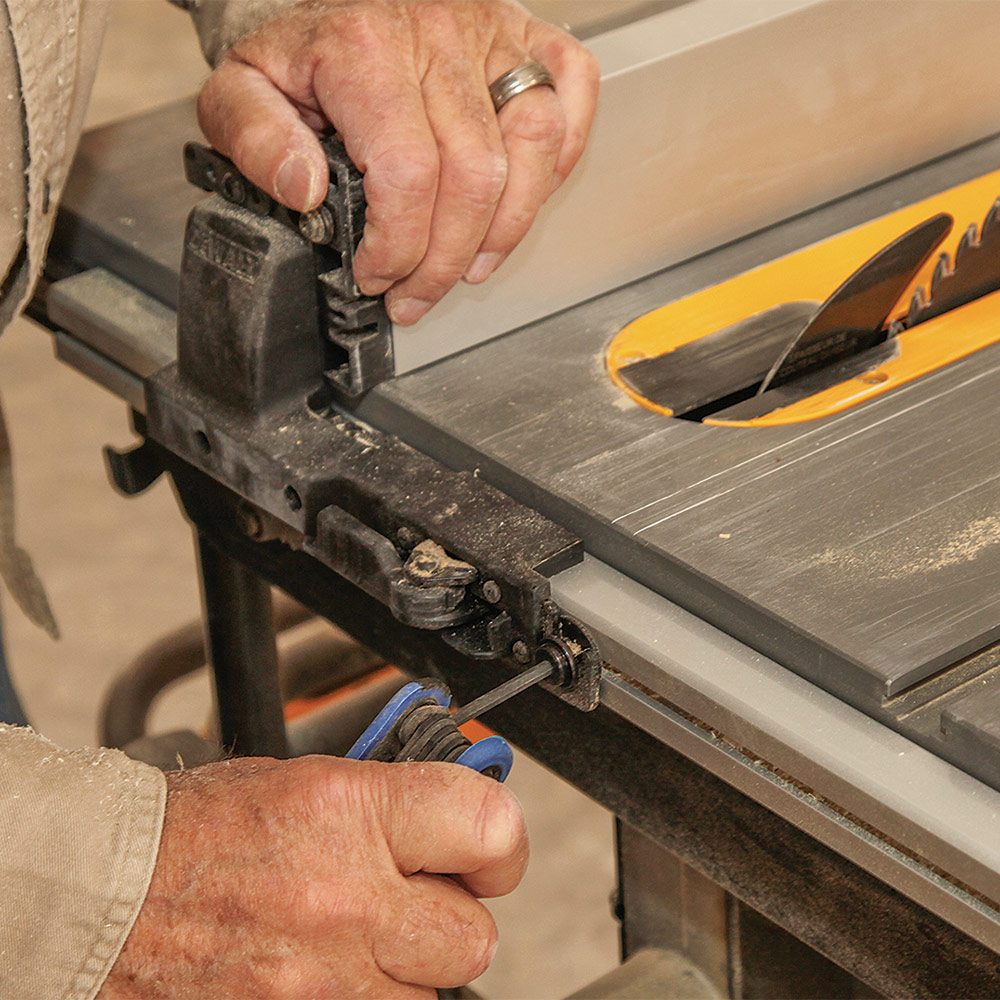
Adjust the fence
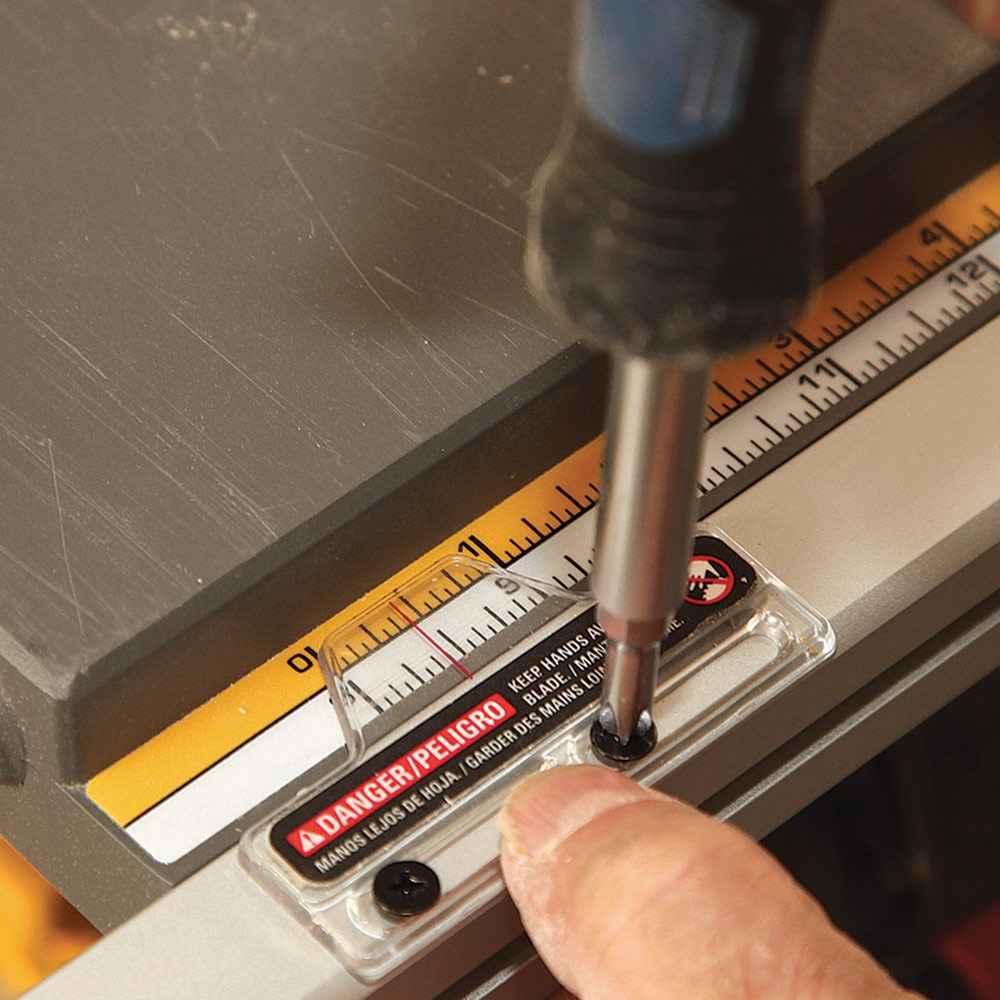
With adjustments to the blade locked in, the final thing I check is the rip fence in the locked position. If work is starting to bind or burn, it’s usually a sign that the fence is out of parallel with the blade and too tight on the outfeed side. I adjust the fence accordingly with a slight gap on the outfeed side. For efficient work, I like to use the measuring scale on the rail that holds the fence to set the width of my rips. So while I’m adjusting the rip fence, I also calibrate the rip scale.
Support infeed and outfeed
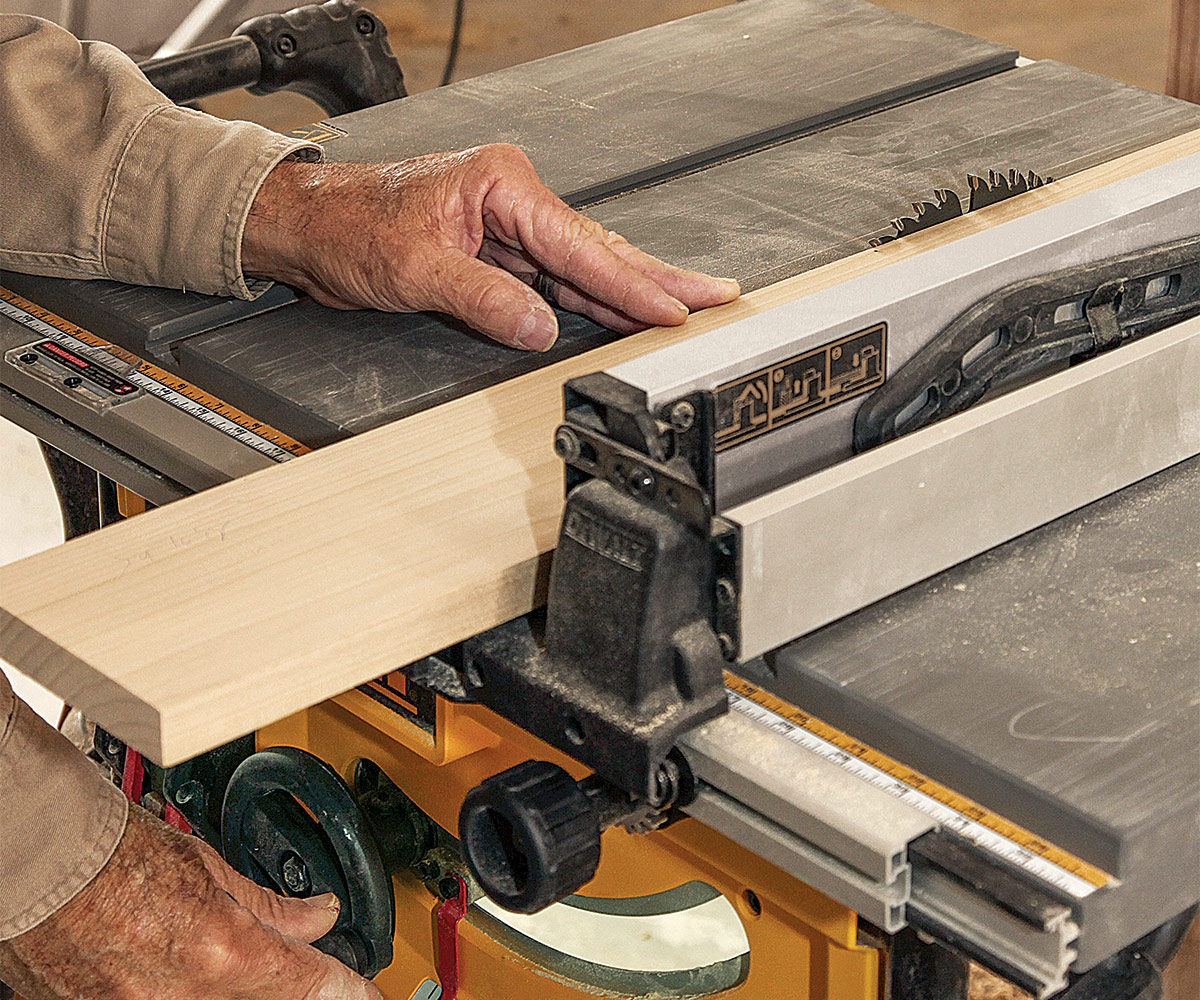
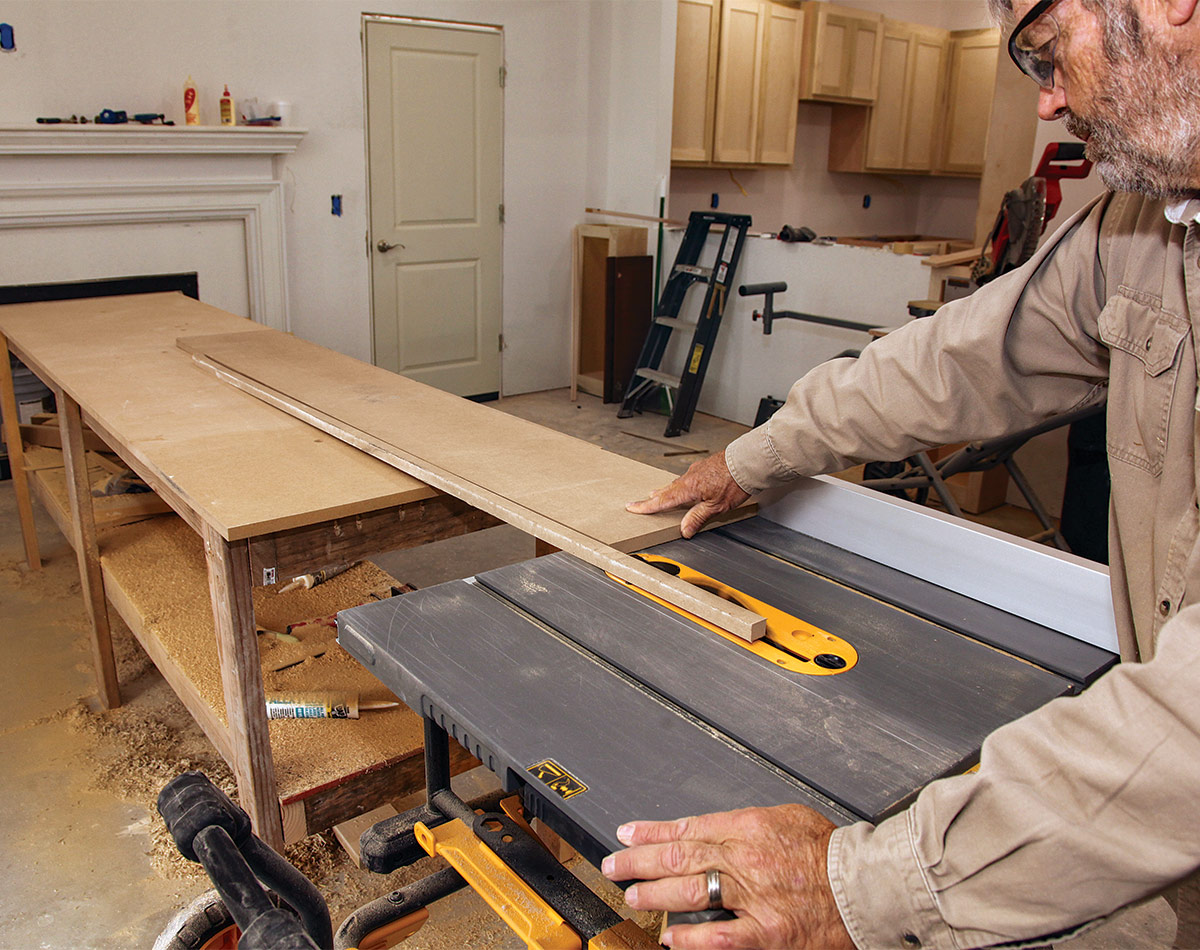
On most projects, I need a workbench and an outfeed table for my tablesaw. By building a bench to the right height, I can position it to be both my work surface and outfeed support for ripping long boards. There are a couple critical safety concerns when feeding material through a tablesaw: Be sure to push the material well past the blade after each rip, and always keep material flat on the saw table as you feed it into the blade.
Three ways to rip tapers
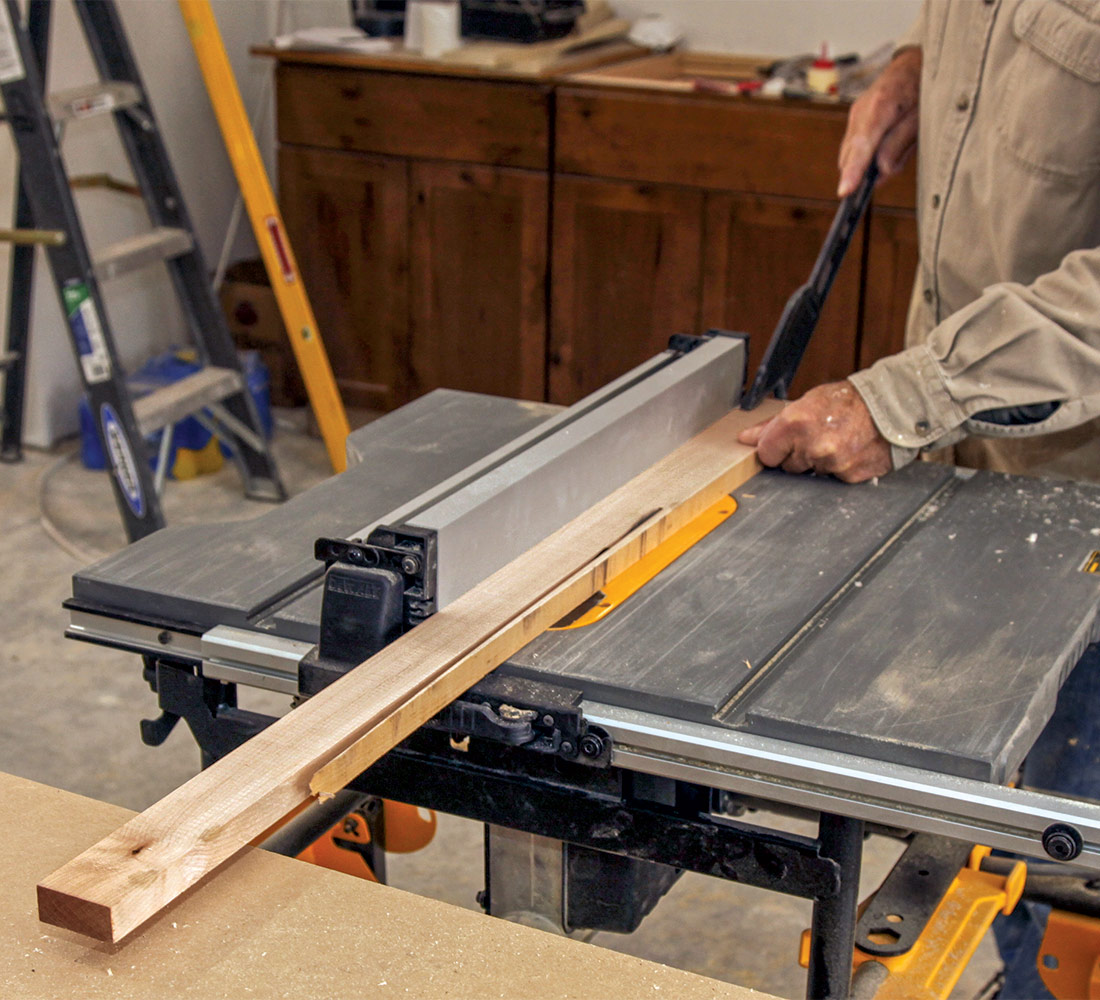
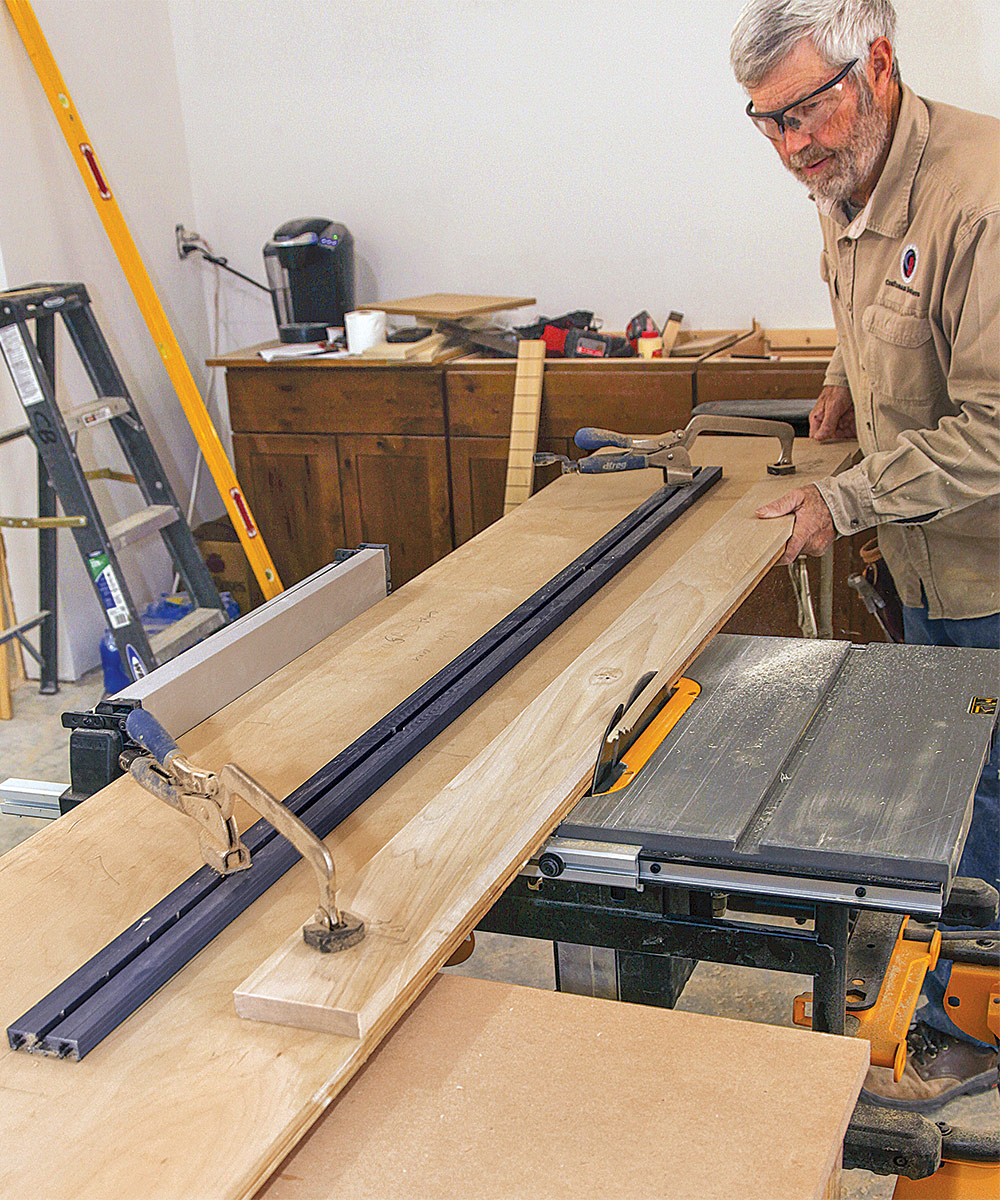
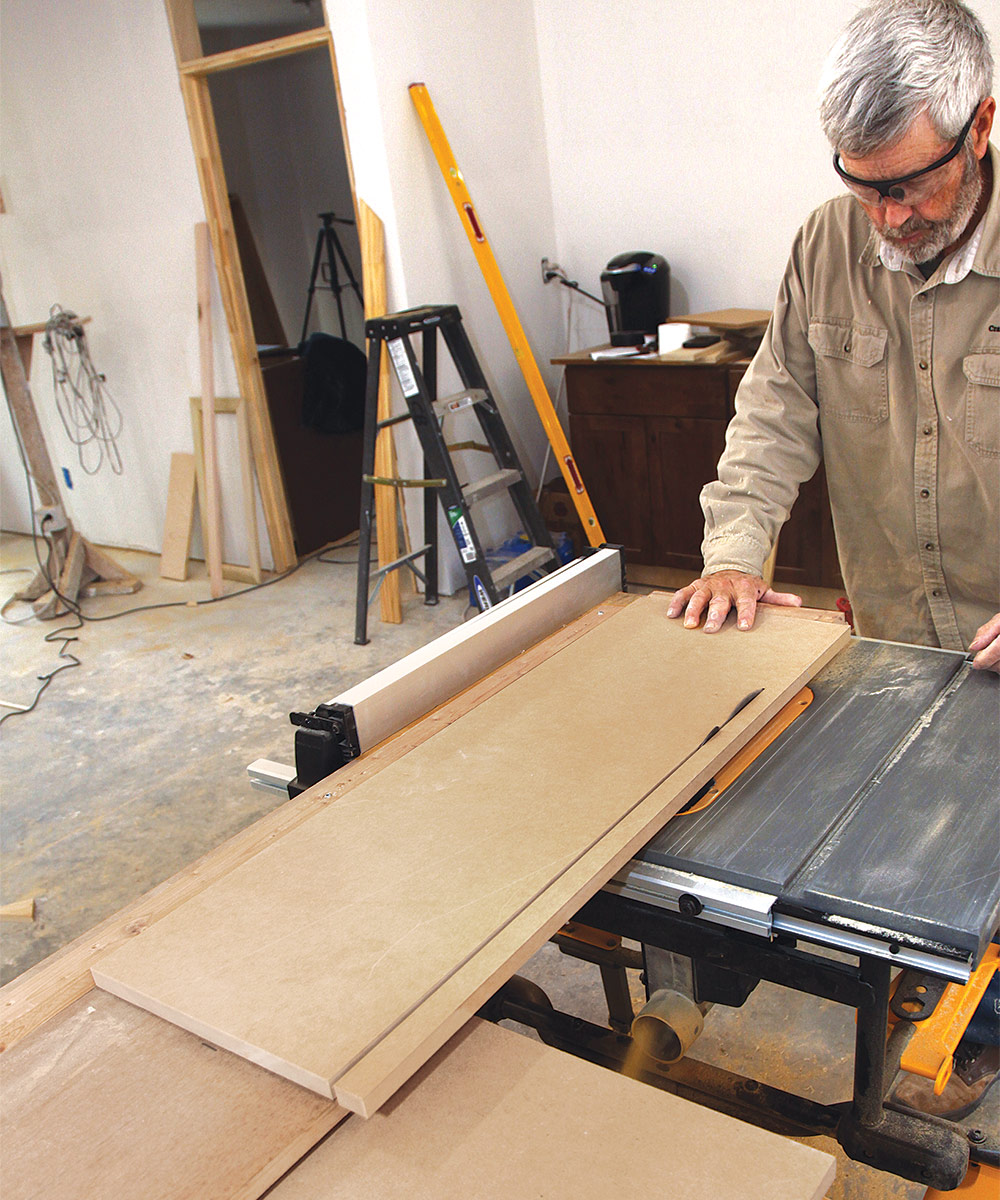
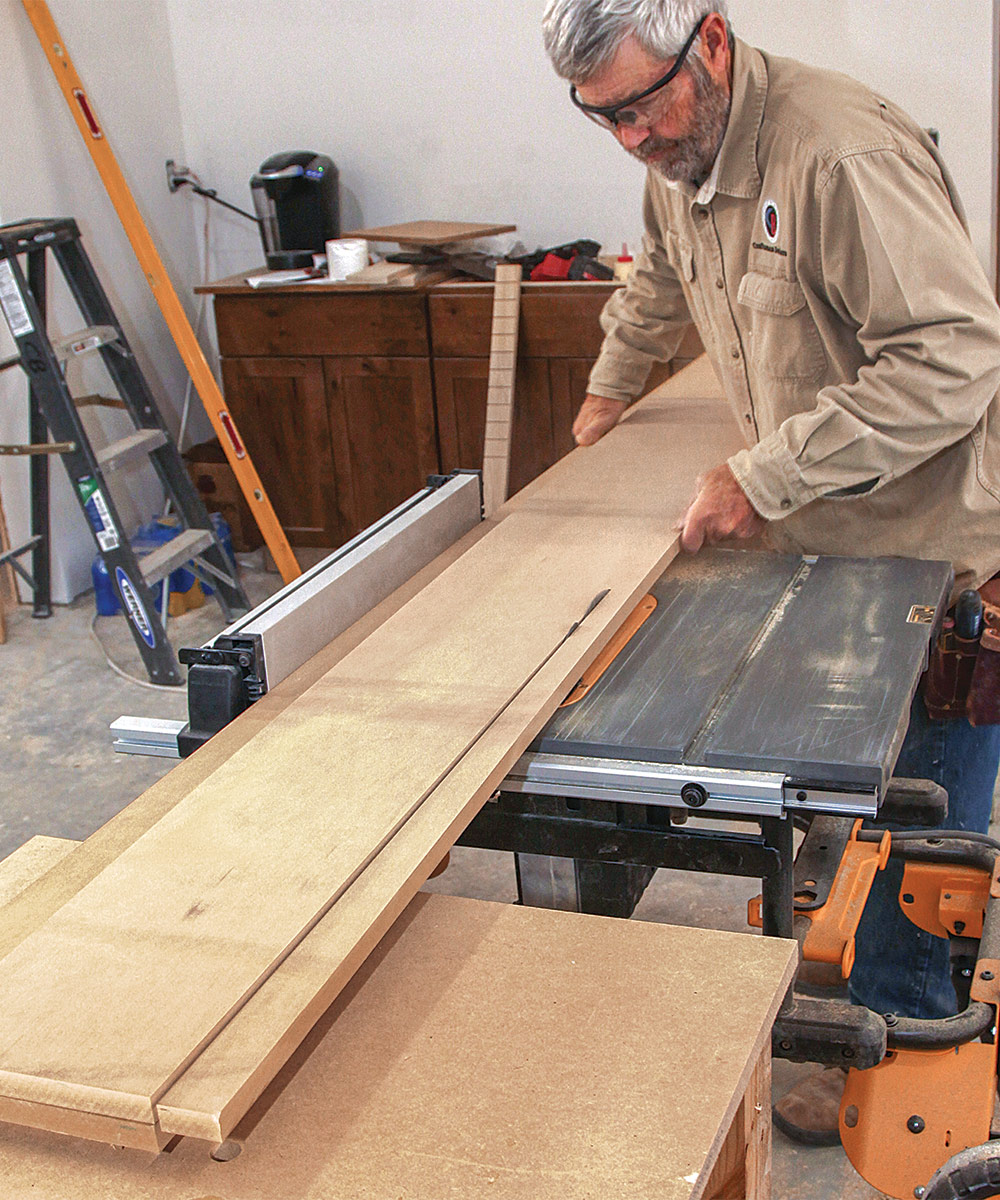
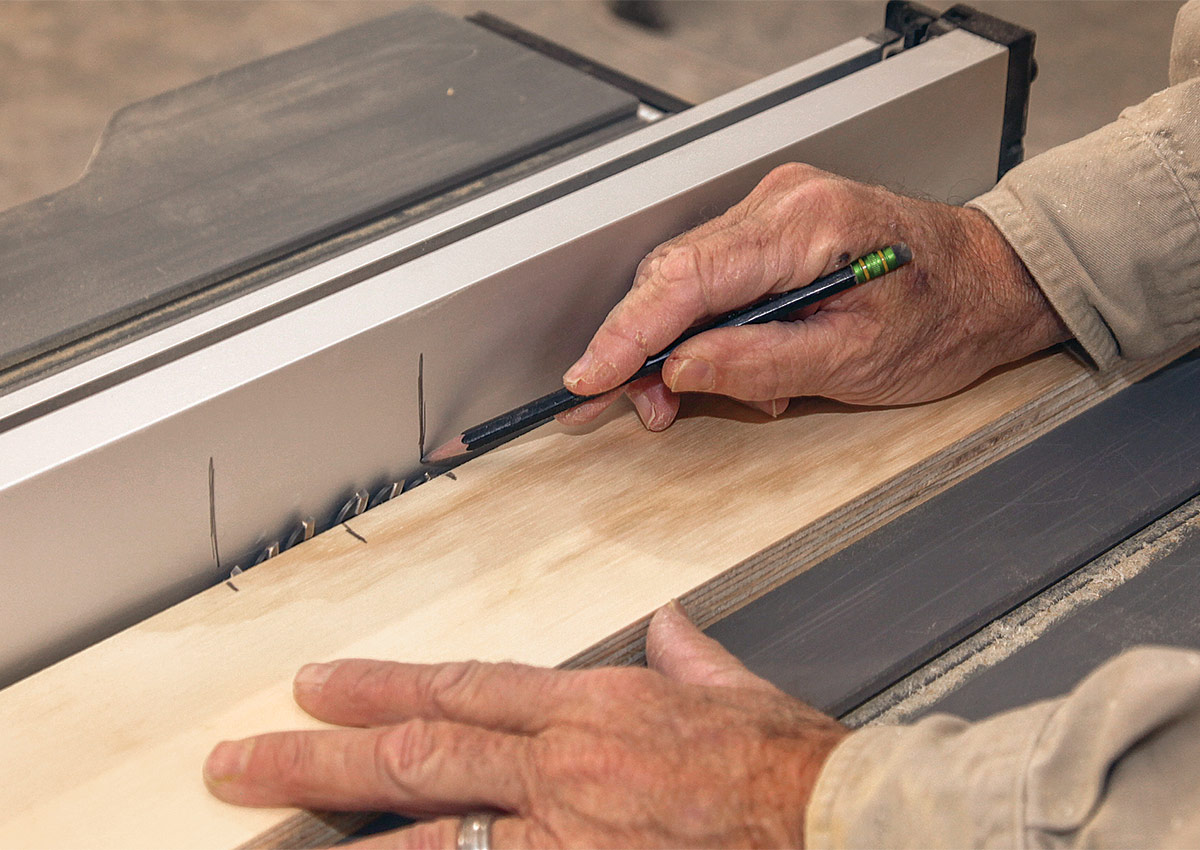
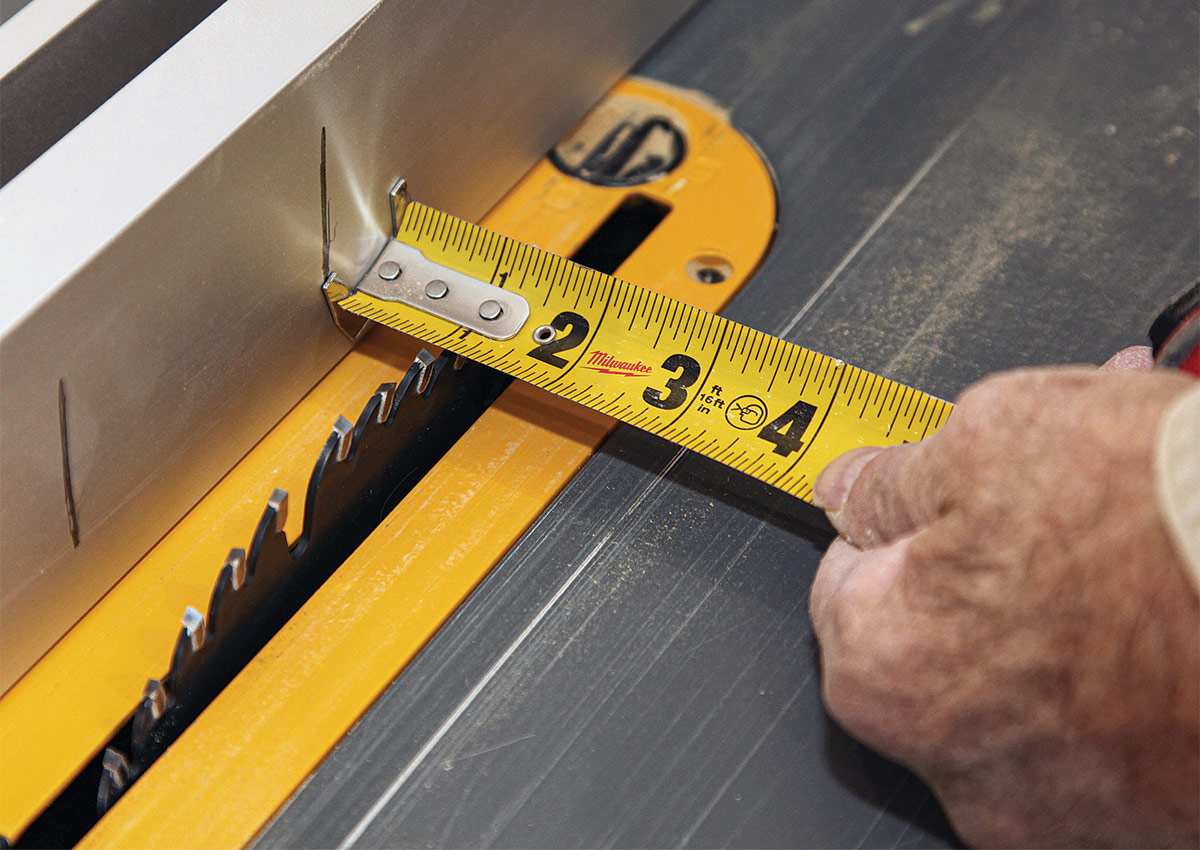
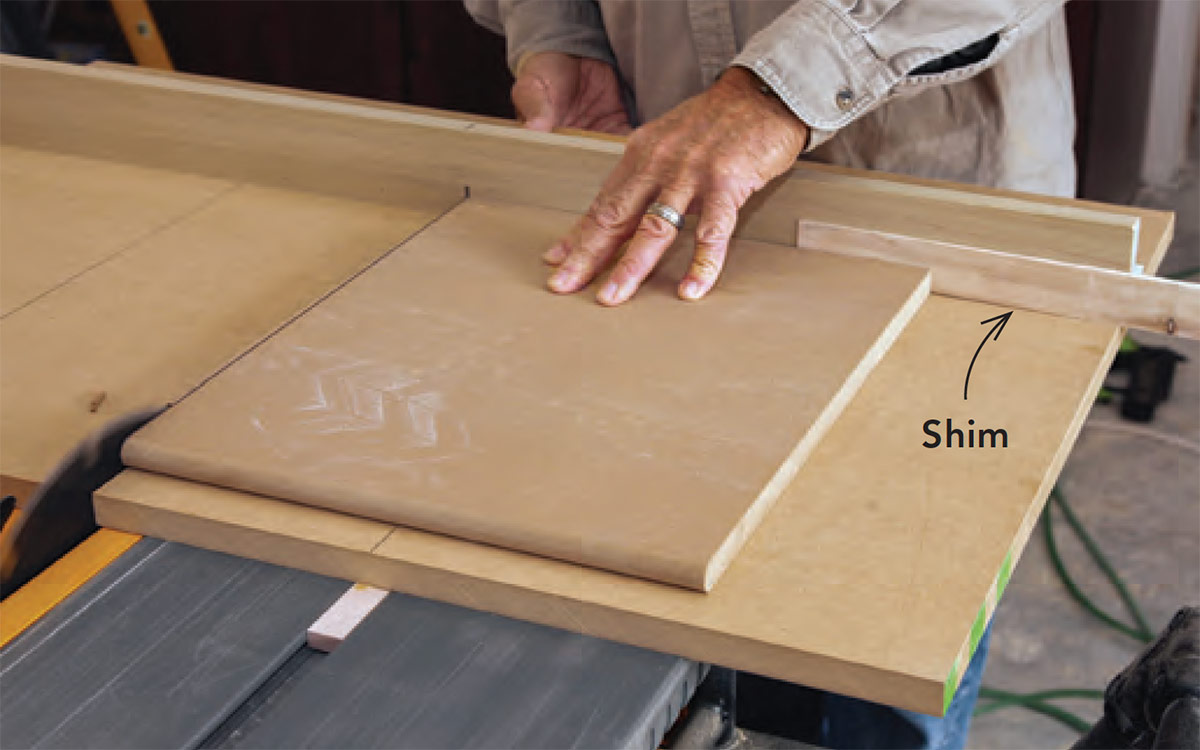
I use a couple of different sled jigs for making long tapered rips when I need them for things like extension jambs. Each of these options starts with a length of shelf stock 10 in. to 12 in. wide placed next to the tablesaw fence so that the shelf stock just touches the saw blade. I measure the width of my tapered rip from the edge of the shelf stock and mark those widths at each end. Then it’s just a matter of lining up the work with the marks and choosing a strategy for securing the work to the shelving stock.
Safe plunge cuts
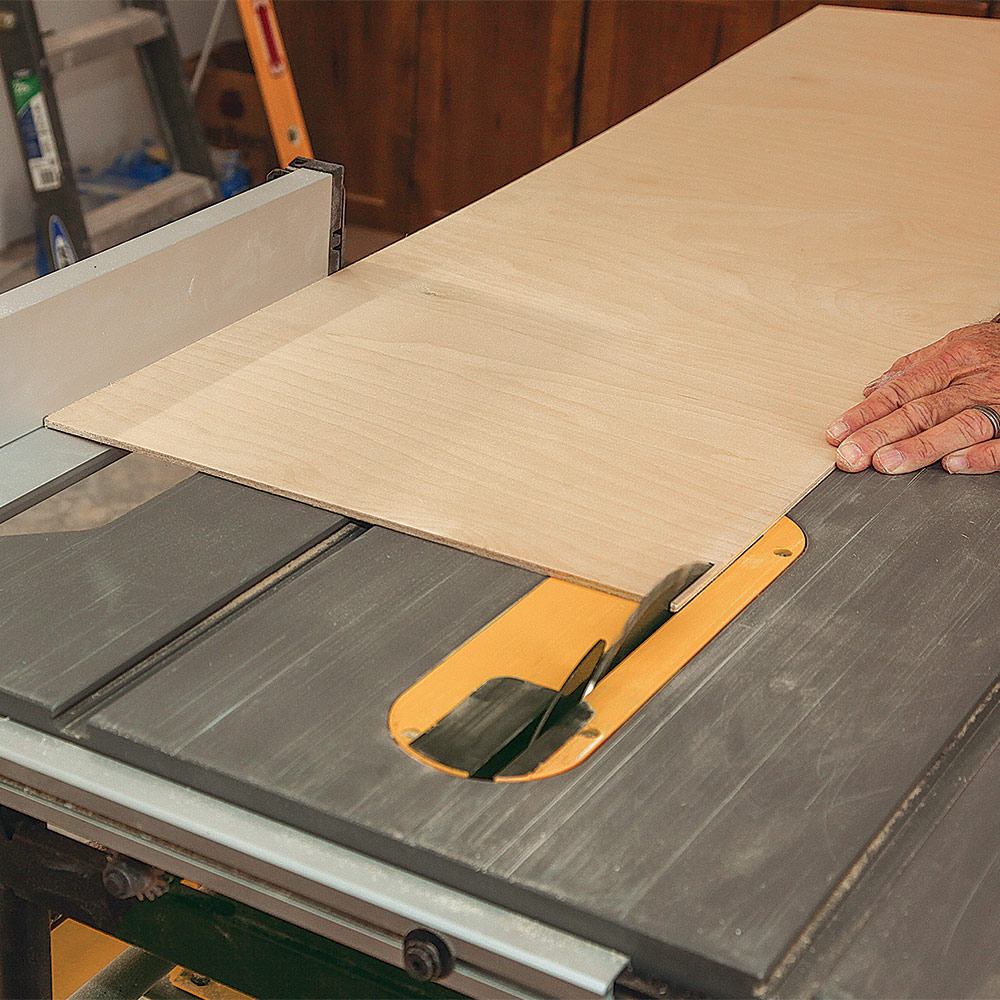
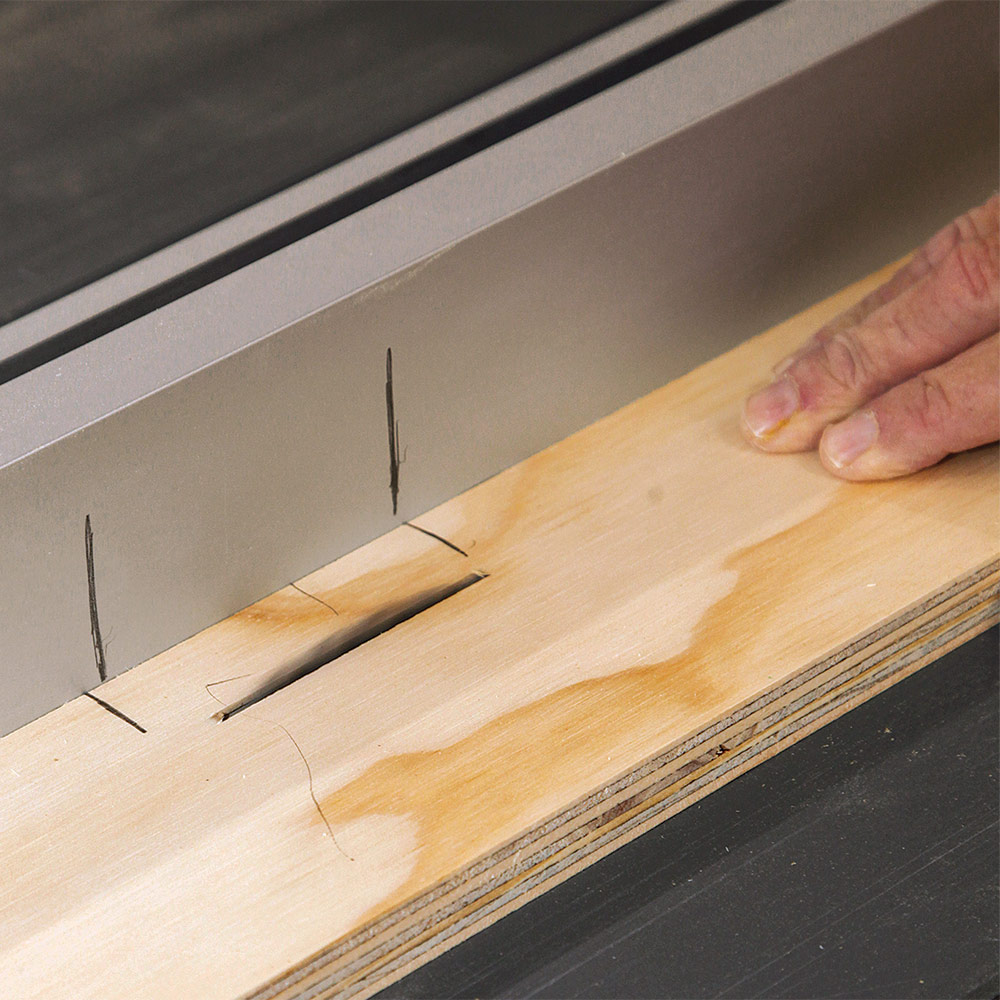
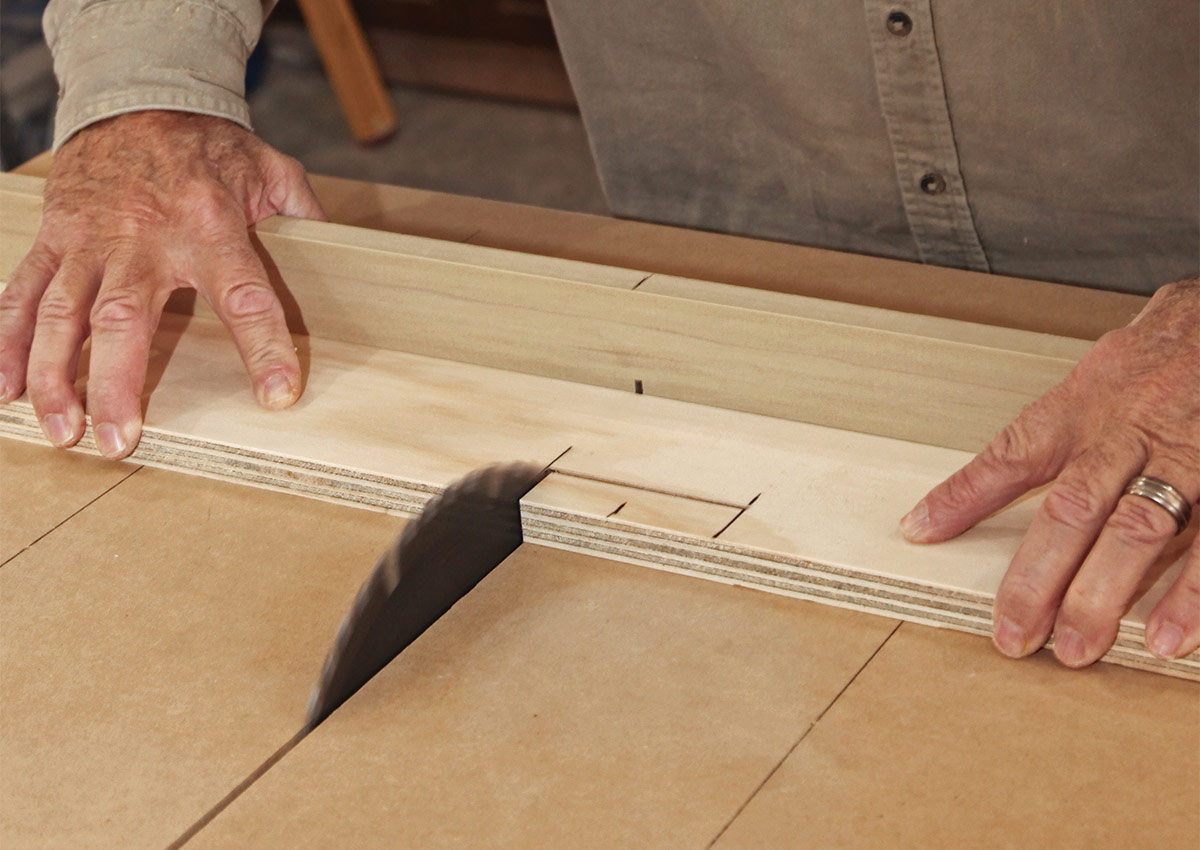
Although it’s somewhat infrequent, carpenters can face the challenge of making a partial cut in plywood or trim stock on the tablesaw. Plunge-cutting involves raising the blade into the work when a full rip cut is not called for. One example is the hinge mortising jig that I’m working on here. I start with a length of ¾-in. plywood as long as the door and lay out the hinge positions along one edge.
An easy-to-build crosscut sled
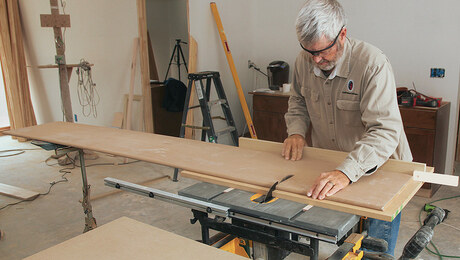
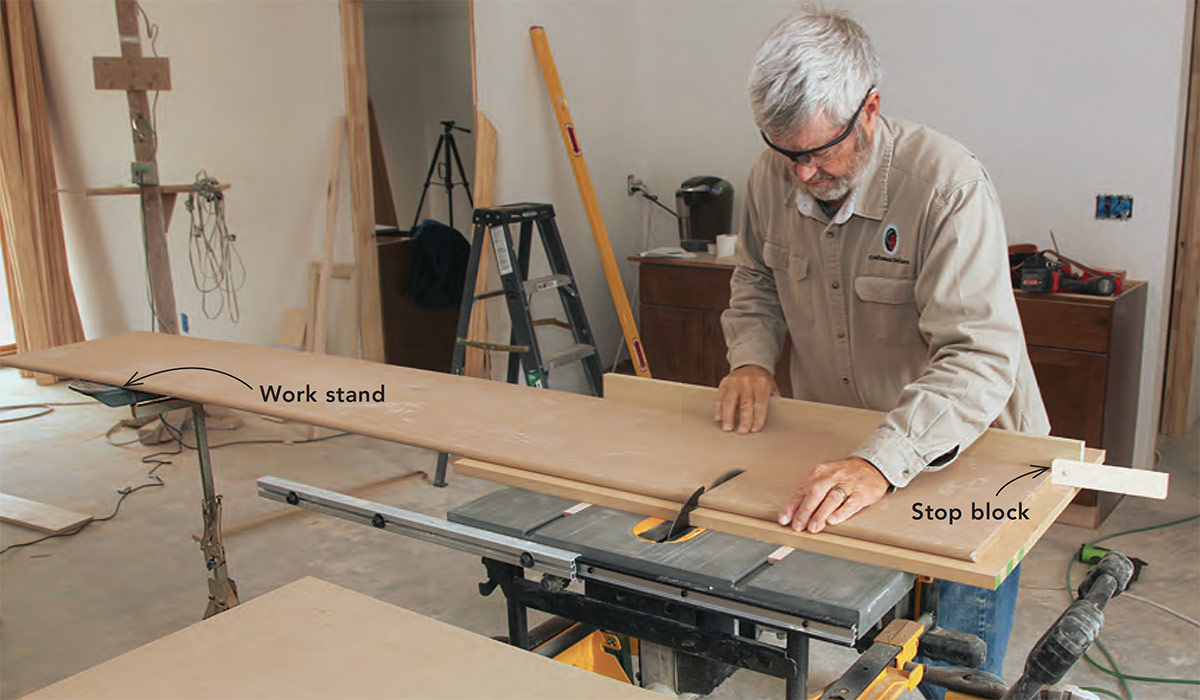
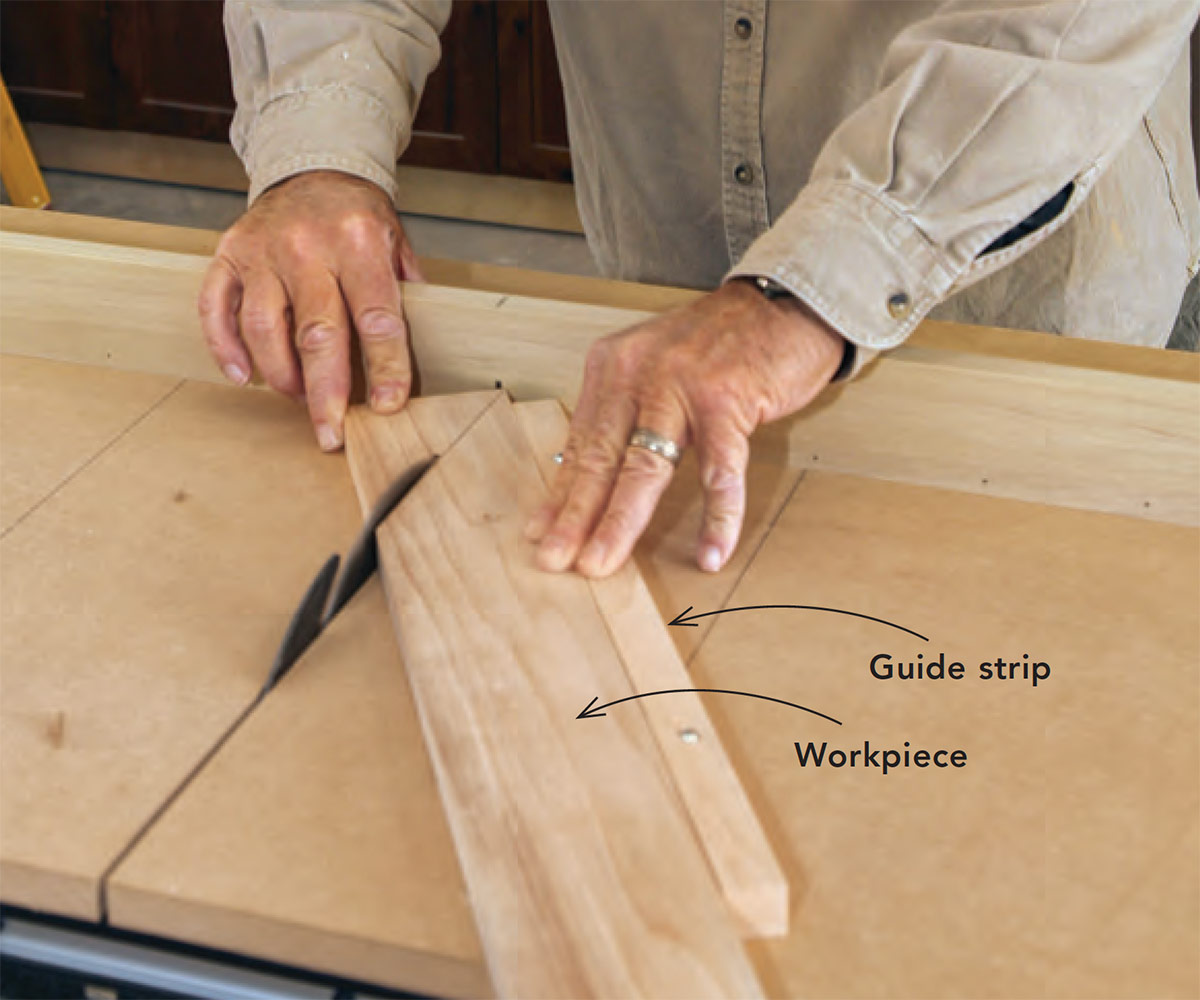
I use a tablesaw primarily for ripping, but when I need to crosscut pieces that are too wide for the miter saw, such as deep shelving, I use a shop-built sled. The accuracy and smooth operation of the sled depend on having the blade perfectly aligned to the miter slots in the saw table.
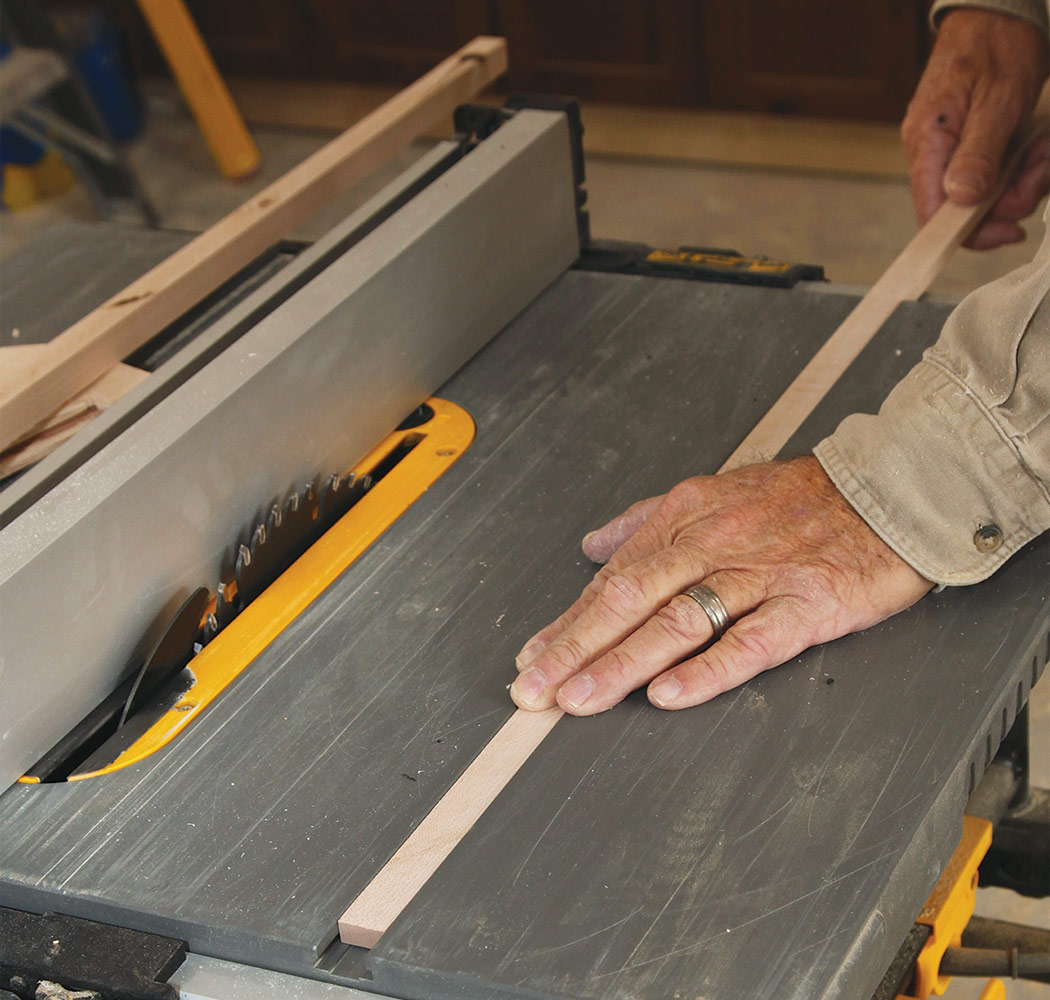
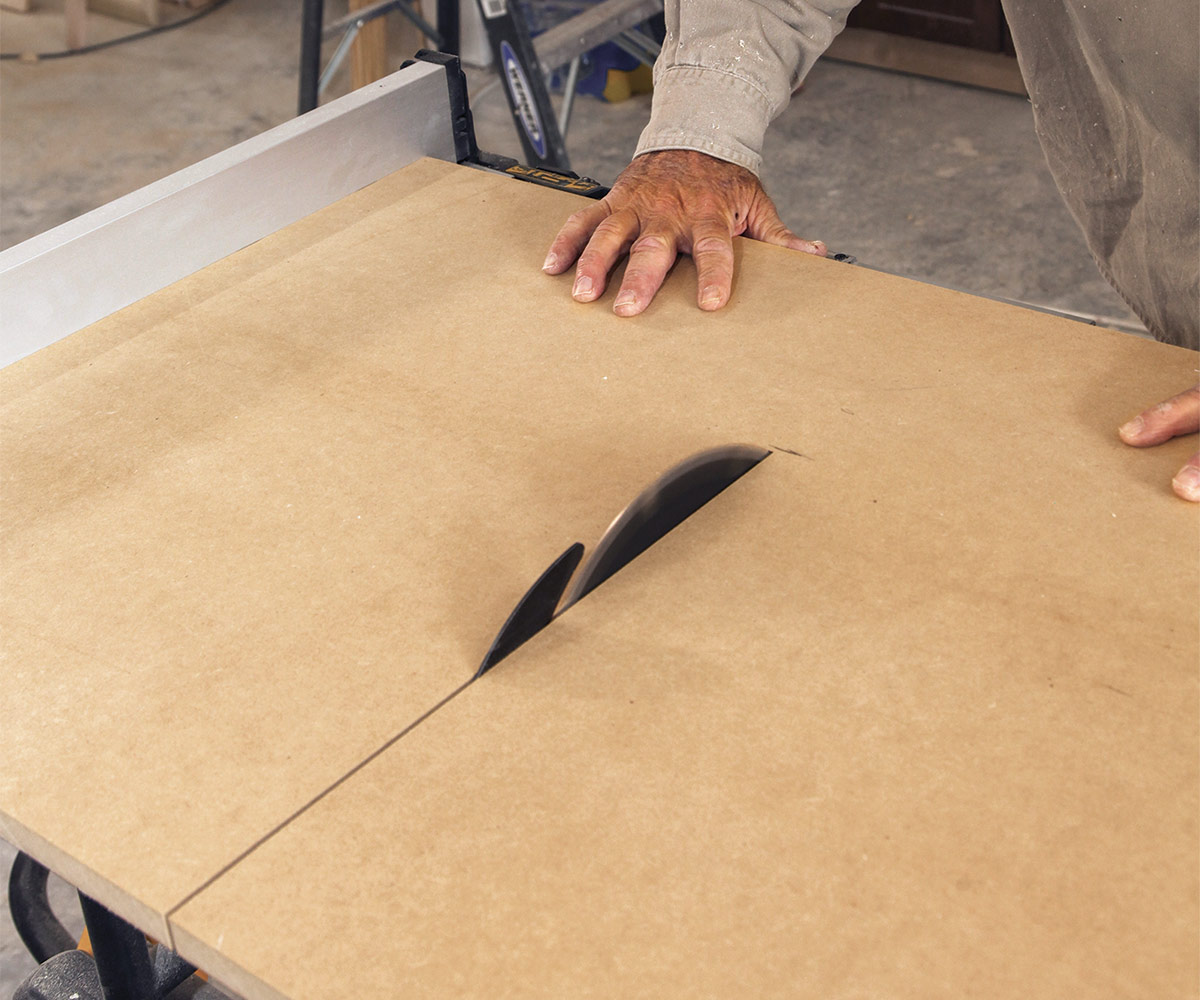
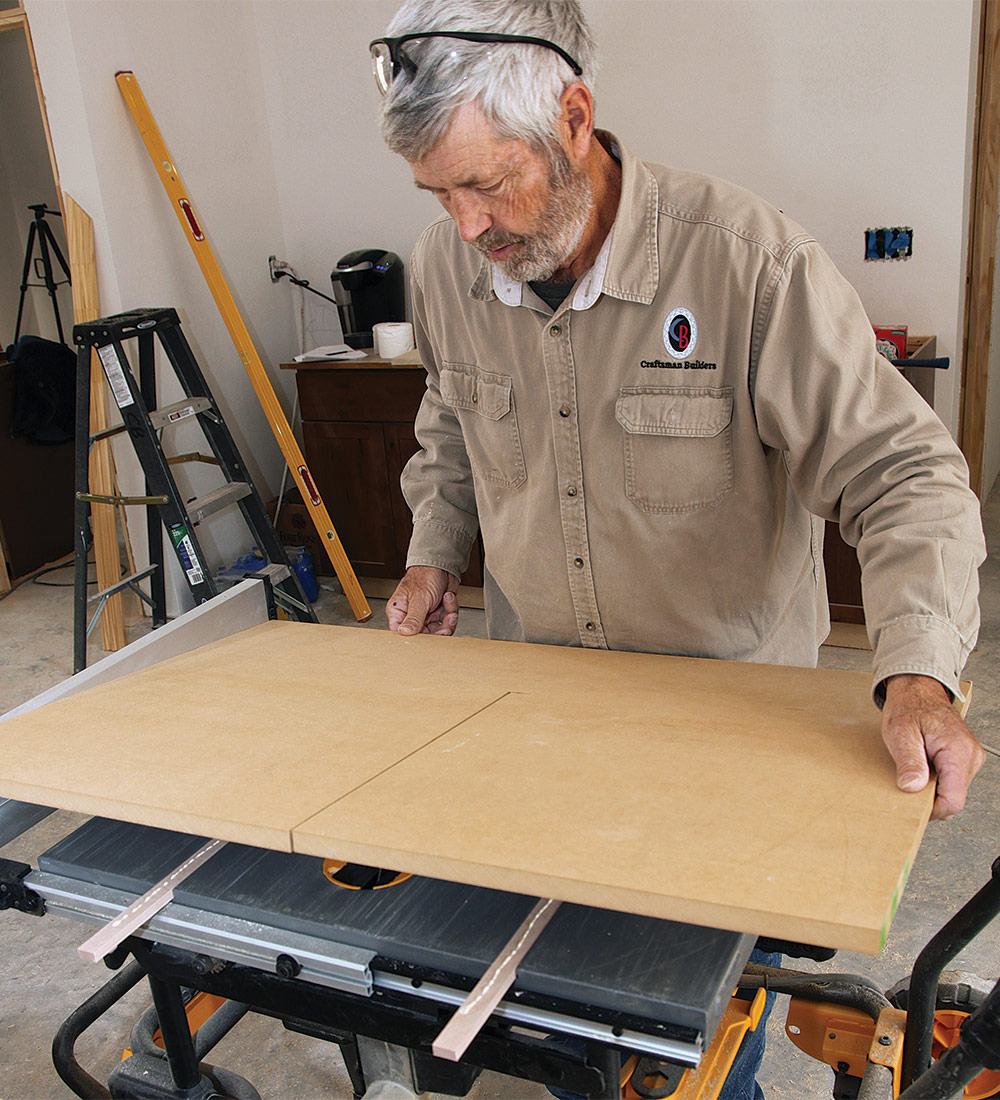
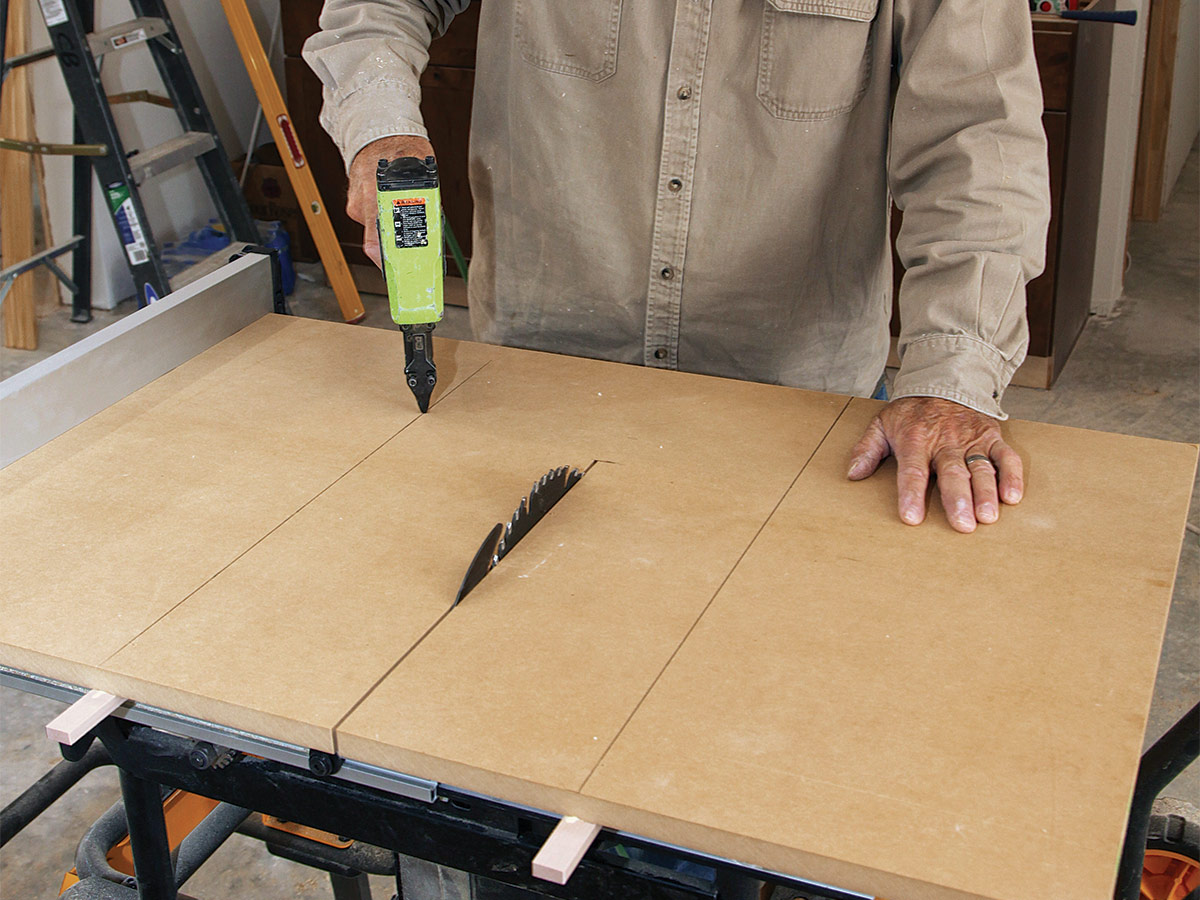
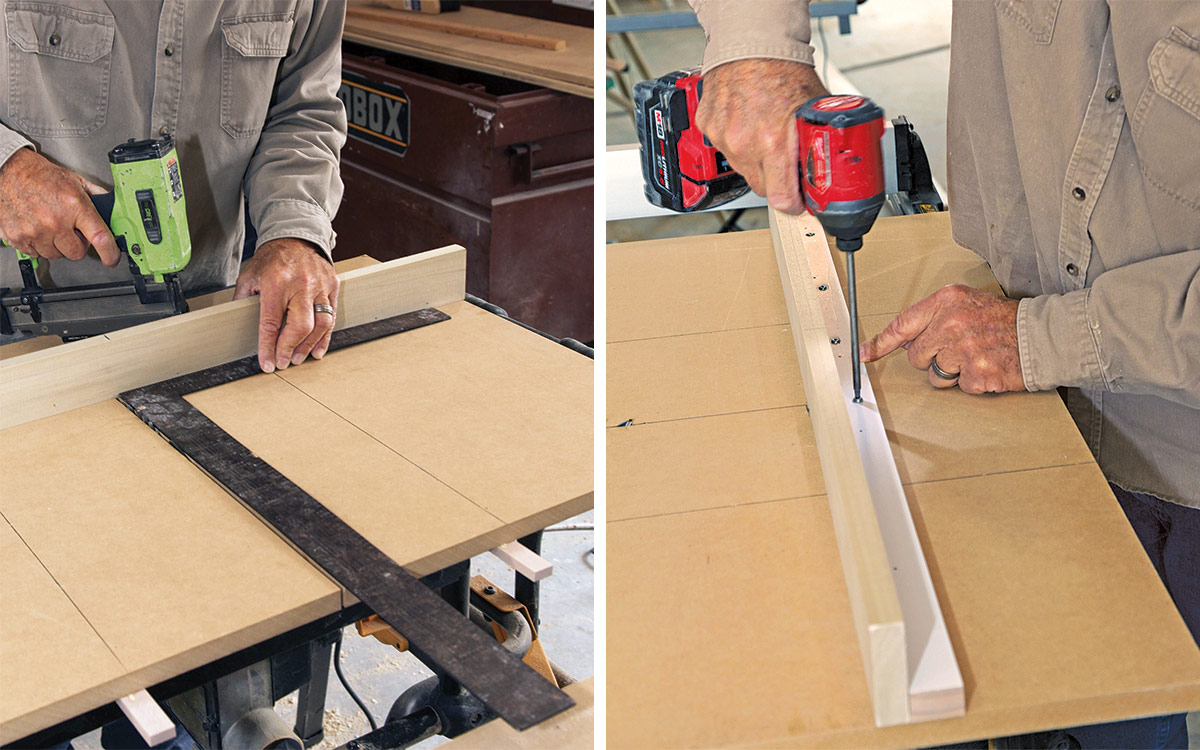
I begin by making the guide strips that fit closely but slide easily in the tablesaw miter slots. Next, I make the table for the sled and attach the strips to the table. I draw reference lines for nailing the table to the strips. After flipping the table over, I tap the strips down with a hammer. Finally, I make a simple fence for the sled and attach it to the sled table.
1. Fit the guide strips
2. Prep the sled table
3. Glue the strips to the sled
4. Tack the sled to the strips
5. Make the fence
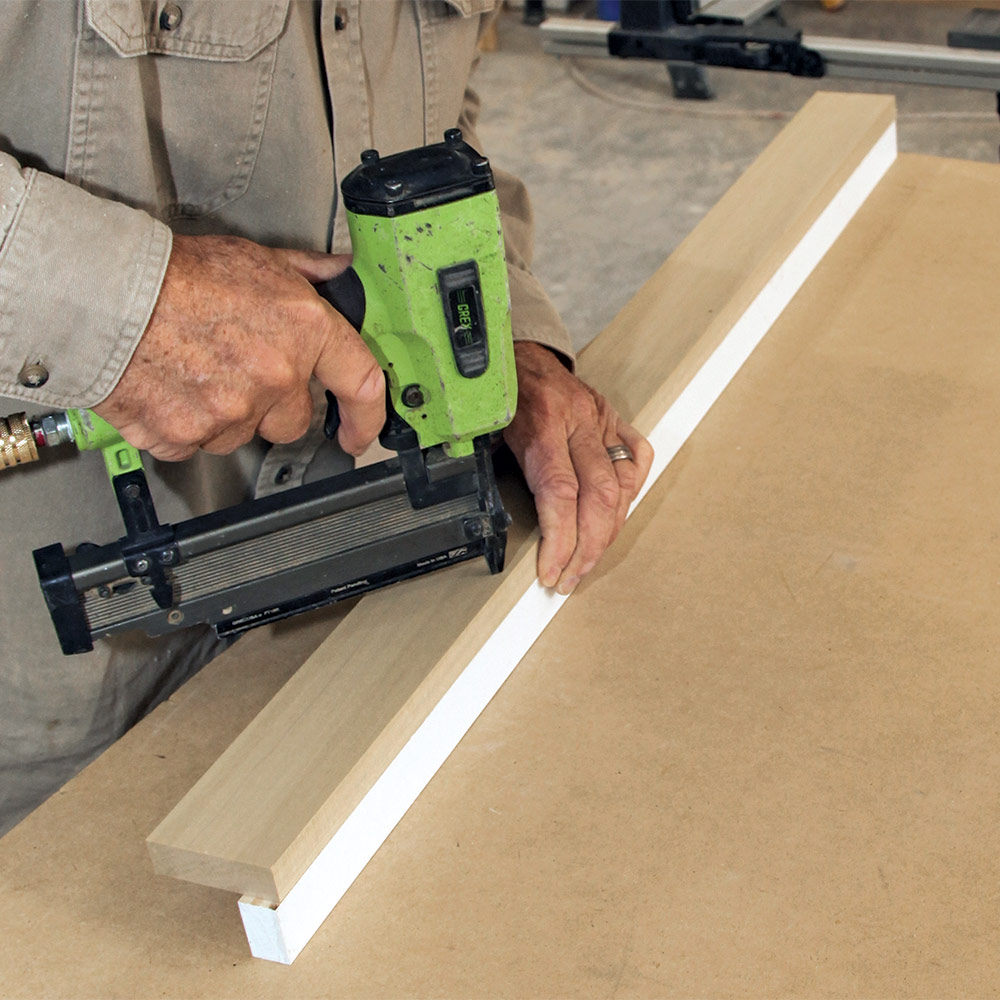
6. Square the fence
Putting the sled to work
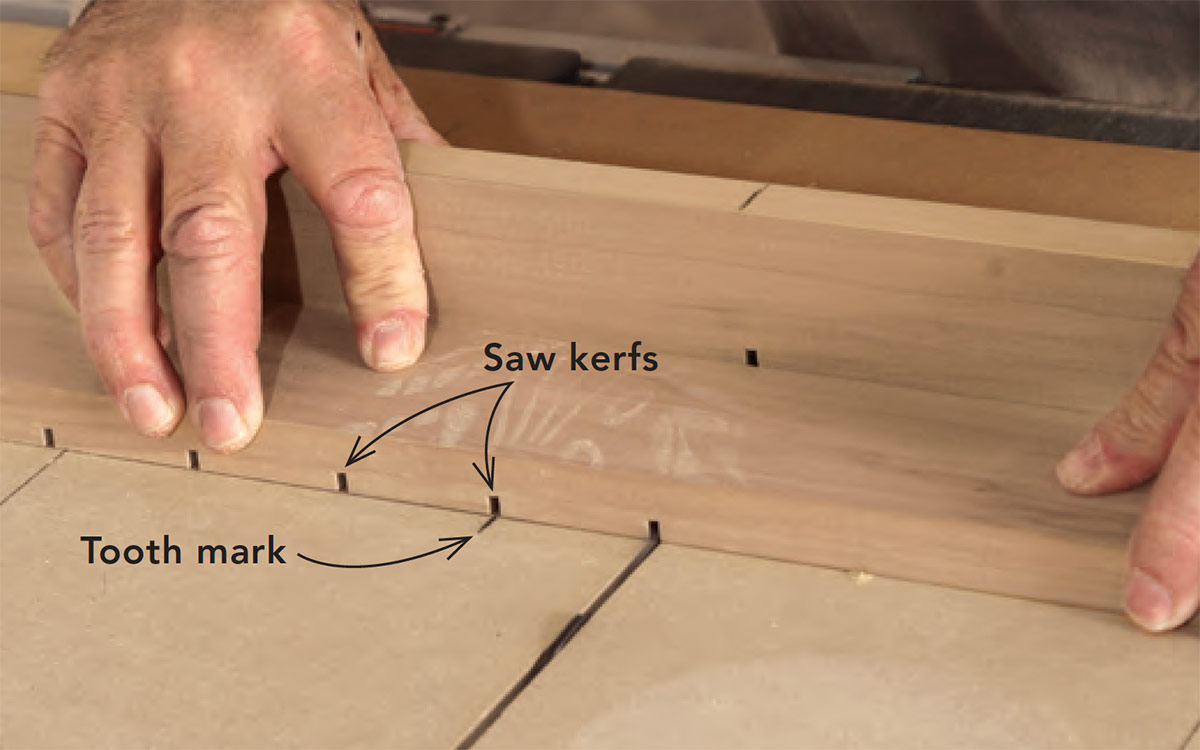
A crosscut sled allows me to cut stock that’s too wide or too long to cut safely on the miter saw. With the sled I can also safely make angled cuts beyond the capabilities of the miter saw. In addition, I use the sled to make dentil molding.
Second-generation builder and frequent Fine Homebuilding contributor Gary Striegler owns Craftsman Builders, a Fayetteville, Ark., company specializing in millwork and interior details.
Photos by Roe Osborn.
RELATED STORIES
