Podcast 605: Buying Rental Property, Venting an Attic in a Triplex, and Bonfig Brick Walls
The crew hears from listeners about stair design, broken tool batteries, and toilets from the box store. Discussion questions include buying rental property, attic venting, and modified Bonfig walls.
Follow the Fine Homebuilding Podcast on your favorite app. Subscribe now and don’t miss an episode:
 |
Carin shares research on good stairs. Adam has thoughts on LED lighting. Lain has looked inside big-box toilets. Evan asks what he should look for when buying rental property. Brendan isn’t sure what to do about his unvented attic. Julie and John wonder if a Bonfig wall is right for their brick house.

The Sustainable Home Building Accelerator
This intensive, interactive online series of courses is designed to rapidly advance your knowledge of sustainable home design and construction. Whether you’re an architect, builder, or a homeowner, we’ll give you the information and confidence to design and build well-crafted, practical homes that maximize performance and comfort.
Over 11 hours of video. AIA Approved 10 HSW/LU Credits. Resnet 10 PD Credits.
When you purchase all three courses, you’ll receive access to a year of GBA Prime as well as a copy of the Pretty Good House book!
Remember the code PODCAST20 for any Fine Homebuilding courses.
Editor Updates:
- Mike’s last-minute house changes
- Jeff’s new water heater
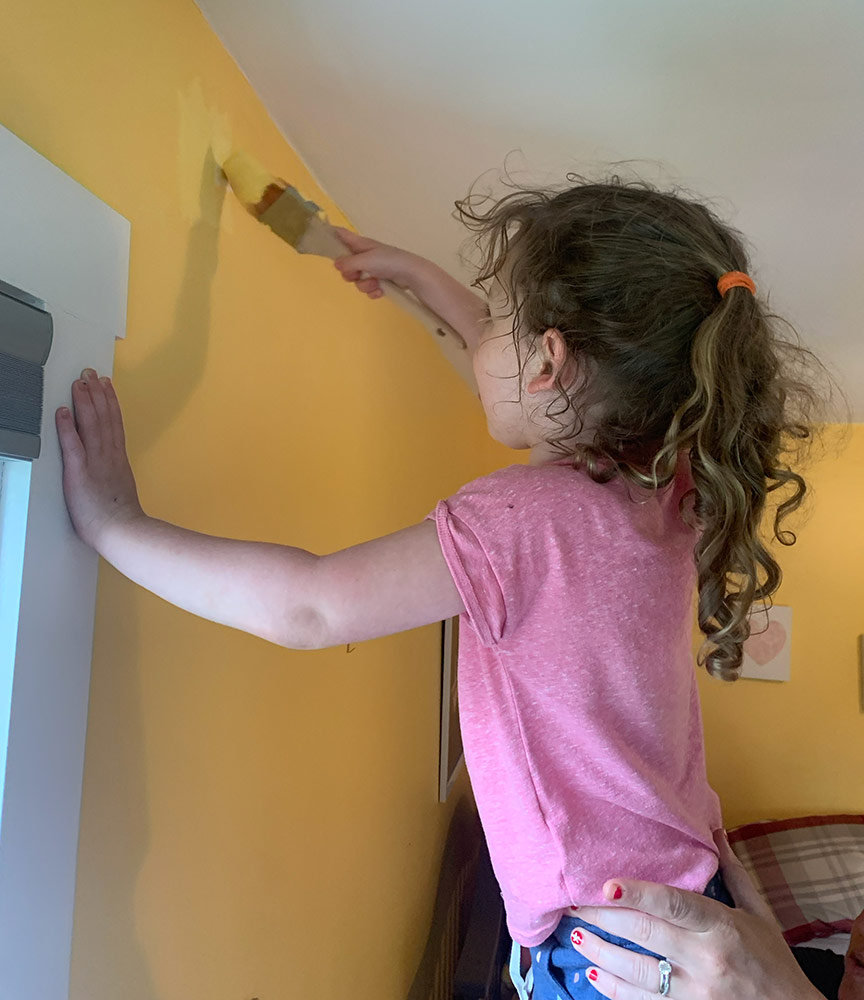
- Samantha’s wall/ceiling painting
- Patrick’s podcast with Marc Rosenbaum
Listener Feedback 1:
Carin in Washington, DC, writes: Dear Patrick and FHB Podcast Friends,
I’m writing to follow up on the discussion of stair safety in episode 600.
I’m in the middle of a whole-house remodel driven in large part by the desire to create safe stairs for accessing my finished basement and comfortable access from the yard to the house for aging dogs and people. I did a lot of reading on stair design while planning this remodel, and I even carried a tape measure around and measured the rise and run of stairs I found comfortable when out in public.
I have a bungalow with mostly one-level living—and fantastic roof overhangs! But when I bought it, the route to the finished basement and to the backyard was via a set of steps, each of which had a different rise and all of which sloped markedly to one side. I’d already taken a pretty serious fall down them before the remodel got under way. (Attached: a picture of my old Basset Hound mix climbing those stairs like a ladder.)
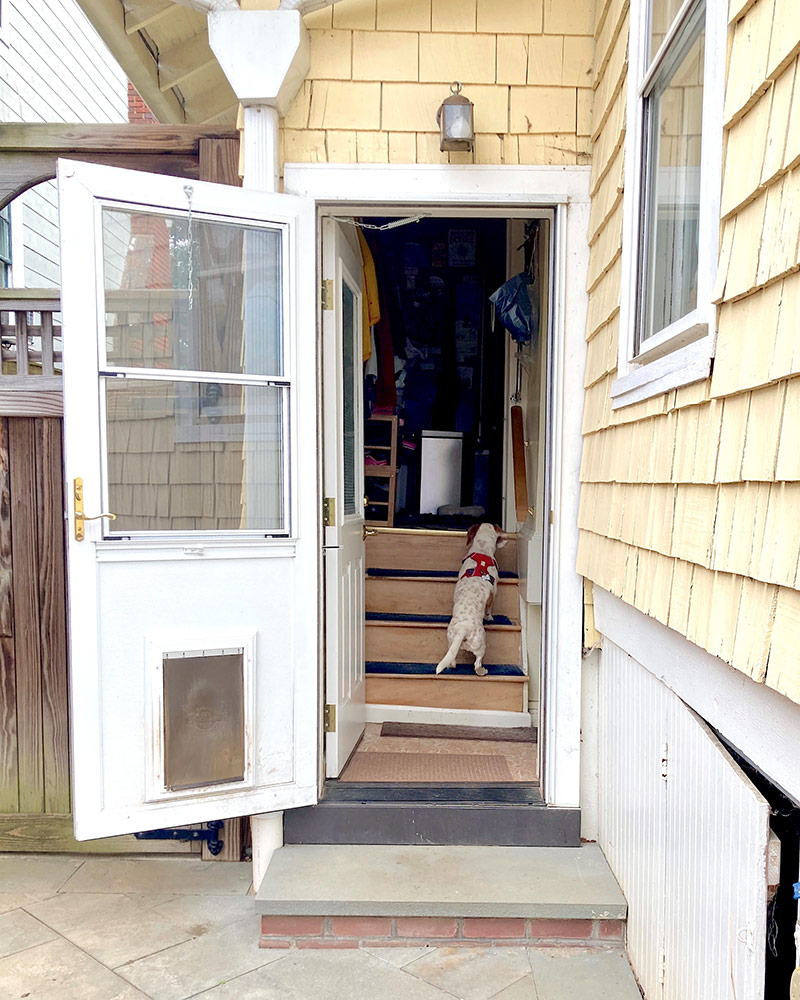 |
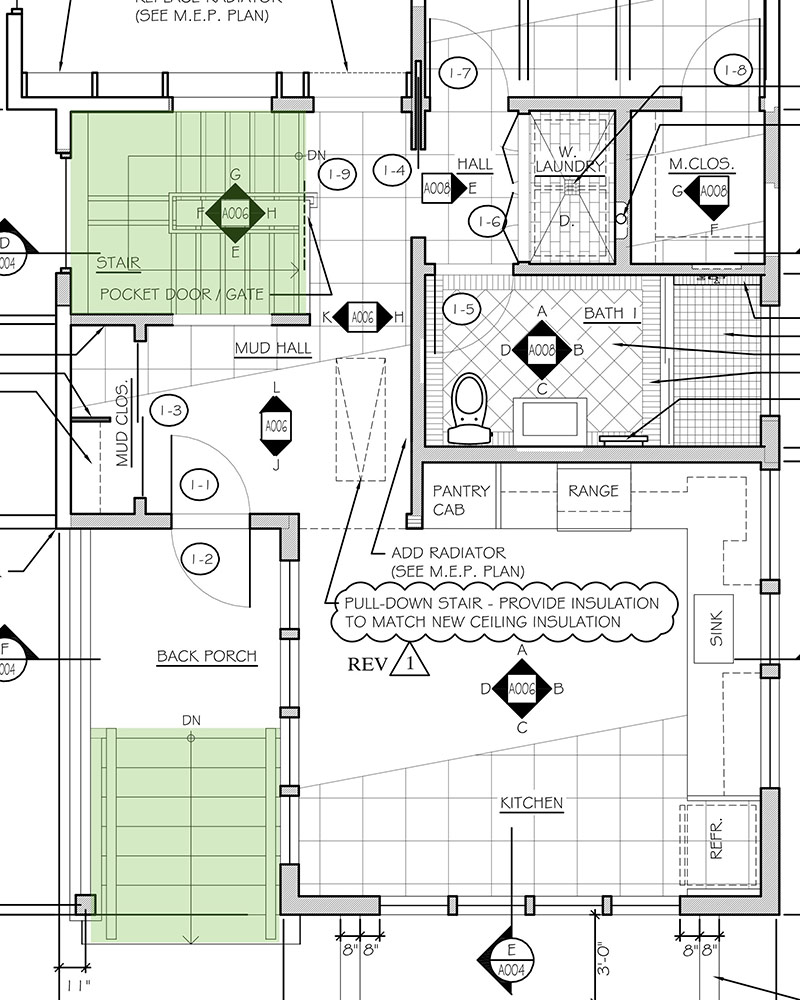 |
Anyway, my new interior stairs are going to be 7 in. and 11 in., as in Ian’s main stairwell. I definitely sacrificed limited interior space to make that staircase possible, but it was a top priority. In order to fit stairs with the desired proportions into the limited space, we used a split landing. (Plans for my remodel are attached with the stairs highlighted in green.)
The new exterior stairs from the yard to the back porch, where we’re not constrained in terms of total run or head clearance, will be 6 in. and 12 in. Those are the ones I’ll use to haul groceries in. The dogs will use them for all their squirrel-chasing trips. That lower rise will be very easy for short dog legs and for aging human knees when carrying a load.
My main reason for writing, though, is to share a Canadian study from a few years ago that I thought was very interesting on safe stair design. They found that a longer run was the most important factor in preventing falls.
Part of the reason is that a longer run lets you put your whole foot on the tread going down, especially the forefoot where most of your weight is. But the bigger surprise to me from the study is that older people tend to lean forward more while walking and navigating stairs, so their center of gravity is farther forward. And in their tests, when stair run was shorter, even younger test subjects shifted more of their upper body weight forward.
Thus, it’s even more important that stairs be designed with longer tread length to give everyone the best possible chance to catch themselves. The study is sort of a long read. (The whole thing is here.)
Thanks for the podcast! I’m an avid listener even though I’m just a homeowner and not much of a DYI-er nowadays. I know the podcast has made me a better customer for the pros I hire.
Related Links:
Listener Feedback 2:
Adam from Chittenango writes: Hello FHB Podcast crew!
My first comment is around a brief conversation that was on the podcast a month or so ago, a discussion around battery tools and how there was a recent house fire attributed to a power tool battery. That made me think about how the most expensive part of most tools are the batteries themselves. I have to wonder if the house fire was caused by someone keeping a battery that really should have been discarded. There is one particular YouTube video where a professional crew (which will remain nameless) dropped a major-brand drill driver off a roof. The tool was broken in half with the trigger and handle held on only by the wires running from the handle to the motor. The ground guy went to toss the entire tool into the dumpster, but the carpenter on the roof that had dropped his drill screamed down “save the battery, those are expensive.” Now, I don’t know much about the internals of a modern battery, but I personally would consider one that had fallen hard enough to break a drill in half to be little better than a time bomb waiting to go off. How many battery problems are caused by abused batteries being kept in use for too long?
My second comment is around the ongoing discussion on LED lighting. In the conversation that kicked off the discussion there were several comments about how no one wants to pay an electrician to learn how to install the new LED lights. This statement completely misses the benefits of low voltage DC installation—you don’t need an electrician to legally install them at all. If you run a low-voltage circuit to power the LED lights, you save all of the energy that normally gets consumed by the ballasts converting from AC to DC power to drive the LED and you can pay an unlicensed integrator $60 per hour (or less) instead of an electrician $120 per hour.
The real challenge with doing a DC installation is that the industry hasn’t really settled on a good solution for exactly how to wire an entire house that way. There are some solutions that use standard internet wiring and use the Power over Ethernet (PoE) standard to run lights and controllers. Using PoE does give a lot of benefits because ethernet parts are standardized and easy to obtain (even the big box stores carry the supplies now), but it is also overkill for running something as simple as an LED light. I am pretty sure it doesn’t take all eight wires in CAT5 or 6 to deliver the power to the LED. However, I am not an engineer and maybe there is a good reason for needing all of that copper.
This whole topic is mind numbingly complex even before you get into the world of photovoltaics and on-site battery storage. Maybe someday we will have two distinct systems in every house: the DC side—with the batteries, LEDs, computer equipment, and PVs—and the AC side—with the traditional appliances and anything that needs an AC motor. The two could be connected by one very big and very smart inverter.
On a completely unrelated note, a reunion episode with Patrick, Matt Millham, and Kiley would be truly amazing!!!
Related Links:
Listener Feedback 3:
Lain writes: Hey FHB Podcast,
I was listening to episode 601, and the subject of toilets from the big-box stores vs. from the plumbing supply houses came up. I heard the same thing from a local plumber, and that piece of wisdom was also all over various plumbing forums.
Because I’m a naturally suspicious person (buying from the supply warehouse costs more), I decided to do just a tiny bit of research. While I can’t confirm if the reliability statistics are accurate, and I think you’d need a pretty expensive survey to figure it out, I did notice something interesting.
When I blew up the diagram of the same SKU toilet—one from a big-box store and one direct from the manufacturer—some of the internal parts did indeed look different and had different replacement part numbers. I suspect that means that this phenomenon is real, but it is likely dependent on just what had to be done to meet whatever price requirements the big-box stores placed on the item.
Related Links:
Question 1: What are the red flags when buying rental property?
Evan Bache-Wiig writes: Good morning!
In episode #598, Mark was talking about painting exterior trim, and I want to direct him to Sascho‘s product called eXact Color. It’s pretty remarkable. You take a syringe of your chosen paint color, add it to the caulking, add a thickening agent, and after a couple minutes it will be tinted to match and ready to use! It will match whatever Mark’s exterior color is so he doesn’t have to go back and paint over the caulking! Welcome to 2023!
Mike, I’m eyeing a property across the cul-de-sac for a rental property, and I’m curious what your hard-pass items are when you’re inspecting a potential rental property. As a mold inspector, I feel reasonably equipped to see cosmetic damage and know what it’ll take to address it. I’ve got some friends who are going to inspect for foundation issues and the roof and siding are new as of 2019.
Thanks for the help!
Related Links:
- Podcast 501: Members-only Aftershow
- Ten Tips from a Home Inspector
- Video: Inspecting Old Houses: An Overview
Question 2: What is the best way to vent an unvented attic?
Brendan writes: Hello FHB crew,
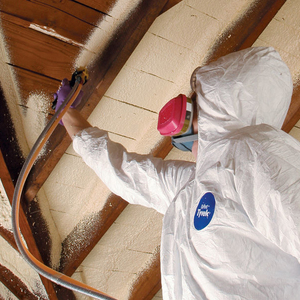
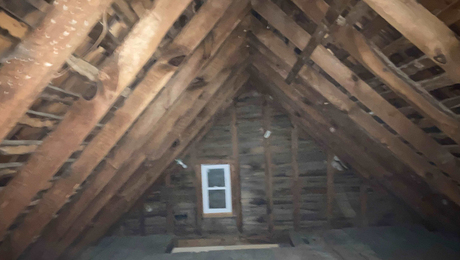
I would love to get your advice on the unvented attic at my new home. My partner and I just purchased this three-unit home in Providence, RI, and are living in the first-floor apartment, renting out the second-floor apartment, and doing a light renovation of the third-floor unit. The building got a new roof put on 4 to 5 years ago, and as best I can tell, the entire pitched roof got a layer of OSB sheathing added on top of the old plank sheathing with underlayment and asphalt shingles on top. The attic is currently completely unvented, and the third-floor bathroom exhaust fan dumps directly into the attic (which I will rectify before the third-floor apartment is again occupied).
I am leaning towards adding wall vents in two of the four gable walls to provide ventilation in the attic space. I have had several roof and gutter contractors visit because the gutters need to be replaced, and each has tried to sell me on a ventilation method or product that involves cutting into or modifying the roof to create eave/soffit-to-ridge ventilation, which would be very expensive, mostly because of how high the roof is. I am skeptical of this since I have no idea if there is even a clear path for ventilation from the soffits to attic because at the eaves the rafters sit on 4-ft.-tall kneewalls with finished ceilings applied to the rafters. A plus for installing gable wall vents is that they could easily be removed or blocked in the future if I decide to encapsulate and condition the attic for the sake of installing an air handler for a ducted heat-pump system to provide AC for the third floor.
Any advice would be much appreciated.
Related Links:
- A Crash Course in Roof Venting
- Understanding Types of Roof Vents
- GBA.com: Is Venting an Unconditioned Attic Necessary?
Question 3: Will a modified Bonfig wall work for our remodel?
Julie and Jon write:
We’re in the process of a re-windowing and re-siding project. With 70% of the drywall removed to reframe for the new window sizes and locations, we went all the way and pulled the rest of the drywall off. The 1970s fiberglass insulation was poorly installed and riddled with mouse tunnels along with their droppings and deceased relatives. We removed all of it and are in the process of air-sealing and installing Rockwool in the 2×4 16-in.-o.c. stud cavities. We’re planning to do a modified Bonfiglioli (April/May 2015) thermal break before hanging new drywall. We’ll tack 1/2-in. rigid insulation strips over the studs and install the drywall directly over the foam with 1-3/4-in. or – in. screws. We’re skipping the furring strips Stephen used in the article.
Since the walls are already wired and the exterior doors are remaining, we’re trying to figure out how to deal with the extra 1/2-in. thickness due to the foam strips. We’d prefer not to have to de-nail all the electric boxes off the wall and pull them 1/2 in. out. And though we can install 1/2-in. jamb padding around the doors, we realized that the hinges won’t allow them to swing fully open 180 degrees without binding on the extension and trim. So we’re wondering: Will this modified version of creating a thermal break work, and do you have any solutions for dealing with the extra thickness?
You may be curious why we aren’t building out the walls with thicker foam and furring strips as was shown in the article. Our house is very small—2 bed, 1 bath, and about 1000 sq. ft.—so every interior inch counts. And exterior insulation would have been problematic due to brick siding below the window-sill level.
Related Links:
- An Easy Way To Build a Well-Insulated House
- Thermal Bridging Explained
- Six Proven Ways to Build Energy-Smart Walls
END NOTE:
Podcast 605: Members-only Aftershow — 3D Printed Houses
The crew talks about recent innovations that allow the printing of houses, which is meant to make them longer lasting and more affordable.
This episode of The Fine Homebuilding Podcast is brought to you by Loctite’s Tite Foam

Say no to inefficient and drafty. Say yes to Loctite Tite Foam.
When pros need to seal gaps too small for insulation but big enough to create a draft, they reach for Loctite’s TITE FOAM.
The high-density foam forms a tenacious bond to most common building materials, stays flexible to prevent cracking, and keeps air, moisture, and pests out of the house.
Whether you’re adding R value to the rec room, or finishing a boring basement, give that space a second chance with Loctite Tite Foam.
Visit LoctiteProducts.com for more information.
Check out one of our latest Project Guides: Energy Retrofit!
Check out our FHB Houses:
Visit the Taunton Store • Magazine Index • Online Archive • Our First Issues • All Access

If you have any questions you would like us to dig into for a future show, shoot an email our way: [email protected].
If we use your question we’ll send you a FHB Podcast sticker!
FHB Podcast T-shirts!
Represent your favorite podcast! Available in several styles and colors. Made from 100% cotton. Find the Podcast t-shirt and more cool products in the Fine Homebuilding Store.
| Fine Homebuilding podcast listeners can now get 20% off anything in the Taunton store, including Pretty Good House.
Use the discount code FHBPODCAST to take advantage of this special offer. |
 |
“Finally, knowledgeable people talking about building reasonably-sized, high-performance houses for normal people with real budgets!” — DanD, VA, 8/19/22, Amazon.com review |
We hope you will take advantage of a great offer for our podcast listeners: A special 20% off the discounted rate to subscribe to the Fine Homebuilding print magazine. That link goes to finehomebuilding.com/podoffer.
The show is driven by our listeners, so please subscribe and rate us on iTunes or Google Play, and if you have any questions you would like us to dig into for a future show, shoot an email our way: [email protected]. Also, be sure to follow Fine Homebuilding on Instagram, and “like” us on Facebook. Note that you can watch the show above, or on YouTube at the Fine Homebuilding YouTube Channel.
The Fine Homebuilding Podcast embodies Fine Homebuilding magazine’s commitment to the preservation of craftsmanship and the advancement of home performance in residential construction. The show is an informal but vigorous conversation about the techniques and principles that allow listeners to master their design and building challenges.
Other related links
-
- All FHB podcast show notes: FineHomebuilding.com/podcast.
- #KeepCraftAlive T-shirts and hats support scholarships for building trades students. So order some gear at KeepCraftAlive.org.
- The direct link to the online store is here.
