A Fine Finish for Wood Exteriors
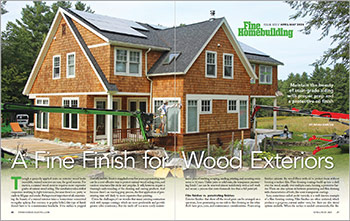
Maintain the beauty of stain-grade siding with proper prep and a protective oil finish.
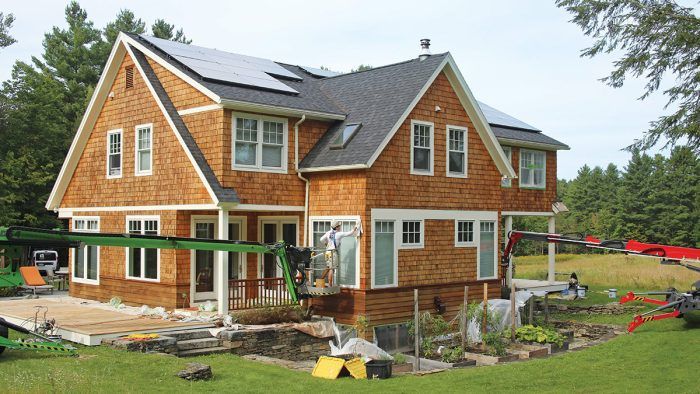
Synopsis: The process of properly applying a penetrating oil finish to a wood-sided home involves stripping the old finish and cleaning the house with a chemical stripper and brightener, soft-washing with water, and then applying the stain. Professional painter Noah Kanter describes the different choices when it comes to transparent stains, the benefits of penetrating stains over film-forming finishes, and how to complete the process of staining a home from start to finish.
Though a properly applied stain on exterior wood looks incredible, stained exteriors are rare, for good reasons. For starters, a stained-wood exterior requires more-expensive grades of natural-wood siding. The installation takes skilled carpenters working to tight tolerances, because there’s no putty or caulk to fill gaps and cracks. Perhaps most important of all, maintaining the beauty of a stained exterior takes a homeowner committed to regular upkeep. But contrary to popular belief, this type of finish doesn’t have to be a maintenance headache. If the surface is prepped correctly and the finish is reapplied every few years, a penetrating stain can be a cost-effective way to protect natural-wood siding, trim, and outdoor structures like decks and pergolas. It will, however, require a thorough understanding of the cleaning and coating products. And because there’s an exacting prep process, the first application of penetrating stain will likely be more expensive than painting
Given the challenges, it’s no wonder that many painting contractors stick with opaque coatings, which are more predictable and provide greater color consistency. But the trade-off is a more costly maintenance plan of washing, scraping, sanding, priming, and recoating every seven to 10 years. Unlike paint or solid stain, the transparent penetrating finish I use can be renewed almost indefinitely with a soft wash and recoat, a process that costs thousands less than a full paint job.
Film finishes vs. penetrating finishes
Exterior finishes that show off the wood grain can be arranged on a spectrum, from penetrating on one side to film-forming on the other. Both have pros, cons, and maintenance considerations. Penetrating finishes saturate the wood fibers with oil to protect them without forming a surface film. Film-forming coatings build up into a shell over the wood, usually over multiple coats, forming a protective barrier. There are also options in between penetrating and film-forming with characteristics of both, like semi-transparent coatings.
Spar, sometimes called yacht varnish, is a well-known example of a film-forming coating. Film finishes are often untinted, which produces a gorgeous, natural amber tone, but there are also tinted options available. When the surface is sanded extrasmooth, film finishes, paired with attractive wood, look luxurious, and it’s easy for the uninitiated to see a durable shell protecting the underlying wood.
While a sturdy film finish can offer good weather protection, the issue is maintenance, which can be as often as an annual recoat depending on the sun exposure. Without regular recoats the film can crack and peel. When the is film breached, moisture will enter and be trapped, discoloring and eventually damaging the wood and further degrading the film. While films can be repaired with sanding and recoating, it’s labor-intensive and rarely results in a uniform look.
Part of the appeal of penetrating finishes is that they don’t experience this type of costly failure, because the protective oil is absorbed by the wood fibers instead of remaining on the surface. The absorption also prevents the siding and trim from taking on water, which increases its resistance to cupping and improves dimensional stability. Unlike film finishes, neglecting a penetrating coating for a few years results in dry, weathered siding, instead of an unsightly peeling finish.
Of course it isn’t ideal to neglect outdoor wood products as described in this scenario, but it’s not as bad as moisture being trapped behind a film. Part of what makes a penetrating finish more affordable long-term is that the surfaces never need scraping or sanding; rather, they’re washed and recoated. I use penetrating finishes for most exterior situations. I save film-forming finishes for special areas like porch ceilings, doors, and outdoor living spaces.
Start by cleaning and brightening
The whole idea with a penetrating finish is to highlight and preserve the wood, so the goal with the cleaning process is to remove the old finish while minimizing wood damage in order to produce a uniform substrate. This is where the soft wash comes into play. Soft-washing with large volumes of low-pressure water rinses away dirt, old finish, and residue from the cleaning and neutralizing chemicals without damaging the wood, and prepares the wood for finish application.
The cleaning and prep starts with a thorough wash using a chemical stripper that cleans the surface and removes the old finish. The stripper, which is a strong base, is later neutralized with a citrus-based acid that also acts as a wood brightener. Both steps require trial mixes of chemicals on small sections of siding. The type of wood, its porosity, and the type and condition of the existing finish are all variables that affect how the cleaning chemicals do their work. We adjust their strength and dwell times (how long we leave them on the siding before washing them off) to match the situation.
Cleaning and brightening will make some boards “furred” to some degree, which is the unscientific way to describe loose wood fibers that are raised from the surface, giving the wood a furry appearance in some spots. You can minimize furring to some degree by using lower-strength chemical treatments and the shortest effective dwell times, but some raised grain is inevitable. I make clients aware of this when we’re discussing how we’ll wash and finish their house.
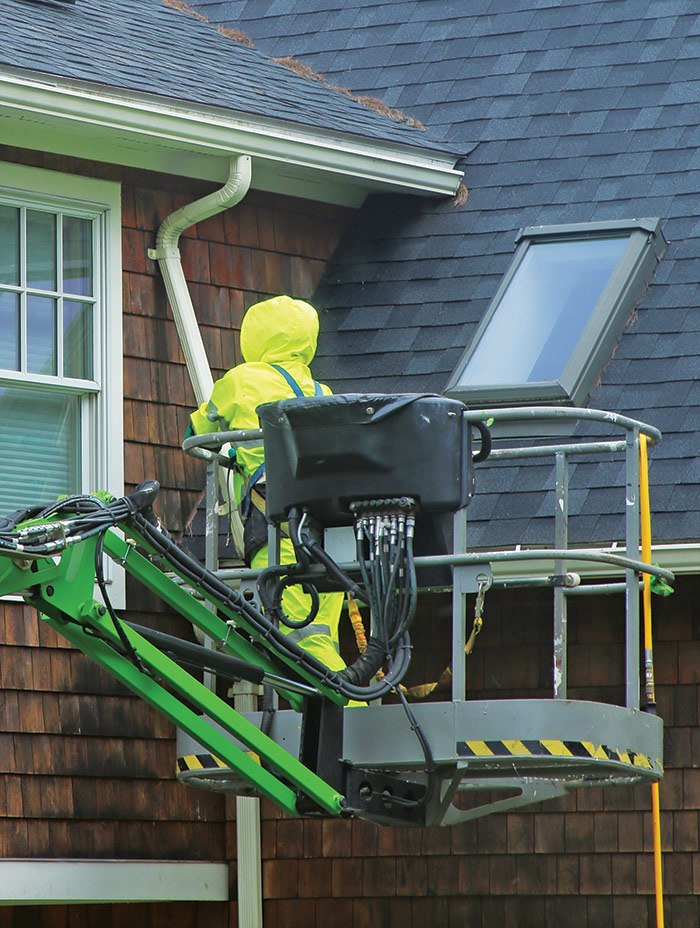
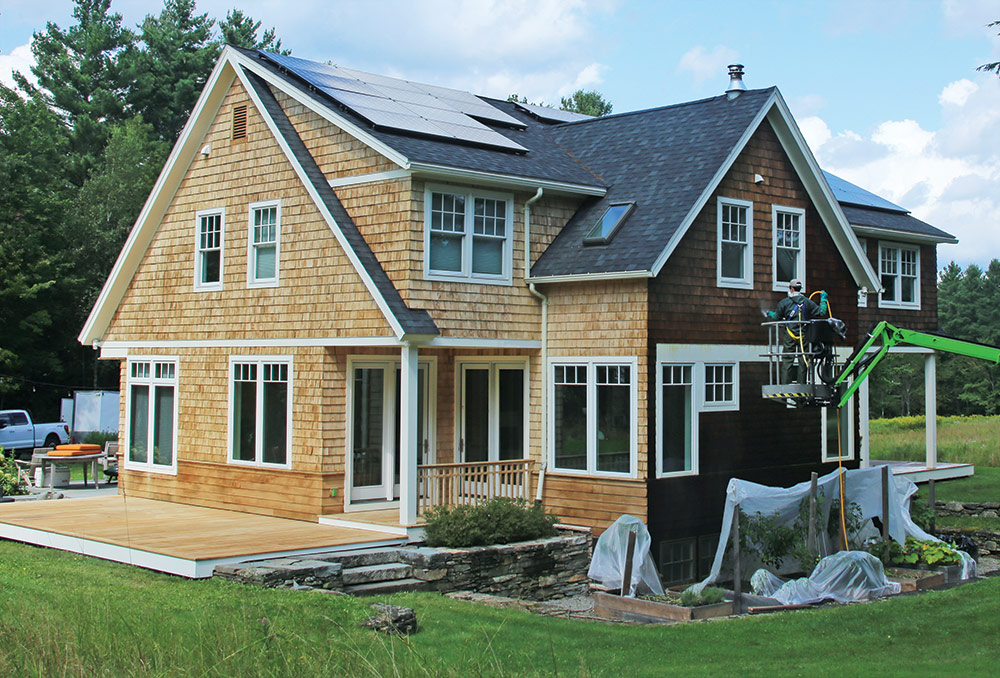
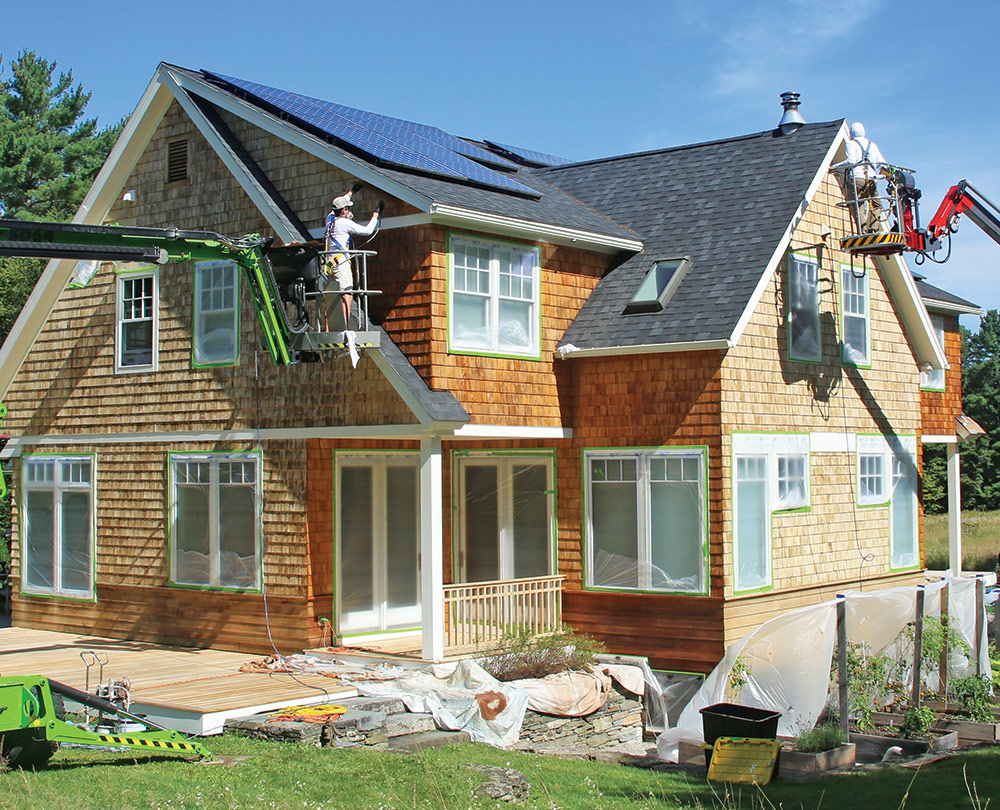
You need an effective setup for soft-washing. On this project, I came in as a local subject-matter specialist to help Green Mountain Painters, the lead contractor. They have dedicated wash trailer built specifically for large jobs like this, with on-board water, a pair of high-capacity pumps, and hundreds of feet of hose. This equipment is fantastic, as are their rotating bucket lifts. The lifts, besides the obvious safety benefits, allow for better work in a fraction of the time with less strain on the body.
But you don’t need $100,000 or $200,000 in equipment to do this work; you can also use an entry-level chemical pump, which can be built for a few hundred dollars and a few hours of your time. I have a breakdown of my low-tech setup on my YouTube channel, Advice from a Young Tradesman TV. For your first project, I’d suggest ordering a sample chemical starter pack from PressureTek.com for less than $100, getting some used siding from an architectural salvageyard, and experimenting. Keep a notebook and record how certain chemical ratios perform on certain substrates. Your trials will be invaluable when you scale up to decks or houses.
PREP THE JOB SITE
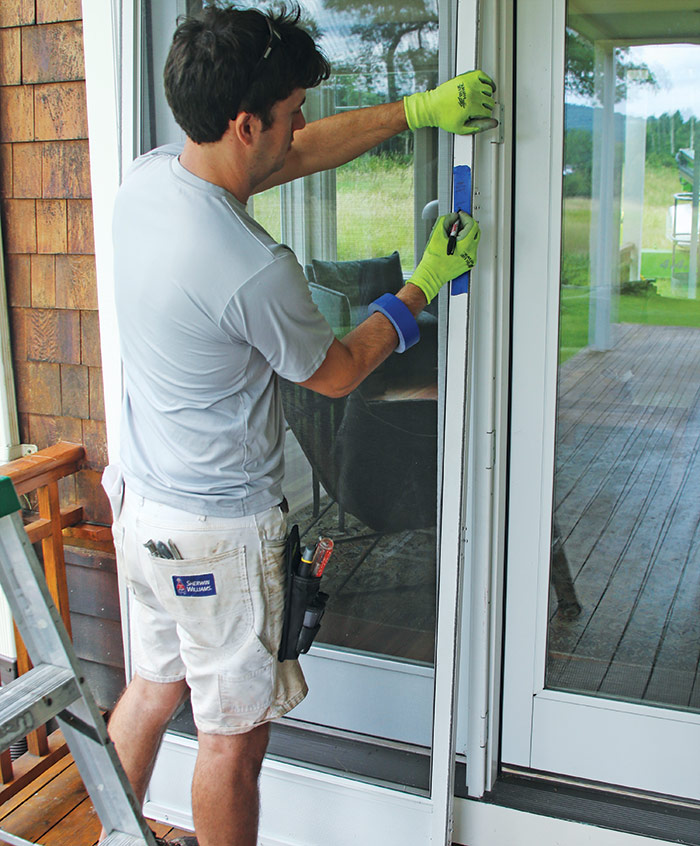
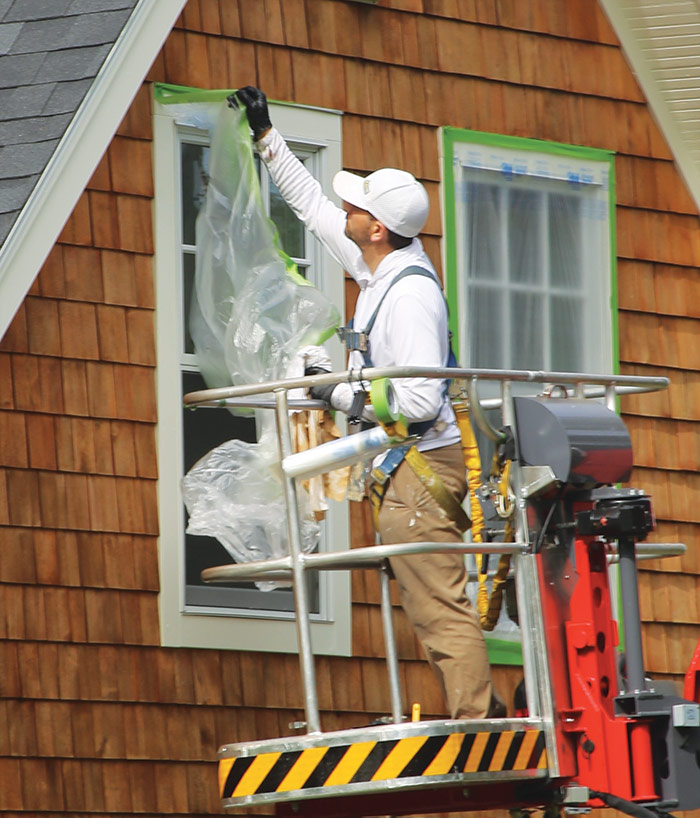
To keep moving equipment to a minimum, prep the house an elevation at a time, working around the house in a clockwise or counterclockwise manner. Start by protecting windows, exterior furnishings, and vulnerable landscaping.
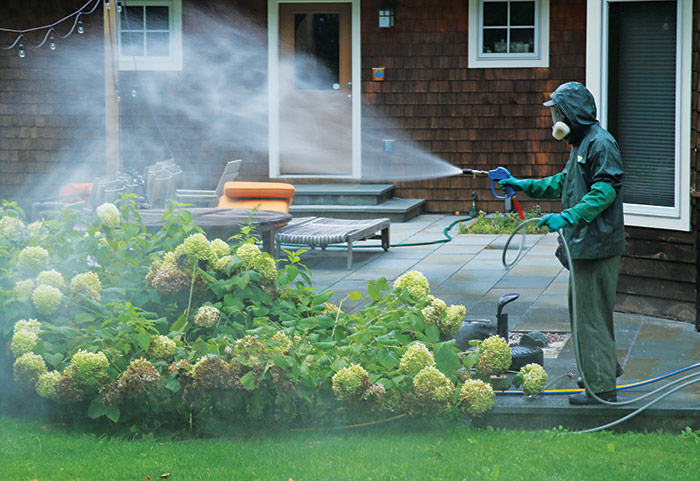
STRIP THE OLD FINISH
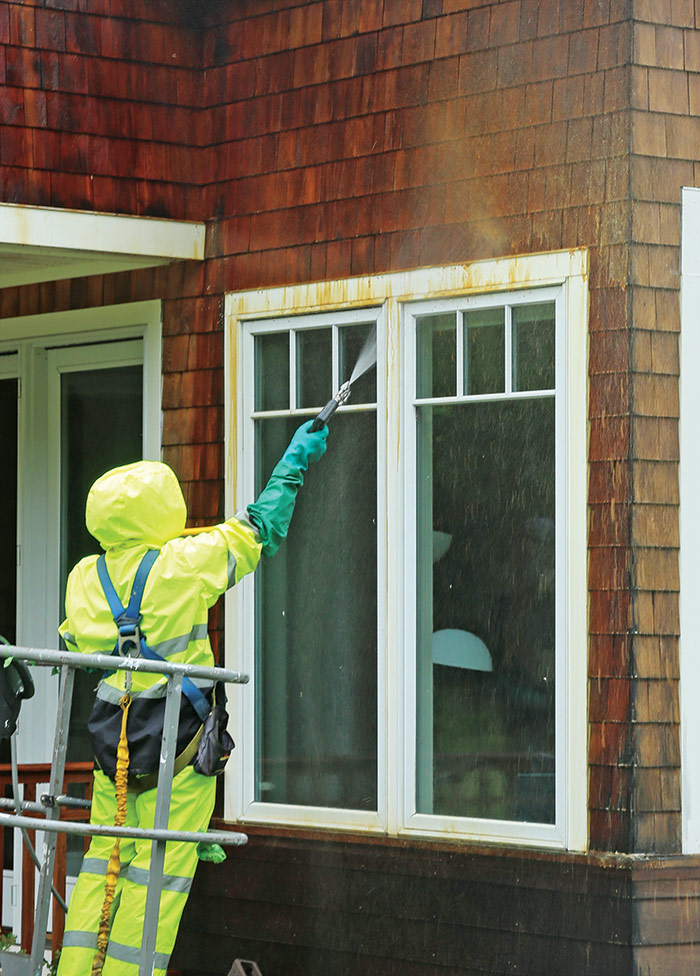
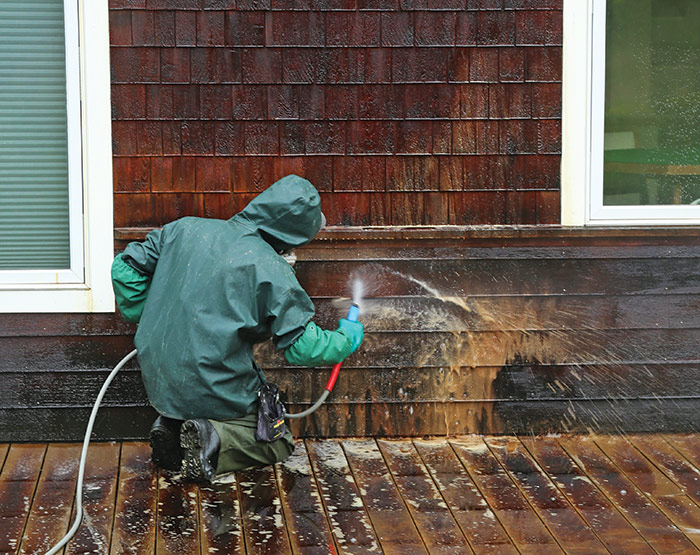
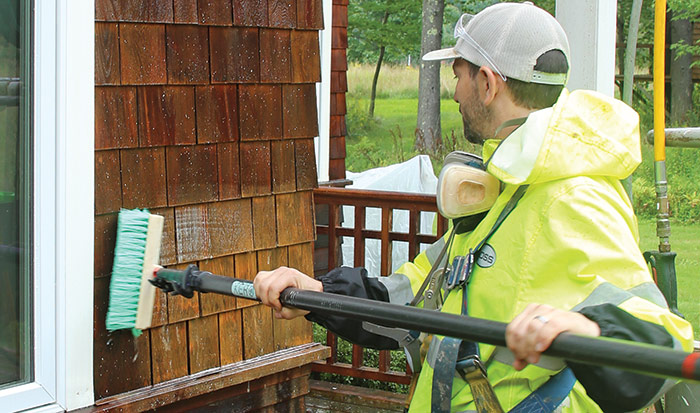
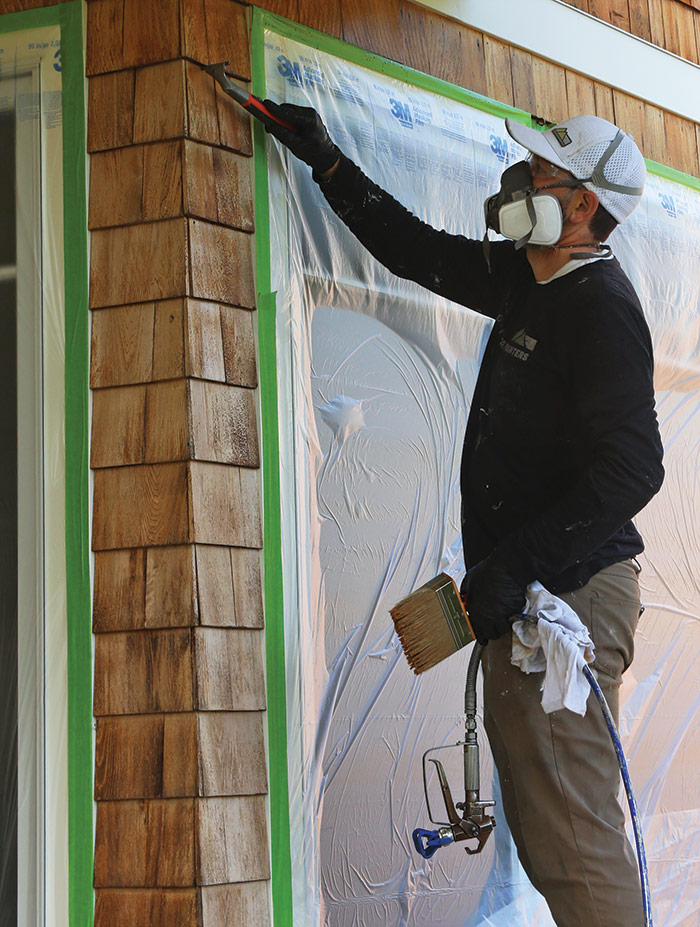
We use a sodium-hydroxide-based stripper, Extreme Solutions HD-80, to remove dirt, mold, and old finish. The concentrated stripper is highly alkaline, making a respirator and protective gloves a must.
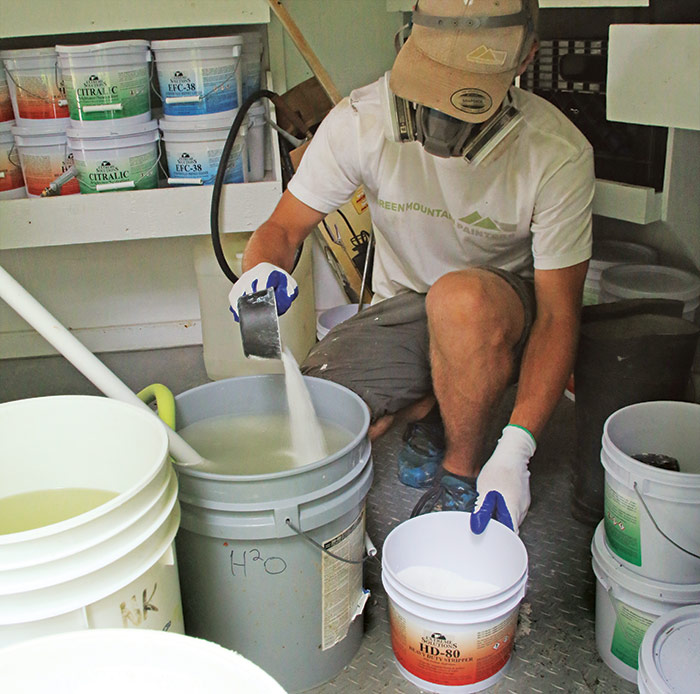
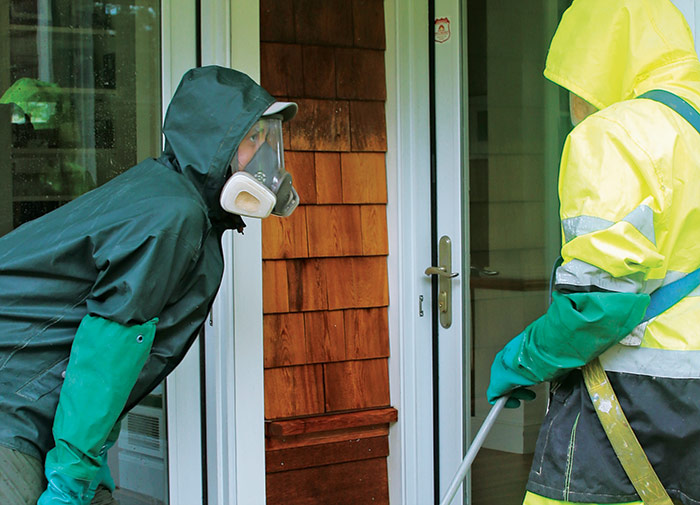
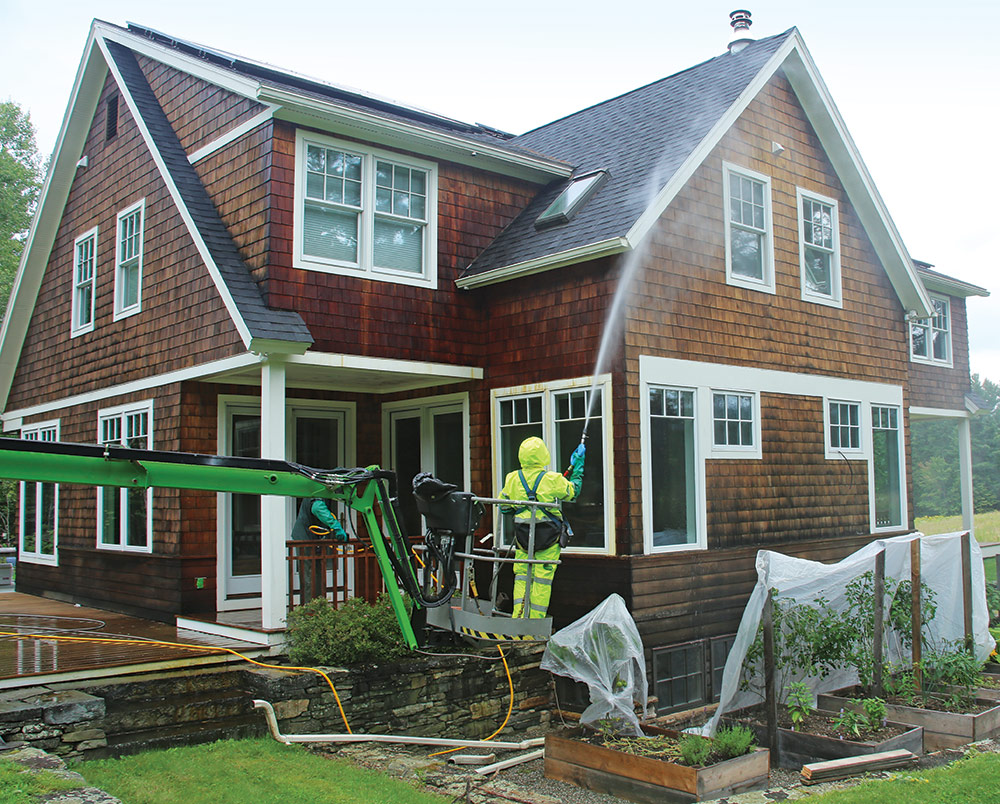
NEUTRALIZE AND BRIGHTEN
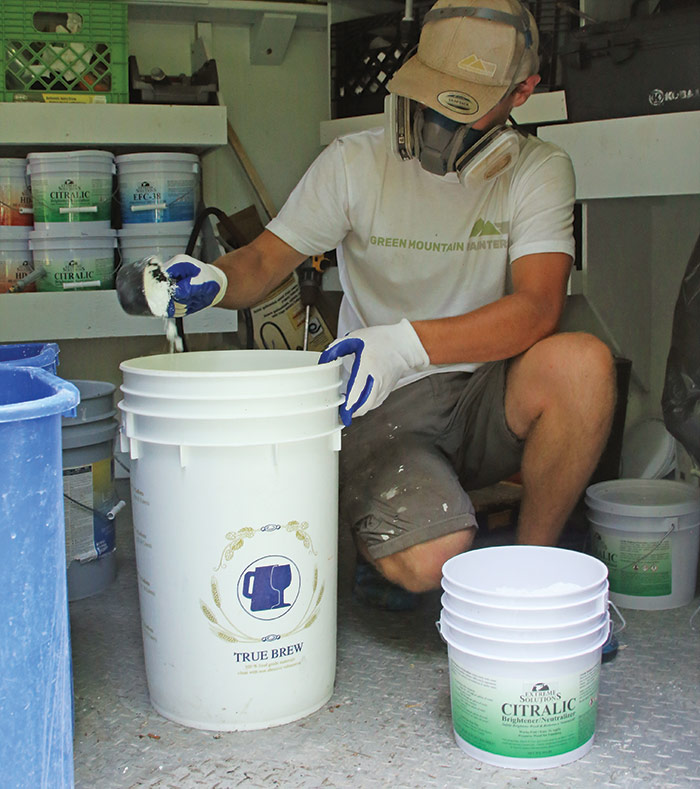
Once the finish is removed, the elevation is treated with an acidic wood brightener that also neutralizes the alkaline stripper. We apply the brightener, allow it to work, and then rinse it from the top down.
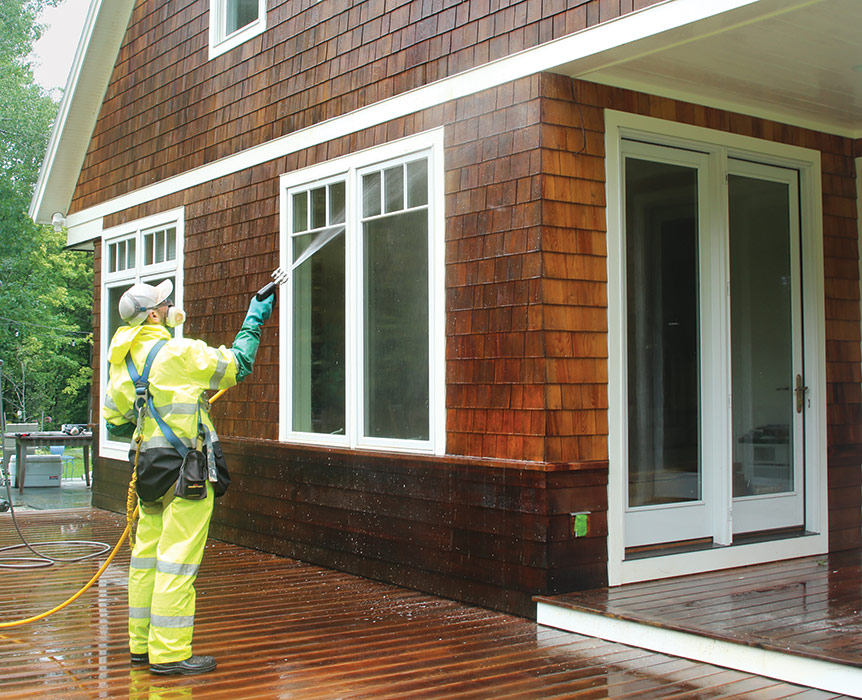
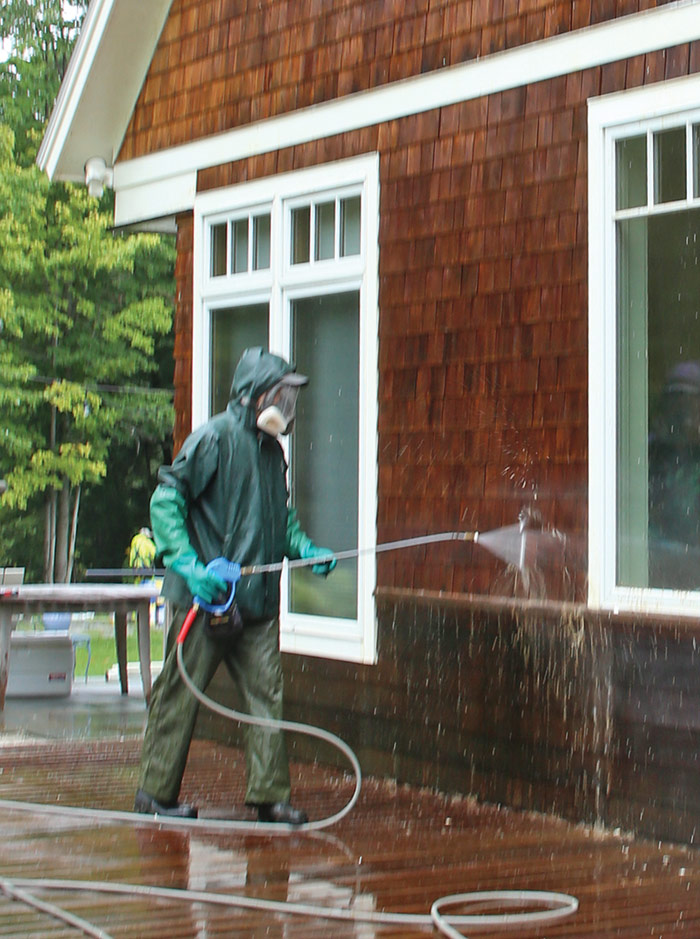
SPRAY LARGE SECTIONS
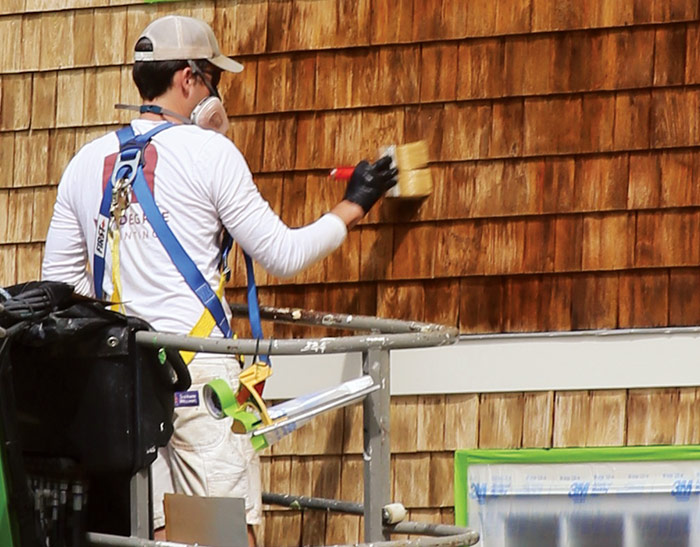
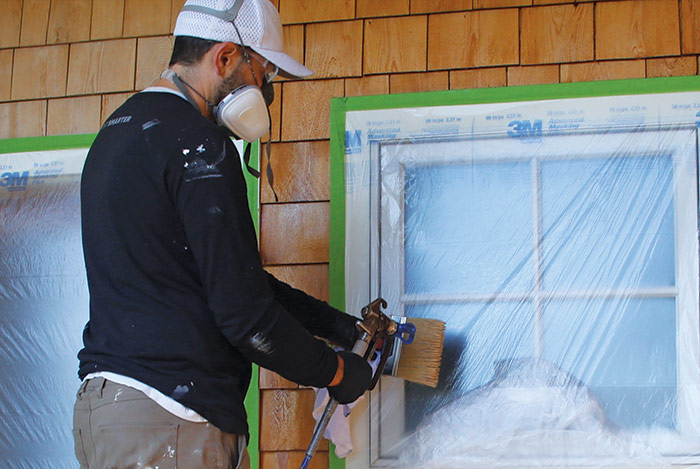
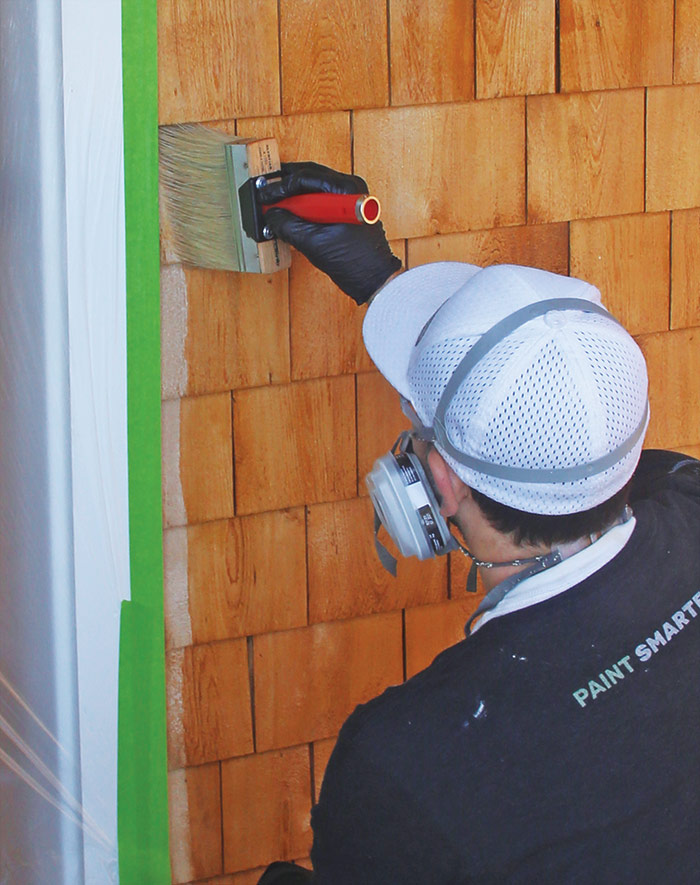
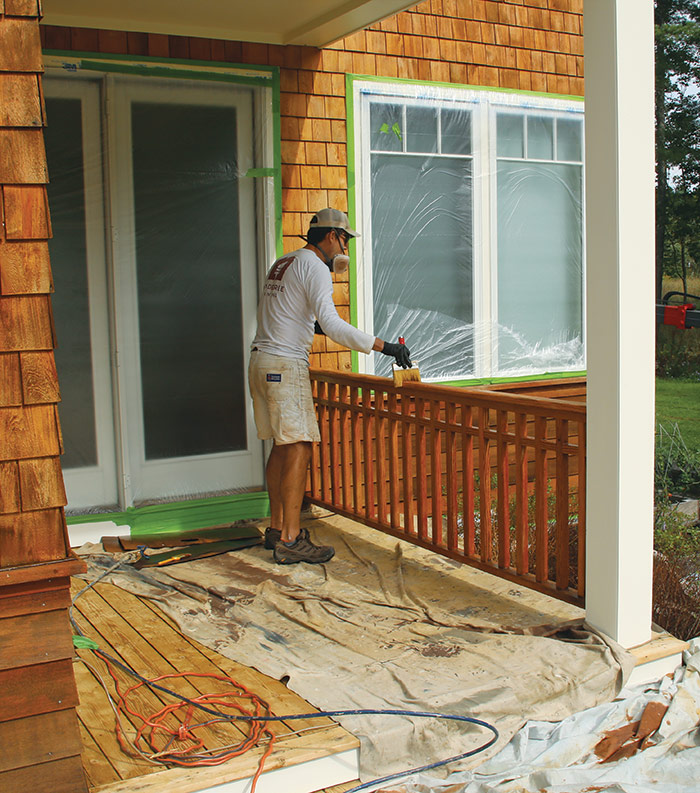
Staining one side at a time and in a systematic manner minimizes time spent setting up and moving equipment. We use an airless sprayer to apply the finish, which is far faster than constantly dipping a brush into a pail of stain. We use the sprayer to flood the area with finish, and then work it in with a large brush.
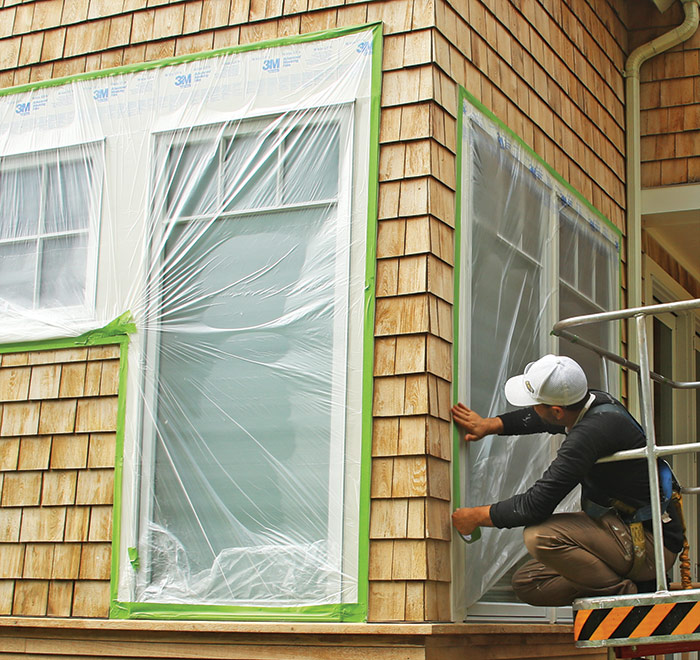
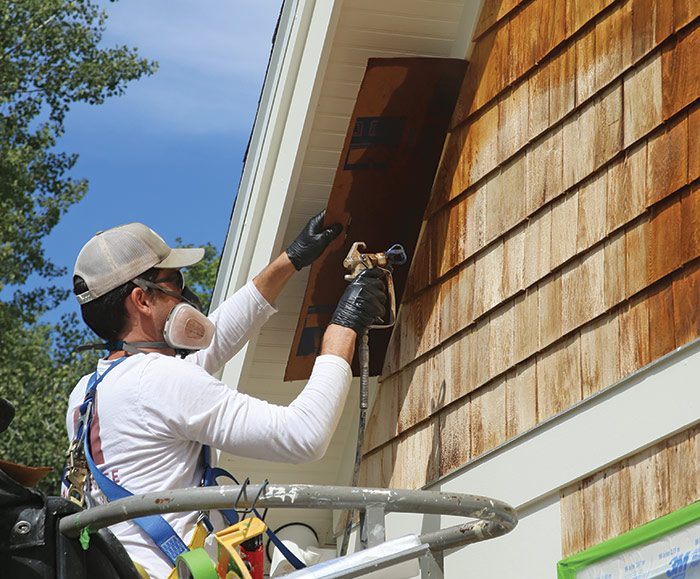
SPRAY AND BRUSH SMALL AREAS
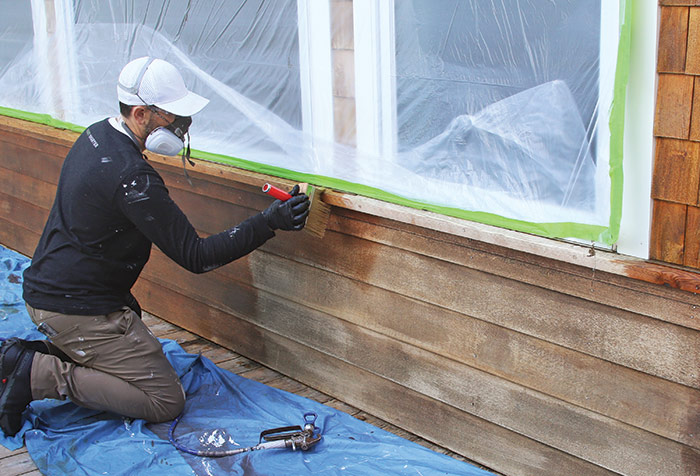
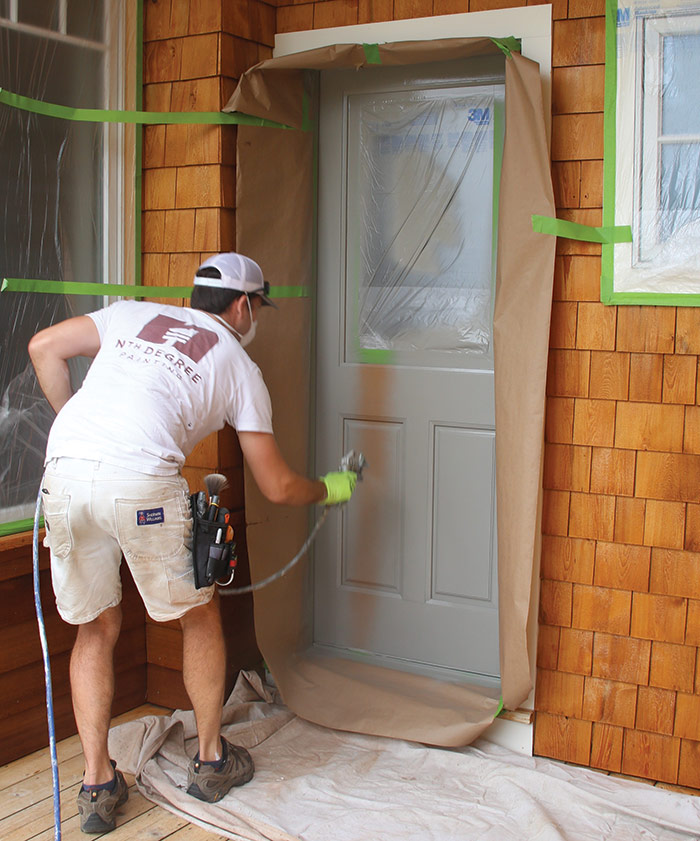
Bump-outs and covered entries are treated differently than expansive sections of siding. Depending on their size, it may make sense to use a brush to apply the finish instead of spending a disproportionate amount of time masking windows and adjacent areas for spraying.
FINAL DETAILS
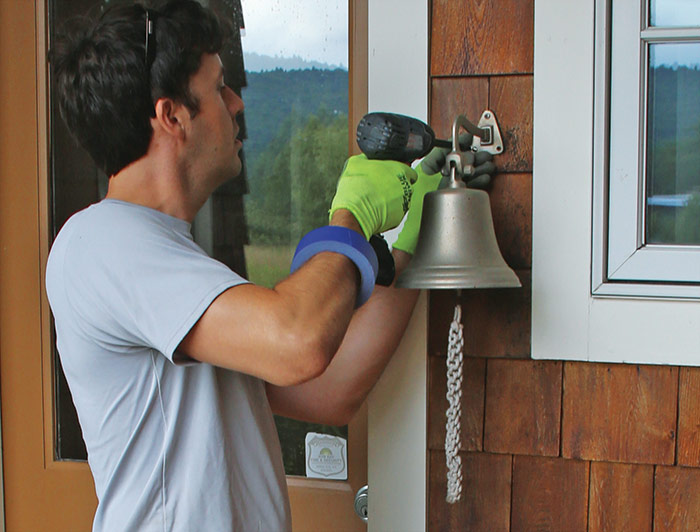
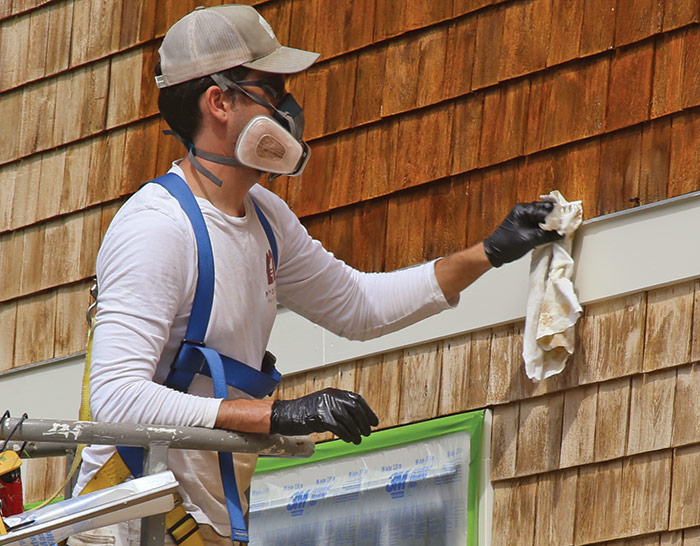
Finishing touches make or break an exterior refinish. Dirty windows, rough-touch surfaces on railings, and wonky downspouts can spoil an otherwise fresh exterior. Spend some time on the details for a job that looks as good as it can.
Choose the right stain
Choosing a stain that shows off the wood grain can be overwhelming. Transparent, semi-transparent, and semi-solid stains all allow you to see the wood grain behind the finish to varying degrees. In general, as you move toward the semi-solid end of the spectrum, you’re getting more pigment for more even coverage and better protection, but the trade-off is that you can’t see the underlying wood grain as well. I let my clients’ aesthetic goals start the discussion, and then I explain the pros and cons of the various finish types from there.
While water-based paints and finishes have come a long way, the best penetrating finishes are still oil-based. I’ve found that water-based semi-transparent stains, even from reputable manufacturers, don’t carry pigment or penetrate into the wood as well as oil, often resulting in unsightly lap marks. They also don’t have the wood-conditioning qualities that the best oil-based penetrating stains provide.
In my years of experience, Armstrong-Clark is the best penetrating finish. It has the most effective conditioning oils and solves a number of application problems. It can be applied in direct sunlight on hot days with no lap marks. You can walk on recently stained boards while finishing decks. If there happens to be a freak rainstorm a few hours after application, the product is generally unaffected. Plus, the collection of articles and how-to information on the manufacturer’s website is far superior to the information put out by any other manufacturer.
I regularly hear clients, builders, and homeowners alike tout a siding’s rotproof nature, especially when they’re describing a naturally rot-resistant species like cedar or redwood, or tropical hardwoods. While wood species is important, how the wood is coated and maintained has a bigger impact on its overall appearance and performance. If you opt for a penetrating stain, soft-wash and recoat every few years to protect the house and so that you can enjoy how good it looks. You’ll also have a smaller bill when it comes time to recoat if you do it consistently, compared to waiting until it looks shabby.
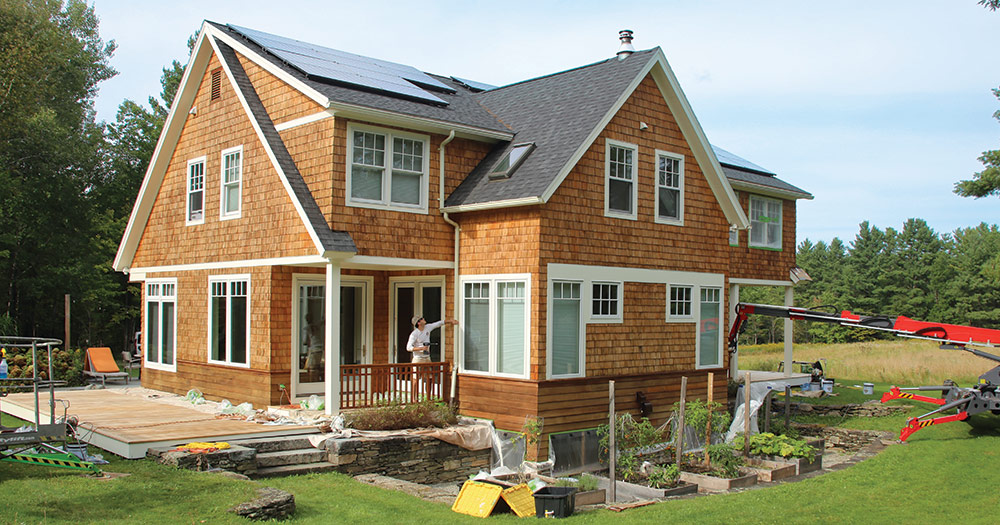
After stripping the old finish and prepping for stain on this house, we applied a transparent penetrating finish. The clients were excellent to work with, and they love their home’s new exterior.
RELATED STORIES
- What’s the Difference: Exterior Paint vs. Solid-Body Stains
- A Checklist of Exterior Painting
- 10 Tips to Paint Like a Pro
From Fine Homebuilding #322
To view the entire article, please click the View PDF button below.








View Comments
Congratulations on your new bungalow! Removing the overhanging cabinet to improve light flow is a great idea and usually won't cause major damage beyond needing some patching and painting, but it's best to consult a contractor for a precise assessment. While considering updates, you might also think about improving water quality. For instance, incorporating granular activated carbon cartridges from https://filterway.com/replacement-filter-cartridges/gac-filters/ can enhance your drinking water, complementing your kitchen's aesthetic and functional upgrades. Chalk painting the cabinets and reducing door numbers can significantly freshen up the space without extensive renovations.