Creating and Installing PVC Tapered Columns
Watch Justin Cline demonstrate how to craft tapered columns using PVC VERSATEX sheets for a clean and symmetrical finish.
Sponsored by VERSATEX
In this video we follow Justin Cline, lead carpenter at Eldon Builders, into the shop where he breaks down 3/4-in. PVC VERSATEX sheet goods to make the parts for the tapered columns detailed for the front of the house. Before heading to the job site, Justin will glue and assemble the parts into half-columns for transport and installation.
Justin Cline: Today, we’re going to produce a couple of tapered columns for the front elevation of the building. Ultimately, it ends up as a trapezoid. So, one of the bigger challenges that I face is making sure that both angles on each side mirror and are symmetrical to each other.
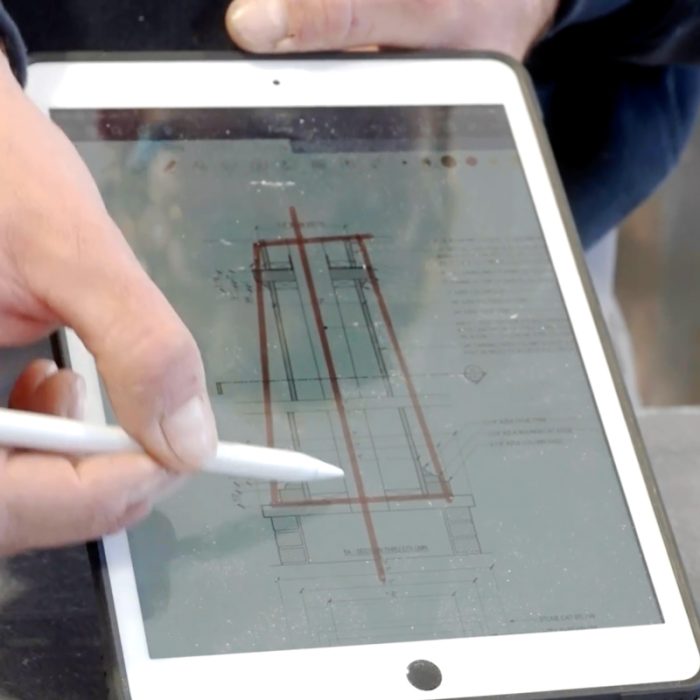
Justin: For everything I do, that establishes my center and that makes sure I’m perfectly mirrored on either side for this taper. So, I’m going to start off my center, 9-1/4-in., and verify. I have 18-1/2 in—that’s my base. That is what the drawing has specified. So, now I have these marks the same to the center and I’m going to put my height, 7-1/4-in.
This is the top, which is smaller in dimension than the bottom. So, it’s very important that I just continue to work everything back off my center mark. It will produce a perfectly mirrored edge every time. Okay, so now I’m going to connect one dot to the other and I’ll have that at a 45° bevel because these are going to be mitered to produce a nice clean edge. So, now I just line up my other side mark to mark. Cut that with the track saw. That is our tapered piece.
Next, before I make my template, I’m going to cut this to length. These are a couple of off blocks here. All that does is hold my track up, so we get a nice flat cut. This is exactly what I want. Perfectly mirrored, symmetrical, and now I will make a template off of this. So, to do that, line up one edge here flush. Make sure we’re nice and flat. All I do is trace this outline. You can pretty much use any type of plywood. I chose to use MDF here because it’s easy enough to work with and it’s rigid but lightweight. So, now I have a template and I can make multiple pieces exactly the same.
Narration: Using the template, Justin makes quick work of tracing and cutting until all the parts are ready for glue up.
Justin: So, for the glue up I’m going to use the tape method. So, right now I’m tearing off a couple pieces of tape, 6 to 8 in. long, I’d say. We’re going to stick them down to the show side of our tapered column wrap, and I will flip this over. So, here I have the sticky side of the tape up. Push those miters right against each other, and line up our top edge. We’ll also be flush at the bottom edge. Just give it a little bit of extra pressure here where we have our tape, and now we just need some glue.
I like to aim for the middle of that 45° miter. Gravity is going to push that adhesive down a little bit. I like to wait usually just a few seconds. The adhesive will warm up the cells in the VERSATEX and that will give you a longer time to work it. I like to get the miter tight, put a shot there, and I check that my tape is still holding.
Now, I use the tape to act as a clamp—you like it, you just stick it. The tape does not have a really strong adhesive on it, so it’s more of just a short term. I’m going to go back over and check my miter. If I have any troubled spots, I use a stainless-steel trim screw. It gives me a little bit of mechanical fastening to kind of stop any sort of risk of damage in transport and that’ll lock the miter together until your glue sets up. Now that I got all the pieces together that I can here in the shop, it’s just a matter of getting it to the job site and putting it together.
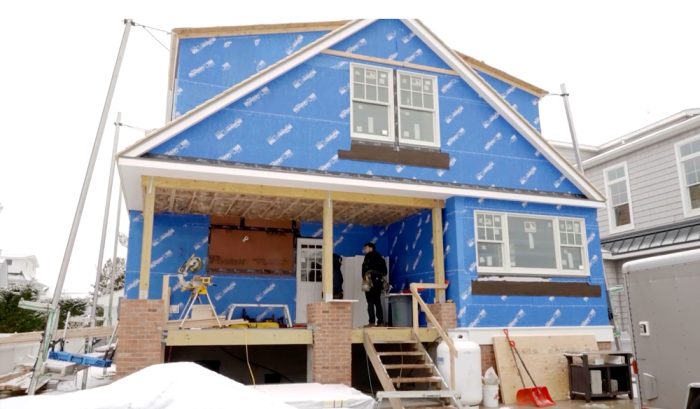
Today we’re on the front entry. This is the elevation. I have a contiguous band that integrates the window trim. It’s going to wrap around here. Everything maintains a nice, straight level line. So, here I have a line. That height is the contiguous band, and trim, and tablature that runs around the front elevation.
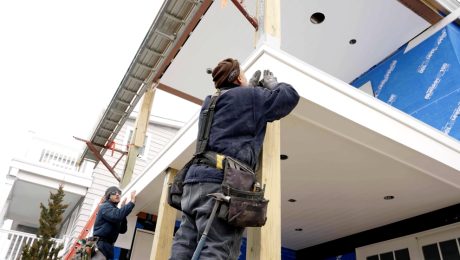
So, right now I am just making my marks a little bit bolder, which are my centerlines of the pier and I go up plumb from there through the post, so I have something to reference for framing out the differences in the post. So, here I have my height marked out and labeled. I have a center mark to reference for plumb. That gives me positive alignment and I’ll fasten that for solid backing. I have my arrow; make sure we don’t switch it around with this gentle taper. So, here the tapered column is held just above the bluestone cap that will be installed later. It does not fit to the concrete you see here.
So, when I put the blocking on, I won’t actually cut this square. It’ll have a 1.5° angle that matches the tapered column we have produced. That is consistent on the top as well as the bottom. I leave my blocks just a hair short in length. This gives me space to maneuver the VERSATEX tapered column to fit for plumb. So, here I’m just making sure everything lines up the way I need it to. This block is the same as the other side. Again, this is just an alignment thing. Center mark is good hitting my other block. This is all level and square to the pier.
Narration: Before bringing in the first column section, Justin mills up half a cap piece to use as a guide for placement.
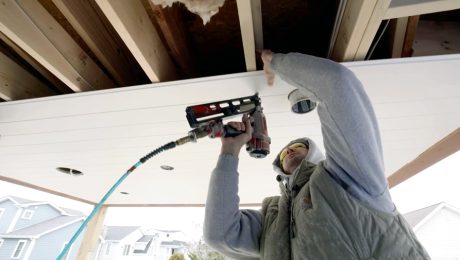
Justin: The top of this VERSATEX cap is on my level reference line that wraps around the house. I have a center mark and a center mark lining up here; a center mark and a center mark over here. Packing fits that same centerline. This capital was glued up perfectly square. Now, it’s just a matter of fitting my column to it. We’ll tack that down. I’m going to use an 18-ga. nailer for this. If I need to move this around later for whatever reason, I can simply just bend the nails over.
Narration: For temporary support, Justin packs out the base with 2x scraps. Then he bridges the tapered blocking for more fastening substrate, installing a 2x nailer that mirrors the angle.
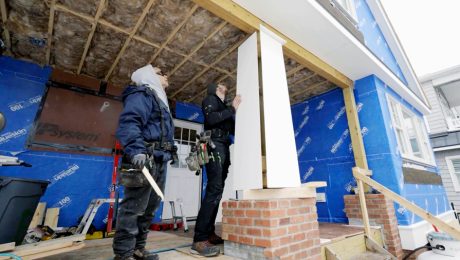
Justin: Here I have the VERSATEX tapered column wraps. I’m just going to transfer some center marks for reference that lineup on the framing. My top is secure. Again, lining up my center marks that I have on my pier as well as my capital. I was happy with my fit. My miters fit good. All my centerlines lined up. Just got to put an additional nail or two in and we’re ready for the glue. Okay, so for here, we have a larger-scale glue up, so we’ll do each joint at the same time.
We’ll do a nice generous bead here, right down the middle. Plenty of surface area for this glue to stick to. Okay, let’s put the piece up. We will use the 18-ga. brad nailer on any slight discrepancies, but the screws do most of the work until the glue sets up. It’s a nice strong bond and we’ll wipe away any excess glue from the pressure of squeezing out. I’m really happy with this fit on my tapered column. Now we’ll do a capital and a base at the time when we finish the rest of the trim on the house.
RELATED STORIES
