Wrapping PVC Box Beams
Learn how Justin Cline builds out box beams with VERSATEX PVC trimboards in the shop before installing them on-site.
Sponsored by VERSATEX
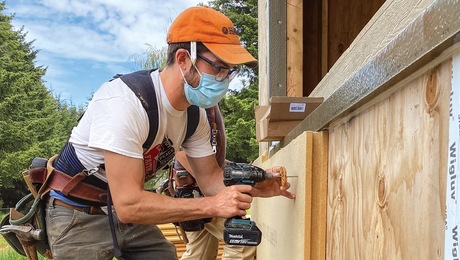
In this video we revisit the rear-porch remodel where Justin Cline, lead carpenter at Eldon Builders, is wrapping box beams using VERSATEX 1x trimboards. On the day we showed up it was raining, so Justin sorted some material, loaded the truck, and moved the operation to the shop so he could mill up the parts and walk us through the assembly before returning to the job site for installation.
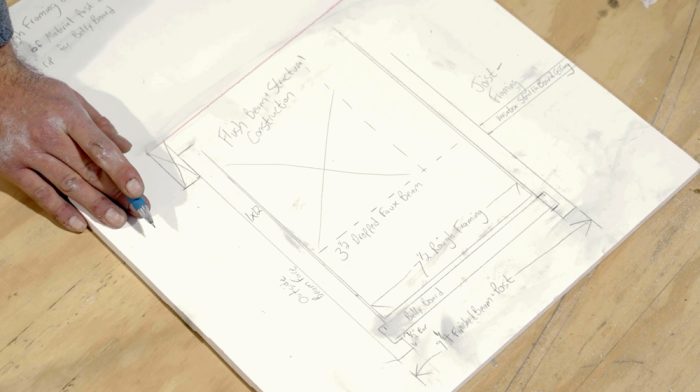
Justin: So here I have a real-life, full-scale drawing of the cross section of the beam that we’re making. This is our VERSATEX 1×12. This is what we’re using to construct the beam face. Underneath we have what we call a belly board, which is just a piece of 1x that we use to finish off the underside, and we have our dado slot to accept this belly board.
The dado slot allows us to have a nice clean corner right inside here. And then again on the other side we just use a VERSATEX 1x product ripped down to size, our universal figure here, and that’s the full joinery of how that goes together. So, in this instance, I’m doing a 3-1/2-in. faux beam. You can apply this to any sort of framing detail where you have a drop beam or a flush beam. In this case we have a flush beam. The outside is the full 1×12. On the other side this will be ripped down on the job site to our ceiling.
Narration: For manageability inside the shop, Justin cuts the PVC to rough lengths using measurements from the job site before setting up the tablesaw.
Justin: What I’m doing now is locking up our dado stack and this will create our plough. That data puts us right at three-quarters there and that’s perfect, exactly what we’re looking for. So now the only adjustment we need is our distance here for what I call the ear, which is full, our plow, and our extra. Here we’re going to put our factory edge against the fence. We’re going to mark out a half. That’s going to set a reveal on the underside of the beam, and from there 3/4 in., that is the width of our plough or dado. I like to go right about half of the material thickness. If you go too thin here, you end up getting a lot of cracking and breaking right along this face. Then we also have our height that we’ll set, so it only takes out what we need out of what will be the back of the board. It is always a good idea after you make your first cut to get a test piece. So here we have a piece of VERSATEX 1x fitting inside that dado slot.
Personally, I like a little bit of slop in the back there. If you have any issues with your rough framing, that allows you to get your board nice and flat and a nice crisp reveal underneath. So here just for efficiency, I put a dado on each side that has the factory edge along the full VERSATEX 1×12. I make notes to myself to rip this in half. On the job site, I’ll be able to rip this down to height. It’s the inside face of a beam, so it’s a little bit less tall than it would be on the outside of the beam, which in this case over here is a full 1×12.
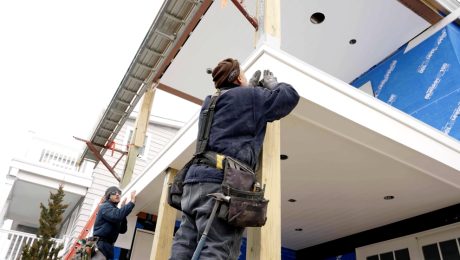
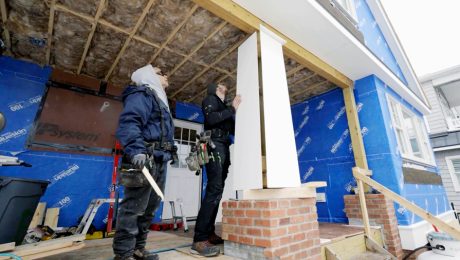
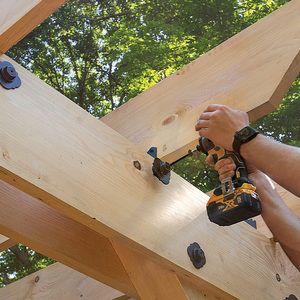
Justin: Now we’re on the back porch and we’re going to be wrapping these beams with the VERSATEX 1x product. The architect has one contiguous band which spans from the top of that window head all the way through, and that creates the height for our beam. Our beam face will be as such. The belly board is left a little bit wider so that it will tuck inside of that dado slot.
Narration: Once cut to length they position the board tight to the siding while leaving a gap at the post for expansion and contraction.
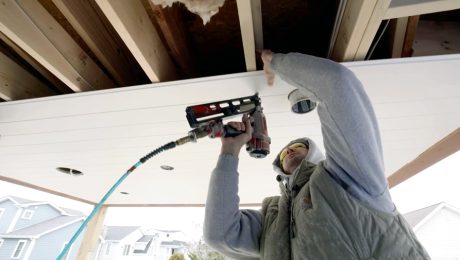
Justin: We use our pencil as a 1/4-in. gauge for our width. Then, I’m going to use this Christy’s Red Hot vinyl adhesive. I use my pencil again as my gauge for 1/4-in. past and I fasten it with my DA Nailer. Now I have a nice watertight connection. I’m going to leave a little space off this post and a 1/4-in. pass with my pencil, and I mark for any notches. So now I have my belly board installed. It’s flat and it’s straight. We’ll work on the inside beam face with the dado slot we have produced out front.
Here’s where some of the prep work in the shop comes to play. I have my piece with a dado on each side coming off the factory end. Now we just got to rip it to its width. I measure from here. It was 3-7/8 in., pretty tight, and I have a little bit of room for space. I’m going to go 3-3/4 in. to there, and then I reference that same factory edge. We can make our rip 4-1/2 in.
Where the belly board is left wide of the framing, it’s going to contact here. So, I take a little notch out and when the other corner piece on the inside touches, it covers up any slop you have inside of that cut. All right, let’s put it up.
Narration: They tack the center of the board to hold its position so Justin can apply a healthy bead of vinyl adhesive to the joint. Then he nails off the board using the 2-in. 15-ga. stainless finish nails.
Justin: So, these spaces up at the top here were left intentionally. We’re going to have a bed molding run around the perimeter of this porch ceiling just like that, which covers all the way through. So now I have my belly board installed. I have the inside face of the beam wrapped. All that’s left is the outside beam face. I got this VERSATEX 1×12 with our dado that we made in the shop. Got that to accept our belly board. I give myself 3/4 in. to go up behind this edge of the deck above for watershed.
Narration: Just like we saw previously where boards butt PVC siding, they use adhesive.
Justin: I’m going to line it up there like that, nice and tight. I’m going to glue this miter joint. That will bond these two pieces together as one. So, these nails are a good holding power, kind of like a clamp until the glue cures to 100%. I’m going to push that nice and tight to my dado—that connects the belly board and this whole beam assembly. Then, I look around to make sure everything’s good. I got my groove all locked in, so now it’s just a matter of nailing it on.
RELATED STORIES
