What is Balloon Framing? The Full Process Revealed
Learn about balloon-framing construction techniques, including stud patterns and efficient assembly methods with minimal manpower and scaffolding.
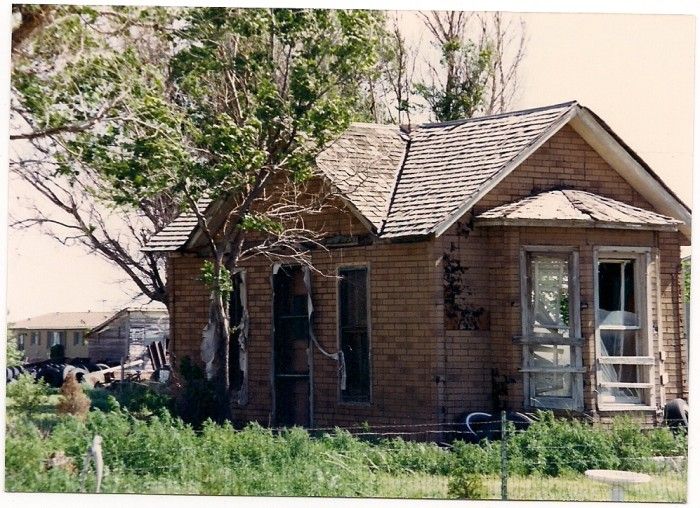
Balloon-framing, prevalent until the mid-20th century, posed intriguing construction challenges, especially regarding the technique’s efficiency and labor requirements. The process involved meticulous planning and precise execution. Builders crafted stud patterns, pre-cutting and notching each piece before assembly, akin to weaving a basket. Despite the absence of modern scaffolding, a small team could erect the structure efficiently, employing clever methods such as toe-nailing joists to create temporary platforms. This historical insight sheds light on the ingenuity of early builders and the evolution of construction techniques over time.
Reader Question:
I was born in the 1950s, well after platform-framing replaced balloon-framing as the building method of choice in this country. We regularly remodel old balloon-frame houses, and I can’t figure out how the old-timers built them. Did they use elaborate staging or perhaps a small army of carpenters to raise the tall walls? Can you shed any light on this subject?
— Mike Guertin, East Greenwich, RI
Former Contributing Editor Scott McBride Answers
Believe it or not, there was fierce competition between builders even back at the turn of the century when balloon-framing was in its heyday. Knowing the pressure these builders faced, I’d always figured that they had an efficient system for putting up balloon frames. My ideas were confirmed when I came across a detailed description of the process in the 1923 edition of Audel’s Carpenters and Builders Guide.
What is Balloon-Framing?
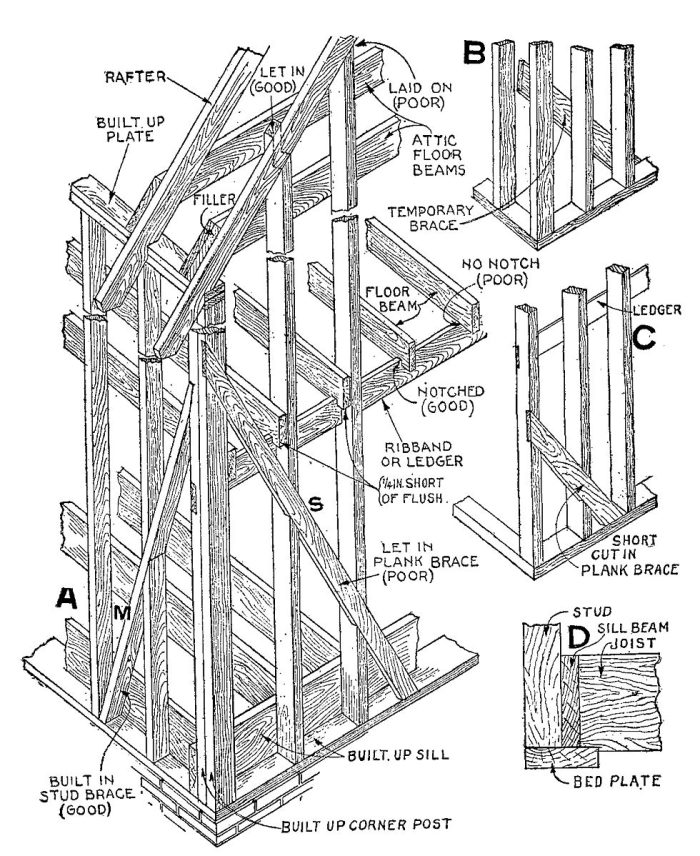
For the uninitiated, balloon-framing is a building method in which the wall studs run the entire height of the outside walls from the mudsills to the roof plates. If the house was two stories high, these studs could sometimes be as long as 20 ft. The floor joists for the second floor were usually supported on a ledger or ribbon that was let into the studs. Balloon-framing was replaced by platform-framing (today’s building method of choice) when the trees that produced the long studs became scarce.
The builder started by laying out the stud spacing on the mudsills. A pattern for the studs was then prepared. Made from a straight 1×4 or 2×4, the pattern was cut to the exact stud length, and a notch for the ribbon was cut into one edge. The stud pattern was used to mark all the studs and corner posts to be precut and notched before they went up. Corners were sometimes made from built-up 2x4s, but it was more common to use a 4×6 with a 2×4 nailed on the broad side to provide inside-corner nailing. To lay out studs en masse, they were racked up on sawhorses, and marks were squared across from the pattern. The ribbon notch in each stud was then cut with a saw and chisel.
Assembling a Balloon Frame
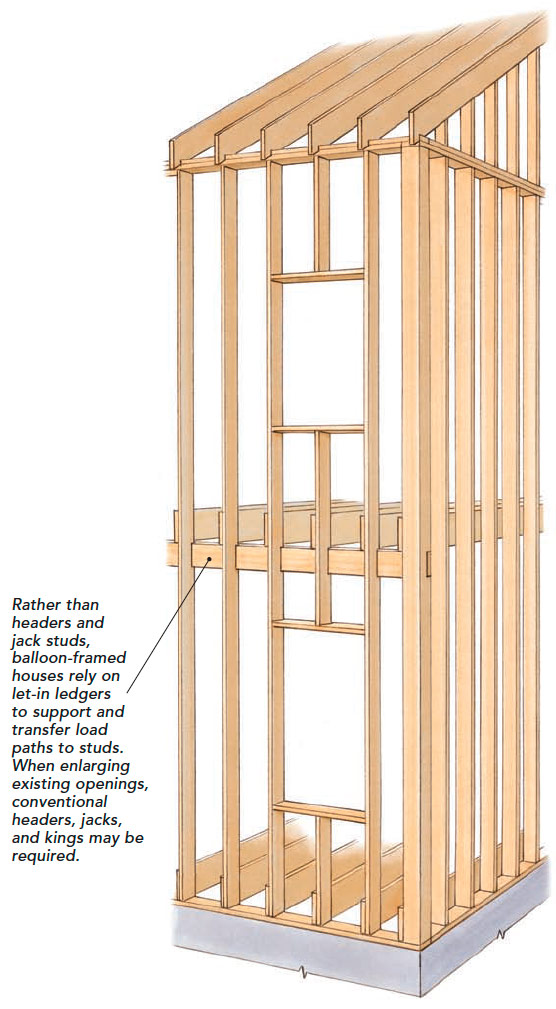
Assembly of the balloon frame was sort of like weaving a basket. Pieces were put up one at a time, but in an efficient sequence that minimized the need for scaffolding and manpower. In fact, two men and a few sawhorses were usually all that was needed. First, the corners were stood up and braced off. Then 1×6 ribbons were hung between the posts. For longer walls, one or two intermediate studs would also have to be raised and braced to carry the splices in the ribbon.
The length of the ribbons was taken directly from the mudsills, along with the stud layout. With the corners and the premarked ribbons up in the air, it was a simple matter to add the studs. Each stud was toenailed to the sill and slipped onto the ribbon at the appropriate mark. Working from a sawhorse, a carpenter nailed through the ribbon to catch the stud. The upper half of the studding was left to run wild for the moment.
After the studs were up, the second-floor joists were installed atop the ribbons. It was considered good practice to notch the underside of the joists slightly to engage the ribbons to maintain a precise distance between opposing walls, and usually a joist pattern was made to keep the joists identical.
After setting the joists, the upstairs subflooring could be installed. Or if the builders were in a hurry, they could simply scatter enough loose boards atop the joists to make a working platform. To finish the walls, double top plates were nailed on top of the studs. As with the ribbons, the length and stud layout for the plates was transferred directly from the sills.
In early balloon frames, the studs extended all the way down to the mudsills, which was a holdover from the earlier braced-frame system with its heavy timber sills. Later balloon frames used a hybrid of techniques where the first floor was platform-framed but where the second floor was still hung on ribbons.
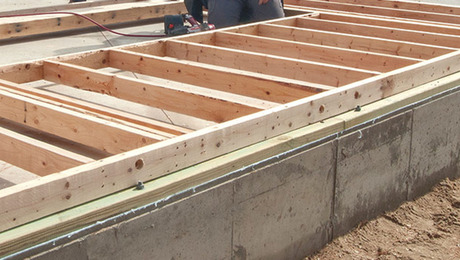
Without a first-floor deck, one wonders what the carpenters stood on while erecting the corners and studding. My guess is that they toenailed the floor joists on edge and then tacked down a few courses of subfloor boards to provide a working platform and to keep the joists from rolling. The joists would then be face-nailed to the studs as the studs were installed. Once the roof was on and the frame sided or sheathed, the crew could tackle the tedious job of laying the rest of the subfloor without having to deal with the weather.
RELATED STORIES
Published March 1, 1998. Updated May 6, 2024.
Fine Homebuilding Recommended Products
Fine Homebuilding receives a commission for items purchased through links on this site, including Amazon Associates and other affiliate advertising programs.

Bluetooth Earmuffs

Sledge Hammer

QuikDrive PRO300s








View Comments
The evolution of construction techniques always fascinates me and i believe that a lot of the older techniques are superior (i mean we've got buildings that are hundreds of years old that look amazing compared to modern buildings that look like rubbish and are already falling down).
- Jason (from Melbourne Fencing Pros)