Prevent Bubbles in Joint Compound
Use this technique to eliminate nearly all the air bubbles that come through during repairs over painted surfaces.
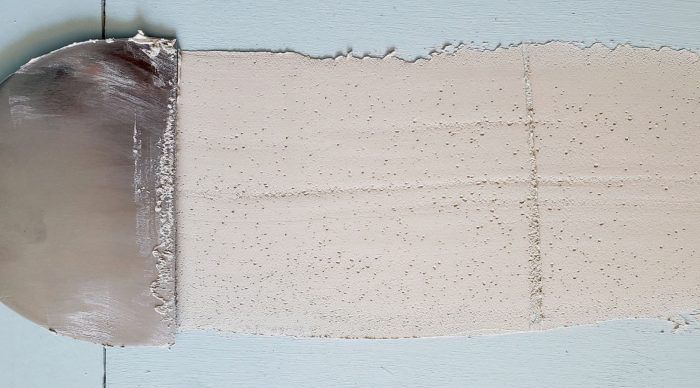
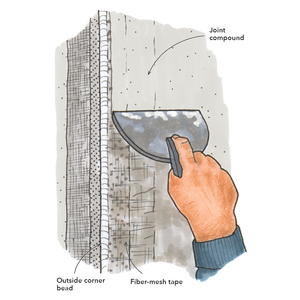
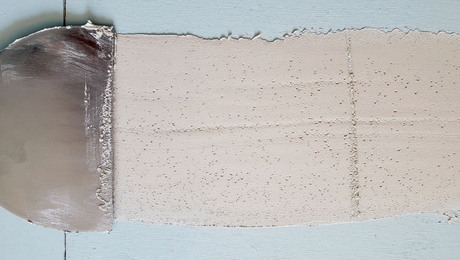
A recent drywall patch revealed a weird phenomenon that I’ve experienced in the past. When I apply compound over a previously painted surface, little air bubbles, about the size of soda bubbles, appear in the compound. If my patch combines new and painted drywall, the bubbles only appear over the painted part. I’ve experimented with both ready-mixed and easy-sand setting-type compound and the bubbles happen with both. What causes this? Is there a way to prevent bubbles in joint compound?
—Jamie Ozolek; Wexford, Pa.
Author Myron Ferguson Answers
Myron Ferguson, author of Drywall: Professional Techniques for Great Results (The Taunton Press, 2012), replies: I’ll start out by saying that I don’t know what causes air bubbles to come through the joint compound during repairs over painted surfaces. I’ve also had it happen when applying drying compound over setting-type compound. My theory is that compounds are formulated for the paper face of drywall, so the compound reacts differently when it’s applied over a painted surface or over heavy layers of setting compound.
The biggest frustration with the bubbles is that they keep reappearing, even after a third or fourth coat. Fortunately, a few years ago I discovered a technique that eliminates nearly all the air bubbles. I was doing an extensive repair to a plaster wall in a church basement. I had put on thick coat of setting compound the day before, and after rolling on a fairly heavy layer of a lightweight compound, I went outside to get my taping tools and had a conversation with the church’s general contractor. It was 20 to 30 minutes later when I went back to the basement and started smoothing the compound with a wide finishing knife. There were almost no bubbles.
My solution is to apply a fairly heavy coat of USG Plus 3 drying-type compound over the setting compound or painted surface and wait. Do something else for at least 20 minutes and then try smoothing with a drywall knife. If you start working the compound and you’re still seeing bubbles, wait 10 minutes more.
This technique eliminates 90% of the air bubbles. If I’m making multiple repairs over painted surfaces, I’ll apply drying-type compound to some or all of the repairs before I start smoothing. After the compound on the patches has had 20 to 30 minutes to rest, I smooth out the patches in the same order that I applied the compound. The secret in both scenarios is patience.
From Fine Homebuilding #324
RELATED STORIES
- A Trick for Spotting Drywall Compound Touch-Ups
- Finishing Drywall With Seamless Results
- How to Choose and Mix Ready Mix Joint Compound
Need help?
Get answers you can trust from the experienced pros at FHB. Email your question to Experts@FineHomebuilding.com.
