Strong Connections With Loose Tenons
Make sturdy doors and frame-and-panels of any size with tools you already have.
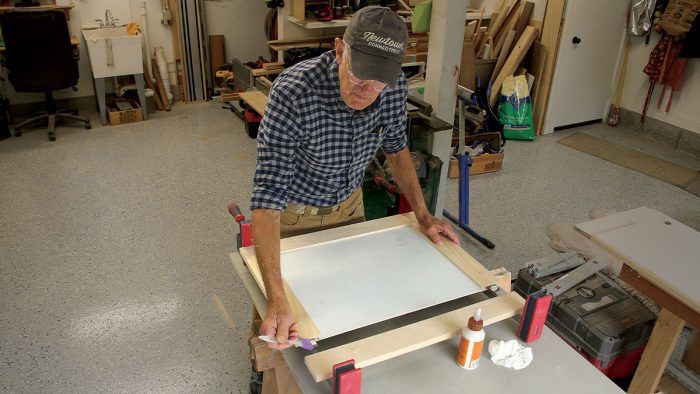
Similar to mortise-and-tenon joinery, loose-tenon joinery is an efficient way to make cabinet face frames and doors without the need to measure and cut tenons as part of a stile or rail. Carpenter Tim Snyder walks through the process of creating loose tenons for a cabinet door with a router and a set of guide bushings. While the Festool Domino system will make quick work of the loose-tenon joinery process, it’s a manageable job without the Domino.
Tenon Tales
Mortise-and-tenon joinery has always been associated with quality construction. The tenon—a thinned-down section on one side of the joint—fits into a square mortise on the other. For the cabinet maker, this means a rock-solid connection between vertical and horizontal pieces without visible fasteners, and is the ideal way to make frame-and-panels for doors, walls, and case construction.
The only downside to traditional mortise-and-tenon joints is the difficulty in creating the tenons, which can be sized incorrectly or misaligned, resulting in parts that don’t fit correctly. In the worst cases, you have to make new parts to get a good fit. A variation on traditional mortise-and-tenon joinery is “loose tenon” joinery, which uses a separate, “loose” piece of stock to join a pair of matching mortises. Loose-tenon joinery—also called “floating tenon”—isn’t as sloppy as it sounds.
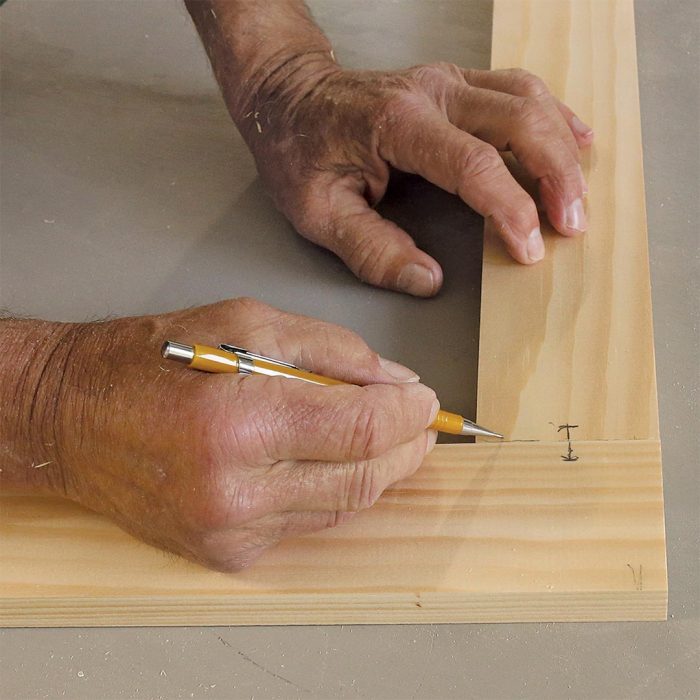
Strong and Simple ConstructionLoose-tenon joinery is an efficient way to make cabinet face frames and doors. Mating parts get matching mortises that are joined together with a “floating” tenon that’s cut separately and glued into place. Typically on a door the rails butt into the stiles, which run long and receive hinge hardware. Other times the stiles butt into the rails, as shown on the cabinet face frame in the drawing. The orientation of each piece matters when marking the placement of the mortises and planning the stopped grooves. 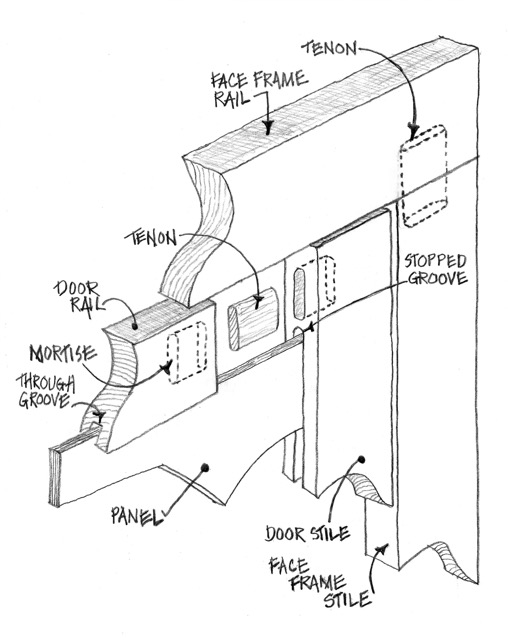 |
A proper-fitting loose or floating tenon fits snugly within the mortises in the mating parts. The tight fit provides good alignment of stile and rail parts and a strong connection because the tenon’s long grain bridges the stile-and-rail joint. This is a very efficient way to make precise-fitting joints in doors, frames, and other assemblies that require strong and invisible connections.
Of course, you can build doors and panels with faster methods of construction, like pocket screws, but these are not as strong as tenons and are impossible to hide with stained or natural finishes. You can also use stub tenons—essentially a tongue-and-groove joint—but these are still not as strong as loose tenons, especially for a project like a heavy door.
Loose tenons are easy to make, and you can use any straight-grained stock you have. In the frame-and-panel cabinet shown in this article, I used walnut offcuts from my scrap bin. And if you cut a loose tenon wrong, it’s easy to make replacements. Another thing to like about loose-tenon joinery versus traditional mortise-and-tenon joinery is the simplified math: With loose-tenon joints you can size your stiles and rails without having to account for tenon length.
Tools for Loose Tenons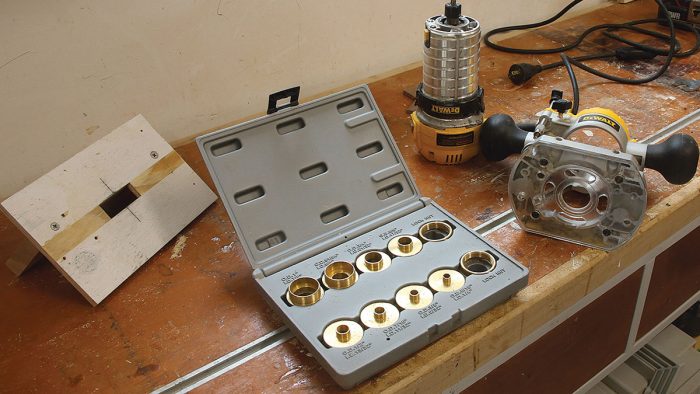
|
Use the Tools You Have
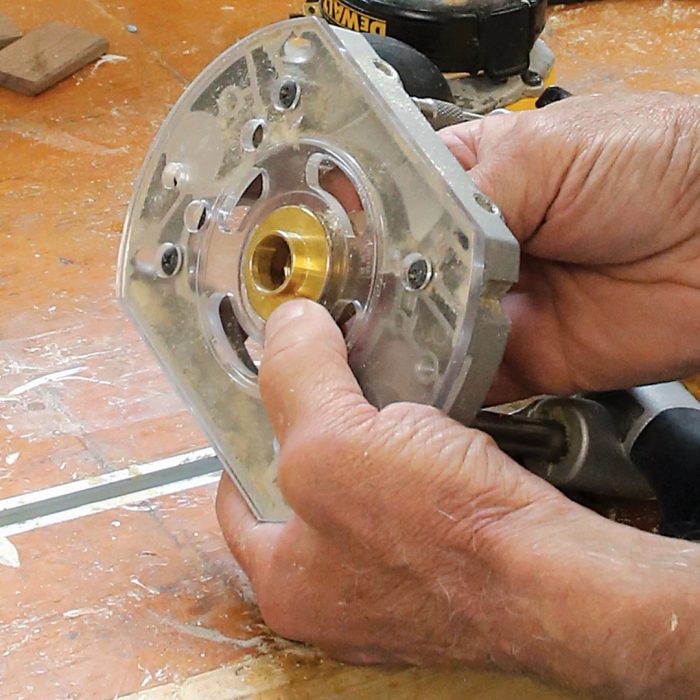
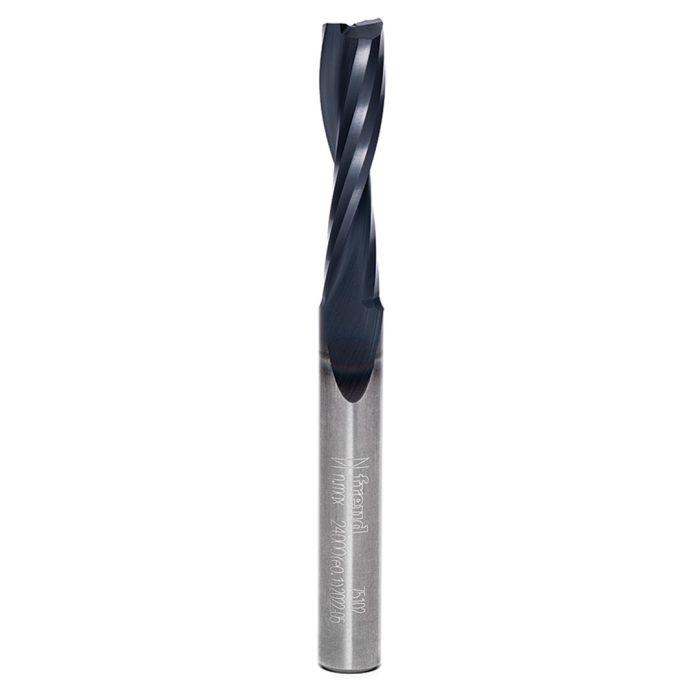
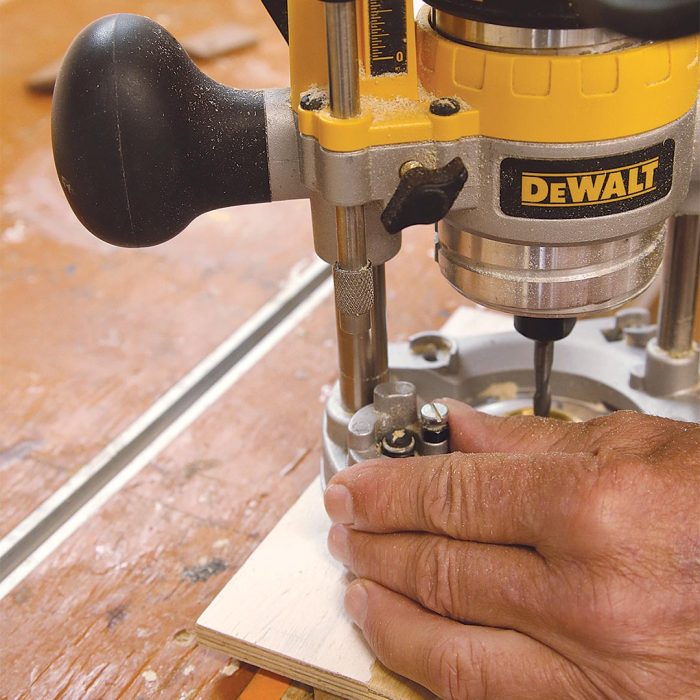
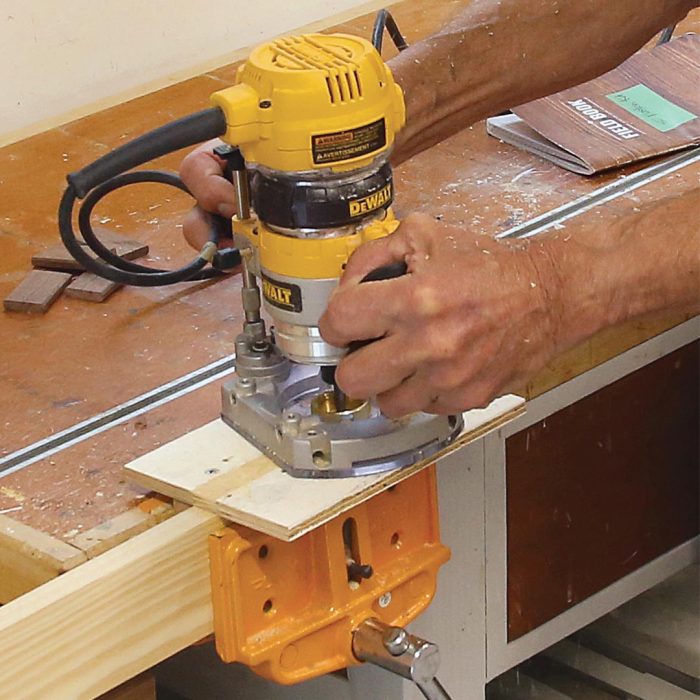
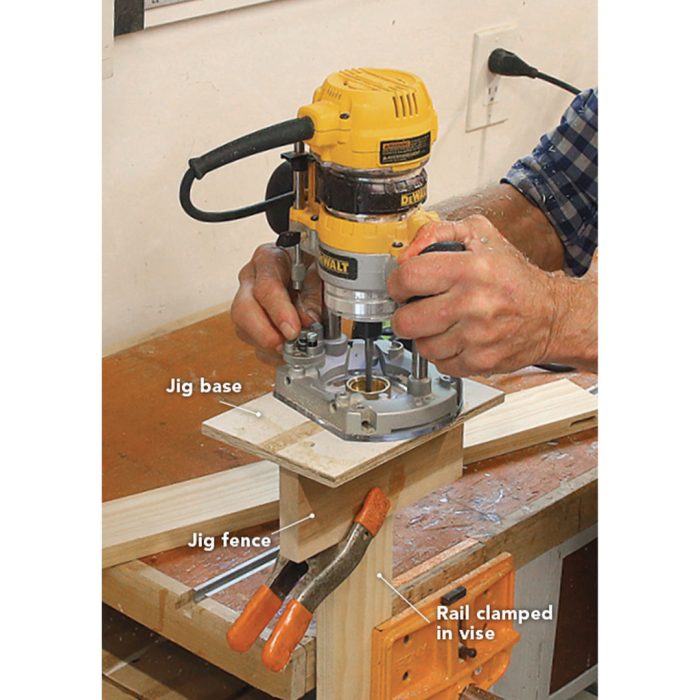
There is a tool (the Festool Domino) that makes the process of loose-tenon joinery quick and easy, but it’s expensive. Thankfully, expensive tools aren’t required to create strong loose-tenon joints. You simply need a plunge router, a template bushing, and an up-cutting, spiral-fluted bit for the router.
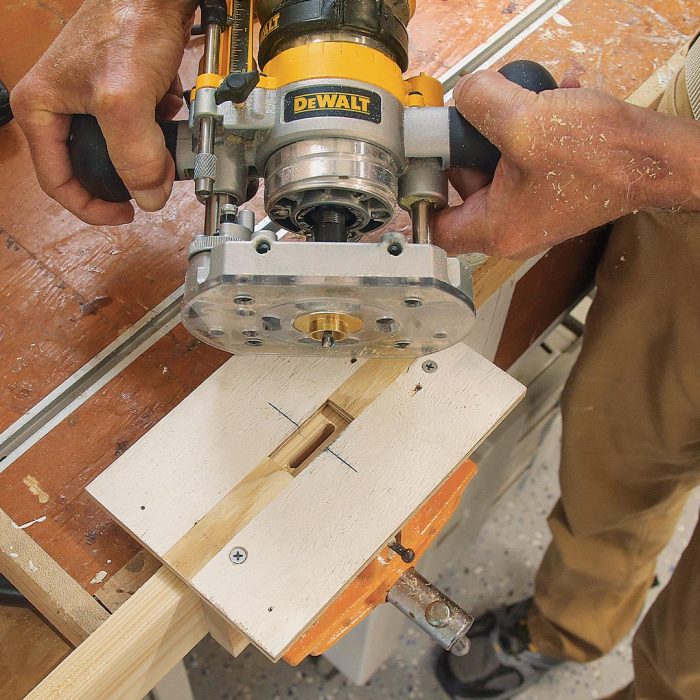
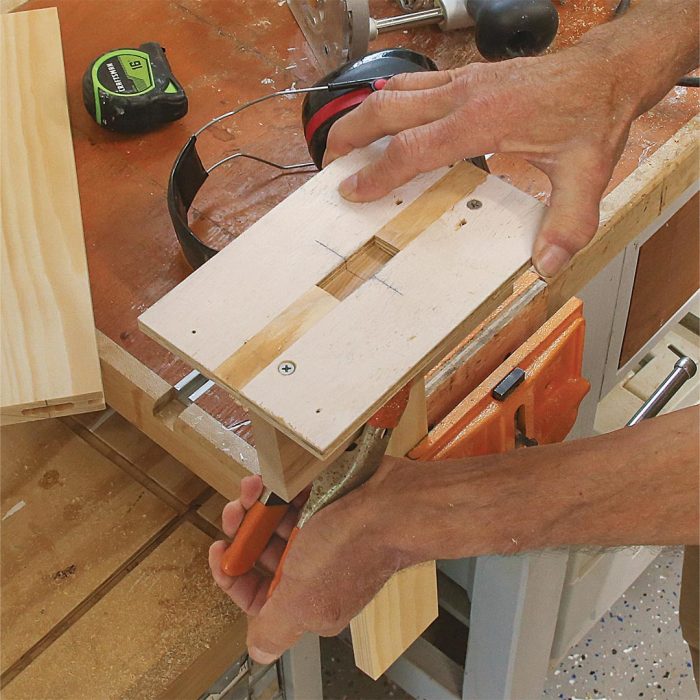
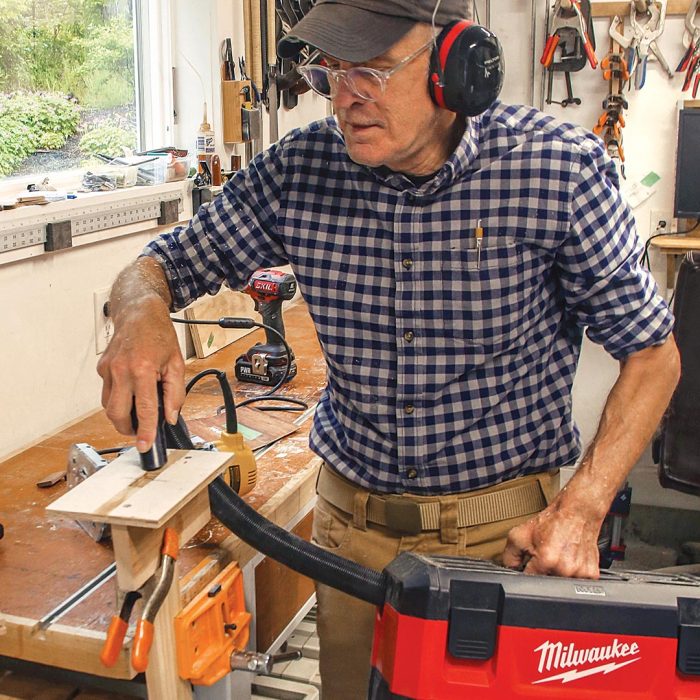
The template bushing is mounted in the base of the router and follows the opening in a shop-made jig that’s clamped to the workpiece. The template and bushing guide the bit to make a perfect mortise. By routing a series of progressively deeper cuts, you’ll be able to produce smooth, precise mortises.
The size of your mortises and loose tenons depends on the dimensions of your frame members. Generally, I aim for tenons that are about one-third the thickness of my frame stock. The cabinet doors here have 3/4-in.-thick stiles and rails, so mortises and tenons are 1/4 in. thick.
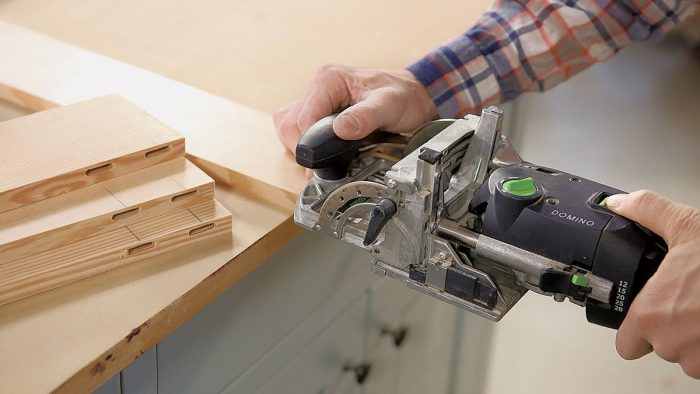
Loose-Tenon SpecialistFestool’s Domino system (developed in 2005 and first available in the U.S. in 2007) makes the loose-tenon joinery process fast and easy by simplifying the mortising and by including ready-made tenons. The Domino gave loose-tenon joinery a boost in popularity—but its hefty price tag (around $1600 for the machine and a box of tenons) can be a major barrier. For those willing to invest, the Domino tool streamlines the process, ensuring precise and repeatable results with minimal effort. If you want to learn more about the Domino, check out my review in FHB #310. |
The width of the mortises and tenons should be around half the width of the frame stock. Mortise depth and tenon length may vary; some tenons are a design feature and so are exposed in the final piece, as is common with Arts and Crafts furniture and cabinets. These paint-grade cabinet doors have tenons that are about 2 in. long, which is a good size for mainstream cabinets and built-ins without exposed tenons.
Carpenters and furniture makers have used mortise-and-tenon joinery for centuries. The joints are sturdy and stay tight with changes in humidity. The design with its mating parts aids assembly. Loose tenons have all the benefits of conventional tenons, but without the hassles of correctly cutting the tenons on the stiles or rails.
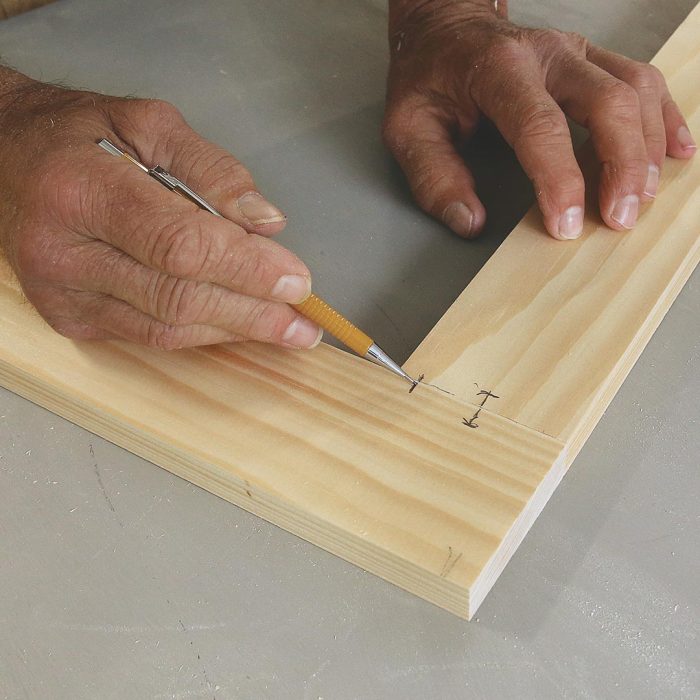
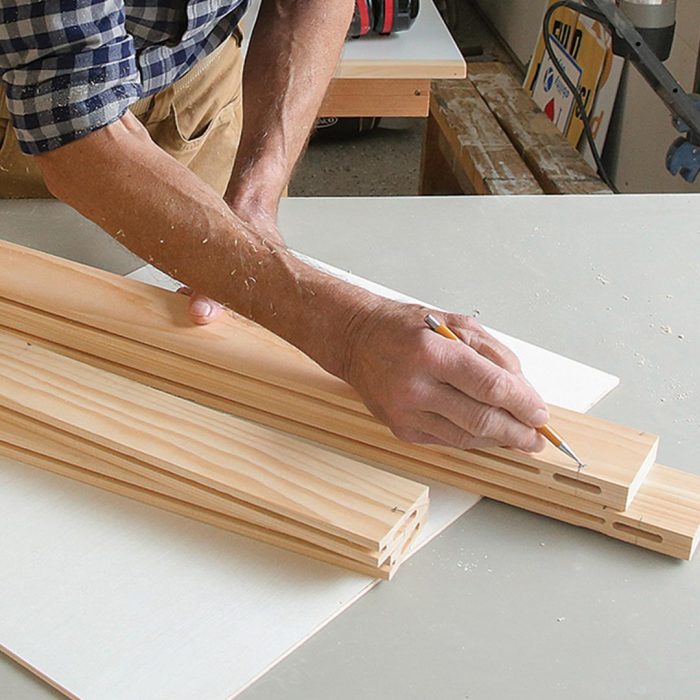
Mill the MortisesI start by cutting stiles and rails to their finished dimensions. If you’re making a series of frame-and-panels, cut the same-size parts in batches. I dry-fit the frames on a flat work surface to double-check dimensions. Then I select and mark the best-looking face of each frame part that I want to be visible in the finished project. 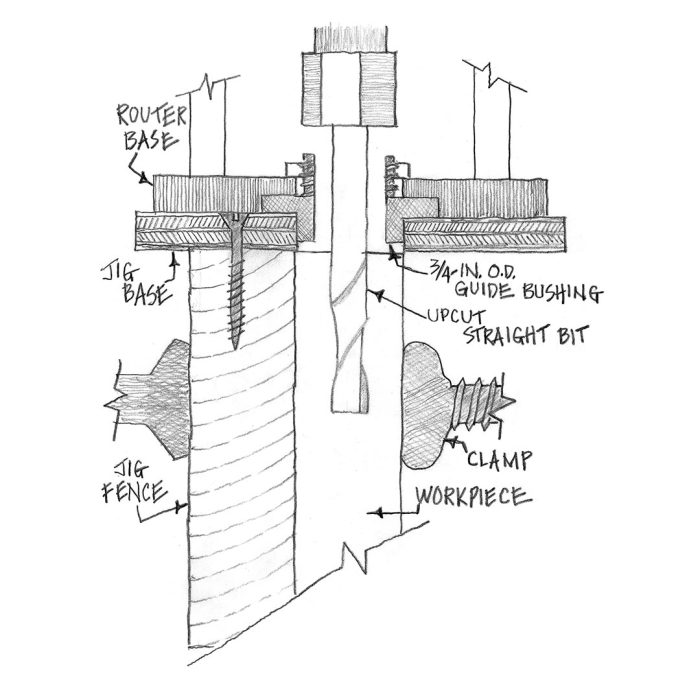
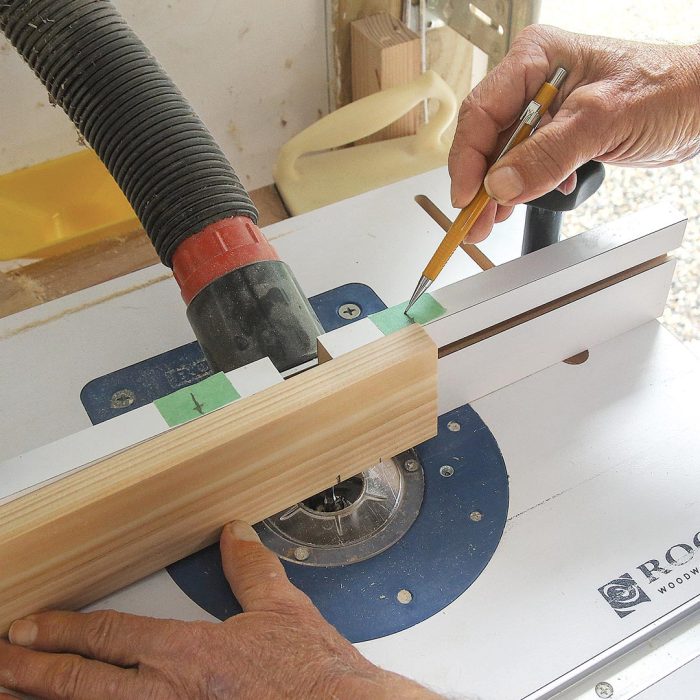
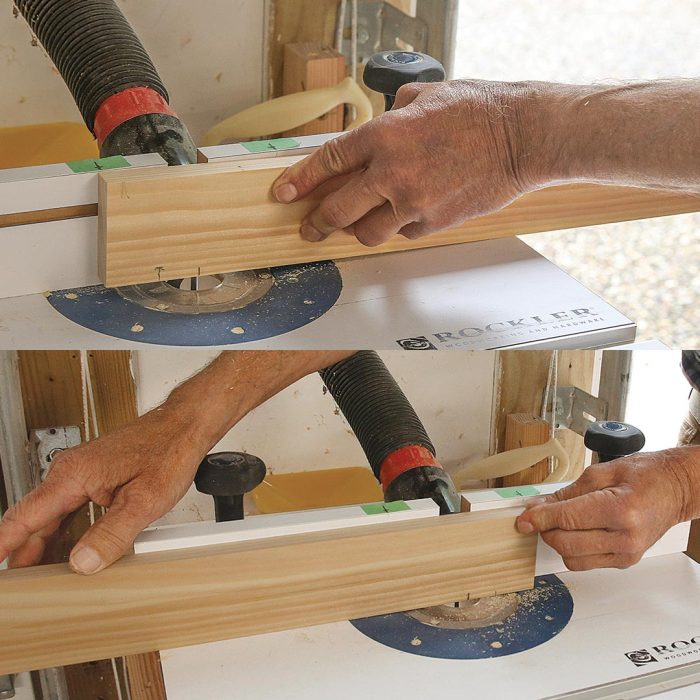
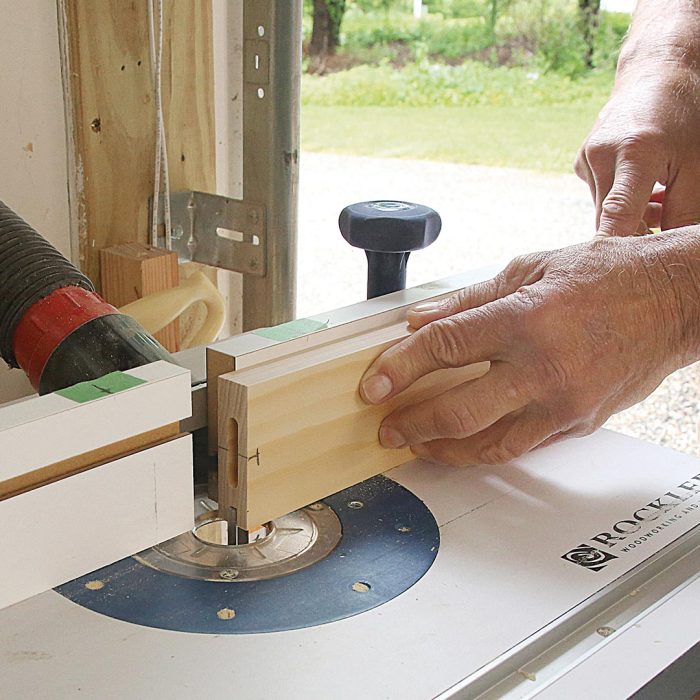
Rout the GroovesI prefer a groove to hold the panel in the frame rather than a rabbet and separate stop. The groove eliminates the slow process of fitting and installing a stop to hold the panel. I cut the groove to match the panel thickness in the stiles and rails using a router table and a fence. Two frame sides receive a groove along their entire length; the other two have stopped grooves.
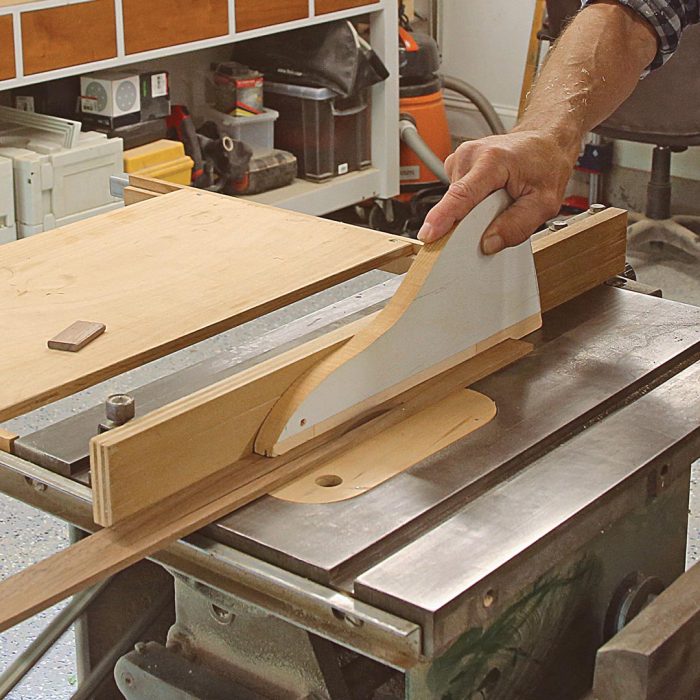
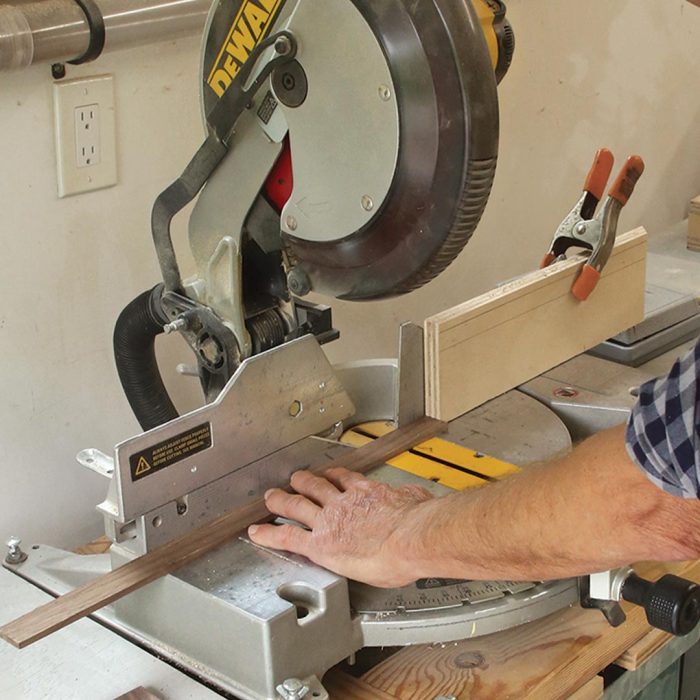
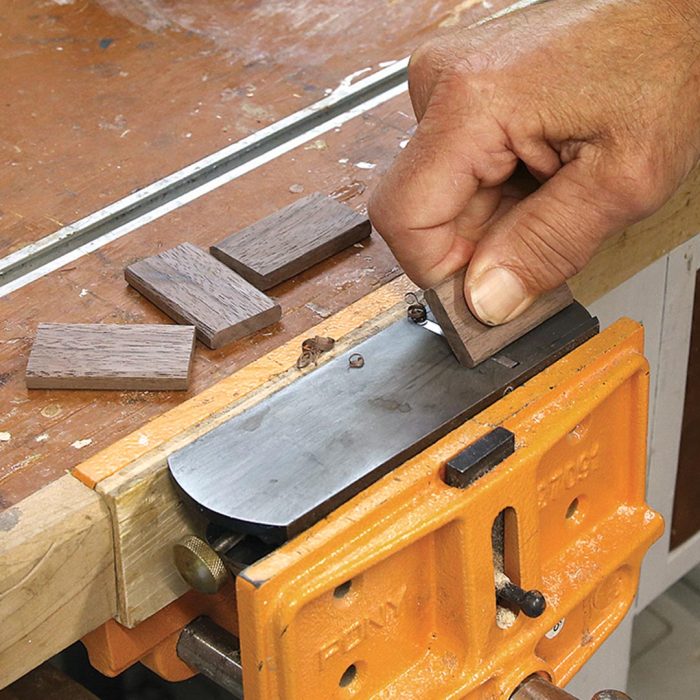
Cut the TenonsI make tenons from straight-grained hardwood. It’s smart to size tenons 1⁄8 in. to 3⁄16 in. narrower and shorter than the width and depth of the mortises, while maintaining snug-fitting thickness. This sizing strategy means I can fine-tune the alignment between the stiles and rails during assembly.
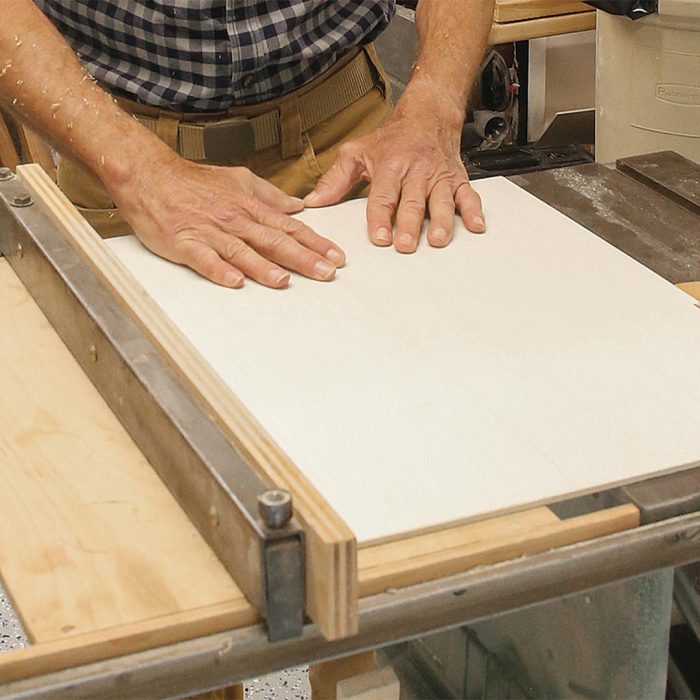
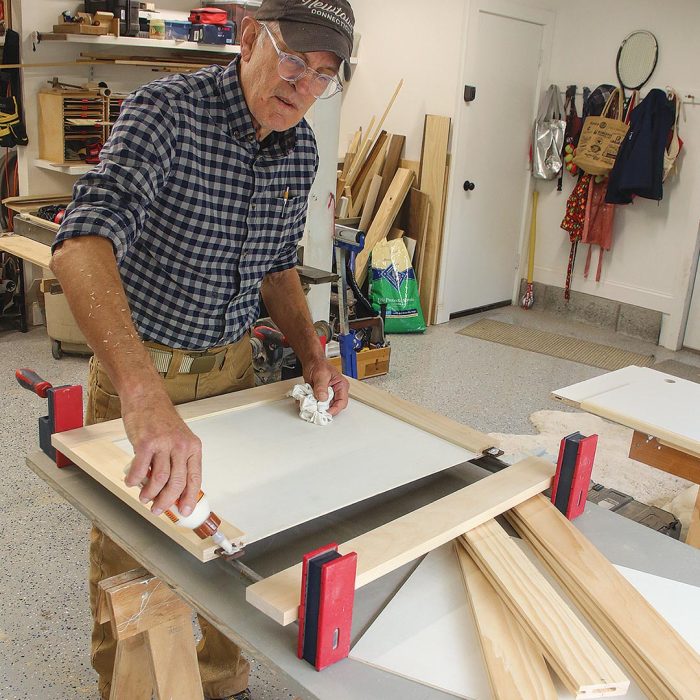
Assemble the PanelsOnce I have the stiles and rails mortised and grooved, I cut the center panel from plywood, MDF, or solid stock. Because of their stability with changes in moisture content, plywood and MDF are cut 1⁄8 in. to 1⁄4 in. undersized. Solid-wood panels should be further undersized; the amount depends on the wood’s moisture content, installed environment, and species. Rift-sawn or quartersawn stock will minimize expansion and contraction with humidity changes.
|
— Tim Snyder; writer and woodworker in Newtown, Conn. Photos by Patrick McCombe, except where noted. Drawings by the author.
RELATED STORIES
Fine Homebuilding Recommended Products
Fine Homebuilding receives a commission for items purchased through links on this site, including Amazon Associates and other affiliate advertising programs.

Affordable IR Camera

Handy Heat Gun

8067 All-Weather Flashing Tape
