Installing Risers and Treads on Wraparound Deck Stairs
Follow Mike Guertin's recommendations for a deck that will stay free of mold and debris.
Sponsored by Trex®
In the final episode of Mike Guertin’s freestanding deck-building video series, he installs the deck-stair risers between the top of the rough framing and the underside of the finished decking. He makes sure to leave ¾ in. for proper drainage and to avoid hardware interference. Mike secures everything in place using seamless screws and color-matched plugs from Trex®, and ensures the bottom riser remains adjustable for future patio paving.

Here’s the Transcript:
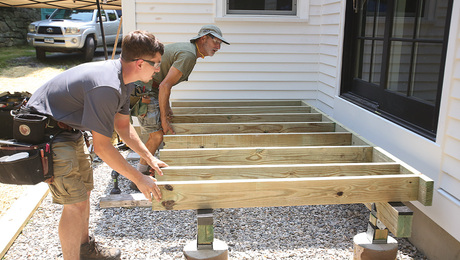
So we work from the top of the deck down to the ground. First, we got the decking on. Now we’re going to put the deck-stair riser boards / fascia boards on that will fit between the top of our rough framing to the underside of the finished decking. I’m going to space that fascia off the framing, and I gauged it at ¼ in. So I just want to check and make sure that my spacers are going to result in ¾ in. when I put this fascia board on.
I’m just going to test this spot here, and we have a little bit of variability. We could be anywhere from ½ in. to ¾, but the closer to ¾ we are the better. And we are dead on ¾. I’m going to put one basically next to each of the joists that are opposite here. This space is not only going to allow the water to drain behind the fascia board that may weep underneath here, but it’s also going to space the fascia board off of our screw heads and our metal straps.
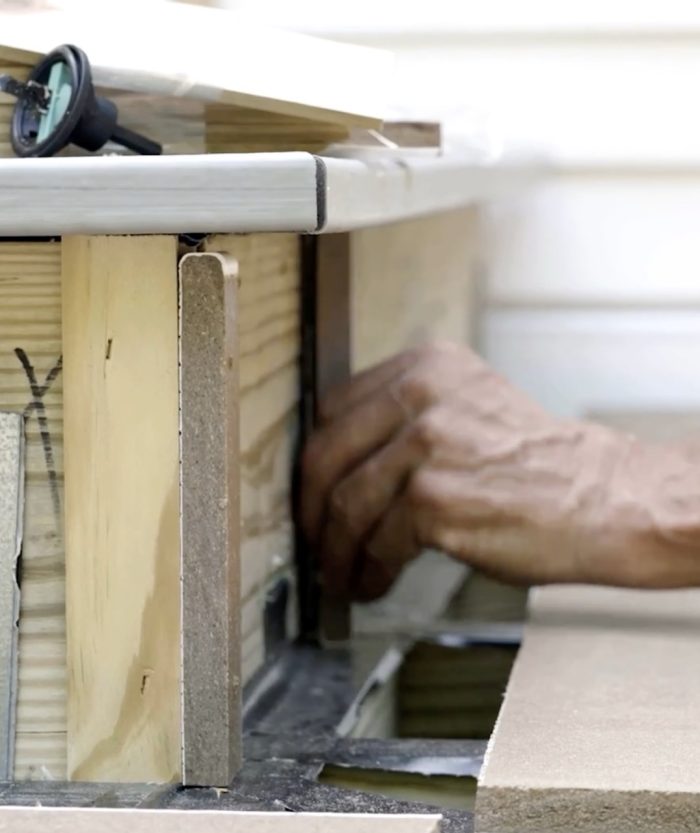
Making Space
In addition to giving us that airspace and clearing all of the hardware that’s underneath, we can also use these spacers to micro-adjust how far the fascia board is standing off of the framing. So we’ve cut different thickness spacers; you saw the ¼-in. ones, and then we have some ⅝-in. ones, which are just some scrap pieces of the fascia board that we’re using. It’s nonstructural, so this is perfectly fine to use.
Now we’re ready to fasten. We’ll start at the corner; that way we’ll lock this in, and then we’ll work our way down. So we’re going to use the Trex® Hideaway Fascia Screws. You can see they have a broad shoulder on them and a large head. We’re going to start a countersink with this tool that comes with the kit, and then we’ll drive these into the holes with a fascia depth-setting tool.
We’ll finish the whole thing off with plugs that are color-matched to the fascia board, and we’ll plug these after we get everything installed. We position these spacers at 16 in. on center or less. I did that because the Trex® installation instructions call for their fascia fasteners to be no more than 18 in. apart. So we’ll be within tolerance.
Final Touches
So we finished up the top of the deck and our first riser board. We’ve gone ahead and precut our riser boards and our deck boards that are being used as treads. The inner tread board is a groove board that will be clipped in with a hidden fastener that goes up against the riser board, the outer board, because we want the front edge to be a square-edge board so it looks nice and clean.
In order to use the hidden fasteners, the Hideaways, we had to groove the board. We did that with a router. So now we’ve got all our slots prepped. Before we can put them in, we first have to put in the plugs in the lower row. Otherwise it’ll be too close to the top of the tread board in order to get the hammer to tap it in.
So we’re going to match the grain as best we can and tap those plugs in. Then once we’ve done that, we’ll set our hidden fasteners to receive that first grooved deck board for the tread and our final board.
You might notice that the bottom riser board is much taller than the other two. The reason for that is we left a full-width board and just tack-screwed it on so the owner can scribe it to a finish patio later on. This gives him the opportunity to dial it in so it looks perfect. The last thing we have to do is put in plugs on the deck boards, on the riser boards. And we’ve got to remember: no plugs on this board.
RELATED STORIES


