How to Space and Install Pergola Rafters
Jeremy Kassel offers expert tips for cutting and spacing rafters for a long-lasting pergola.
Sponsored by Simpson Strong-Tie
Jeremy Kassel explains how to get precision results when cutting and spacing pergola rafters. His tips include creating a rafter template for consistency, ganging rafters together for easy marking, installing outside rafters first for precision, and more. Every detail counts when it comes to rafter spacing, so it’s important to mark and measure often.

Here’s the Transcript:
Before I cut my rafters, I’m just double-checking the measurements between the outside of these 6×6 posts. OK, we’re good. Set it down for me, please, because we need to crown every single rafter. The crown is up here. We’re going to be cutting 12 rafters, and we want all of them to be the same.
We’re starting with the straightest piece of lumber, making a template or pattern, making sure we like it, and then tracing it onto the next 11 rafters. Start by squaring up one end of the board. Now I’m pulling my tape from this end all the way out to 14 ft.
Now we’re ready to cut our tail detail, just like our beam detail. All the rafters will have the same type of diagonal cut. We’ll have a 5½-in.-wide tail and a 45° cut knocking off that lower corner. We can now cut that off and go down to where we started to cut the other detail.

What do you have from the outer edge of your post to the outer edge of your rafter tail? 22 and 16. OK, it’s got to slide ½ in. Scribe a line on the inside of the post. Let’s see if we can get rid of that hole on the top. Looks like we can’t. I want to flush the bottom because that’s what’s going to bear on the beams. Now we’ll scribe our lines and cut them off with the saw.
Great, now we just have to do this 10 more times. Having one pattern rafter and using the same technique for cutting each one ensures accurate, repeatable cuts.
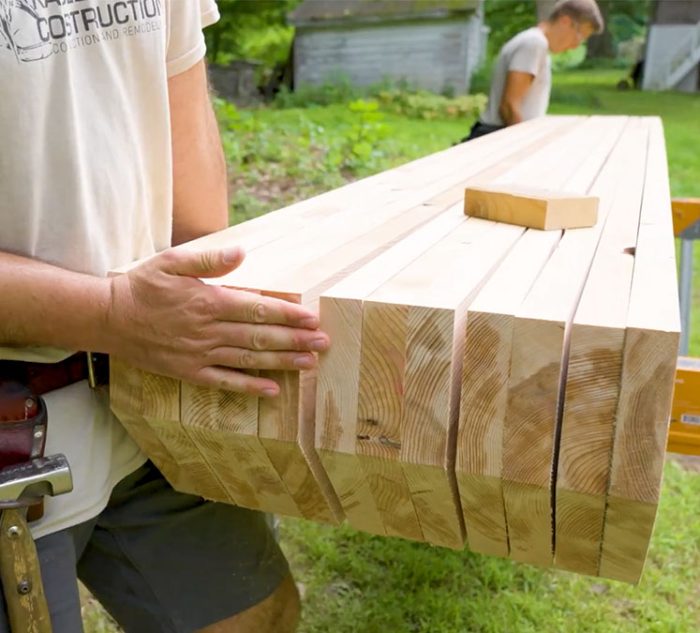
Next, we’re going to take all our cut rafters and gang them up next to each other on end. Let’s try to flush these up now so we don’t have to knock them around later. Now that we have our rafters ganged up nicely, we’ll mark where our lattice strapping is going to go. I made my first mark for the first piece of strapping, and I’ll continue the layout 8 in. on center all the way down.
Now, with the framing square, we’ll transfer our lines over the tops of the rafters. I drew a line across all of the ganged-up rafters, marking one side for where the strapping will be installed. I’ll do this all the way down. When we laid out our initial marks, the wood was dry, but it looks different now after that heavy rainstorm.
Marking these rafters down on the sawhorses saves us from marking them later on ladders. It’s safer and faster this way. Normally we’d wax all of these end cuts, but due to the rain, the material is still too wet. We’ll install them on the beams and let them dry before waxing them later. We scribed a mark on this first one where the 6×6 will go, and we’ll do the same for the other rafter on the opposite end of the pergola.
All right, let’s get these up. Bring it to your mark. Perfect. I’m right on my layout line. Let me grab this clamp so the material doesn’t roll. Good. Let’s get our hardware. We’re using those deck joist ties again. They’re decorative and structural, tying the top rafter to the side of the 6×6 post. We’re using a 5½-in. wood screw at the top since we’re applying a 1½-in. rafter onto a 5½-in. post.
Now I can remove the temporary clamp. We started with the outer two rafters so we could establish layout lines and fasten them to the post. Now we have fixed points to pull a string line from end to end and run the rest of our field rafters to that line. You’re going to hold that tight, and I’ll walk around and guide the string up, around the middle of the width of the tail—roughly 2¼ in. down. I’m pulling it really tight.
Now we’ll work together to bring it close to the line and fine-tune it. Can you hit it with a block and a hammer? Little more—good, right there, that’s it. When we install the rafters, we’ll start with the ones that capture the posts. That way, we have enough working room for our shoulders and tools to install the hardware. After that, we can install our field rafters.

Next, we’re going to infill the field rafters—the independent rafters that fit between the ones housing the 6x6s. We need to make sure they’re evenly spaced. Take the end of your tape on top of the outermost beam. Mark at 20⅛, then mark 1½ in. further for the thickness of the rafter. Repeat this process on the other side. The spacing should be roughly 20⅛. Darken those marks so they’re easier to see. I’ll use the speed square.
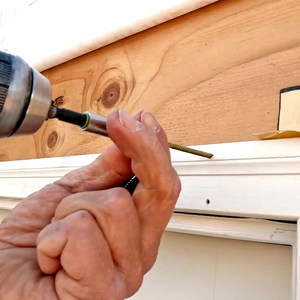
Now we’ll take our ornamental bracket and pre-fasten it to the layout line. When we bring the rafter in, we can bump it right to that bracket, making sure the tall leg is facing up. These ornamental brackets from the Simpson Outdoor Accents line have that same mission detailing, and we’ll connect them with black connector screws. Once the rafter is in place, we’ll capture it on the other side with another piece of hardware.
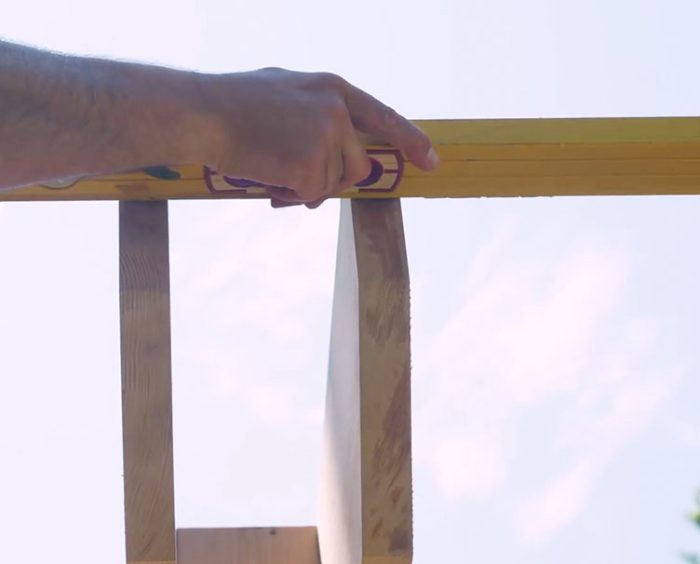
Right now, we’re marking layout on top of the beam for our last rafter. This rafter is different because we no longer have an established string line. So we’ll take a long straightedge, line it up on the edge of the rafters we just installed, and work this last rafter to that straightedge.
RELATED STORIES


