Restoring Polychromed Light Fixtures
Tips on refreshing vintage, painted light fixtures—with sensitivity and respect.
Given my taste for the grand and ornate, it’s out of necessity that I’ve had to learn techniques for restoring vintage light fixtures. Restoring color and patina is time consuming and requires a lot of patience. It helps that I am an artist with an eye for subtle differences in hue and tone, and that I have knowledge of the right materials to refresh these old finishes without altering or repainting a fixture. My goal is always to maintain as much of the original finish as possible.
Mixed Metals
While many early-20th-century fixtures are brass, others are cast-iron, bronze, or made of “white” metals ranging from zinc to aluminum. Fixtures I’ve worked with made closer to the 1930s tend to have interchangeable parts—often with different metals all in the same fixture. So always take the base metal into account when restoring or refreshing the finish.
I especially love polychromed (or multi-color) fixtures, which require extra care to restore. The colors on old polychromed fixtures were applied with air brushes, sometimes not very neatly. Pink, gold, and blue were common, but the most popular color combination seems to be burgundy and green.
 |
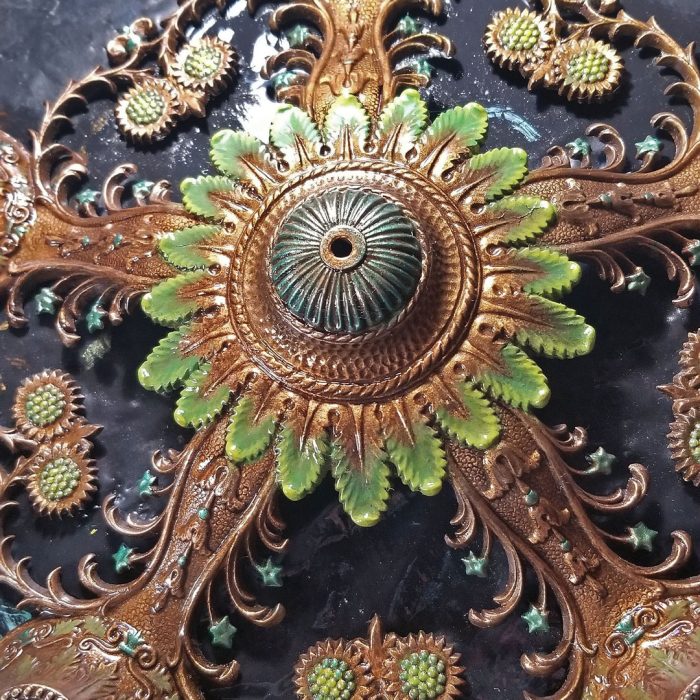 |
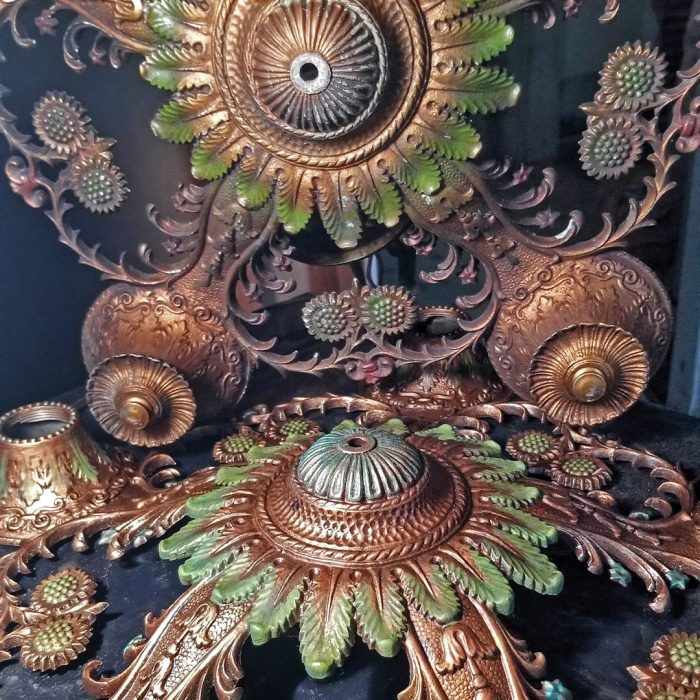
When I found two identical polychromed chandeliers with an openwork sunflower pattern, their finishes didn’t match. One had the original finish and paint colors, while the other had been repainted in a much brighter polychrome scheme.
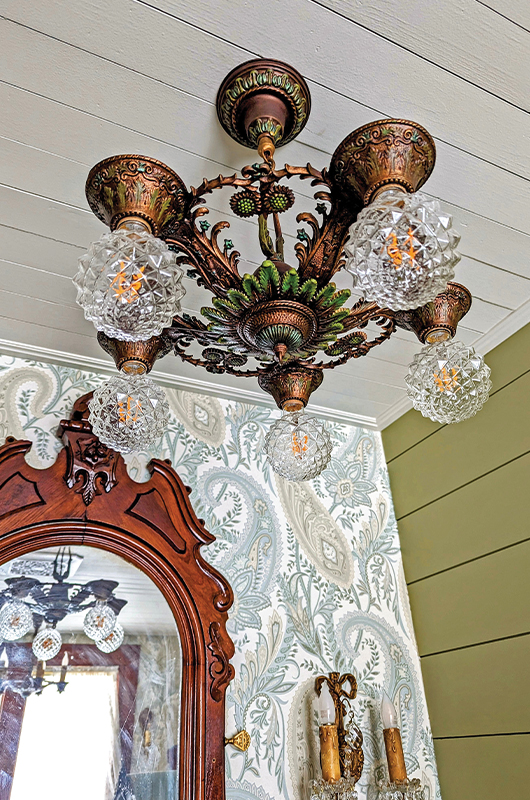
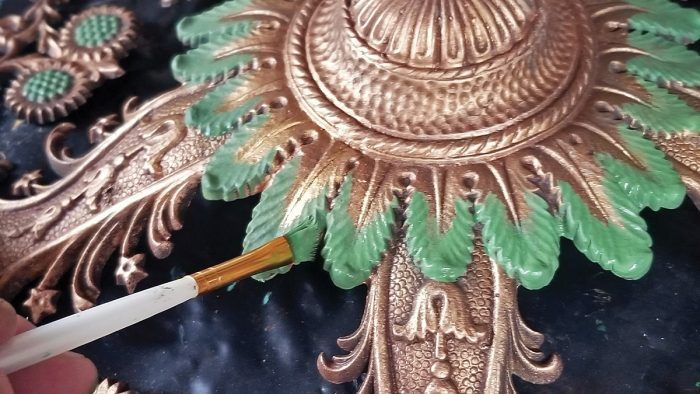
It had to be completely stripped and painstakingly refinished to match the one with the original colors. It was a massive project. Once the second fixture was stripped and rinsed with water, I began with a base coat of a dark coppery brown, then added various metallic waxes.
I always spray on a clear sealer after laying down wax, to keep it from smudging. The next step was to apply acrylic paint in a flat finish, in colors closely matched to those on the unretouched chandelier. The paint itself goes on in layers, with shading to get the proper effect.
Wherever the color graduates, or changes shades—along the flower blossoms, for example—I started with a richer color, then blended in a lighter color toward the tips, more-or-less by eye and with some trial and error. After the paint layers were done, I enhanced the colors where needed with various metallic waxes, sealed them, then finally began aging and antiquing the finish to match the original.
The results are beautiful: two historic chandeliers with period-appropriate, polychrome schemes, hung up together in a single room. Anyone would think the patina is original and the fixtures had always looked identical.
Simple Cleaning
To preserve the finish on a painted or polychromed fixture, avoid cleaning or soaking it, even in a gentle solution of Ivory Liquid or Simple Green. Cleansers and soaking may dissolve the paint. Disassemble the fixture and clean the parts individually, using Q-tips or cotton balls dipped into a dilute solution of the cleaner. Then wipe the cleaned parts with a soft, nonabrasive cloth such as an old cotton T-shirt or cotton diaper. Avoid using paper towels, which can burnish surfaces. — Mary Ellen Polson
Pretty as a Peacock
One recent project, a cast-aluminum Art Deco ceiling light, had already been partially stripped without disassembly. It was a flaking mess and very little of the original finish remained. Using an eco-friendly paste stripper (Dumond Smart Strip), I removed the rest of the paint. You can also use citrus-based or soy-based strippers for thickly coated paint, like Soy Gel, but beware that it will likely remove whatever paint is left underneath.
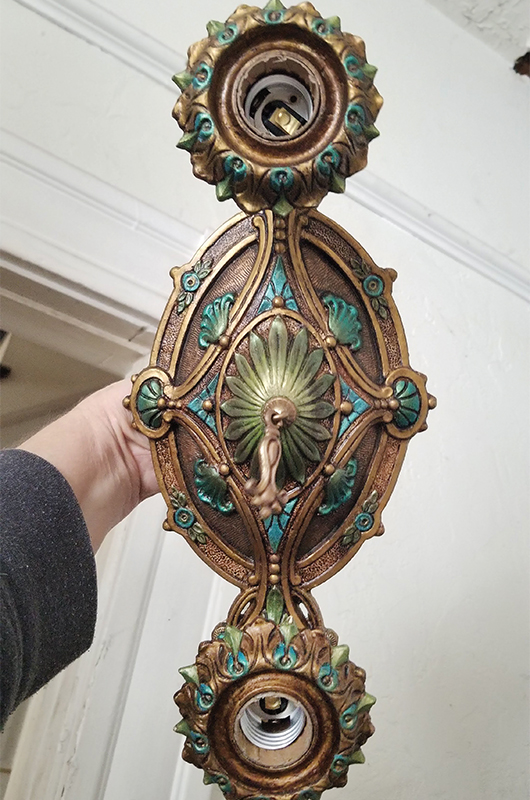
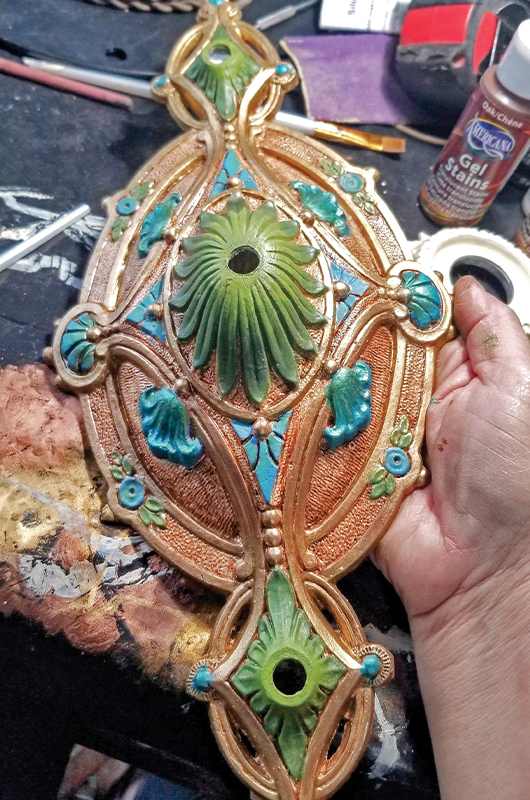
Starting from scratch, I sprayed on a gold undercoat and then laid in color with acrylic paint in a green, teal, and gold palette, along with wax metallic colors. I sprayed a layer of clear-coat sealer between layers of paint or colored wax. This prevents smudging previous work or muddying the colors.
As I worked, I toned down or brightened up colors until everything looked balanced and cohesive. After another coat of sealer, I antiqued the entire surface. Finally, I brushed on metallic gold wax to brighten and enhance certain areas. After a final coat of sealer, this Art Deco peacock was ready for its new home in my powder room.
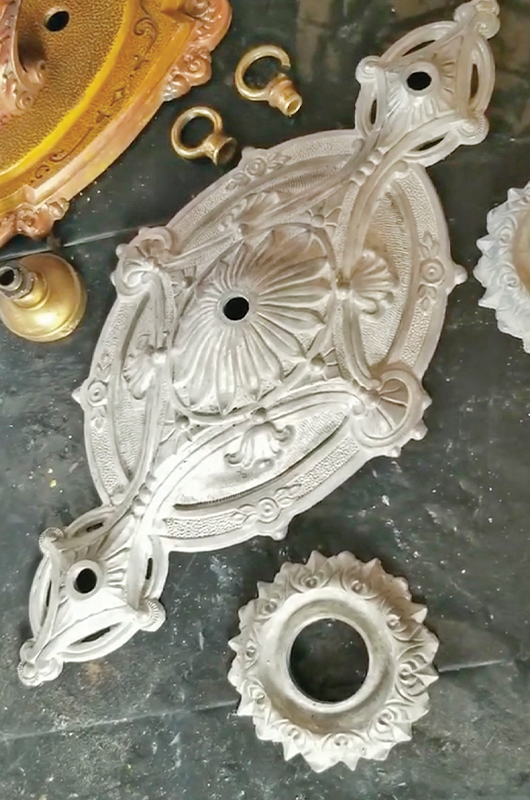 |
 |
 |
Beaux Arts Bowls
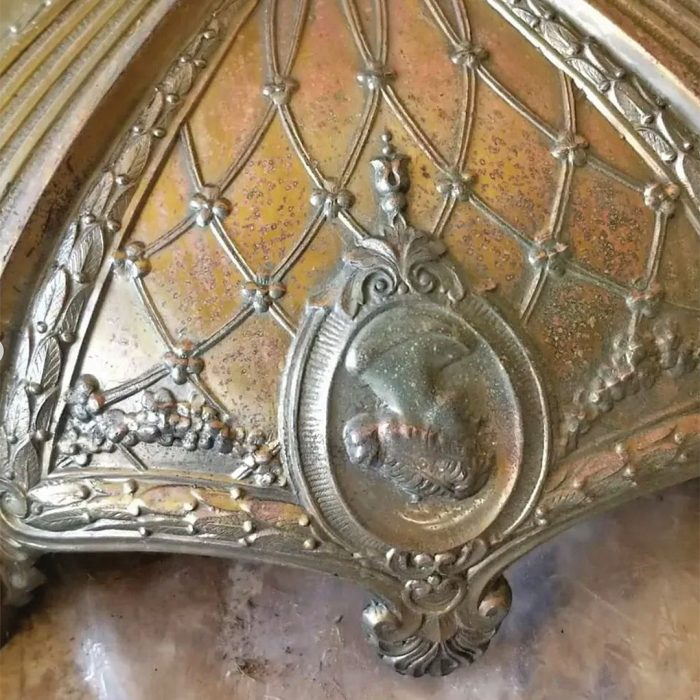
A few years ago, I found a pair of cast-iron, Beaux Arts bowl fixtures on eBay. Adorned with bas-relief cameos, acanthus-leaf garlands, floral swags, tufting, and rosettes, the lights still had the original sockets, covers, and hanging chains—a rare find.
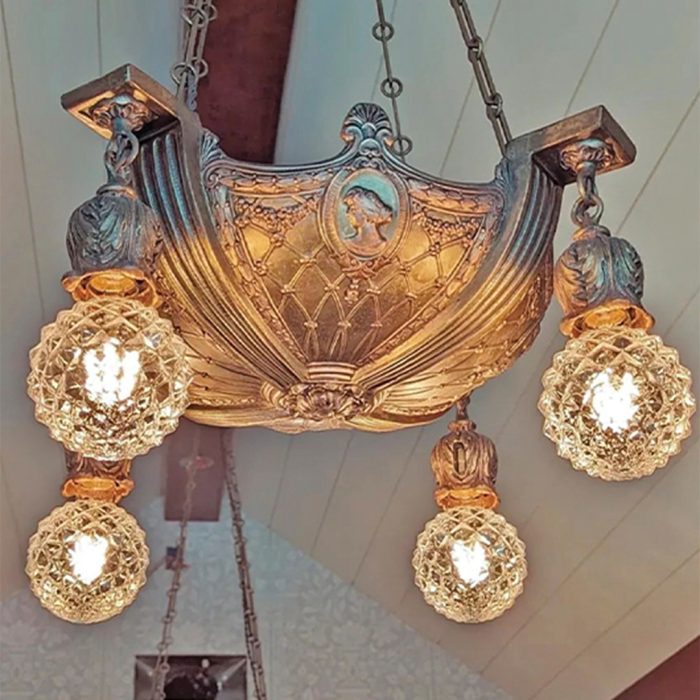 |
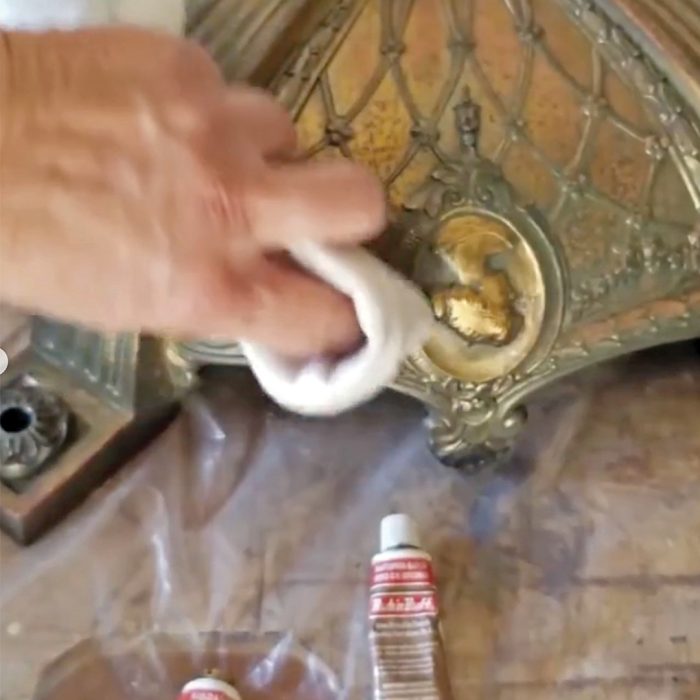
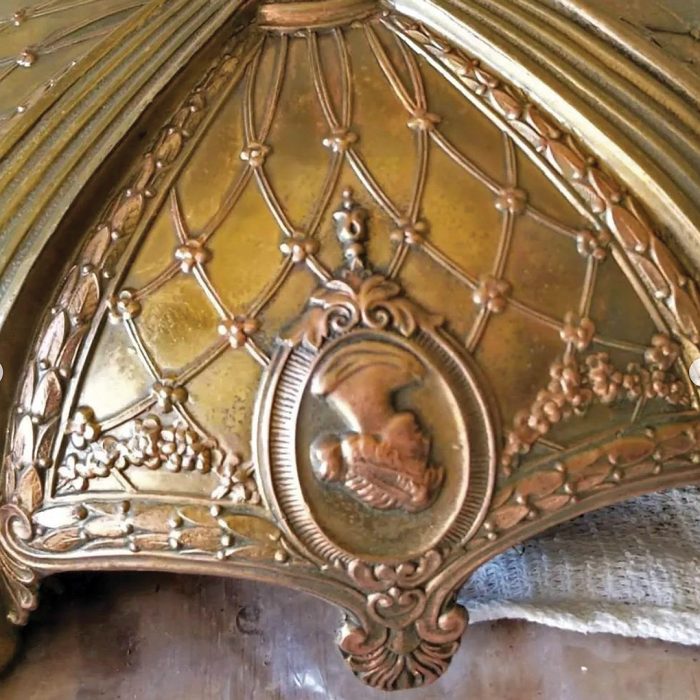
The original bronze plating was very much intact but the colors were dull. I decided to touch-up the finish, using my favorite metallic waxes. Like so many of my projects involving restoring finish colors, it meant labor-intensive trial and error.
 |
 |
 |
— Written by Gina Bellous; Old House Journal reader and blogger.
RELATED STORIES

