Fast, Accurate Wall Framing
A rear addition provides a small-scale example of how to frame efficiently.
My construction company specializes in custom homes and major renovations in and around Cape May, N.J., one of America’s oldest seaside resorts. The area is renowned for its Victorian architecture, much of which is preserved in the original downtown.
It will come as no surprise to builders specializing in custom homes for discerning clients that interiors must have tight-fitting trim and casework, and that hardwood flooring and tile must be straight and square to walls and interior elements. Properly aligned siding and trim is a similar requirement on the outside.
All of these things require walls that are straight, square, and plumb. It’s easy to make such walls if you have unlimited time, but we have to frame efficiently to be competitive in our market of skilled builders. Our framing crew is led by Doug Hicks, a production framer who has worked here in New Jersey, in Arizona, and in various spots on the West Coast.
I started out as a production framer myself right after college, during the building boom of the early 2000s. The things Doug and I learned on production crews help us to be efficient, while our focus on quality is what satisfies clients and designers and makes the rest of a custom-home build easier.
Before We Begin
For me, the single most important factor in framing efficiency is eliminating rework. I’m not talking about client changes; those are nearly impossible to control. I’m talking about redoing steps or fixing mistakes later. Simply put, it’s much faster to get it right the first time. To make sure that happens, our lead carpenters check over the plans a couple times leading up to the framing project.
The first check involves developing a materials list for the framing project to make sure everything will be delivered in sufficient quantities and on time. For a lead carpenter, like Doug, this is often the best way to get familiar with the project.
Lumberyards and some suppliers can produce decent takeoffs, but at the end of the day, it’s the crew leader’s responsibility to make sure that the material is correct and there’s enough of it. Calculating what’s needed for a day of framing work requires thinking through all the steps and the material needed to complete them. Once the order is delivered, he makes sure everything is there before scheduling the work with our crew.
The second check comes a day or two before framing begins, when Doug decides in what corner of the building the floor, wall, or roof layout will start and in what order the work will progress. Spending a half-hour making these decisions on the day kills morale and costs a lot of money when the whole crew is waiting to work.
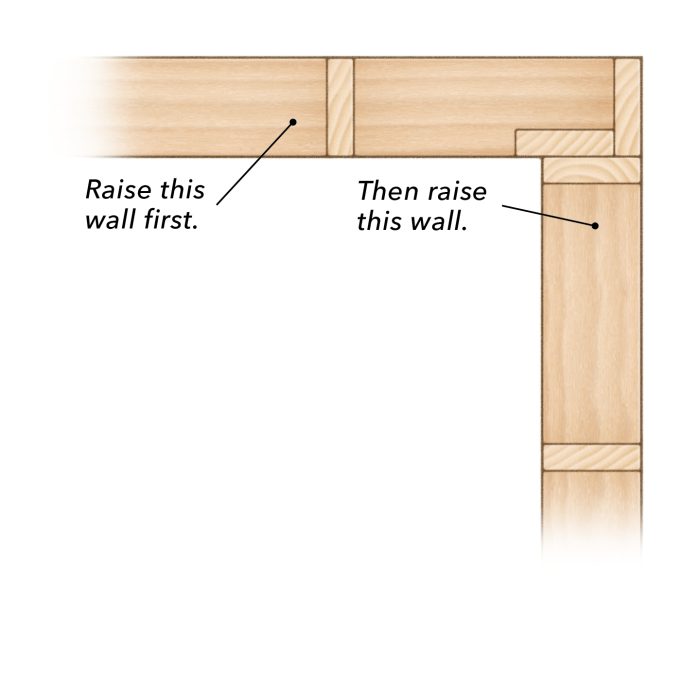
Generally speaking, we start with the longest exterior wall and then build the second wall to form a corner on one of its ends. There are exceptions, though. If starting with the longest wall prevents access with our all-terrain forklift, we’ll start with another wall, like we did on this project. In any case, we always build the first two walls in an L-shape for stability.
Inside and outside corners are arranged so walls that are already raised don’t interfere with raising and placing the others. For example, on this project, we first raised the gable end, which fully reaches to the building corners. The eave walls butt into the gable wall, so they are raised after the gable is up (see “Where to start?,” p. 49).
Have a Plan
Every lead goes about this a little differently, but when it’s time to start framing, whoever is running the show should be ready and organized. For wall framing, in addition to knowing where to begin and the order the walls will be raised, the lead should have cut lists with dimensions and quantities for headers, jacks, and cripples for window and door openings.
There should also be accurate counts on how many two-stud (California) corners, built-up posts, and U-shaped partition pockets are needed. With this information ready, crew members can cut and assemble those parts while the lead focuses on layout.
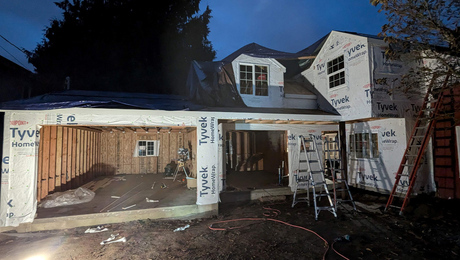
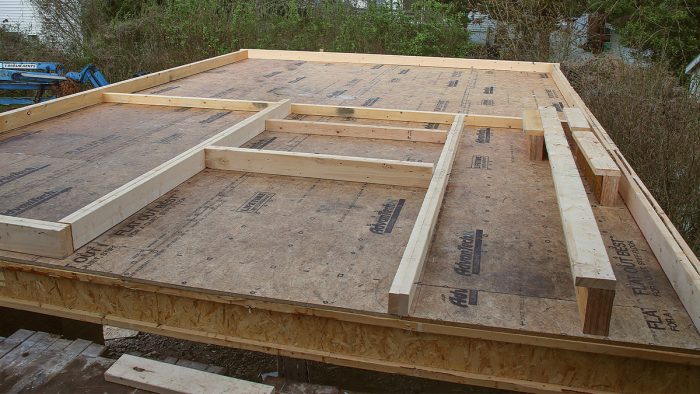
The project shown here is a rear kitchen addition to a Victorian home built in the early part of the 20th century. You can see how we framed the elevated floor system in A Sturdy Floor for a Coastal Home. We framed the floor square and straight, which also helped to make the walls and roof straight and square. This isn’t a big addition, but we used the same steps and methods to frame this kitchen and two bedrooms that we use on a whole-house build.
The photos here show us building three exterior walls. The fourth wall of this addition is the former rear wall of the existing structure, with a new larger opening connecting the new and old parts of the house. An expansive opening in an old house is a subject for another article, but as you’ll notice, the new and old floors don’t line up. The kitchen addition includes a step up so that you can stand up in the storage area below.
Framing the 8-ft.-tall interior and exterior walls for the first floor of this two-story addition took a little more than half a day. All the finishes looked great at the end of the project, with nothing to fix or change later—all because the frame is straight and square.
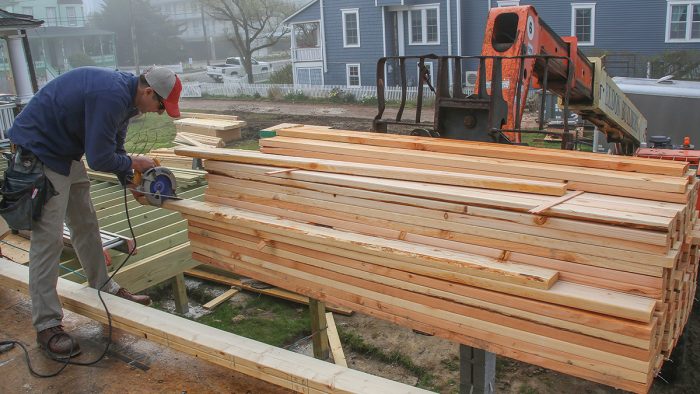
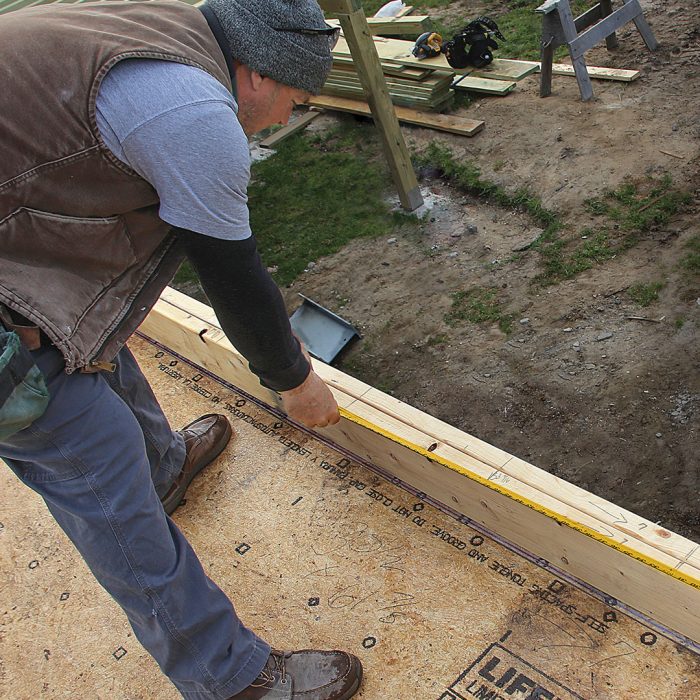
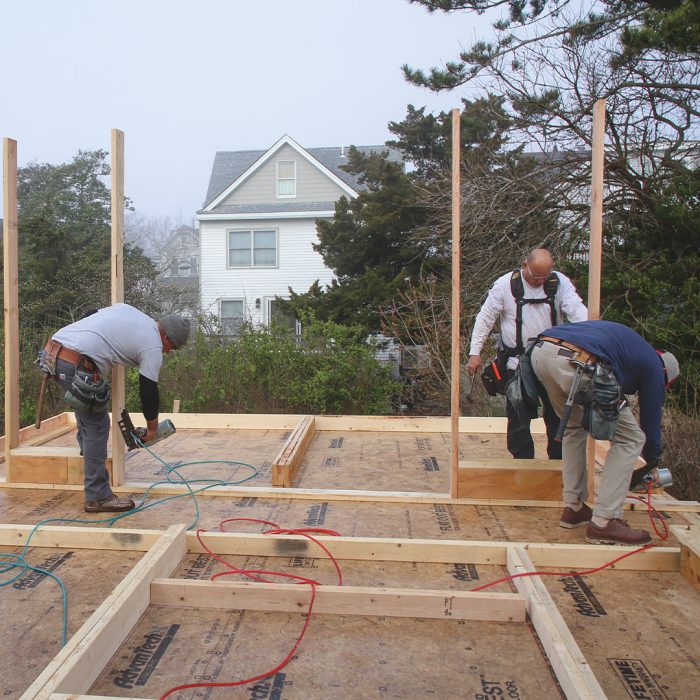
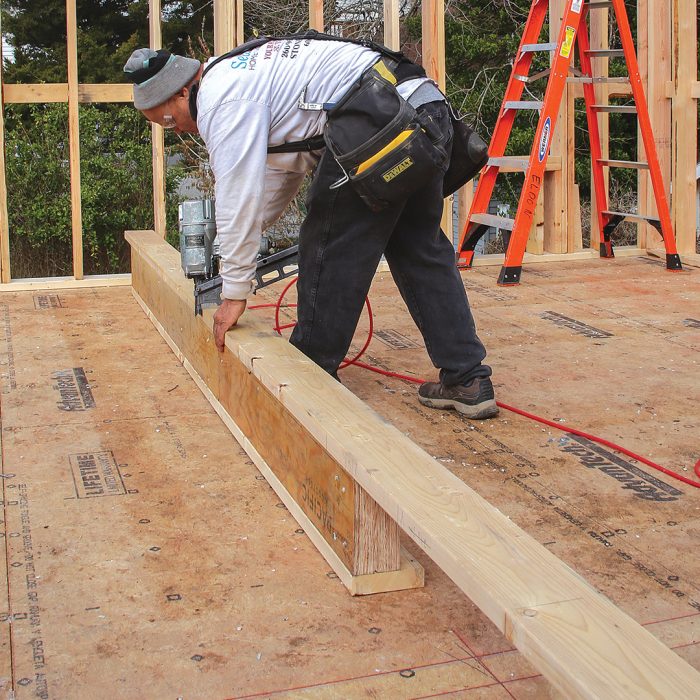
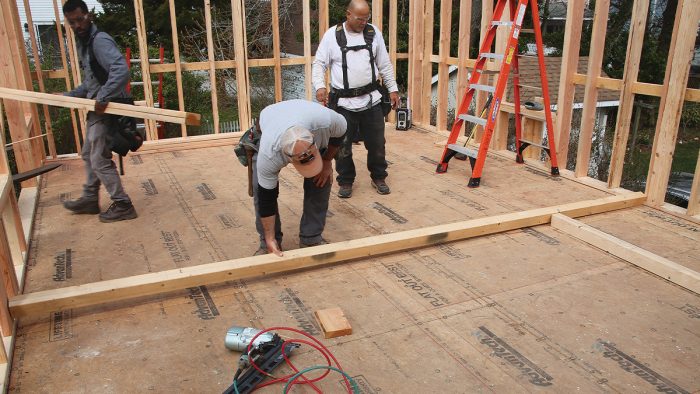
Set the Stage
The lead carpenter generates a list of cut parts early in the process so that the crew can get right to work without a wait. Before framing begins, the lead figures out the order in which the walls will be raised so that walls already standing won’t interfere with raising the next ones. After snapping lines showing wall locations, the lead cuts top and bottom plates and arranges them in their final locations on the subfloor.
 |
 |
 |
 |
| Quality Check: Once the plates are cut and arranged, check that their length matches the closet and room dimensions in the plans. Also, confirm that interior plates match the wall thickness. Plumbing walls and those with pocket doors may require 2x6s instead of 2x4s. |
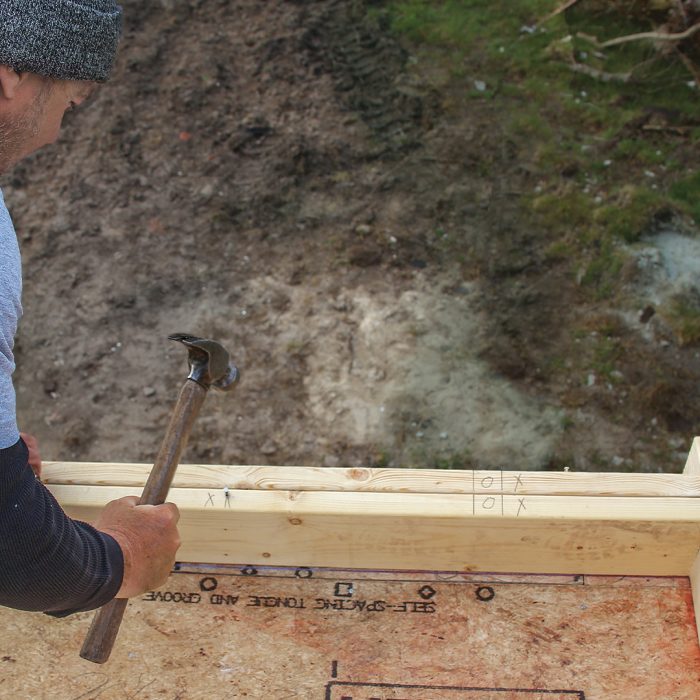
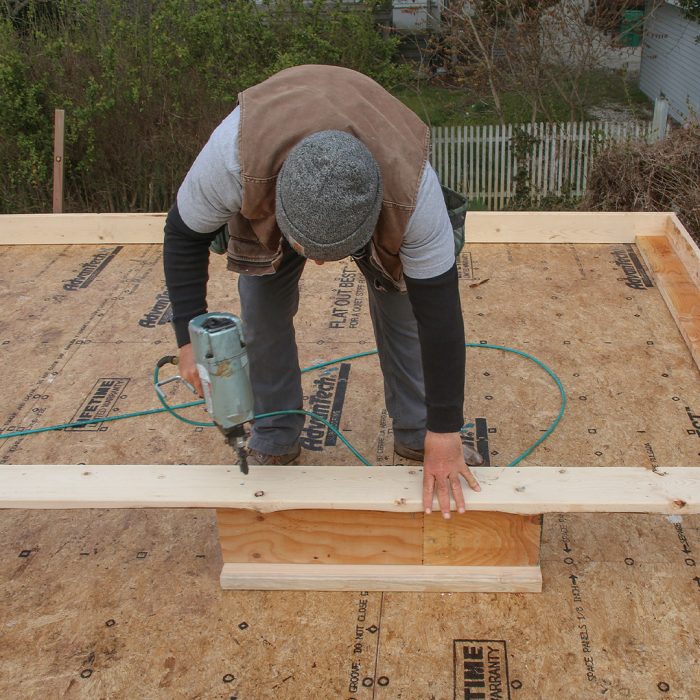
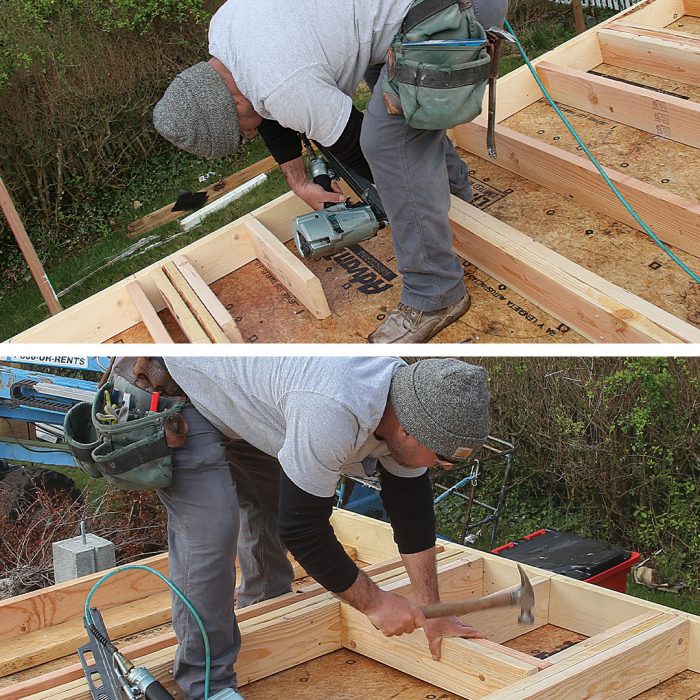
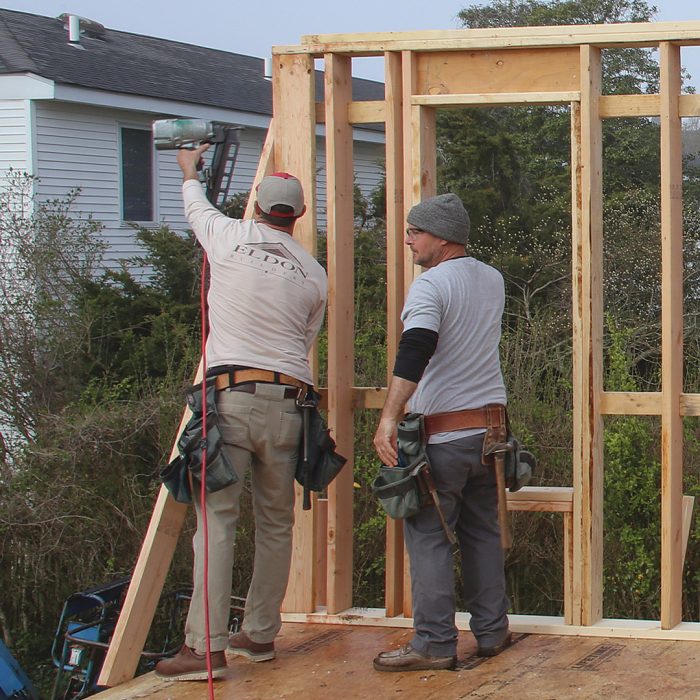
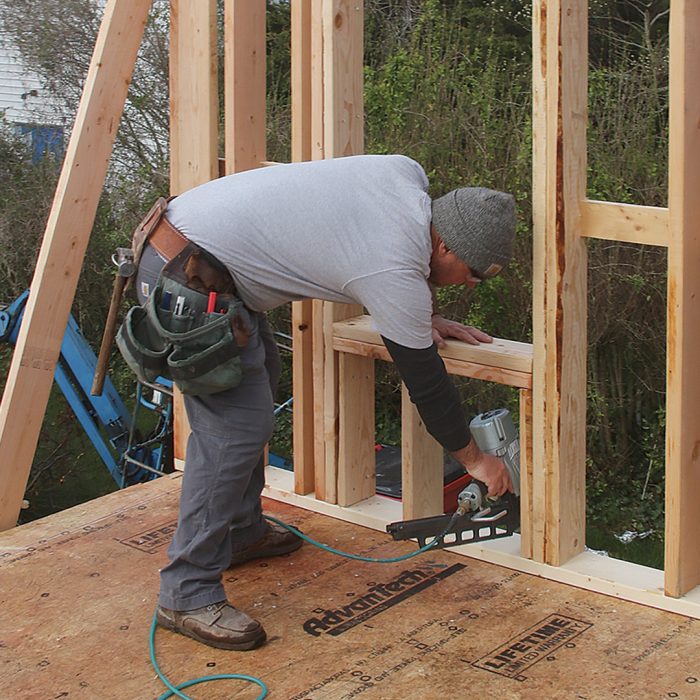
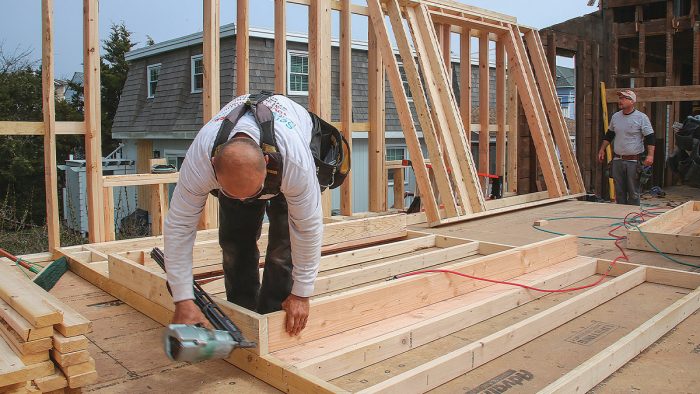
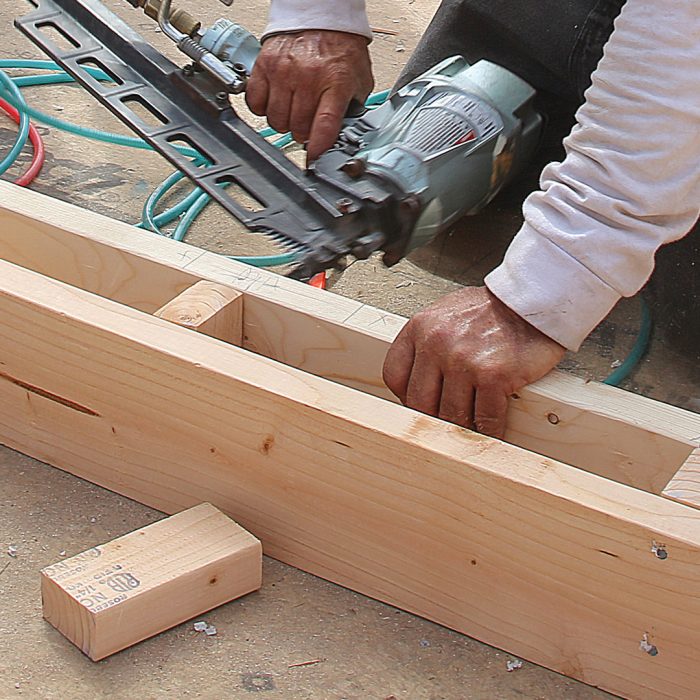
Frame Openings First
The correct location of windows and doors is critical, so the lead carpenter locates headers according to the plans and has the rest of the crew complete the opening.
 |
 |
 |
 |
 |
 |
| Quality Check: Talk to clients and designers about their plans for window treatments and future decorating. It’s easy to add blocking as walls are framed but increasingly difficult as the build progresses. |
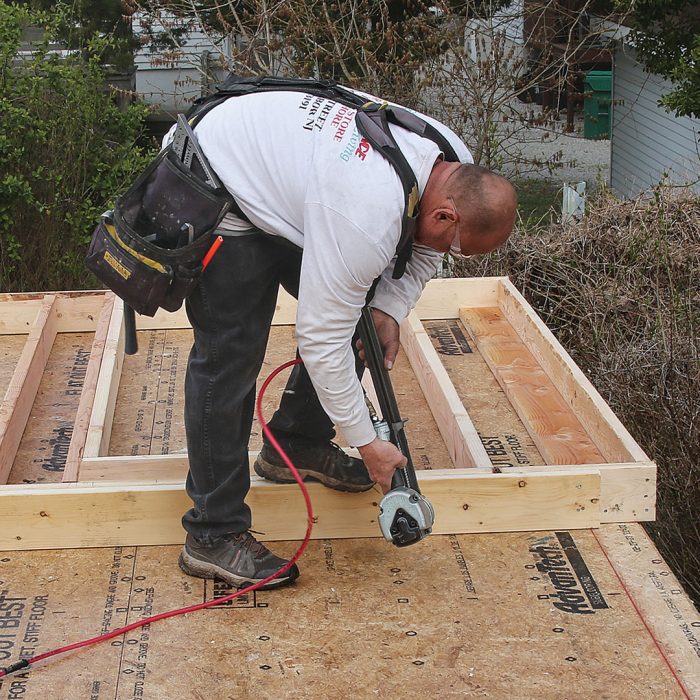
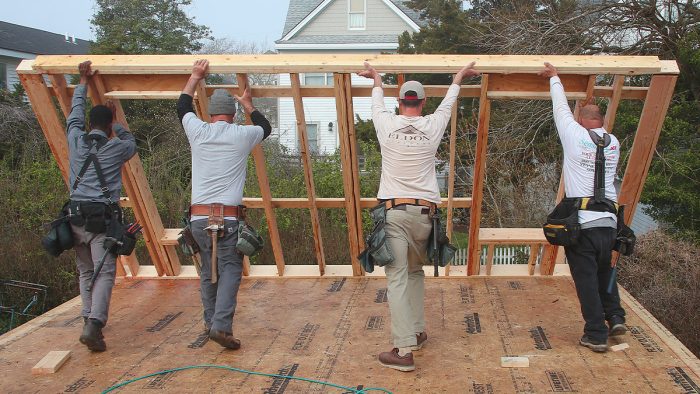
Raise the First Wall
We often sheathe walls before raising them, but because of limited space on this project, we decided to sheathe later as part of framing the roof and building the overhangs.
 |
 |
 |
 |
| Quality Check: Have a quick look at the wall to see if window openings and studs look straight and match the elevations. Check that blocking, posts for point loads, partition pockets, and corners are in place. |
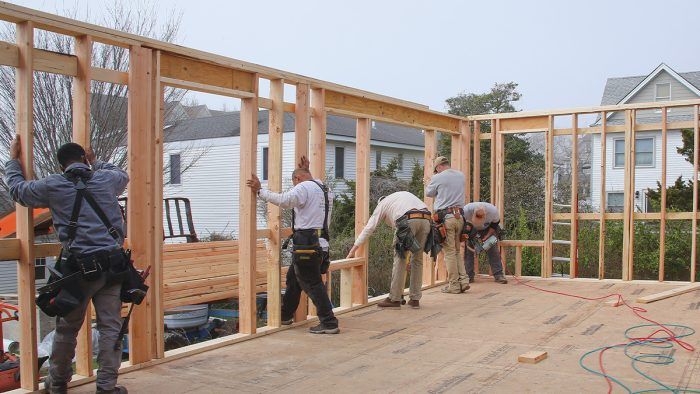
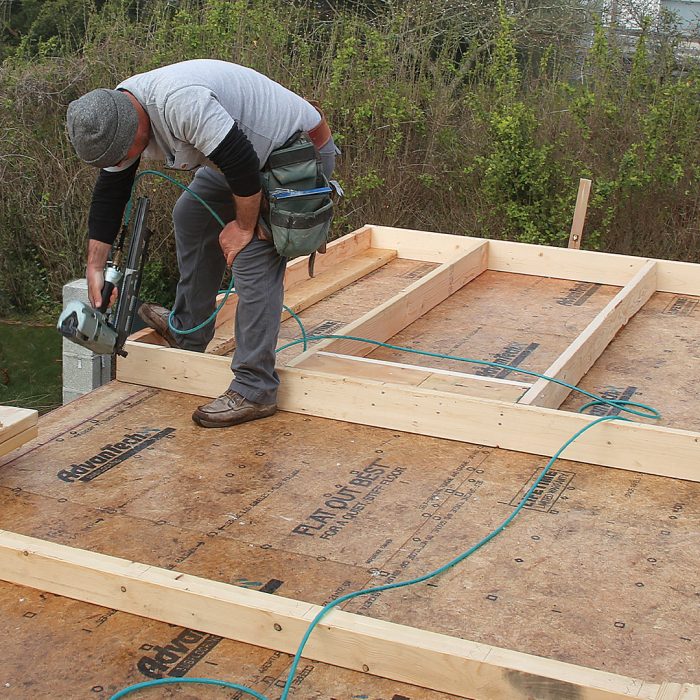
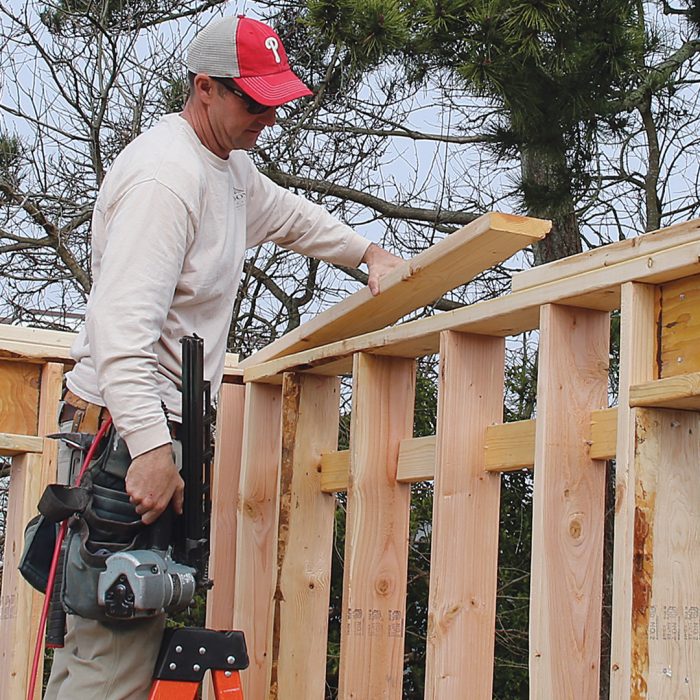
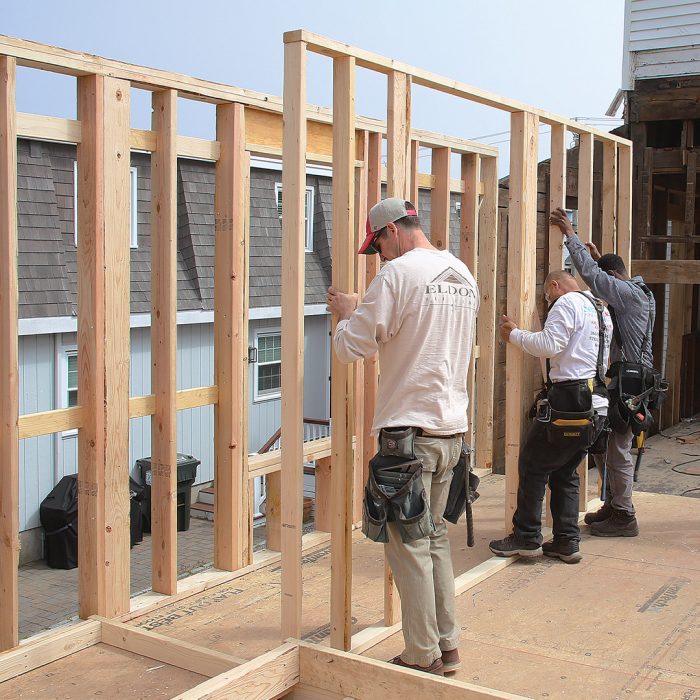
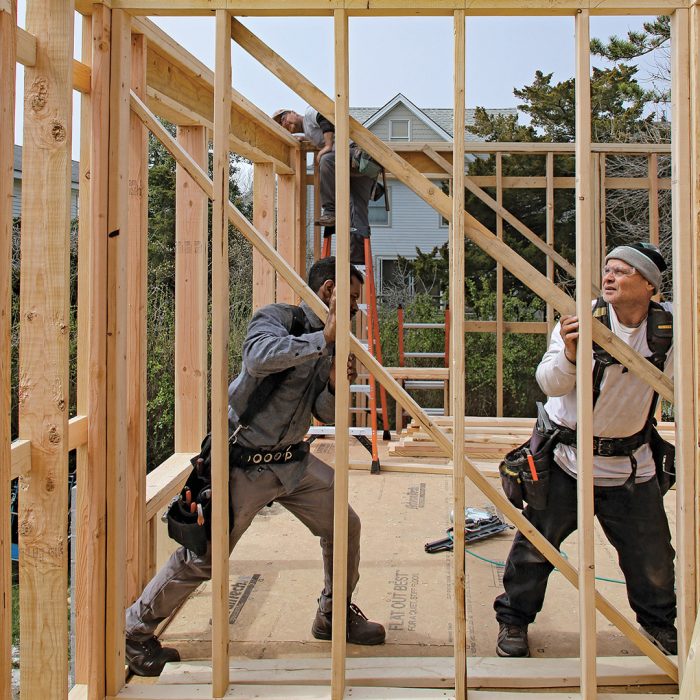
Frame the Second Wall
The second wall we frame is perpendicular to the first. Raising a pair of exterior walls in an L-shaped arrangement makes the walls largely self-bracing and keeps them out of the way for subsequent framing.
 |
 |
 |
 |
| Quality Check: Check that studs and wood components are in the same plane and that components are fully nailed. Any framing cavities that will be inaccessible after walls are standing should be air-sealed and insulated. |
Frame the Final Wall
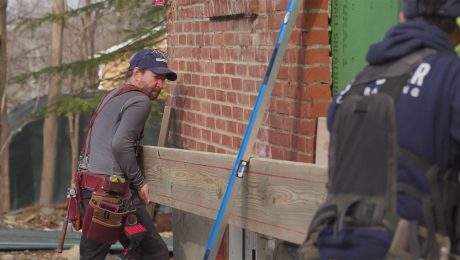
We left this wall for last because of its location; it was easier and faster to pull studs from our forklift while building the other walls.
 |
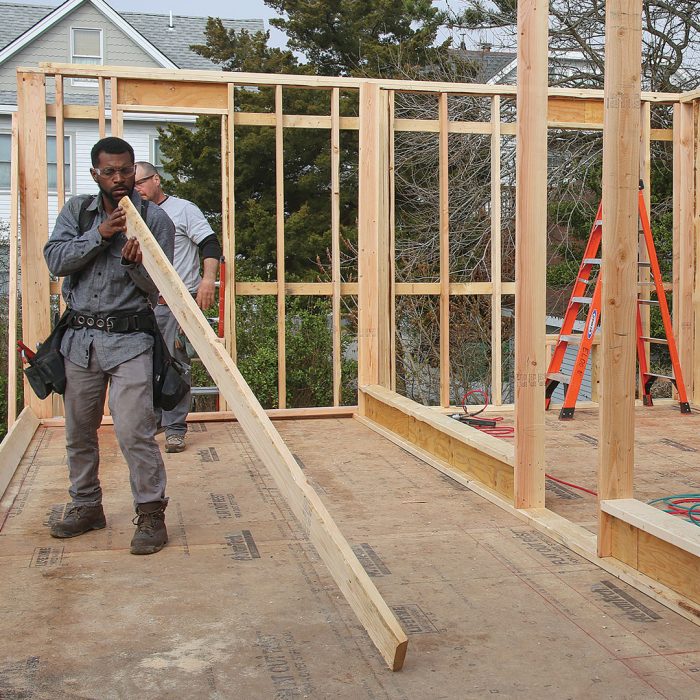 |
| Quality Check: Check that all walls are on their layout lines. Headers, posts, and other wood-framed load-path elements should be in place before standing interior walls. Install hardware and metal connectors where interior walls will prevent easy access later. |
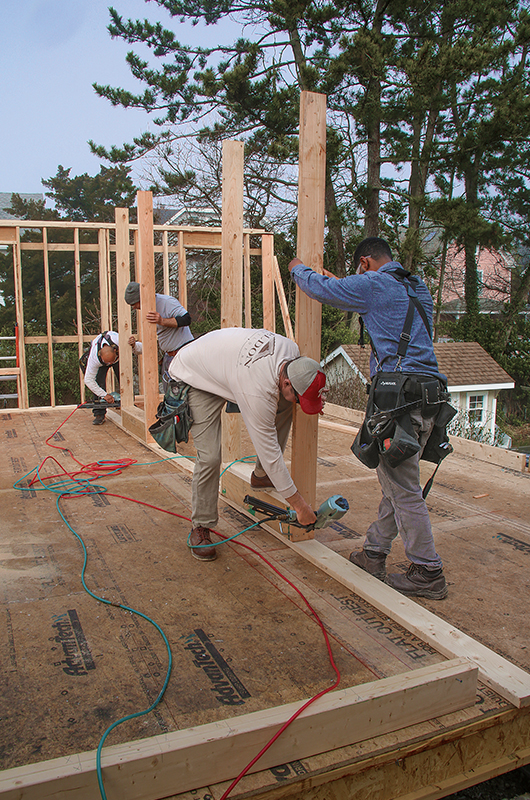
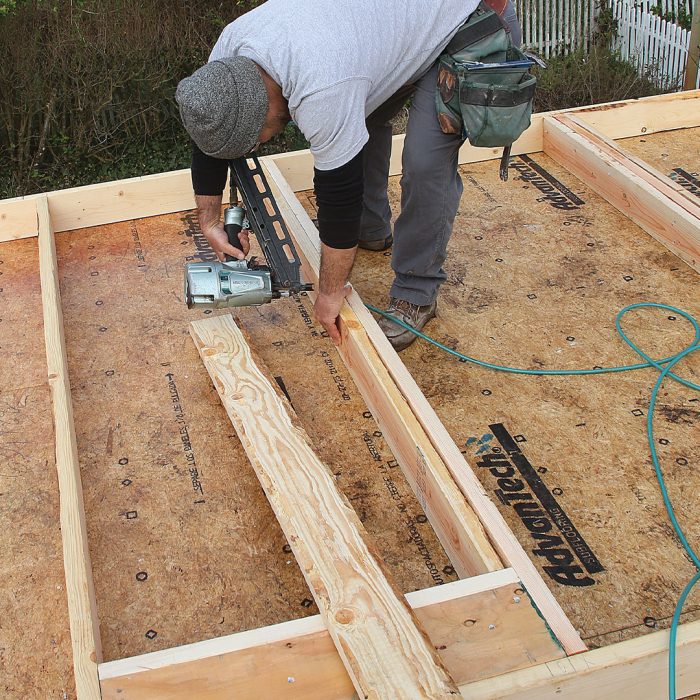
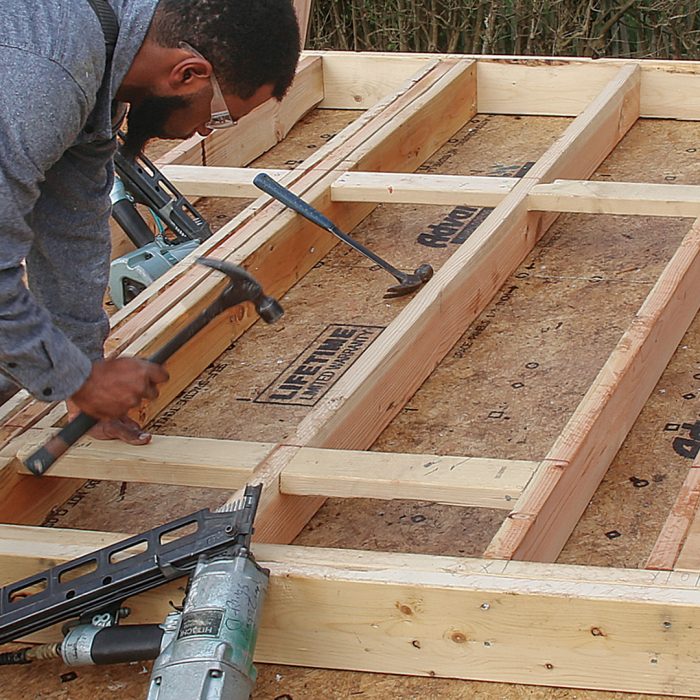
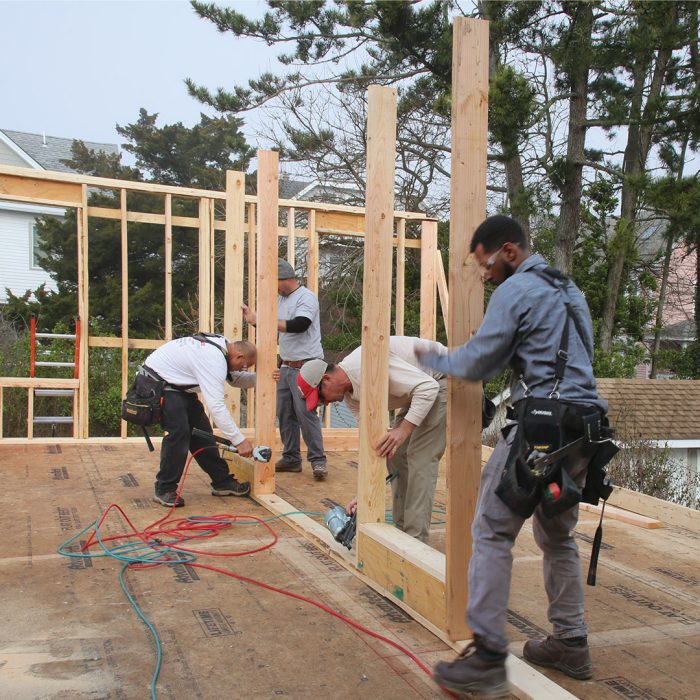
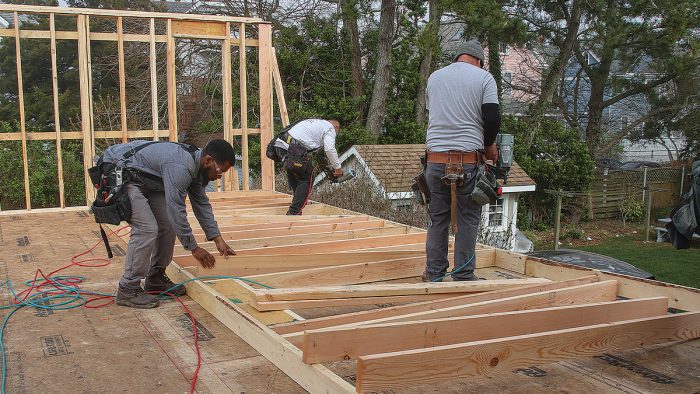
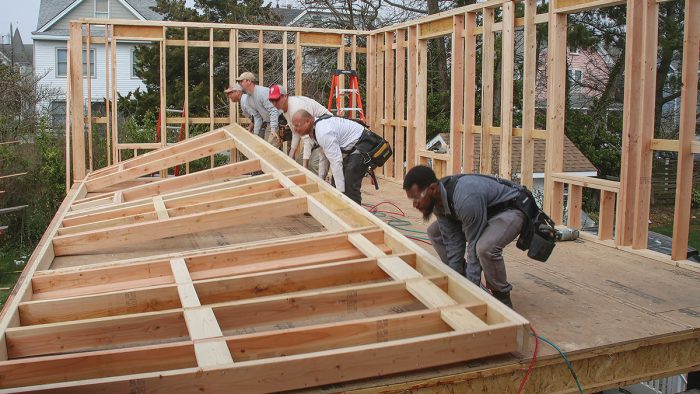
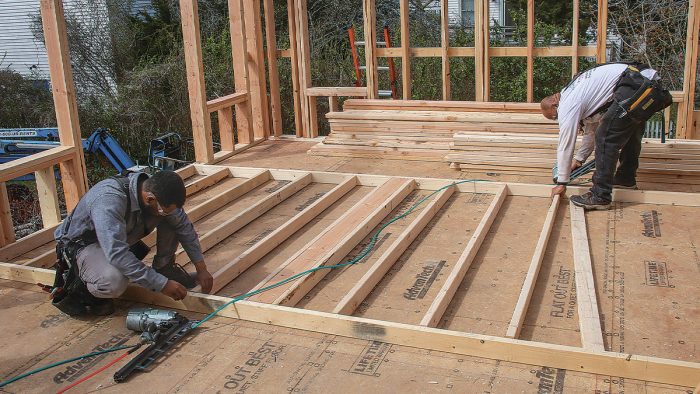
Frame Interior Walls
Once we start standing interior walls, the space quickly becomes too small for framing, so we build most or all of the interior walls before we start raising them.
 |
 |
| Quality Check: Make sure all walls are framed to the right thickness (2×4, 2×6, or otherwise) and are on their layout lines. Confirm interior walls have load-path elements and correctly sized openings. |
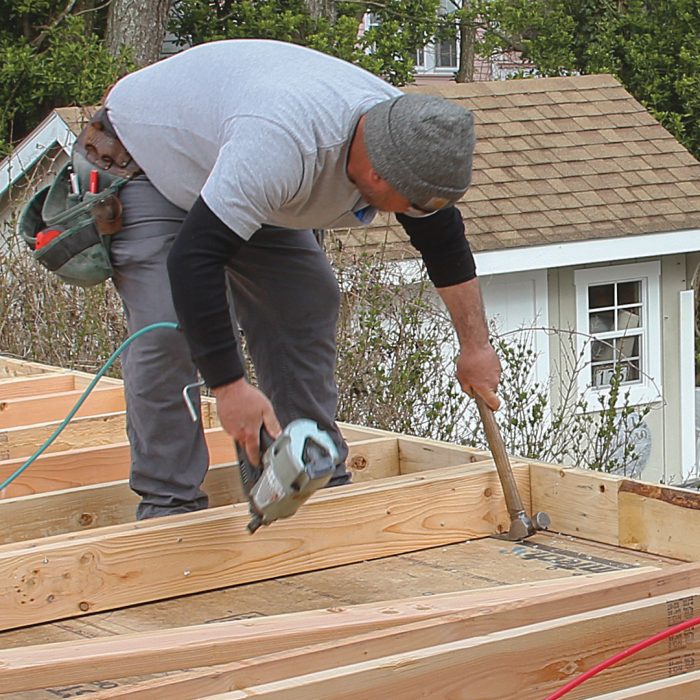
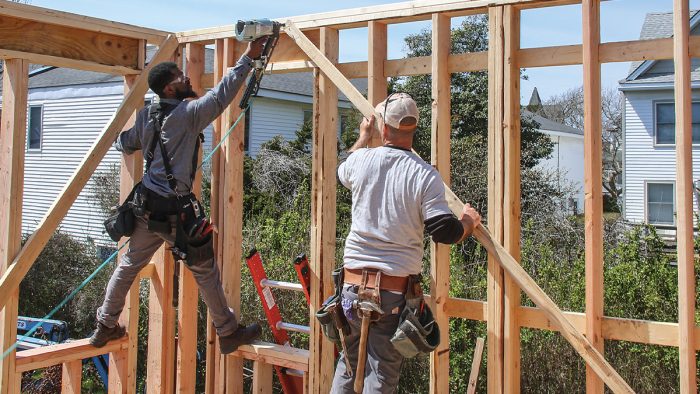
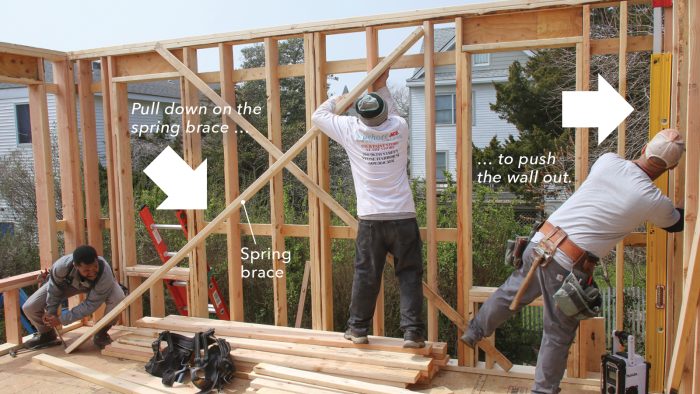
Straighten and Brace
Once all the walls are nailed to the floor and adjacent walls are tacked together, we plumb and straighten the exterior walls, which helps to plumb the interior walls connected to them.
 |
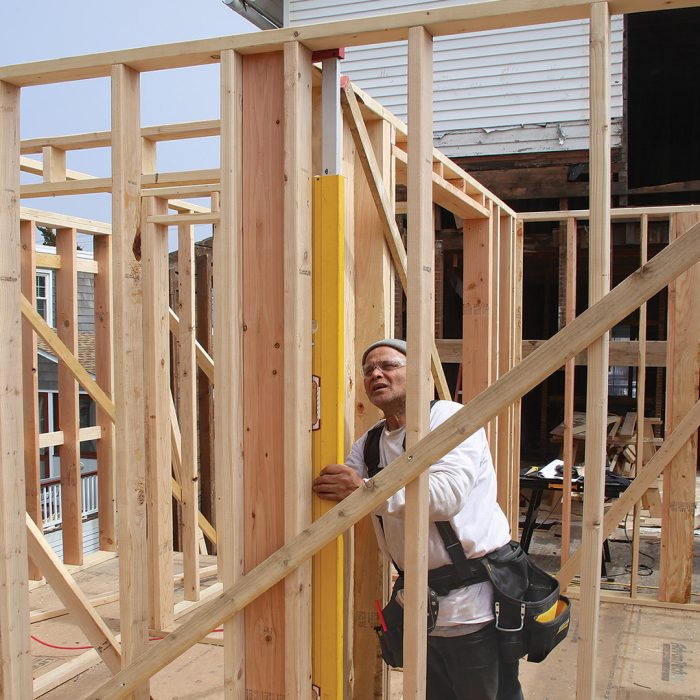 |
| Quality Check: After plumbing and straightening, check that all connections are complete. Fully fasten corners and intersecting walls. Check that bottom plates are securely nailed to the floor system, and that all double top plates are in place and nailed. |
— Nate Eldon owns Eldon Builders in Cape May, N.J. Photos by Patrick McCombe.
RELATED STORIES
- Larry Haun’s 10 Rules for Framing
- Careful Layout for Perfect Walls
- How to Frame Walls Plumb and Straight
Fine Homebuilding Recommended Products
Fine Homebuilding receives a commission for items purchased through links on this site, including Amazon Associates and other affiliate advertising programs.

Leather Tool Rig

Tajima Chalk Rite Chalk Line

11" Nail Puller