
Building a Cherry Entry Door
Learn how to make a strong, elegant door and a weatherproof threshold.
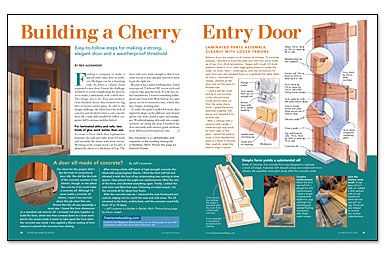
Synopsis: Carpenter and cabinetmaker Rex Alexander faced a big challenge: a request for a custom-made entry door. He met the challenge with this cherry door featuring two big lites of frosted safety glass. To assemble the door’s laminated stiles and rails, Alexander used two types of glue (waterproof Titebond III and West System two-part epoxy). The article features a sidebar about the new door’s custom concrete sill, made by builder Jeff Louwsma.
Finding a company to make a special-order entry door in northern Michigan can be a daunting task. So when a valued client requested a new door, I knew the challenge would be to avoid complicating the process, yet to make a substantial, well-crafted door. The design was to be clean and modern, clear-finished cherry that framed two big lites of frosted safety glass. To add to the design challenge, the client loves the look of concrete and decided to have a cast-concrete door sill, a task ably handled by fellow carpenter Jeff Louwsma.
For Laminated Stiles And Rails, Two Kinds Of Glue Work Better Than One
To create a 1-3⁄4-in.-thick door, I planned to laminate the rails and stiles from 5/4 stock and assemble the frame with loose tenons. Working with rough stock cut locally, I planed the cherry to a thickness of 7/8 in. The door rails were wide enough so that it was easier for me to join and glue narrower stock to get the right size.
Because it has a faster working time, I used waterproof Titebond III to edge-glue the stock. For the face-to-face laminations, I wanted something bulletproof and went with West System two-part epoxy, which also has a longer working time.
To make the jamb, I milled 8/4 stock, then ripped its shape on the tablesaw and cleaned up the cuts with a hand scraper and sandpaper. Weatherstripping slid easily into a single saw kerf cut along the stop. I finished the door and jamb with exterior-grade urethane from Minwax.
Entry Door
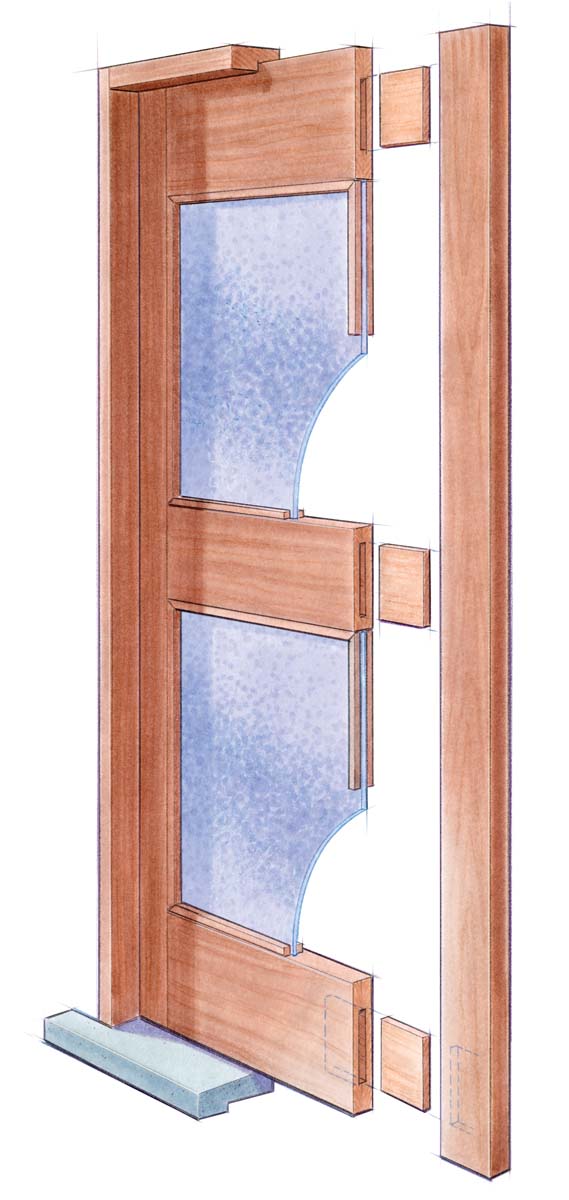
I used a plunge router and jig to cut mortises in the rails and stiles. Loose tenons were cut from the same cherry stock. I glued the entire assembly together with epoxy and clamped it for another day.
After a cleanup with a random-orbit sander, I made enough stop stock for both sides of the glass. I glued the exterior stops in first, bedded the glass in a bead of silicone, then carefully nailed the interior stops in place.
A Door Sill Made Of Concrete?
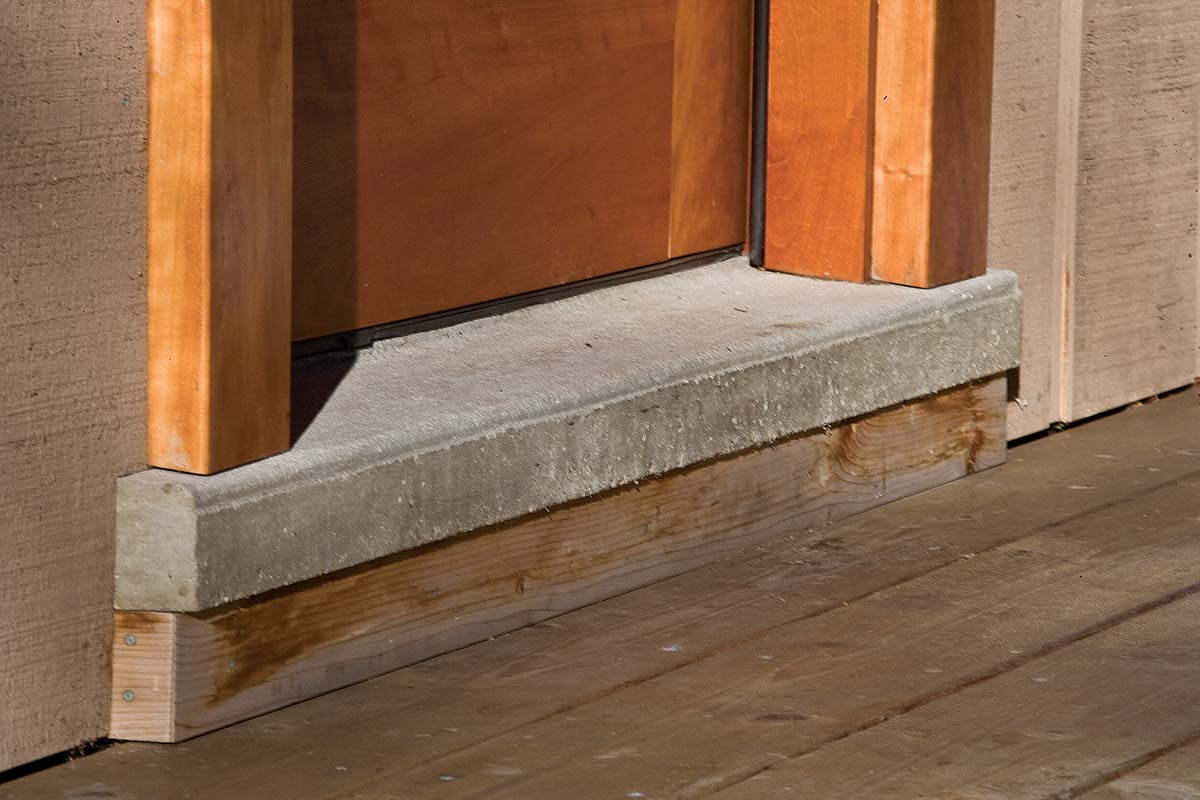 Our client for this project didn’t like the look of conventional door sills. She did like the look of the concrete counters in her kitchen, though, so she asked Rex and me if we could make a concrete sill. Although I’d never made a concrete sill
before, I wasn’t too worried about this job when Rex confirmed that this sill was essentially a stock size. I based the form dimensions on a standard oak exterior sill. I screwed 1×4 pine together to build the form, which was then screwed down to a level workbench; the screws made it easier to take apart the form when the concrete was cured. I also applied a liberal coating of form release to prevent the concrete from sticking.
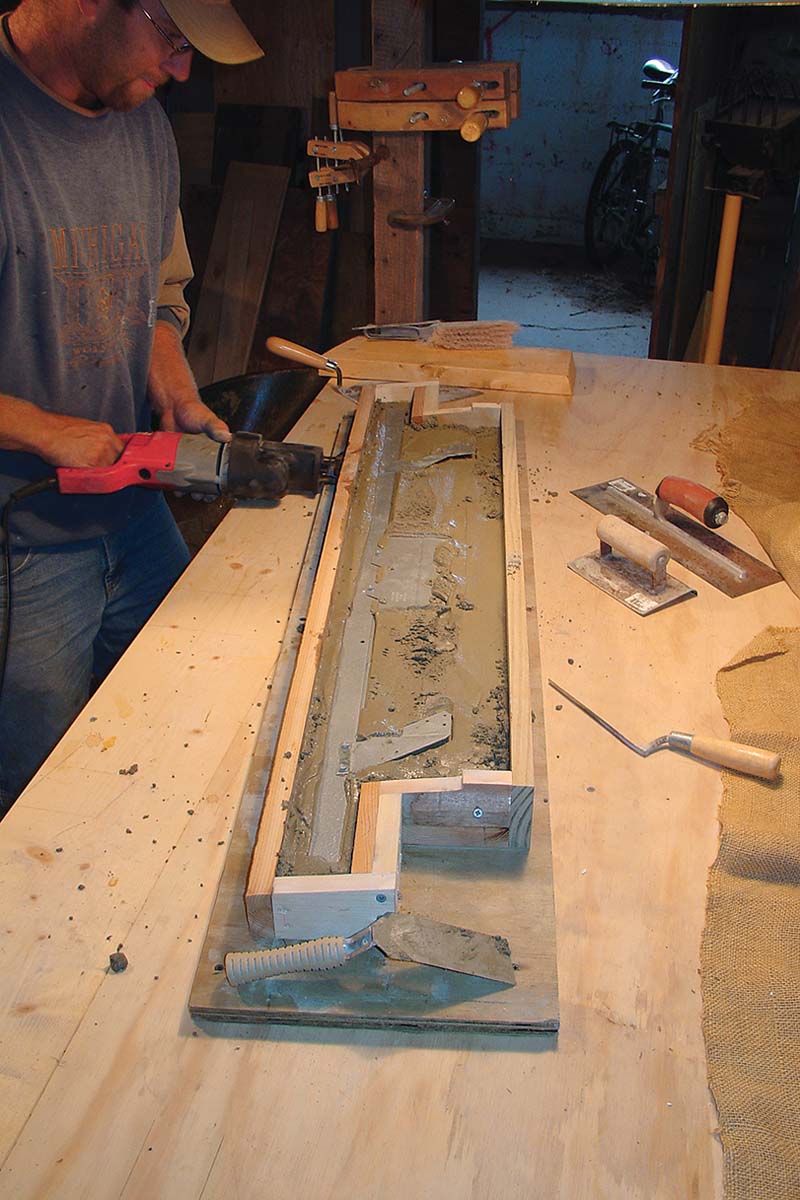
After mixing a fairly stiff batch of high-strength concrete (fortified with polypropylene fibers), I filled the form half full and vibrated it with the foot of my reciprocating saw running at slow speed. I then placed the angle-iron reinforcement, filled the rest of the form, and vibrated everything again. Finally, I added the curb form and filled that area. Following an initial screed, I let the concrete sit for about four hours.
After the concrete had set, I removed the curb formboard and used an edging tool to round the nose and curb areas. The sill remained in the form, undisturbed, until the concrete cured fully (from 10 to 14 days).
—Jeff Louwsma is a builder in Beulah, Mich.
Simple Form Yields A Substantial Sill
Made of 1×4 pine, the concrete form was designed to replicate a stock sill shape. Fastened with drywall screws and coated with form release, the assembly came apart easily after the concrete cured.
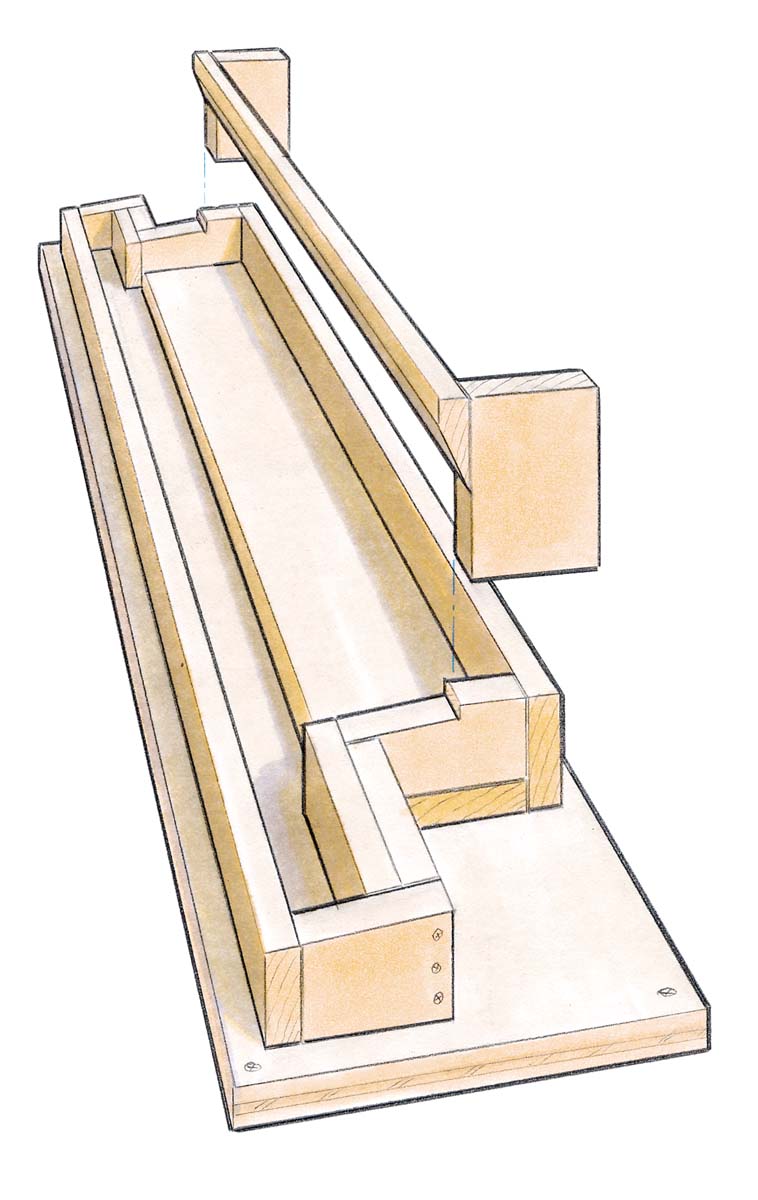 |
Form section that defines the ledge is attached after the main form is filled with concrete. Form assembly is screwed to workbench for stability. |
 |
 |
|
Creative reinforcement. When the form was half full, I placed the sill’s reinforcement. I used a length of galvanized angle iron, augmenting it by attaching galvanized framing connectors with sheet-metal screws. |
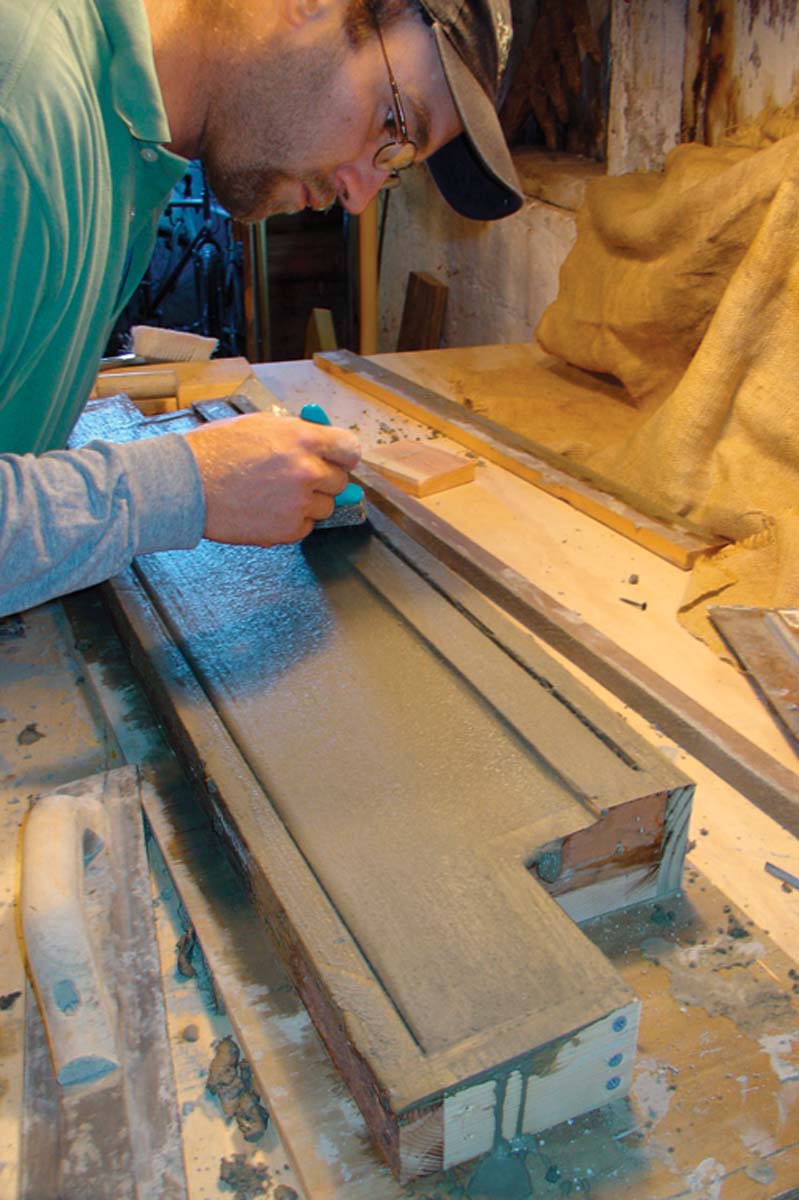
Give the texture some tooth. A slippery sill isn’t safe, so I added a little texture with an old paintbrush while the mix was still curing. The brush also helped to smooth any surface imperfections. |
For more photos and details, click the View PDF button below:
