
Installing Interior Stair Framing
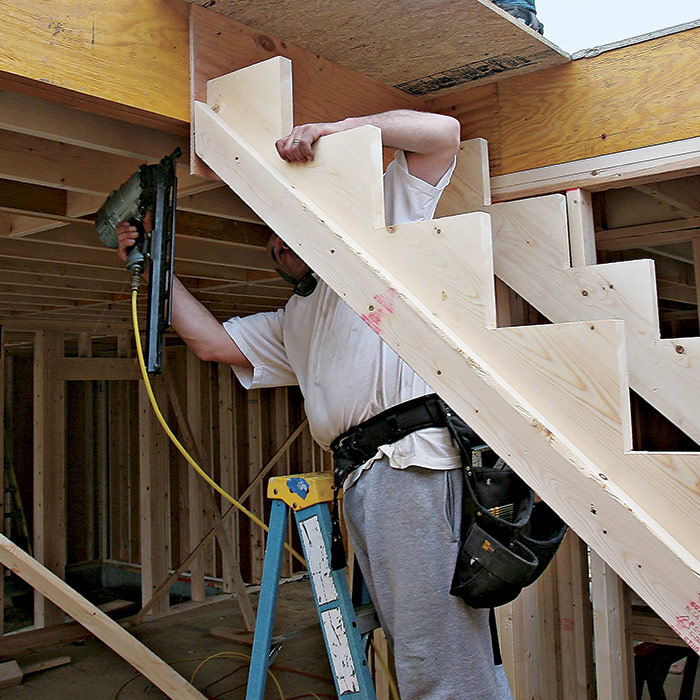
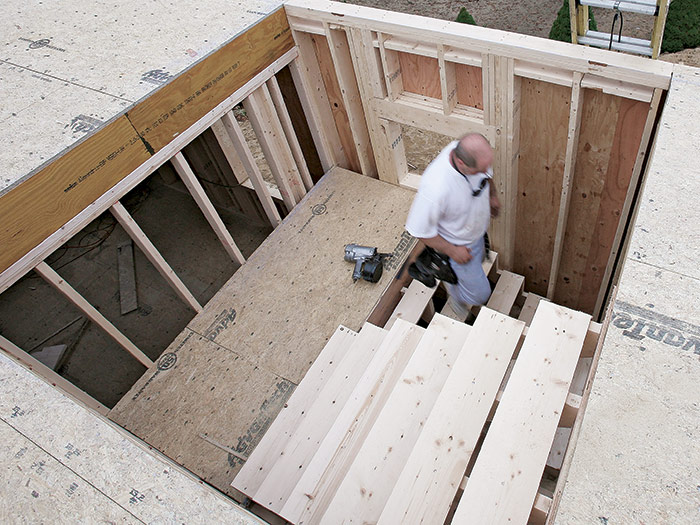
On this stair, the tops of the stringers attach to a plywood hanger nailed to the stair-chase framing.
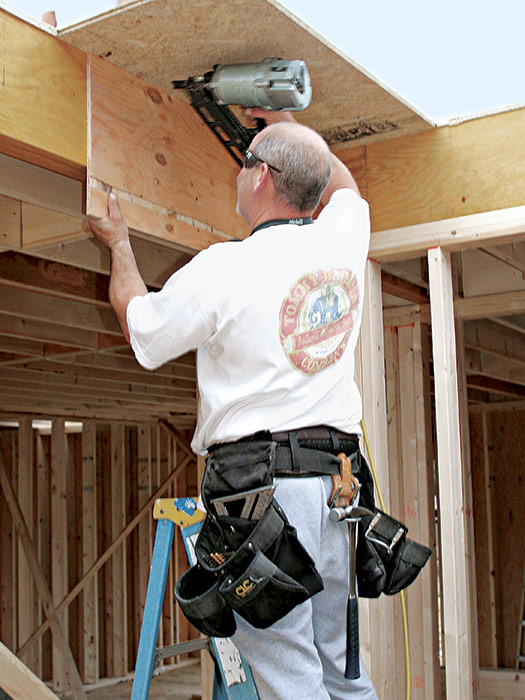
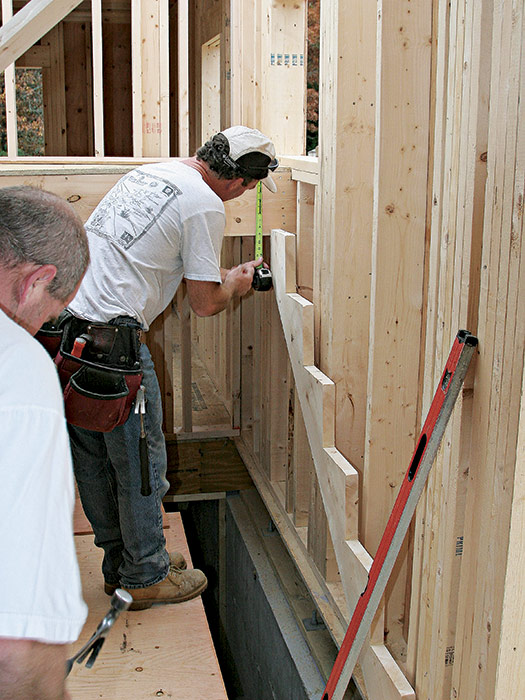
There are several ways we could have attached the top of each flight to the platform or the floor framing. For example, stringers can be notched to hang on a 2× cleat or can fit into a metal stair bracket. We chose to use a ½-in.-thick plywood hanger instead. The hanger is as wide as the stairs and tall enough to capture the plumb cuts at the tops of the stringers. This method has a couple of advantages. Nailing through the front side of the plywood secures the hanger to the house framing. After that it’s easy to nail through the back side of the plywood and into the ends of the stringers. Using a plywood hanger also enables you to install one stringer at a time. Measure for the hanger when the test stringer is in place to be sure it will be wide enough to catch the ends of the stringers.
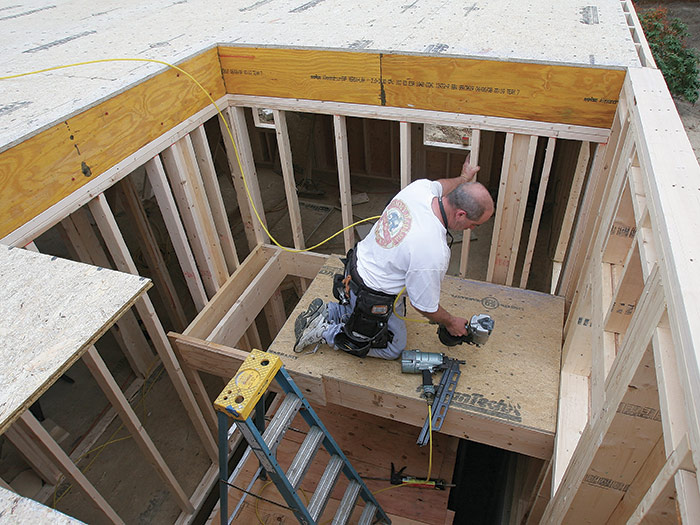
Once all the stringers for the top flight are complete, set them aside and build the landing platform. Because the landing is much smaller than the main floors, it can be framed with 2×10s. The perimeter framing was nailed directly to the studs, and the 2×10 that carried the ends of the stairs extended beyond the platform into the wall framing where it was supported by a 2× post.
Thinking AheadHere’s something that will make your life easier well after the framing is done, when it’s time for interior details. Nail a 2×4 along the bottom edge of the outside stringers. The 2×4 spaces the outside stringers away from the wall so that wall finish and skirtboard trim can slip past the stringers without having to be cut to fit the dragon’s tail precisely.
|
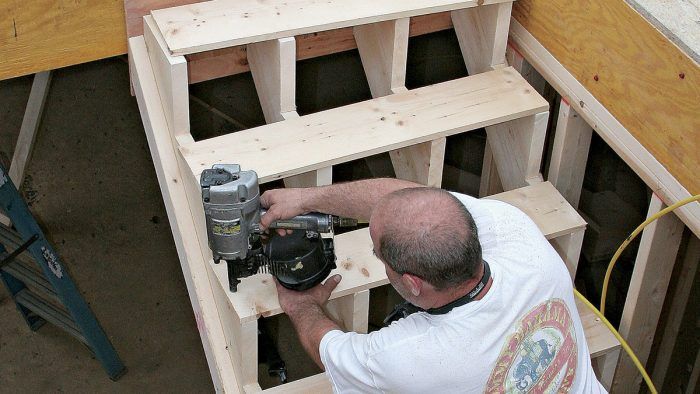
Install the top flight
The next part is easy: nailing the stringers into place. Space the stringers evenly across the width of the stairway. These stairs were 40 in. wide, and the stringer stock along with the spacers totaled 9 in. Four stringers created three spaces, so divide the remaining 31 in. by three. The spacing just has to be close, not exact, so we made the two outside spaces 10¼ in. wide and the middle space 10½ in. wide.
Toenail the top of the stringer through the plywood and into the LVL beam that frames the opening. Where the stringer hangs down below the LVL, drive nails through the back of the plywood hanger and into the ends of the stringers. Nail the bottom of each stringer through the notch and into the platform.
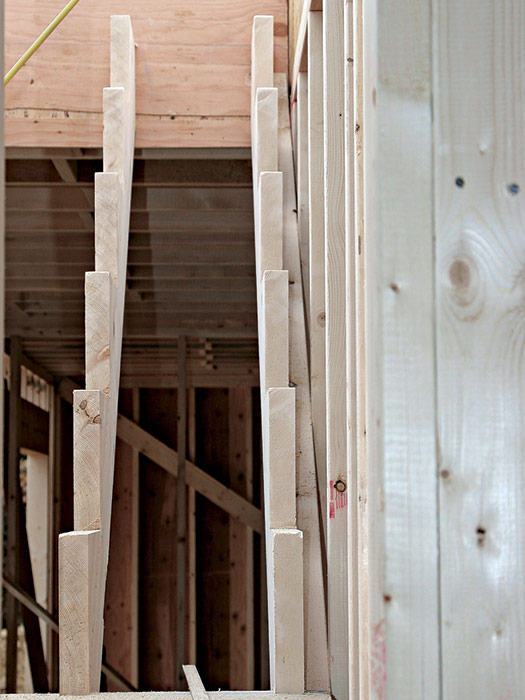
Install the temporary treads
A lot of carpenters put the temporary treads in haphazardly. But if you’re careful and make them flush with the outside and front edges of the stringer, the stairs will be easier to use for the rest of the construction process, and there won’t be any overhanging treads to catch hoses and extension cords.
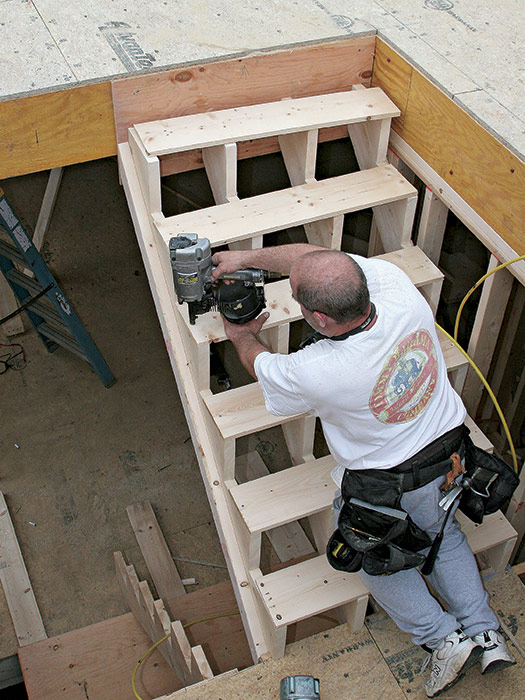
Install the bottom flight
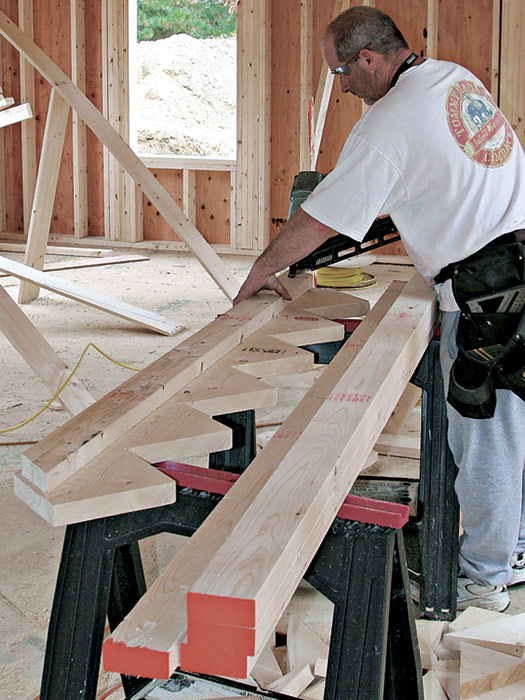
The bottom flight of stairs uses the same rise and run dimensions as the top flight. The overall layout is the same, too, except that the bottom of the stringer lands fully on the first-floor deck, which is actually preferable to being notched. Make a test stringer as before and check its fit. Use that stringer as a pattern, and then cut the rest of the bottom-flight stringers.
Nail the top of each stringer to a plywood hanger and toenail the other end directly into the first-floor deck. The final test (and my favorite part) comes after the last tread is in place. It’s a great feeling to walk up and down a set of stairs for the first time.
Basement stairs
We held off on installing the basement stairs for a while because we just didn’t need them right away. Design and construction followed pretty much the same sequence as the main stairs, but with a few differences. A crucial part of laying out these stairs is remembering to subtract the thickness of the tread from the bottom of the stringers (see “Basement Stairs Detail” [link to dwg. in excerpt #12]). Where the stairs rest on the concrete floor, it’s also a good idea to cut an extra 1½ in. off the bottom of the stringers. Then anchor the stairs to the concrete with a pad made from pressure-treated wood, so that the stringers won’t absorb moisture from the concrete and rot. I make the pad out of a 2×6 or 2×8 so that the whole bottom of the stringer bears on it. Attach the pad to the floor with masonry nails or powder-actuated fasteners.
Stair safety on the job siteStairs are a wonderful convenience on the job site. It’s so much easier to lug tools and materials up a stairway instead of a ladder. But to make them safe during construction, build temporary railings around the stair opening and at the open side of the stairs to prevent accidental falls. Because we didn’t build the basement stairs right away, we blocked off the open hole with plywood. When the second-floor framing got under way, railings made from 2×4s and plywood were built around the second-floor stair opening. 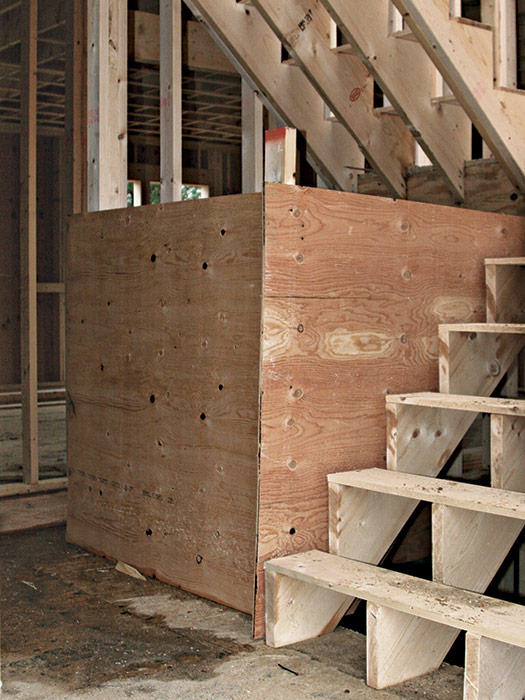 |
Fine Homebuilding Recommended Products
Fine Homebuilding receives a commission for items purchased through links on this site, including Amazon Associates and other affiliate advertising programs.

Magoog Tall Stair Gauges

Stabila Classic Level Set

Tajima Chalk Rite Chalk Line


View Comments
You said, "Then anchor the stairs to the concrete with a pad made from pressure-treated wood, so that the stringers won’t absorb moisture from the concrete and rot."
In a damp basement, the pressure-treated wood will get damp and the moisture can move to the stringers. To be safe, put something waterproof (plastic, silicon caulk, etc.) between the PT wood and the stringers.