
Floor Tile Layout
Follow these guidelines for laying out a tile floor in a number of different scenarios.

Although a floor often presents a much larger surface to tile than a shower or backsplash, the basic tenets of layout are the same: Strive for a balanced, clean look, with full tiles in prominent locations and cut tiles falling where they won’t draw attention. The steps to create a layout are a bit different whether you’re tiling a room with one or two doorways or a more complicated space with hallways, steps, and other transitions. Irregular and stone tile floors also demand their own layout considerations.
Single-doorway floor
Tile layout in a simple square or rectangular room with a single doorway is quite straightforward. The layout looks best with a full tile starting at the doorway (cut tiles at the doorway can be distracting). Subsequent rows of full tiles line up from the doorway, leaving any cut tiles at the opposite side of the room where they’re less noticeable and may be covered by furnishings or cabinets.
Layout Out a Single-Door Floor
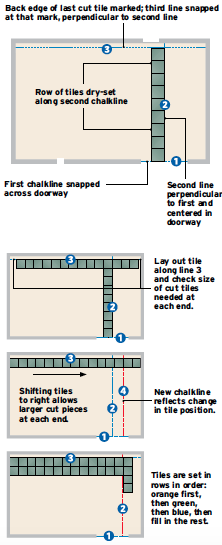
Start your layout by snapping a chalkline across the doorway (1), midway underneath the closed door. Snap a second line perpendicular to the first (2), centered in the jamb. Now dry-lay a row of tiles along the edge of the perpendicular line (with spacers, as necessary) from the first line to the opposite wall. Mark the far edge of the last full tile near the wall, then snap a third line perpendicular to the second line at this mark (3), as shown in the top drawing at right.
Now dry-lay tiles along the third line, to preview the size of cut tiles at the ends. If one of the cuts is very small and very visible, you can shift the tiles toward one side of the room or the other; just remember that this affects the tile layout across the doorway. If you do shift tiles, you’ll need to mark the new grout joint position and snap a fourth line parallel to line 2 (4). When you’re ready to lay tile, you’ll set tile in the order shown in the bottom drawing on the facing page, using the layout lines to keep the tile rows straight and true.
Dual-doorway floor
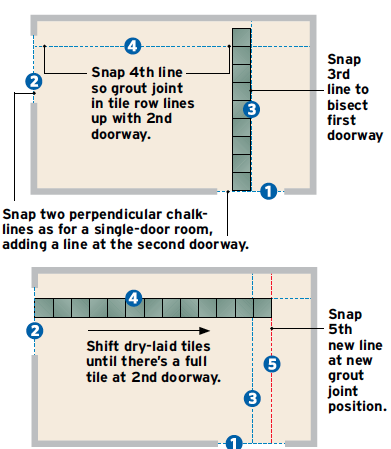
The best-looking tile layout in a room with two entrances is with full tiles starting at both doorways. The layout is very similar to a single-door-room layout: After snapping chalklines across the thresholds of both doors (1, 2), snap a line perpendicular to the room’s primary entrance (3); then lay a row of tile along the edge of that line, from that doorway to the opposite wall.
Now choose a grout joint that lines up somewhere in the middle of the room’s secondary entrance, mark its position, and snap another perpendicular line (4), as shown in the drawing at right. Remove the first row of tiles, dry-lay tiles along the fourth line, and then shift the tile position back and forth until you have a full tile at the secondary entrance. Finally, strike another line (5) parallel to 3, so that tiles will line up in both doorways.
What can go wrong
Don’t worry if walls, cabinets, tub enclosures, and so on, aren’t square to your floor layout lines. Simply set the closest row of tile that’s aligned with your layout, then cut tiles at the necessary taper to fit.
Floor Layout for Dual-Entrance Room
Complex Floors
Tile layout on an irregular-shaped floor or one that continues through a number of rooms and hallways becomes a bit more complicated. When faced with a complex diagonally set tile floor (for a home with an entry, riser step down to a living and dining room, and a hallway leading into a bathroom and guest room), we used a CAD program to explore different layout schemes.
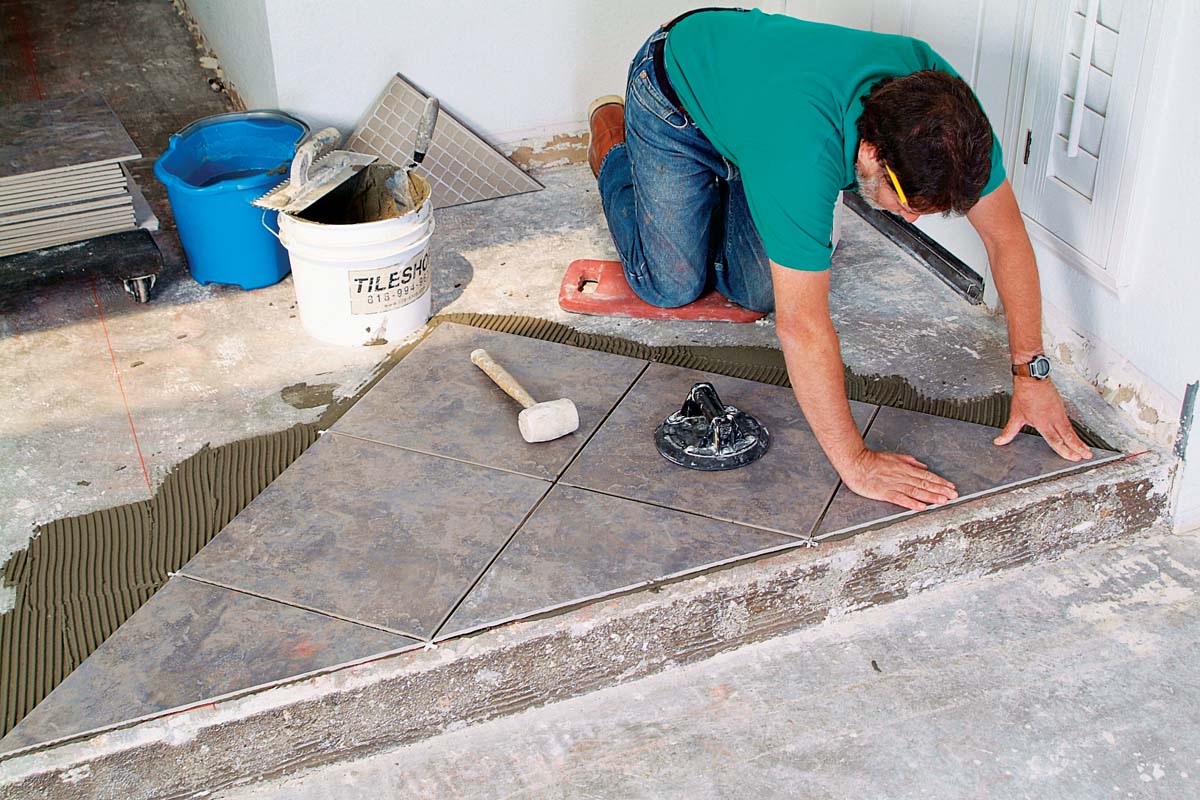
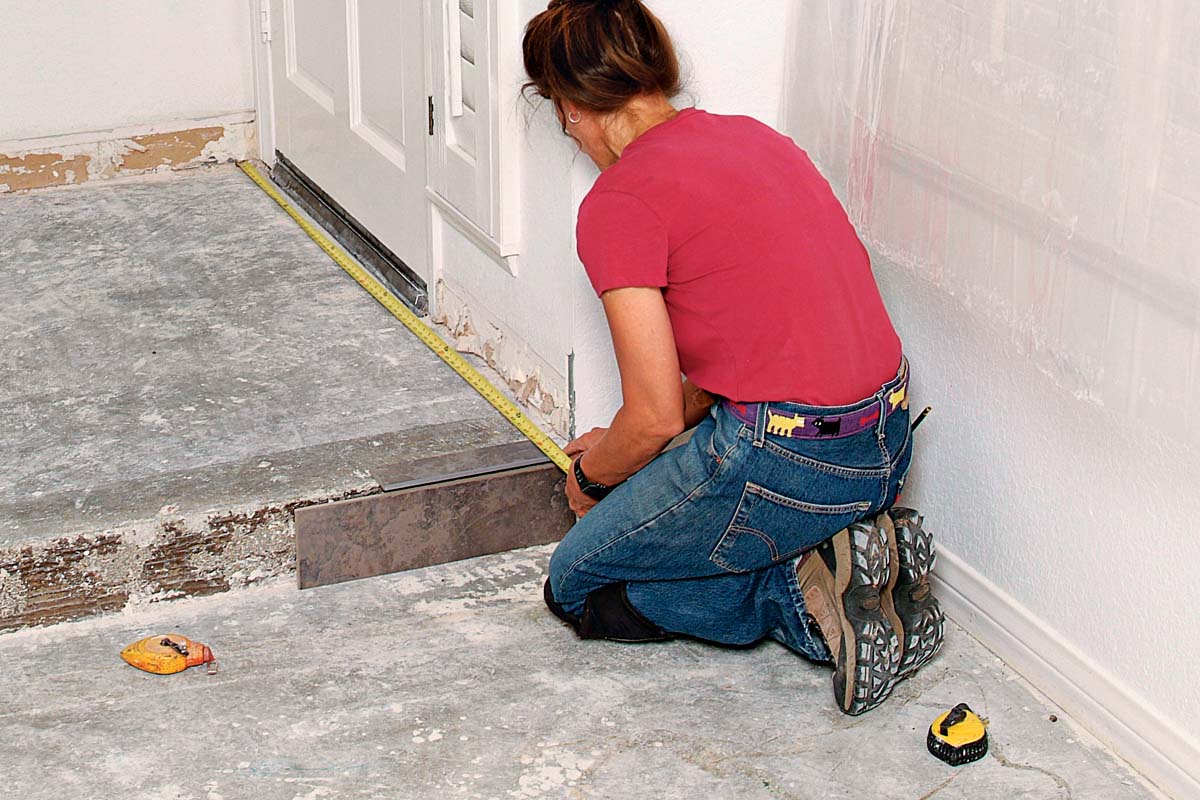
This layout starts with full tiles on the entry area riser (the focal point of the space) leading into the living/dining space 1. Fortunately, the width of the entry allowed full, uncut diagonal tiles at both sides. Lengthwise, we decided it was important to have tiles centered in the main hallway off the entry, but that required cut tiles at the doorways at both ends of the entry (complex layouts always require compromises).
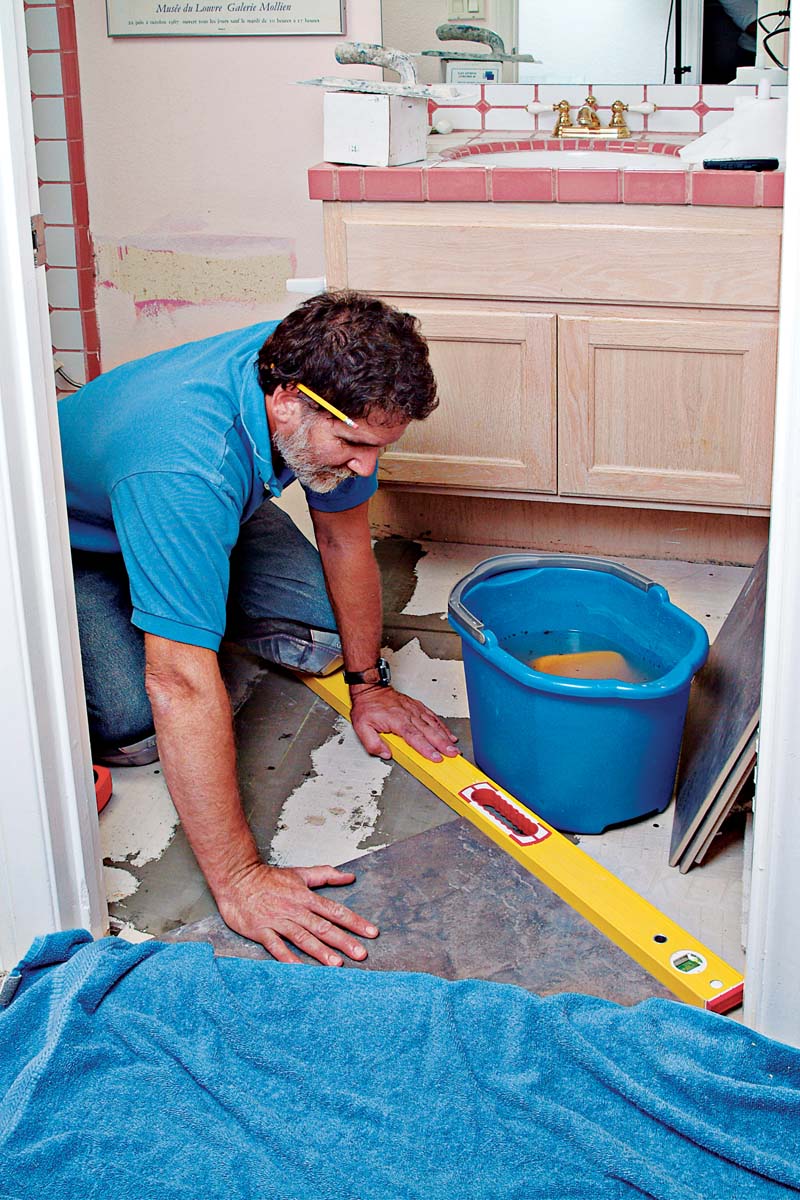
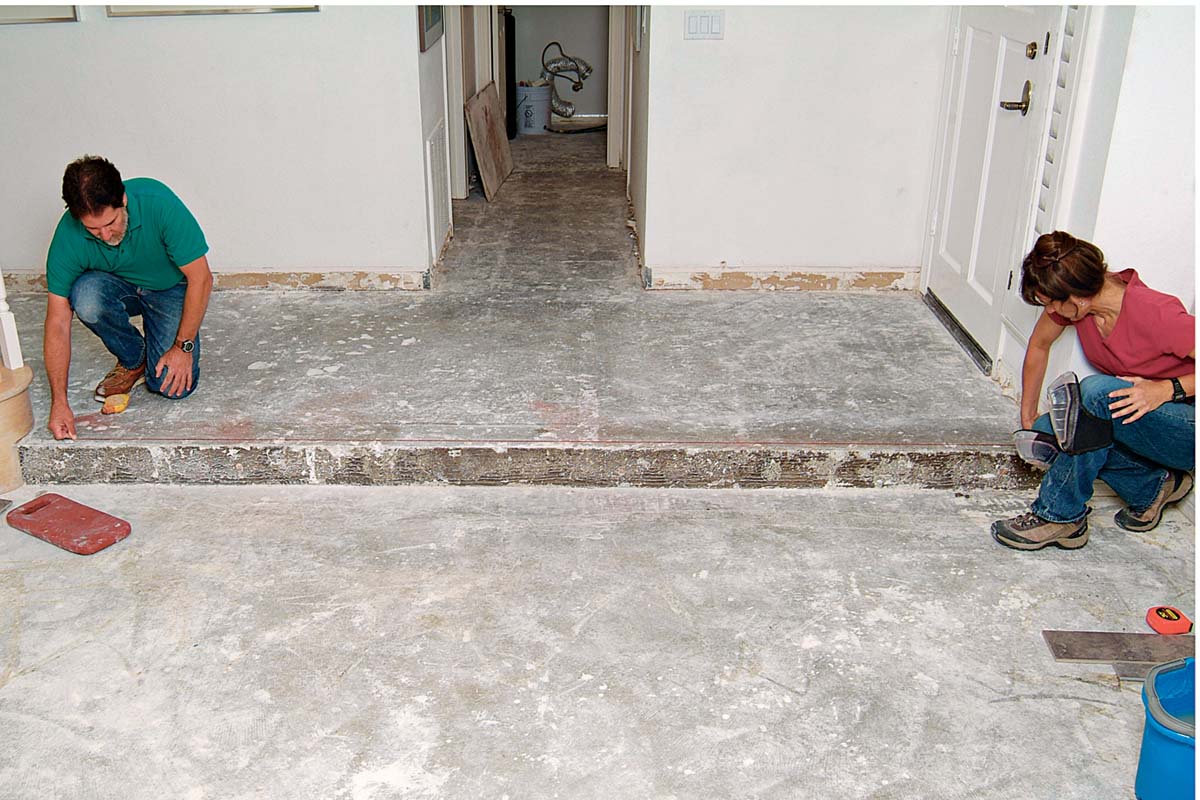
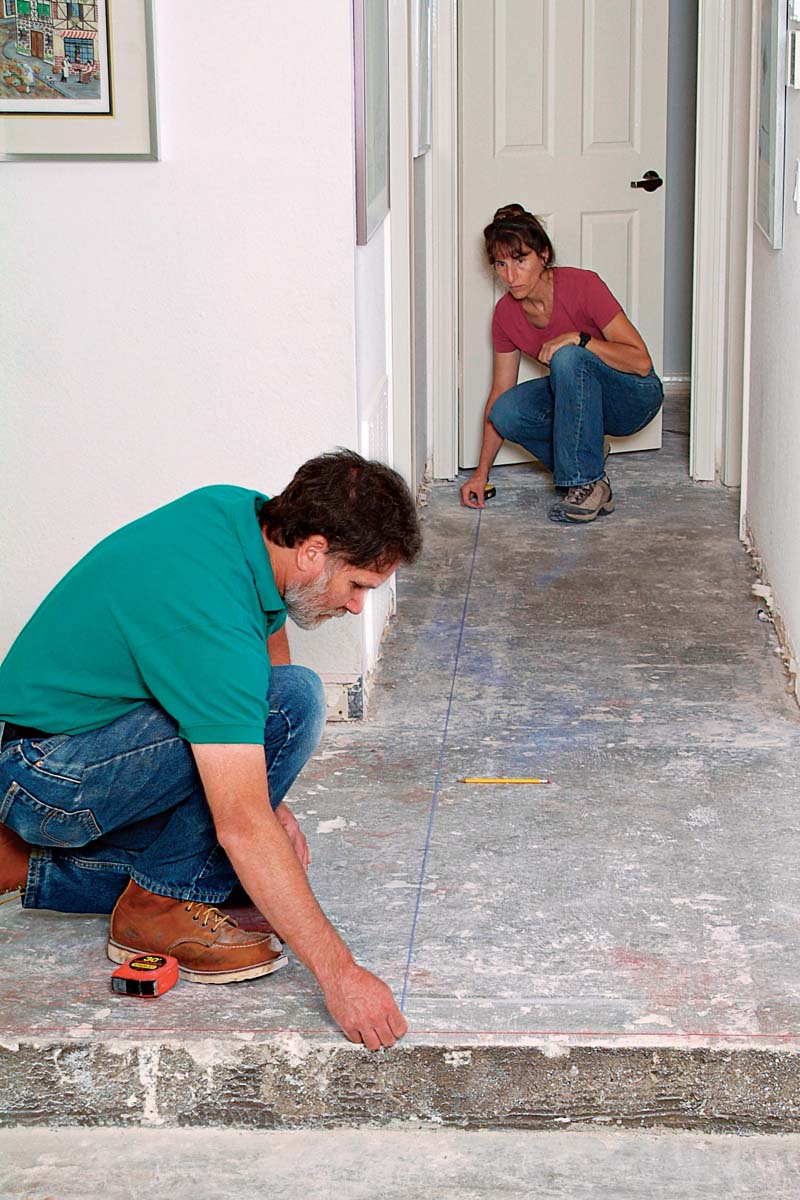
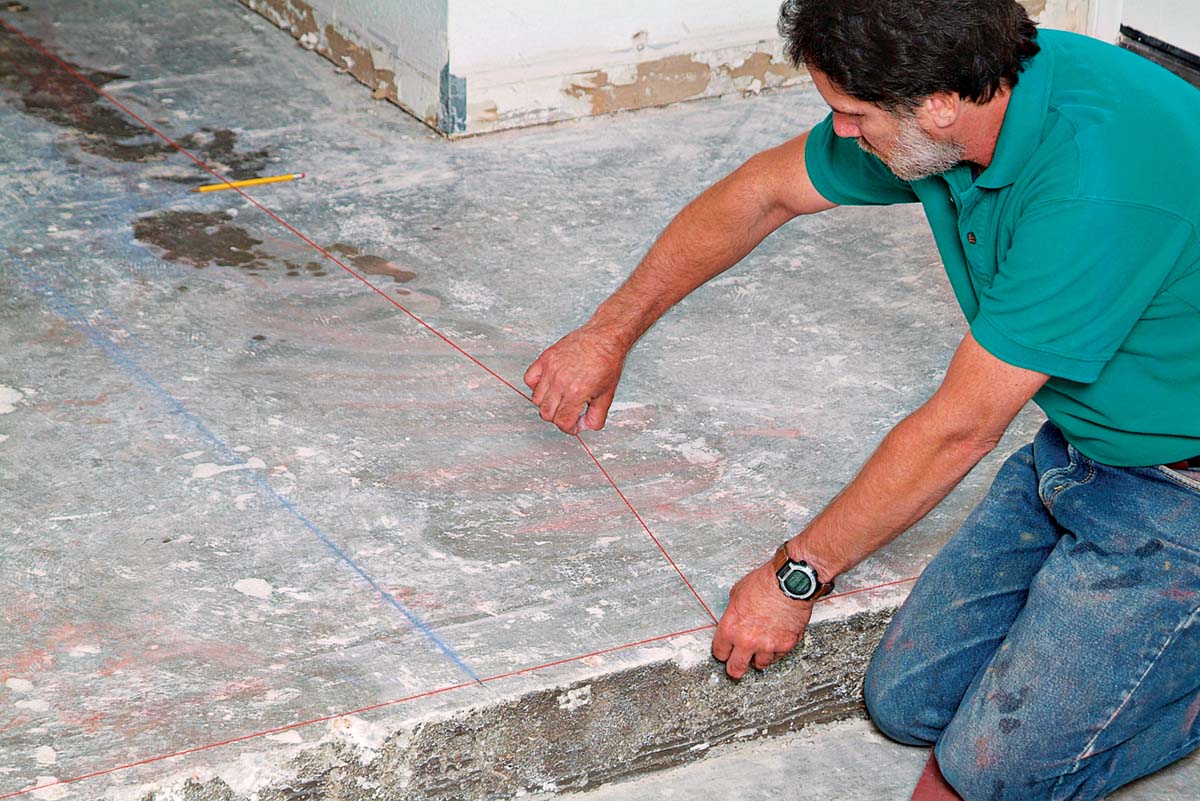
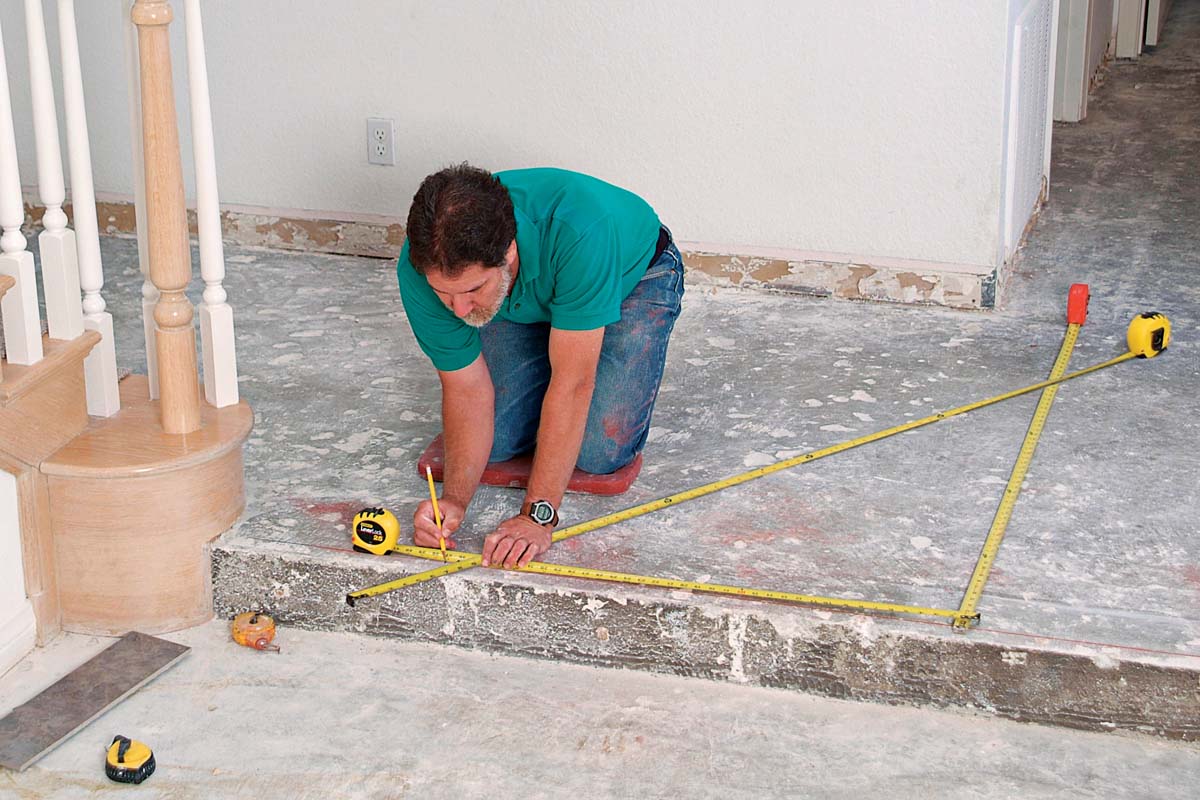
Our first step was to snap a chalkline just back from the riser step, as a point of reference to lay the tile. After sweeping and washing the floor, we measured and confirmed that the entry wall was parallel to the riser 2. Next, we measured and marked the position of the bullnose tile used at the edge of the riser (this narrow trim helps differentiate the edge of the riser, preventing tripping accidents) 3. We made two marks the same distance from the wall and snapped our chalkline where the first row of full tiles would start at the back edge of the bullnose 4. Next, we used a 3-4-5 triangle to create a line perpendicular to the line along the riser 5. Then we measured and snapped another line down the center of the hallway 6, 7. By placing the diagonal points of each tile on this line, we could set the tiles in a straight, even row down the hallway. We used these layout lines to set tile in the entry and hallway 8. Then we used the already set tiles to extend the diagonal layout into the other rooms. Using a 4-ft. level as a straightedge, we lined it up with the points of the upper room tiles. A small level allowed us to accurately transfer that mark to the parallel line in the lower area 9 so we could snap a line perpendicular to that mark.
 |
1. A full tile on a diagonal layout means that you’ll start with full tiles flanked by diagonal half tiles. |
 |
2. Measure each side of the entryway to see if the far wall is parallel to the step. |
 |
3. Mock up the bullnose and riser tile to mark their position on the stair. |
 |
4. Snap a red chalk line between the marks to create a reference line for the bullnose tile and a starting point for the field tile. |
 |
5. This alternately colored perpendicular chalkline provides a square reference mark. |
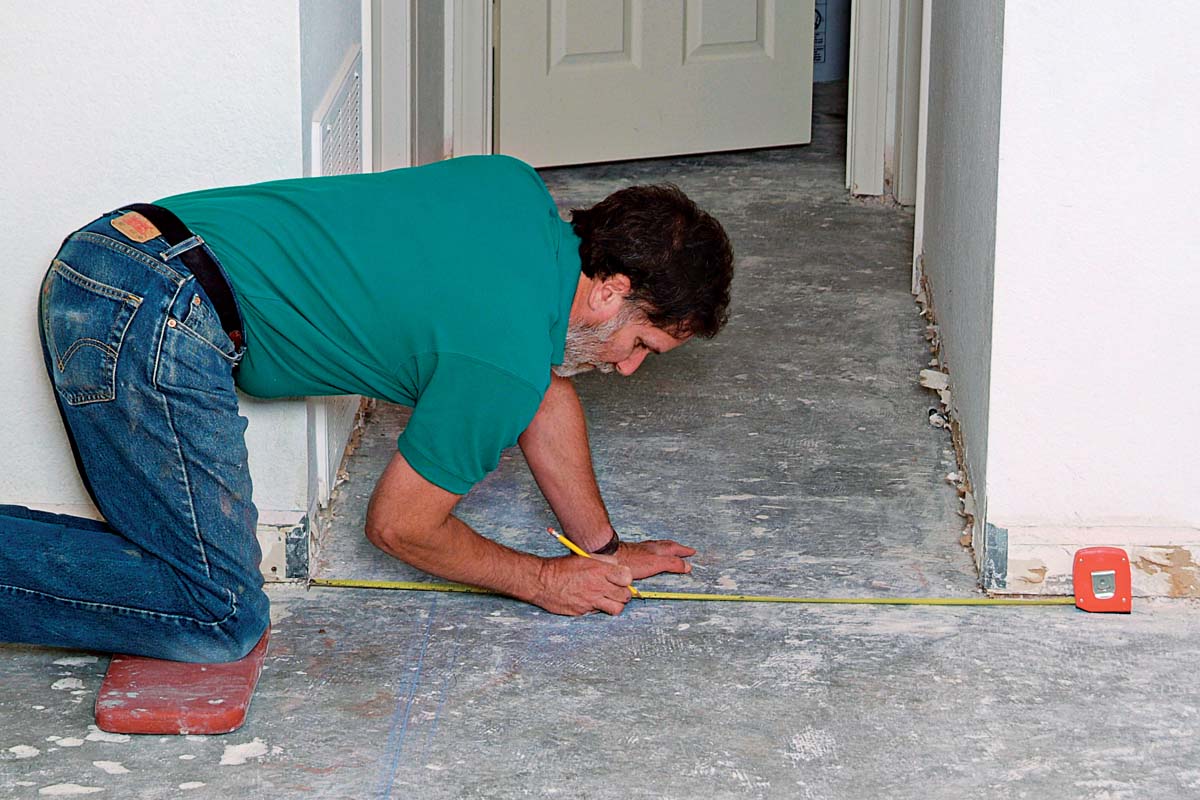 |
6. Measure to the center of the hallway and determine the difference between this measurement and the blue reference line. |
 |
7. Using your original chalk color, snap a line parallel to the blue reference line to mark the center of the hallway. |
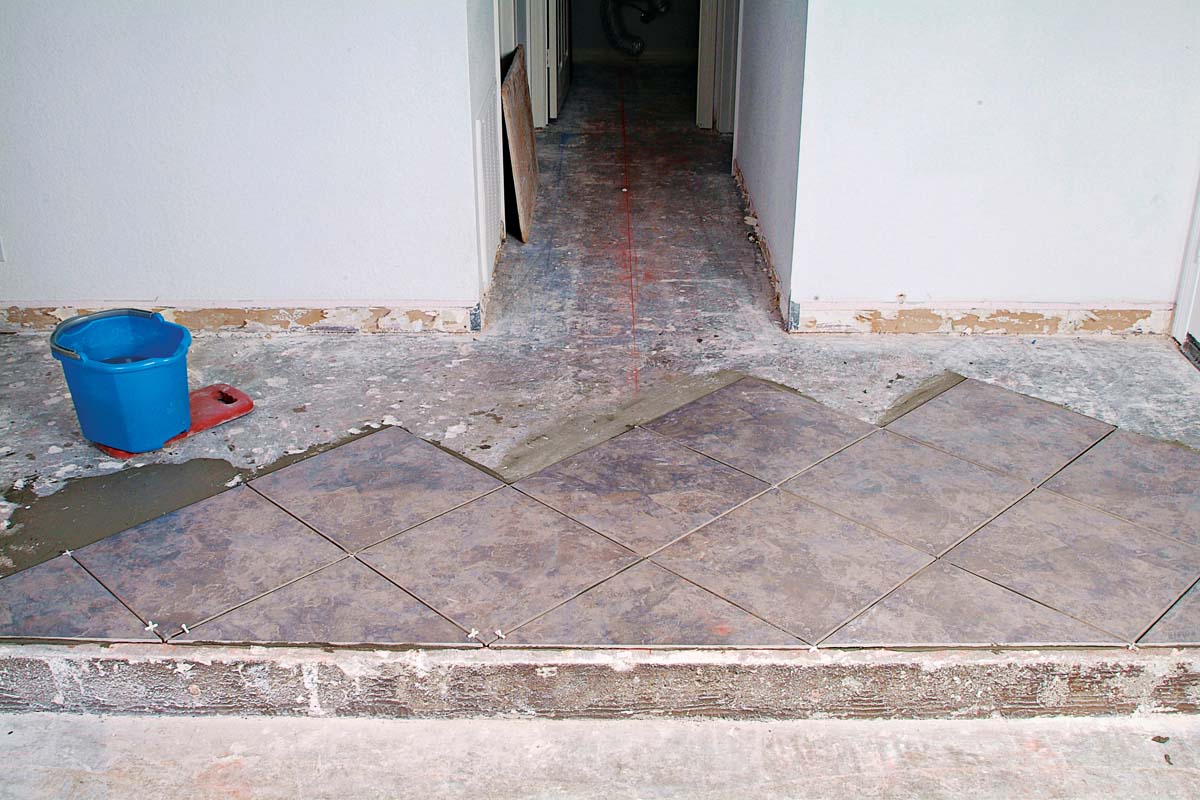 |
8. Use the red layout lines to set the tiles straight and perpendicular to each other. Line up the points of the tiles on the lines. |
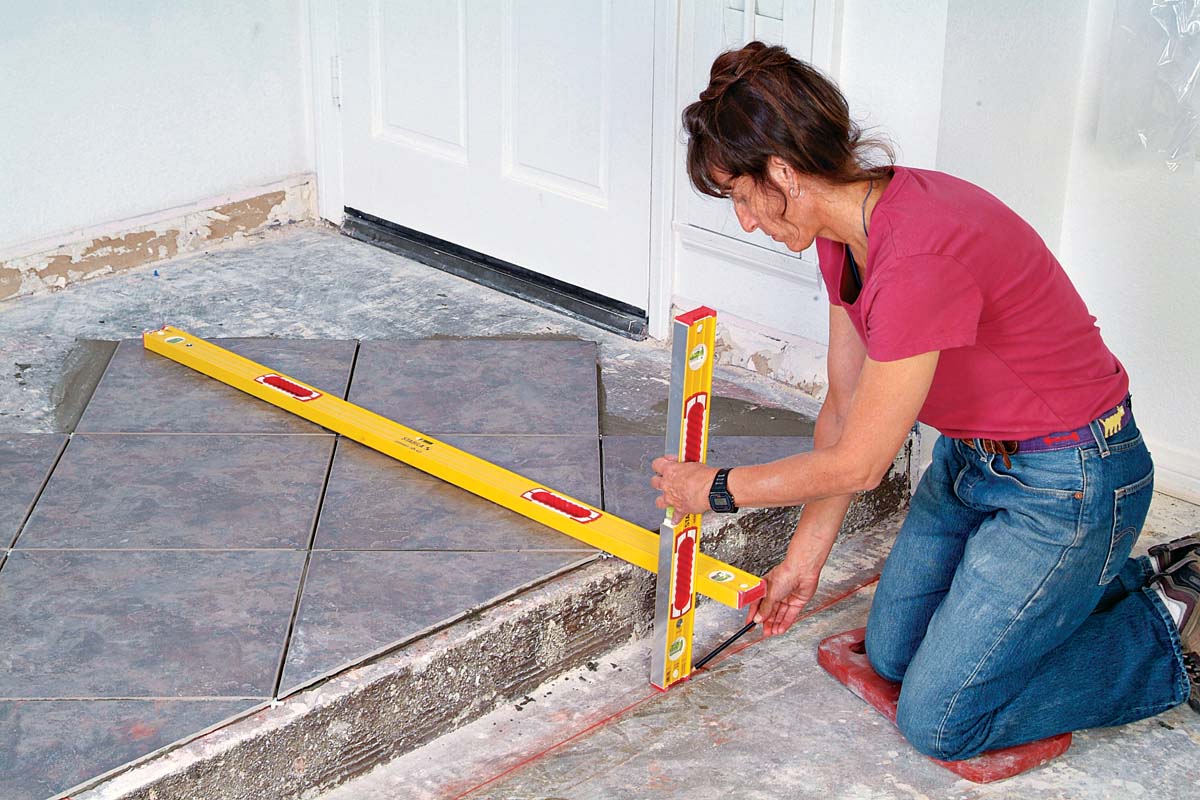 |
9. Line up a 4-ft. level with the points of the set tiles. Use a small level to transfer that line to the lower area. |
| Keeping it Square with a 3-4-5 Triangle
If you’ve ever wondered if you’d find a real-world application for the theorems and formulas you learned in high-school geometry, here’s a good one for you: The Pythagorean theorem states that any triangle with sides that are 3 units, 4 units, and 5 units long will form a right angle between the two shorter sides. By laying out a large 3-4-5 triangle with a tape measure (work in feet, yards, or meters—it doesn’t matter), you can lay out lines that are perfectly square to one another or check the alignment of tiles laid diagonally across a large room. This method is much more versatile and accurate than checking with even the largest carpenter’s framing square.
|
Layout for Irregular Tiles
Handmade terra-cotta pavers and some kinds of stone tiles are not consistent in size. If you try to lay out a floor for these tiles using the methods previously described, you’ll end up with uneven rows and higgly-piggly-set tiles. To solve this problem, we set irregular tiles by snapping a grid of chalklines all the way across the floor. Each grid square is sized to hold nine full tiles 1. The idea is that individual tiles may be adjusted relative to each other within the grid, to even out the spaces between them for a pleasing overall effect 2. To determine the grid size, take three tiles at random and lay them on the floor. Space the tiles as per your chosen grout joint, remembering that irregular tiles need larger grout lines to compensate for their differences. The length of this tile layout from end to end, plus one grout joint, equals the size of the tile grid 3. Add this grid to your tile layout plan or drawing to map out the position of the individual grids on the floor. Room dimensions will likely require some partial grids with cut tiles, so adjust the layout accordingly. Snap the grid of chalklines on the floor, using 3-4-5 triangles to keep the lines square.
See “Keeping It Square with a 3-4-5 Triangle,” p. 143.
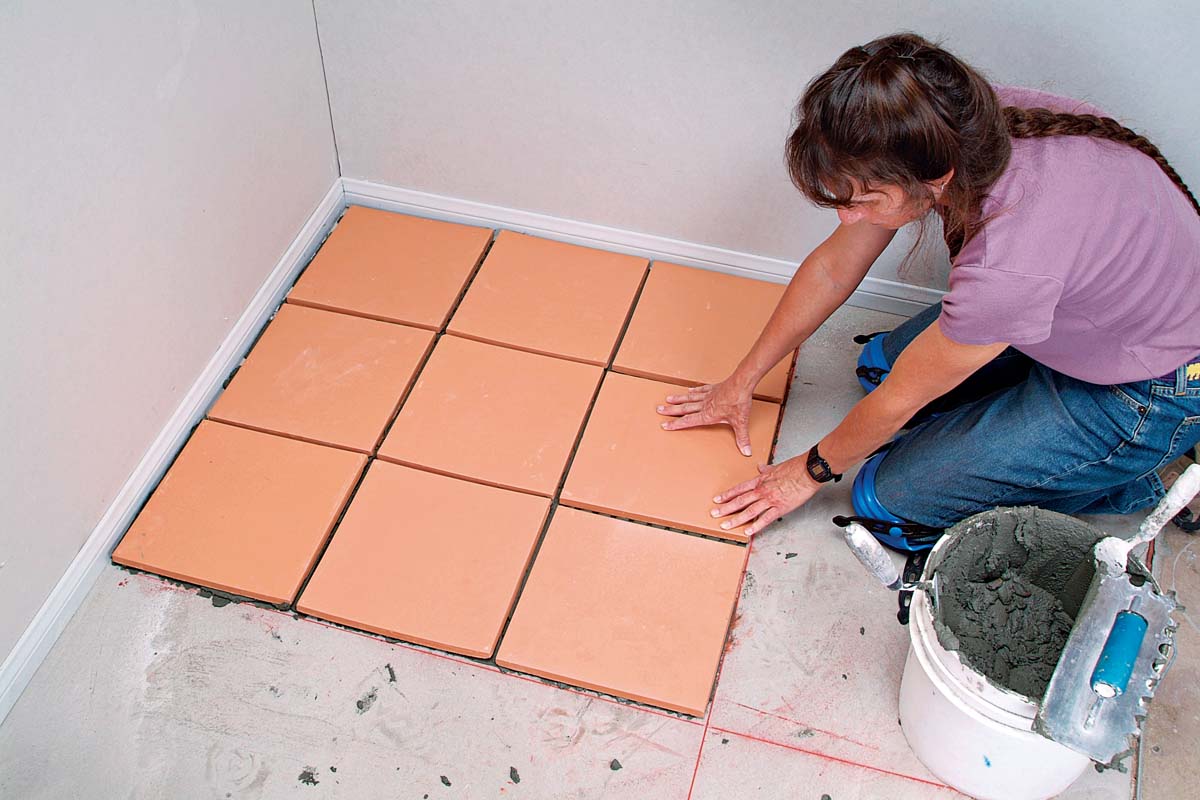 |
1. Setting irregular tiles is easiest when you use a grid of nine tiles. |
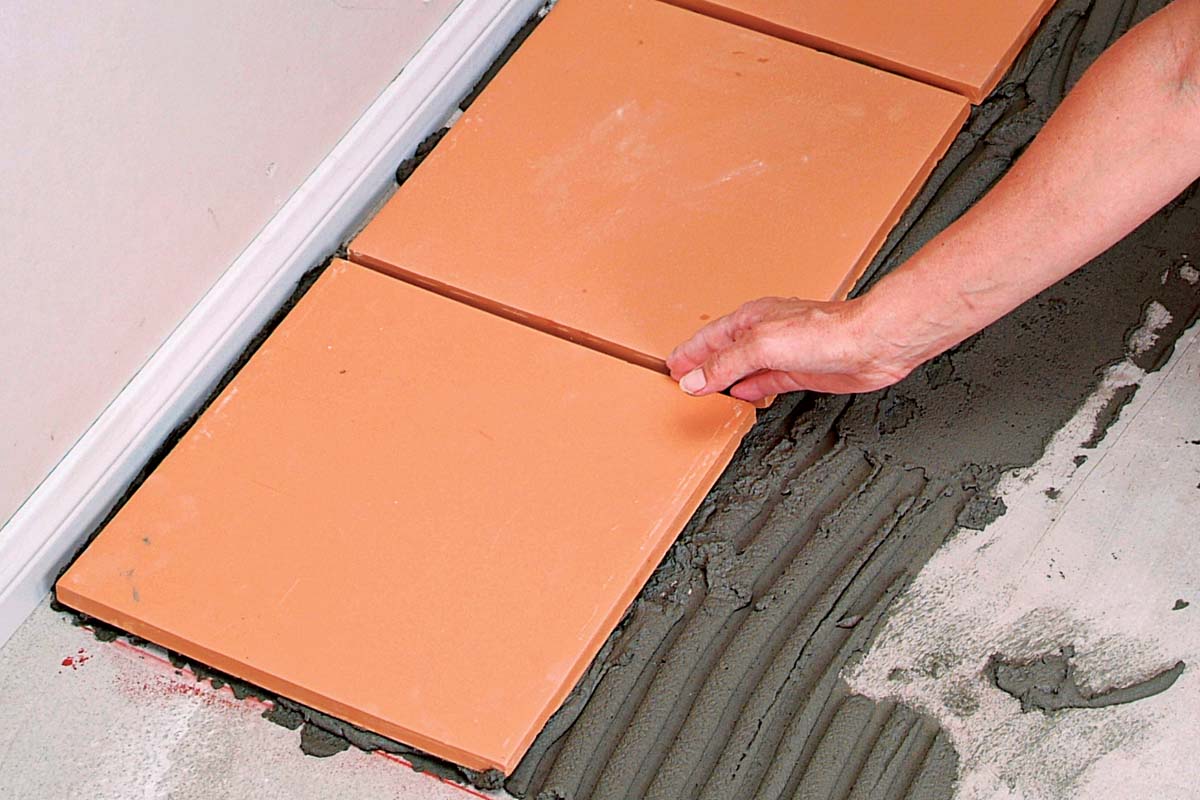 |
2. By moving the tiles within each grid, you will achieve a more even look with irregular tiles. |
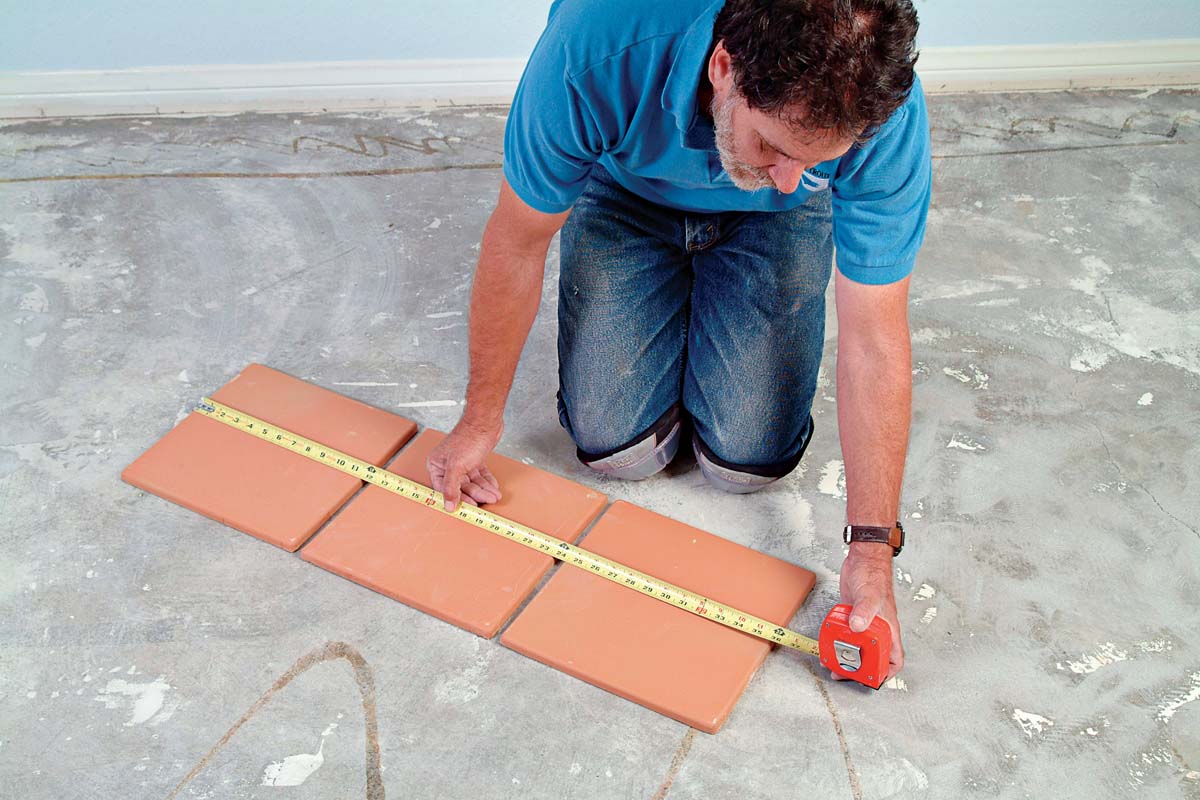 |
3. Measure three tiles set in a row. The grid will be the size of the three tiles plus the width of one additional grout joint. |
Stone Tile Layout
Because each tile cut from natural stone is unique, your layout should best reflect the tile’s individual patterns and color variations. The arrangement of veining and color patterns and interesting features, such as fossils or crystals, all have a profound effect on the look of your final installation.
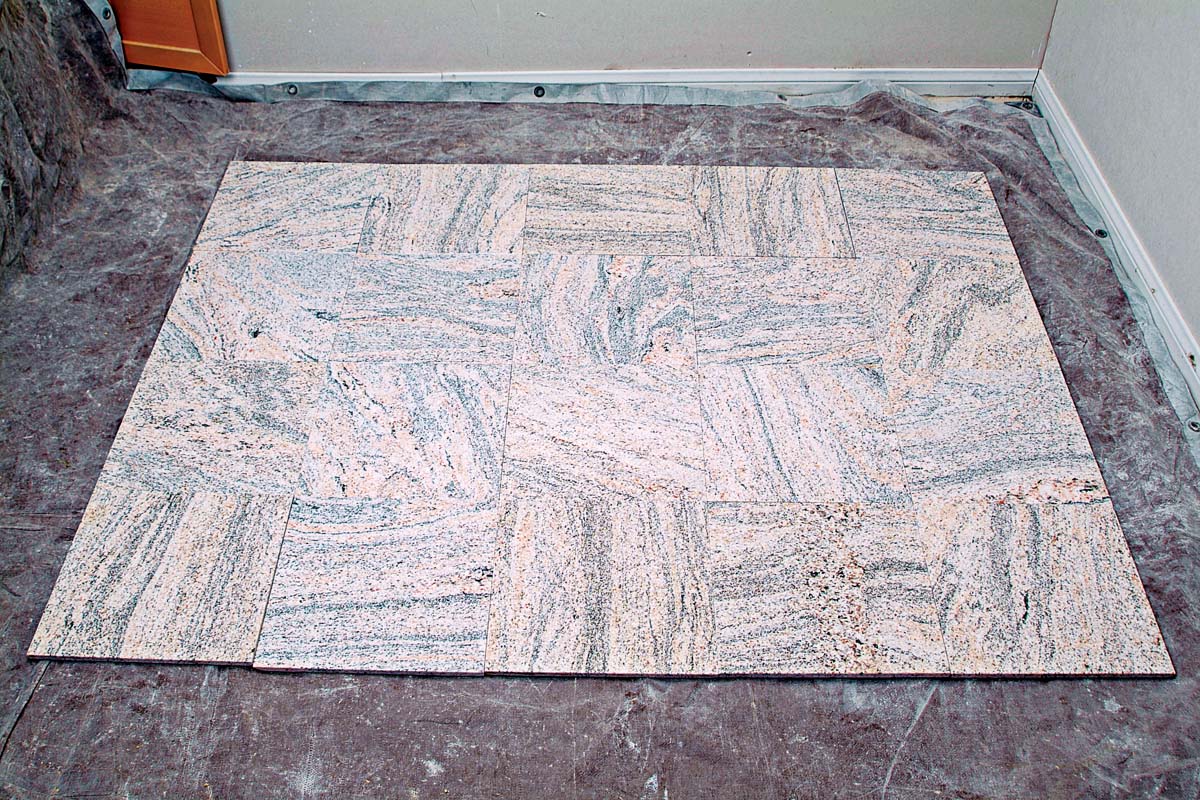
Unpack all the boxes of stone tiles and examine their colors and features. Lay out the tiles before you begin setting to choose the pattern that pleases you most. If the tiles have prominent vein patterns, you might want to lay them out so that they all flow in the same direction A or you may prefer to alternate the way the veins run, to create a pattern of alternating horizontal and vertical lines B. Alternatively, you may like the look of a random arrangement even better C. If there are strong color variations between tiles, you’ll want to mix the tiles up, so that the overall color of the installation is more even. After laying the tiles out and finalizing your pattern (or random arrangement), tag the individual tiles by sticking on a piece of tape, then labeling each one with a row and column number and an arrow that shows its orientation. The labeling lets you repeat your desired pattern when you set the tiles.
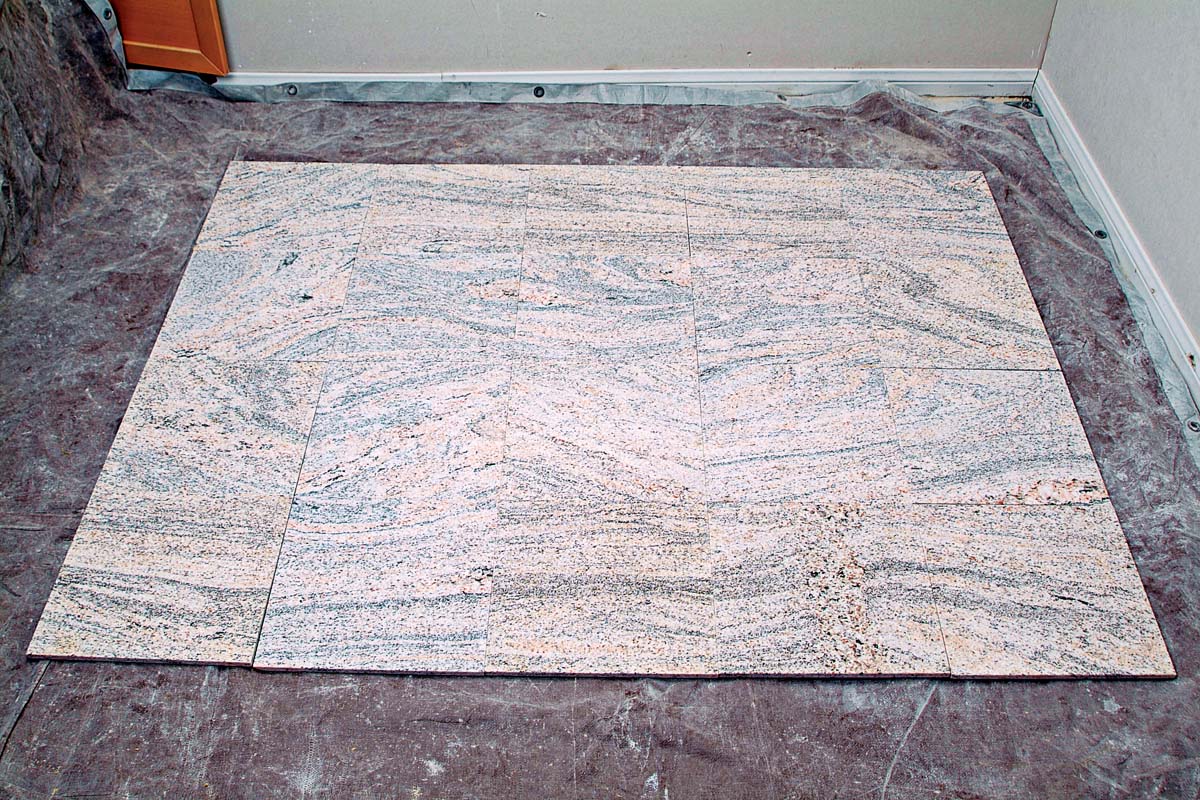 |
A. Trying to match swirls or veins can achieve a look that emulates a solid sheet of stone. |
 |
B. A complex pattern of alternating veins and swirls is busier but may be more interesting. |
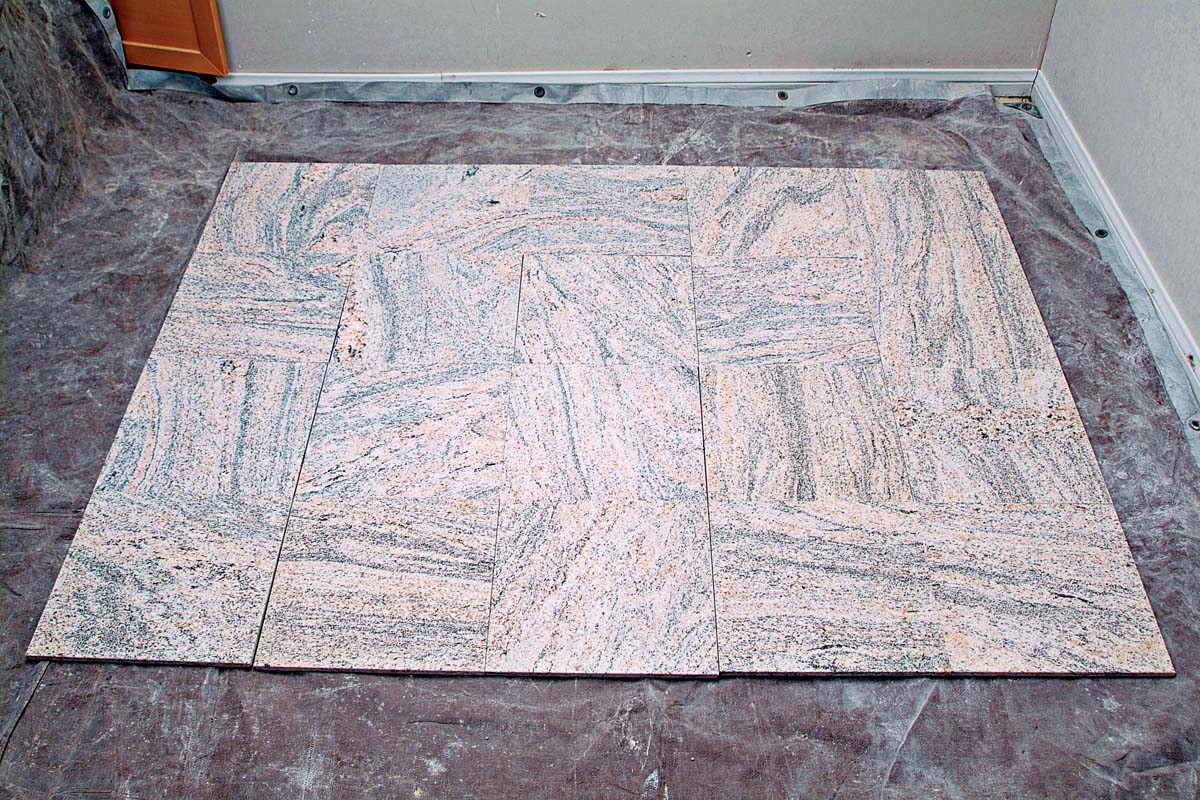 |
C. A random pattern works best when there is significant variation in color or pattern, minimizing differences. |
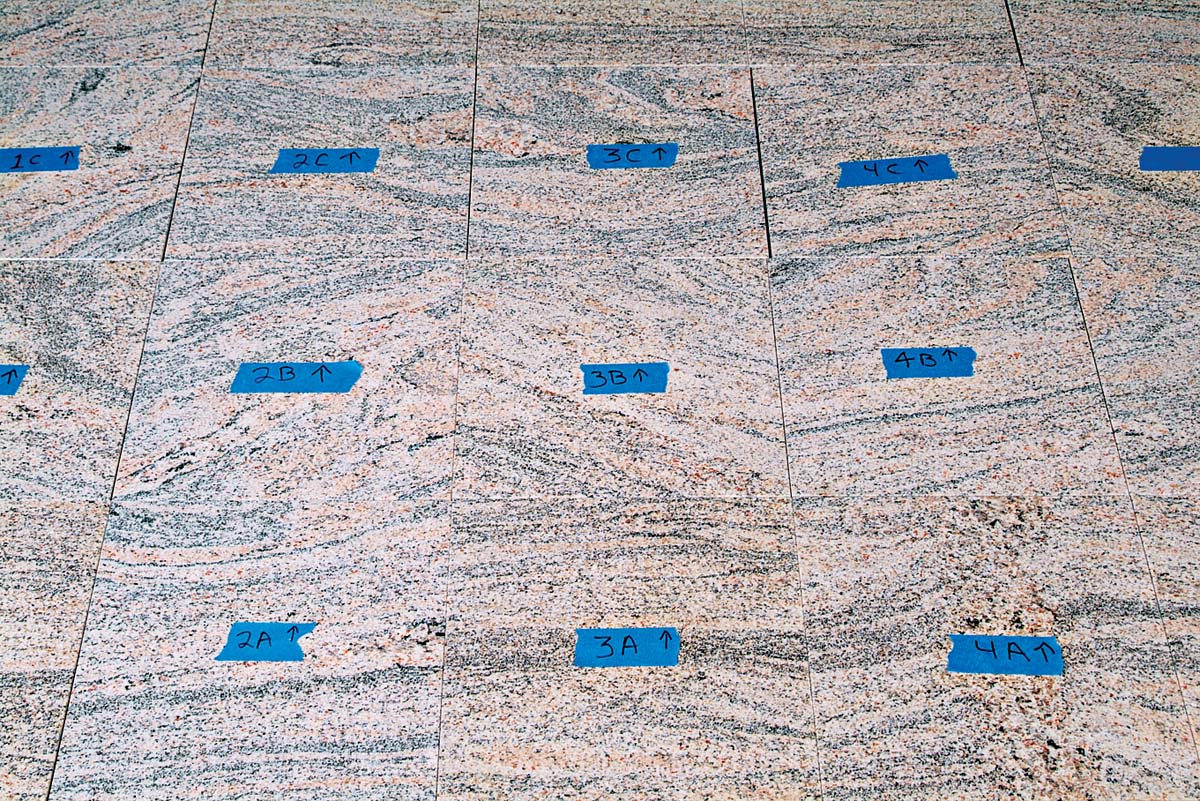 |
When you have chosen the pattern for your stone floor, label and mark each one with letters and numbers for rows and columns and add an orientation direction. |
| Design Options: Try a Different Approach
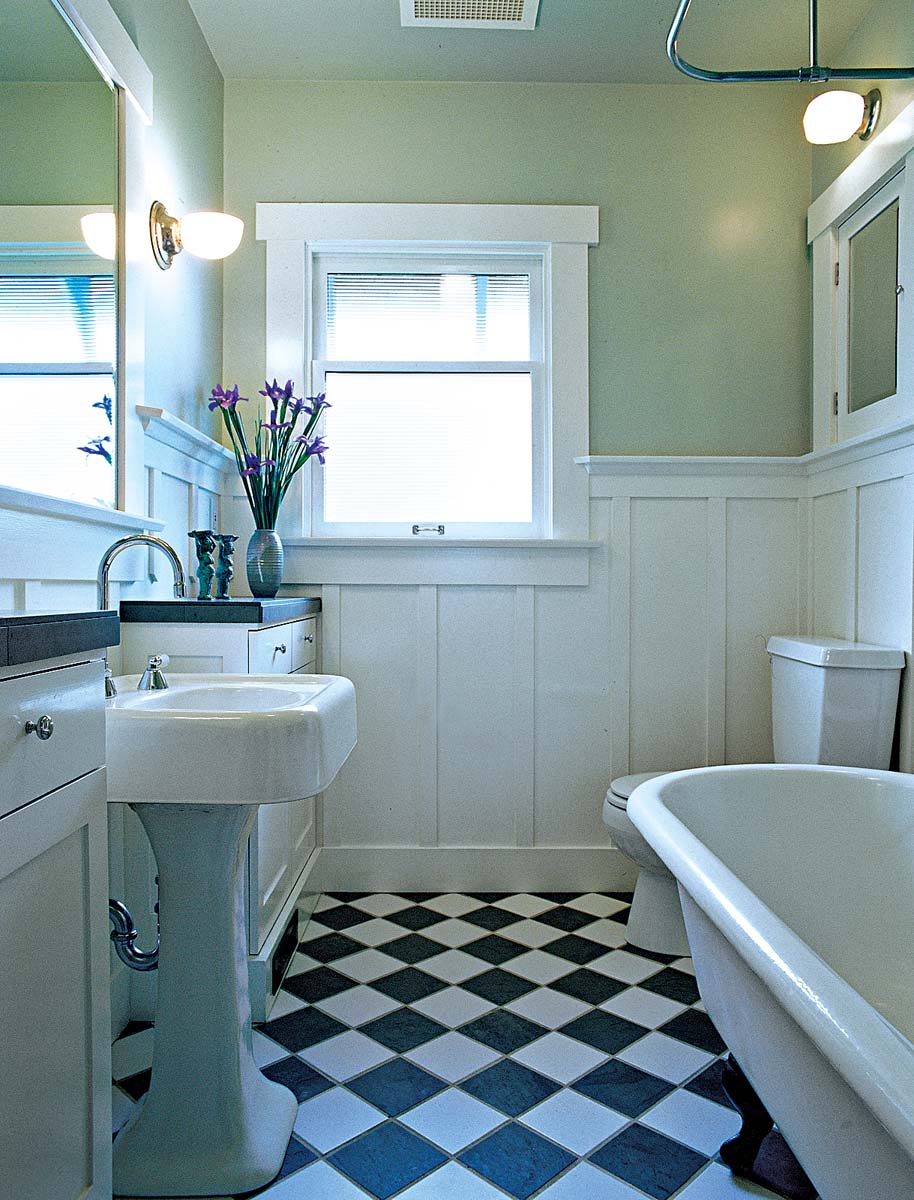
A floor gives you a large canvas for your designs. Don’t be afraid to mix colors and shapes to get the look you want. Remember that the room will look bigger or smaller depending on the layout of the tile. A small room or hallway can look larger if the tiles are set on the diagonal. In a very small space, a busy pattern can be overwhelming; a room with a simple pattern on the wall can handle a more complex floor pattern.
|
 Excerpted from Tiling Complete, 2nd Edition by Robin Nicholas and Michael Schweit.
Available in the Taunton Store and at Amazon.com.
