
Grout Prep
Follow these steps to make the joints between tiles clean and free of debris before you start grouting.

Before You Begin
Regardless of what kind of tile you’ve installed, the spaces between the tiles need to be filled with grout. Grout fills the space and smooths the transition between tiles, enhances the beauty of the tile, and makes it easier to keep the tiled surfaces clean. On some jobs, these spaces (called grout joints or lines) are very small. For example, some stone tiles, like granite and marble, nearly butt together, with only thin spaces (1/16 in. or less) between them. Other tiles, such as terra-cotta pavers, have large joints between the tiles—1/2 in., 3/4 in., or even wider.
The process starts with preparation to make the joints clean and regular. Then the grout is mixed to the correct consistency, applied to the tile, and forced into the open joints. The grout joints are then shaped to proper size and profile, and excess grout is wiped from the surface. Finally, the remaining dried grout residue is buffed off the tile, and the installation is ready for sealing and caulking. While the grouting process is virtually the same for almost all types of tile, there are special considerations for grouting some tile varieties, including glass, natural stone, and terra-cotta.
Preparing the installation space
If you’ve just laid your tile, you must allow the installation to dry at least 24 hours before you grout. The tile-setting adhesive needs to dry so that the tile is firmly bonded before grouting begins. If you don’t wait for the adhesive to cure, the tiles may be knocked loose or out of position during grouting.
Make sure you have enough time to complete the grouting process from start to finish. If you have a large job, you can stop in an inconspicuous area and finish the job another day. However, it’s preferable to enlist help to get all the grouting done in one go.
Grout can be quite sensitive to temperature: Excess heat makes grout dry too quickly and can cause cracking. Cold can delay the drying rate, possibly resulting in efflorescence, a white haze that forms on the grout surface. Keep your work space, job site, the water used during grouting, and the grout itself at a temperature between 65°F and 75°F (and never apply heating or cooling air directly to drying grout). Place all your tools, grout materials, and even the water that you’ll use for grouting in the room 24 hours before you begin, so that they’ll all be the same temperature.
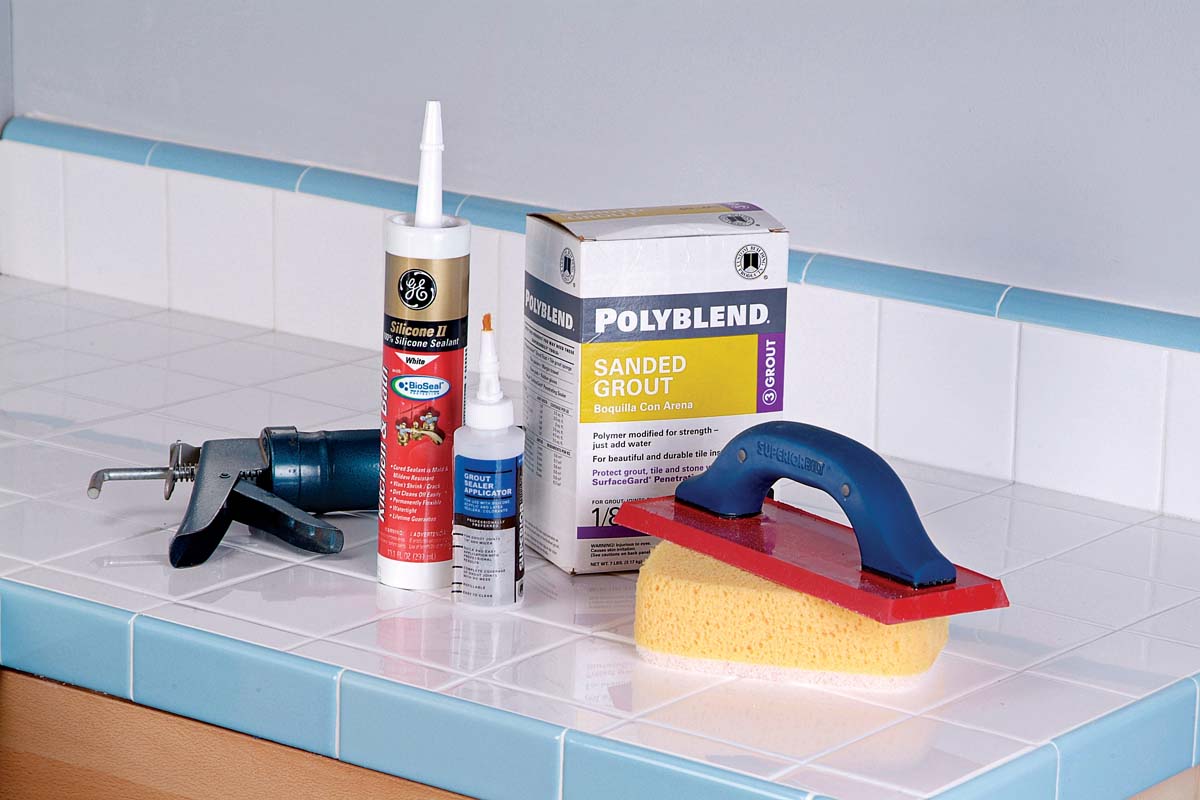 |
Be sure to assemble your tools and materials before you begin. Some of the things you’ll need are a grout float and large new sponges. |
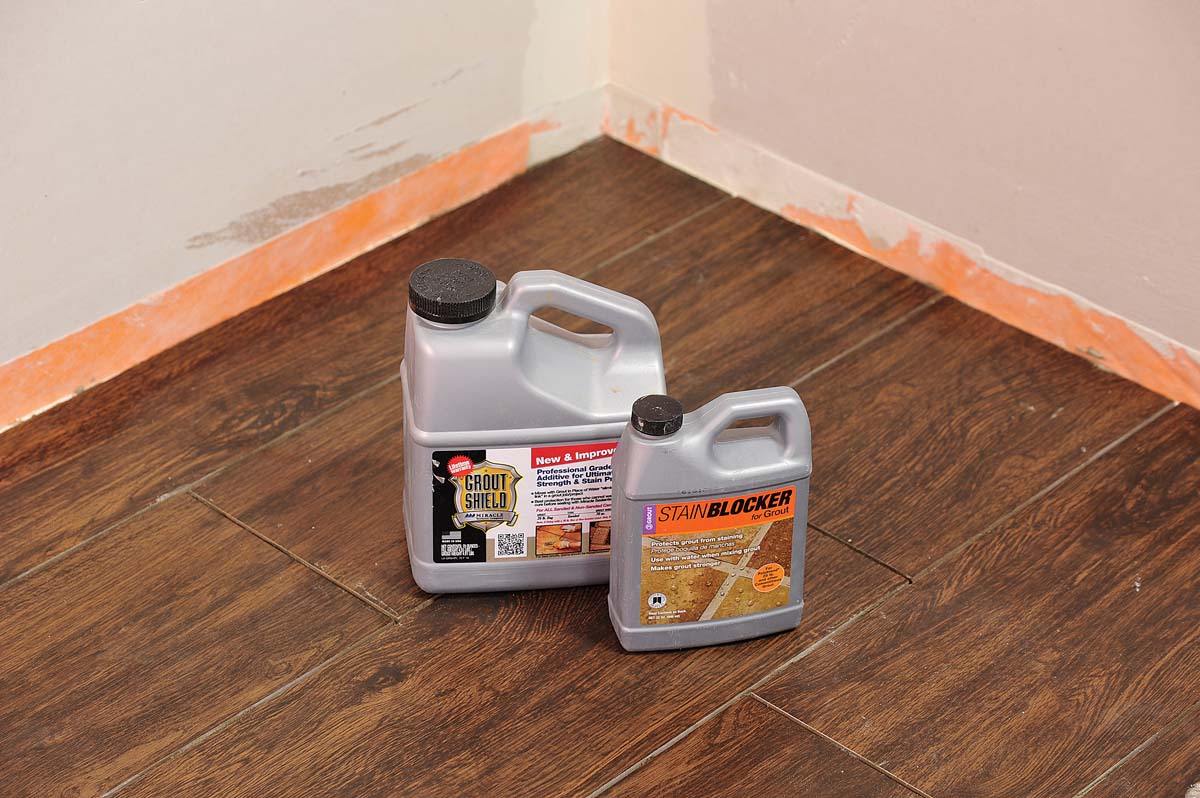 |
New grout additives are now available that make cement grouts much stronger and more impervious to stain. They are also easy to use as most are added with water or replace water entirely. |
Preventing grout problems
To ensure dense, consistently colored joints on floors and countertops, always use water sparingly during the grouting process. Too wet a grout mix will likely cause weak, possibly powdery, and inconsistently colored grout joints. On walls, use a damp—but not a soaked or dripping—sponge for wipe down and never leave standing water on the tile or in the grout joints after cleanup.
Some factors that adversely affect grout cannot be controlled. Characteristics of some tiles, such as overglazing on the edges, or lugs, can cause uneven curing of the grout by allowing one joint to dry slower than another. Fortunately, these problems are usually invisible to all but the extremely discriminating eye.
| What can go wrong
Don’t mix grout (or fill wipe-down buckets) with water run from a hot garden hose. Let the water run a while, until it cools—otherwise the grout may set too quickly. |
Cleaning the Tile
Before you even think of opening that box or bag of grout, your first task is to make sure that all your grout joints are clean and free of debris and water. The last thing you want is an unsightly joint peppered with dirt and tile spacers or bits of mounting net and sponge. Remove any wedges and tile spacers used during tile installation with a pair of long-nose pliers or tile nippers 1.
Use a razor knife to remove any excess adhesive or thinset from the edges of the tiles and from between the tiles 2.
Cleaning excess thinset from the grout joints allows you to apply an even layer of material that will dry at a consistent cure rate. This helps make the grout not only stronger but more even in color as well. With a firm grip on your knife, carefully scrape each joint clean of excess material down to about two thirds of the thickness of the tile (for example, if the tile is 3⁄8 in. thick, clean at least 1/4 in. down into the joints). Make sure your knife’s blade is sharp and change blades regularly because they wear down quickly. When working with tiles mounted to mesh netting, some stiff strands of mesh may be jutting out from the joints. Use the razor knife to cut these away from the tiles. Never twist the blade in a narrow joint, as you may accidentally chip the tile. When working with natural stone or very soft tile, take care to prevent the knife from slipping out of the grout joints and scratching the tile. Otherwise, you’ll have the even bigger job of removing scratches or replacing tiles.
When all the joints are clean, wash the face of each tile thoroughly with a damp sponge 3. If you have installed natural stone or porous tiles, this is the time to apply a sealer. [add LINK to “Sealing Tile and Grout”]
 |
1. Long-nose pliers is a good tool for removing wedges. |
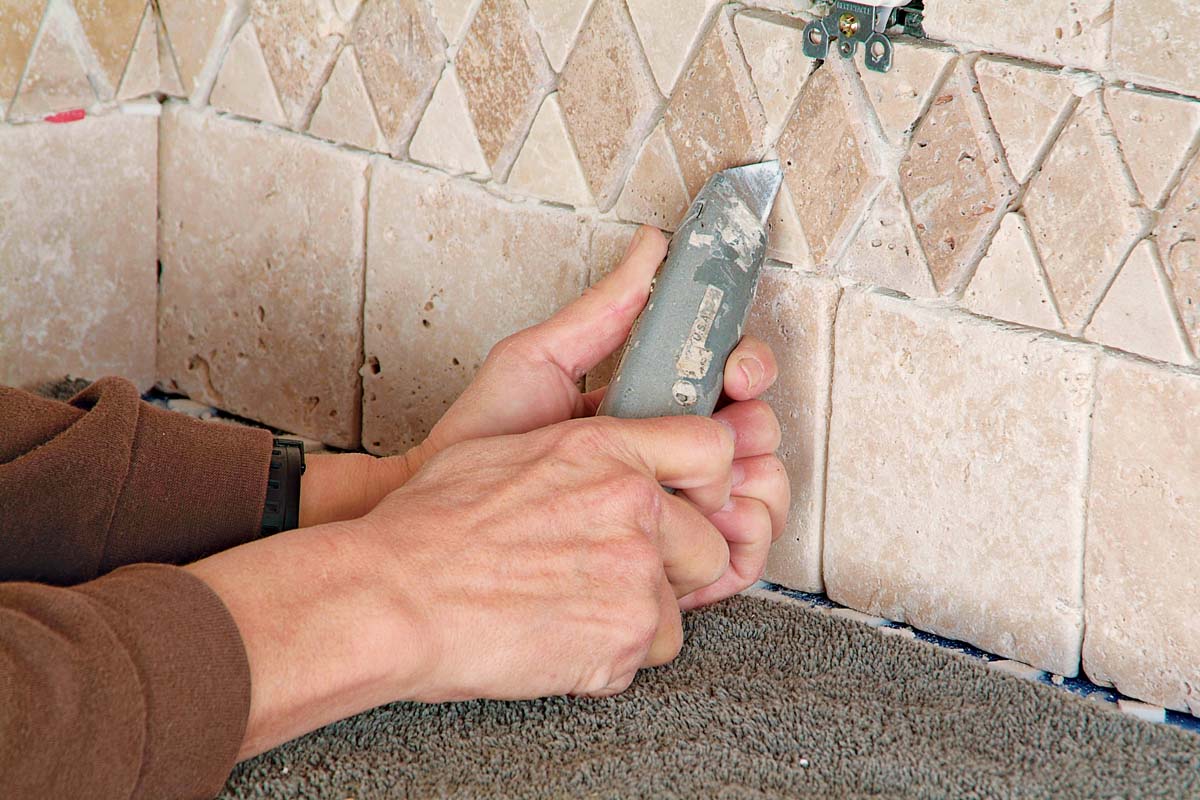 |
2. Use both hands to steady the utility knife as you scrape thinset from between grout lines. A slip can scratch stone tiles. |
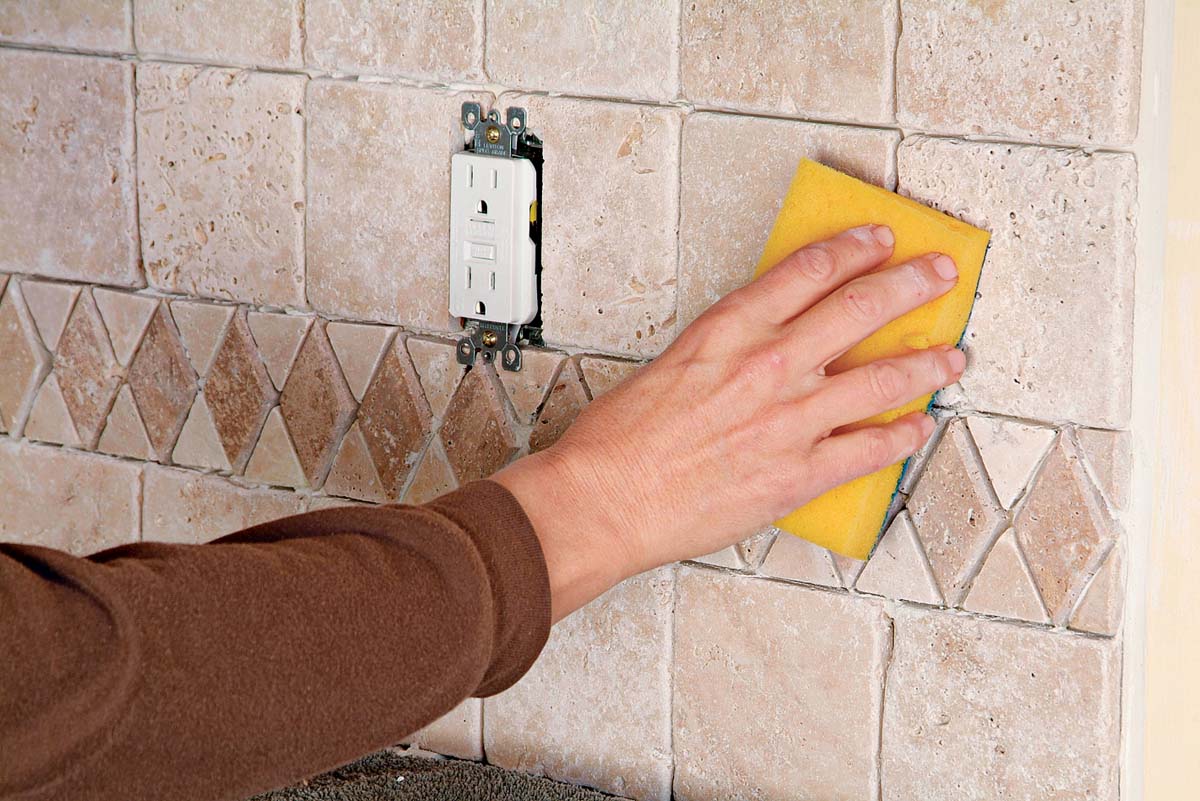 |
3. Use the scrubbing side of a two-sided nonabrasive sponge to remove thinset and the soft side for cleaning. |
| What can go wrong
If you accidentally scratch natural stone (honed or tumbled, not polished) during grouting, you can polish it out with a dampened piece of 400-grit wet/dry sandpaper. Use water as a lubricant and rub in a circular motion. If scratches on glazed tiles stand out, the tiles will, unfortunately, have to be removed and replaced. |
Cleaning Textured Tiles
The word “textured” used to be used to describe a tile face that had more traction, or a tile that was slip resistant and safer for walking when it became wet. Today, “textured” has taken on a new meaning, and there’s now a whole new variety of textured tiles, known more for their 3-D effect, varied smooth or rough features, beautiful undulations, unusual finish, and striking appearance. While these tiles produce a dramatic end result, they usually require some extra effort before grouting to ensure a truly polished and clean finish.
Before you grout, your tiles need to be as clean as possible. With most tiles, you’ll keep the area fairly clean while you are working and wipe it down again before grouting. But between today’s more resilient thinsets and the texture of the tiles, you may find that the texture requires a bit more effort to get the tiles clean. Residual film, left over from thinset, will cause the grout to cling, which results in streaking and leaves even more of a film or haze. While the haze can usually be cleaned later with an appropriate product, avoiding it in the first place is preferable.
Cleaning grout joints
Begin to clean by removing as much dried thinset from between the grout joints as possible with a utility knife. In some instances (especially if you have let the thinset cure for a day or more), you may want to use a Dremel, a RotoZip, or other rotary saw outfitted with a 1/16-in. to 1/8-in. diamond-impregnated bit. If you go this route, use a steady hand because it is easy to chip a tile edge or skitter out of the grout joint and scratch the tile face. If you are using rectified tile, you should also make sure that any thinset residue is removed from the side edges of the tile as even minor streaks of thinset at the top of the joint could show as a discolored line alongside the grout. You can also use a dry stiff scrub brush to clean these edges. Vacuum all of this loose material from inside the grout joints and off the surrounding floor.
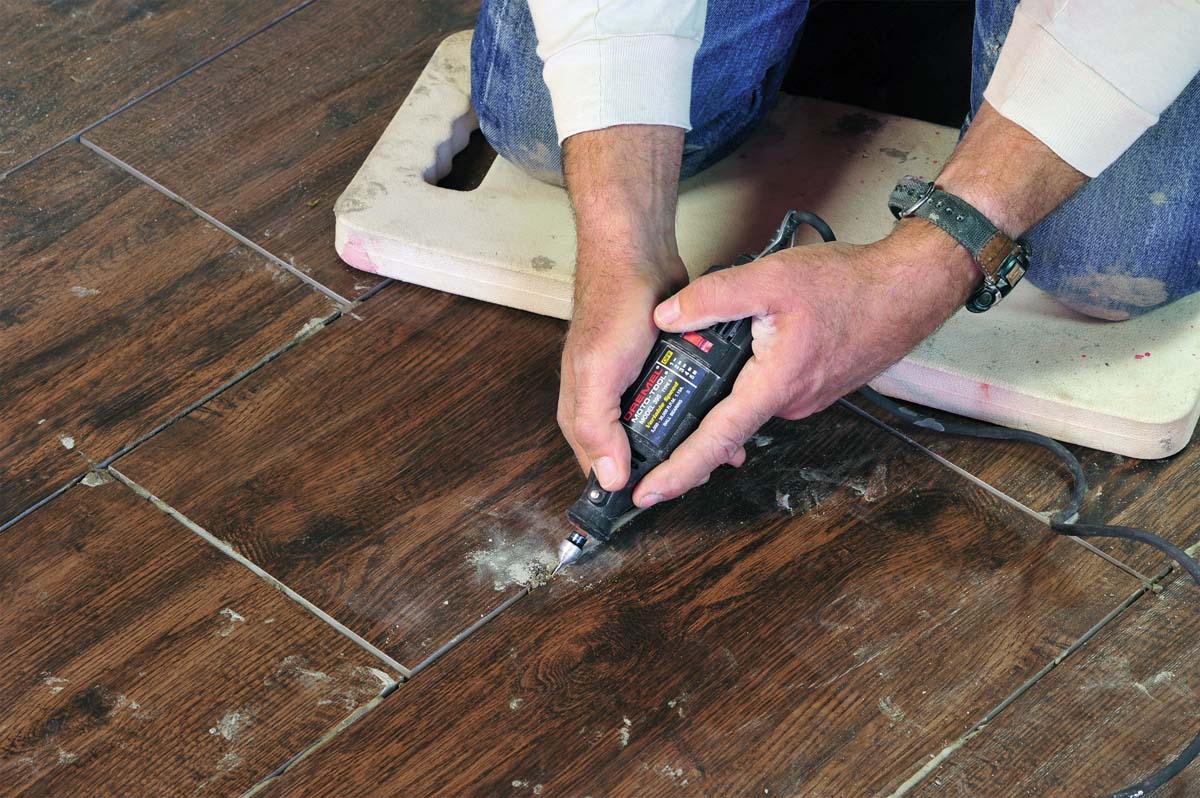 |
When cured thinset is too hard, you may wish to use a rotary saw with a grout removal bit. Steady hands are a necessity! |
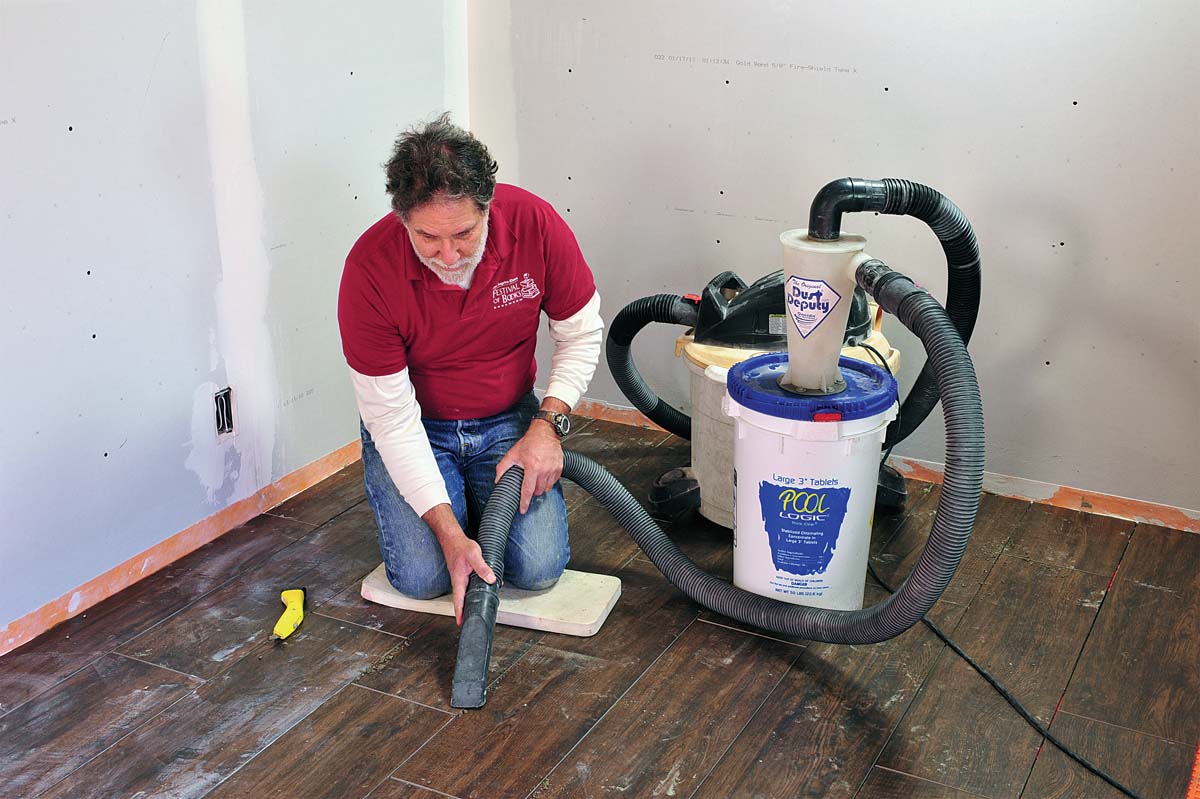 |
Vacuum up all loose material from the joints and surrounding area. |
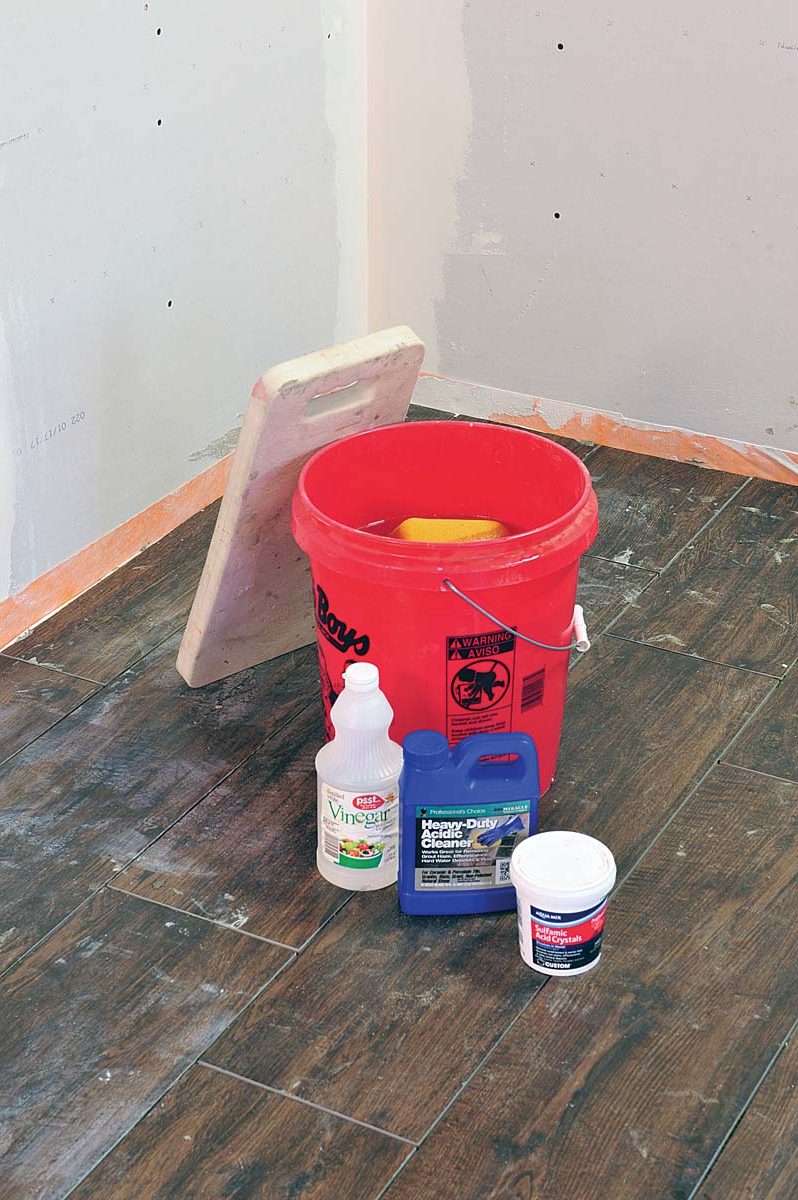
Removing thinset haze
Always start with the mildest cleaning product available, and test a sample tile with any solution first. We recommend that you begin most cleaning with a high ph solution (available at most tile stores) or a diluted solution of vinegar and water (1⁄4 cup to 2 gal.).
Regardless of the cleaning solution, be sure to wear gloves and eye protection and wear protective or old clothing. After you’ve cleaned the joints, use a sponge dampened with the cleaning solution to clean thinset film off the surface of the tile. Then, wipe off the entire area using a clean sponge and a bucket of clean water. Be sure to remove any standing water from the face of the tile and out of the grout joints.
Allow the tiles to dry and if they appear clean (compare your tiles to a clean unused tile), you are good to grout. If the remaining residue is more stubborn, you may need to use a diluted solution of sulfamic acid (which may also be used for efflorescence, see p. 262) and water. You should mix and apply the acid in a well-ventilated area or set up a fan, if necessary. Follow the manufacturer’s directions for dilution ratios, clean the area, and then wipe down the entire area again with fresh clean water. Always test on a spare tile to make sure the mild acid does not etch the finish.
 |
Thinset haze or film may cling tenaciously to the surface of textured tiles. An acidic solution may be necessary to remove it. |
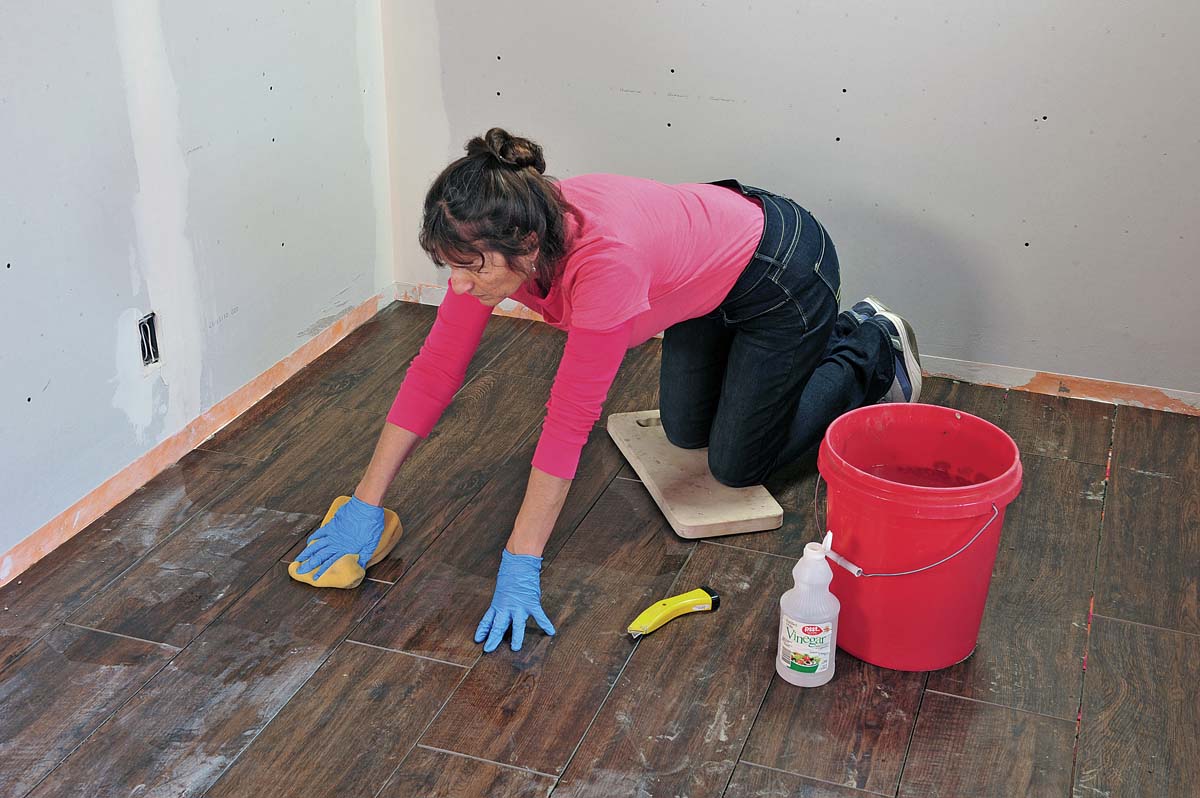 |
Use a sponge or scrubber pad to agitate the tile surface. Be sure to wipe down the entire surface with clean water afterward. |
 |
This floor is clean and ready to be grouted. |
 Excerpted from Tiling Complete, 2nd Edition by Robin Nicholas and Michael Schweit.
Available in the Taunton Store and at Amazon.com.
