*
340 degree post spiral staircase, curly oak treads, riser brackets morticed through post, peged with wedges on the back side, very solid and comfortable to use.
Discussion Forum
Discussion Forum
Up Next
Video Shorts
Featured Story

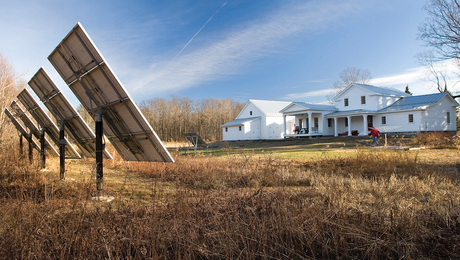
Efficiency, solar power, and a sensitive kitchen for an 1830s house in New York.
Highlights
"I have learned so much thanks to the searchable articles on the FHB website. I can confidently say that I expect to be a life-long subscriber." - M.K.
Fine Homebuilding Magazine
- Home Group
- Antique Trader
- Arts & Crafts Homes
- Bank Note Reporter
- Cabin Life
- Cuisine at Home
- Fine Gardening
- Fine Woodworking
- Green Building Advisor
- Garden Gate
- Horticulture
- Keep Craft Alive
- Log Home Living
- Military Trader/Vehicles
- Numismatic News
- Numismaster
- Old Cars Weekly
- Old House Journal
- Period Homes
- Popular Woodworking
- Script
- ShopNotes
- Sports Collectors Digest
- Threads
- Timber Home Living
- Traditional Building
- Woodsmith
- World Coin News
- Writer's Digest


Replies
*
More pics, With the exception of the balusters and newels all parts were hand crafted and pre finished in our shop.
*Anudder view, Top of landing handrail offset and newel post cap detail.
*and one mo! Looking up the center post, trim detail.
*Undre construction pic.
*Handrail landing detail,
*Udaman Armin.....very nice! Whats that jig on the table by the bosch saw? some kinda balister locator thingy?
*Armin: As expected, very nice top of the line work. That is a showpiece.
*Beautiful grain on those treads. What tool do you guys use to feather out the railing joints?Great job Armin.Bob
*Wow. Seeing the work by you and Stan is always an inspiration.Side question (forgive me if it seems obvious): On those clamps, have you ever cut a slot through to one hole on the "top" piece of wood? This way the top piece pivots out of the way so you can put the clamp on the work where you need it, and don't have to fiddle with threading nuts. I have always slid mine all the way down the piece and haven't tried it out yet. I can't remember what Tage Frid says.p.s. for you gallery purists, here is a pic of something i made.
*Nice Job Jason-But you sure didn't get many slivers or callouses makin that.Bob
*wow- beauty work, Armin.did you resaw & bookmatch those treads?absolutly beautifulgb
*Bob-I can neither confirm nor deny, nor can I comment on ongoing operations-Jason
*Thanks for the complements guys.Allen yes that is a home brewed baluster locating fixture. A level clamps to the side and it pivots so you can plumb in both directions without having to reset the level, it works really well for the problem areas around turnouts and such. I am working on a new spring loaded version will post some pics later.Pro-Deck, I don't feather the joints, I cut on the plumb line and back bevel 20 degrees with a sliding table mounted on the table saw. There is a bit more to this method and I hope to have a digital camra soon and will show this in more detail.Jason, I tried the slot in the clamp bit, the ends break out with the pressure. Some day I plan on makeing a batch out of metal with the slots. Jason, Looks like you fabricated a foot, how did you do that?Greg, yes I resawed and book matched the curly oak, most of my stairs use book matched figured woods on the treads.
*Well ,Armin I want to know about the post . Did you turn it from solid or glue up ? Cut down some utility pole in the back woods? Good looking stairs , first time I have seen any that wrap around a post that I liked. Did you cut wedge shape board if you did a glue up or flats? ...Don
*Don, you guessed it, the column is a driveway culvert wrapped with wood grain contact paper. In reality it is an 8 sided staved column milled on a Williams & Hussey moulder using a custom 4 1/2 in. radius knife. The sections were ripped at a bevel on the table saw using a power feeder to keep the cut straight and true. The edges were bisket joined in a few places to ease alignment and clamped with band clamps. The treads are cut as wedges and bookmatched. Straight glue ups of pie shaped treads result in one side being cut across the grain, the classic example of a newbie's first attempt at circular stairbuilding.
*Never would have thought of that .I have some 8" pipline wrap it in a nice venier hardwood ..straight and stable. cuting mortises would be tuff.