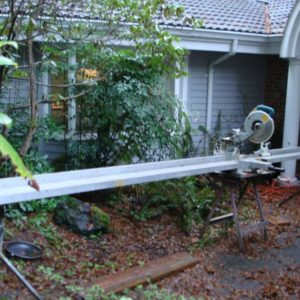
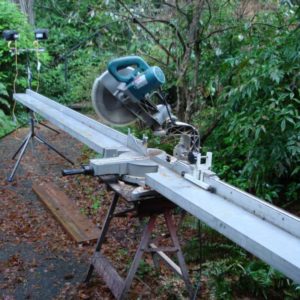
I designed and built this miter saw stand to fulfill severa requirements:
1. It must be dead accurate and precise and be able to withstand the use and abuse of a construction site both indoors and outdoors and be used for everything from framing to fine carpentry.
2. It must breakdown and be readily portable.
3. It should be easy to set up. Set up time and squaring the saw to the table takes about 10 minutes.
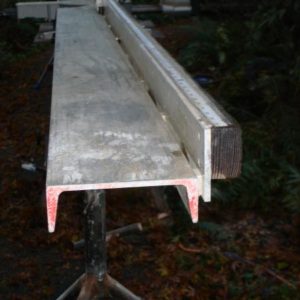
The table is constructed of aluminum channel with 1/4 inch spacers between the channel and the rear fence to allow sawdust to escape.
The is supported on a Workmate with a piece of plywood screwed to the top. The tables are supported by two tripod stands which are stable on uneven ground and are adjustable in height.. The stops are commercially available Biesemeyer stops.
The photos below show the setup that has been in use for about 12 years. The first photo show the 20 foot long setup at a job site. The tripod supports are also shown. The second photo is a close-up of the miter saw. The third photo shows the 20 foot aluminum channel gap to the fence, the custom fence and the Biesemeyer stop.
I can supply additional design details, operating instructions and photos if desired.


Replies
Looks great
Can you add a shot that shows how the "wings" are attached to the saw or saw table?
miter saw connection to wings
Hi David hear is two photos of the saw connection to the wings. This is best done on a milling machine. It is a simple procedure with an end mill. The of the block must be parrlel to the top of the saw table and below it the thickness of the web of the channel. Drill and tap the bolt holes after squareing and clamping the wings to the saw table. This proceedure may have to be modified to accomodate different saws. Let me know if you need more help. Rich
stand wings
I rather like this straight forward approach.