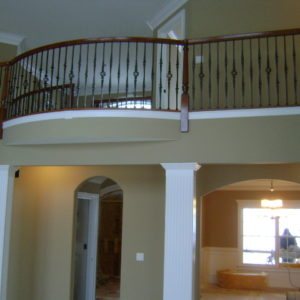
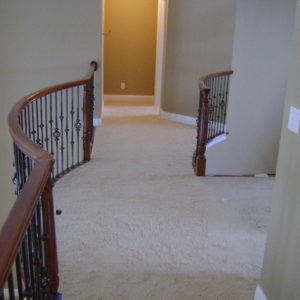
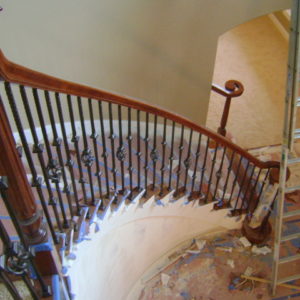
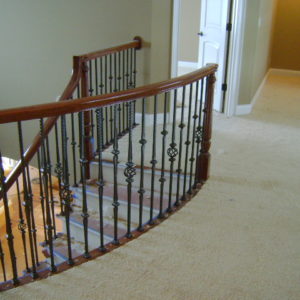
I have been playing…”empty my shop” lately…and am finishing up some loose ends on three stairways…before starting several more in my shop.
This stairway was delayed a little because of the DeWalt contest…but I will have it done before the closing date.
Stan


Replies
Absolutley Stunning!!!
Where do I vote?
;-)
Wonderful!! Great blend of wood and metal.
What kind of pricing did you get on the iron spindles? With that close spacing, the safety factor is great for protecting kids or pets getting something wedged or stuck !!
Bill
Bill- Those were hammer forged iron balusters...they are heavier...take a 3/4 inch base hole instead 5/8 inch...and they take a 9/16 hole at the top instead of a 1/2 inch hole.
I have a different way of installing these...I dont use epoxy. Instead I use clear silicone....and drive two screws around the base under the shoes. The bevel head of the screw...turning clockwise...automatically forces the baluster up as it screws down....its real cool to watch. This locks the baluster in tight.
I also drill and pin with finish nails at the top in several places to really secure the rail. I have never had any problem...except if I do this to an unfinished rail. I found that if I blue tape the bottom of the rail....then this keeps the silicone off the bare wood.
Stan
your artistry never ceases to amaze and inspire, centuries from now, people will still marvel. awesome.
Very very nice!!!!!!!!!
Cool trick using screws to help secure the iron ballusters! I read your post early this morning before I headed off to work and decided to give it a try when I set some today - works awesome. Thanks for posting that. This is a camera phone shot of what I was working on.
Nice work on the stairs,
Mike
Mike- Nice work yourself......I love anything with curves..
Stan
Get a room!!!
:-)
Stan,I'm dense, but could you explain this to me again?
"I have a different way of installing these...I dont use epoxy. Instead I use clear silicone....and drive two screws around the base under the shoes. The bevel head of the screw...turning clockwise...automatically forces the baluster up as it screws down....its real cool to watch. This locks the baluster in tight."
Are these screws driven at an angle? I'm envisioning something like this:View ImageAm I on the right track?
Jon Blakemore RappahannockINC.com Fredericksburg, VA
Jon- You are close. The screw in your drawing should be drawn scooting along side the baluster.
What this does is cause edge touching the baluster to dig in and bite. There is a bonus as the side that touches the screw is going clockwise and it actually forces the baluster up as it digs in. Of course you can also use glue here as well. I have done it both with and without glue....and the screws work great.
Stan
Thanks Stan, I finally get it.
Jon Blakemore RappahannockINC.com Fredericksburg, VA
Is it just me... or does carpet look so.... wrong... next to your stairs and rails??
It's like putting a pig on lipstick (to reverse a phrase...)
Stan who does you iron work?
Larry- I buy my iron balusters from Old World Millworks near Chicago
Stan
They are very well done Stan.
You are very gifted and I appreciate that you share it with us on this forum. Those are just beautiful.
I have to agree with Granite in that I think the carpeting is wrong, but that's just me. I think your stair & balustrade brings the entire interior up to another level and the flooring should reflect that to balance things.
Absolutely great work. I do look forward to your postings. Thanks.
Thanks for the comments. I will try to post pictures after the stairs are uncovered and the finish coat of varnish is applied.
Stan
Congrats on the Dewalt Top 17 win! Your work has always intrigued me. Could you post a picture of your screw method with the balusters? I remember you posted about it before and I can't seem to picture how it is done.
Thanks
Edited 1/3/2009 1:29 pm ET by rocker
Nice work. You got a pic of how the undercarriage (stringers) of those steps were built?
This is beautiful work. I'm heard stairbuilding is an art unto itself. I'm curious know how you create all curved pieces.
Stan can you do a thread on your swoop miters? Also, any reason for those rather than the traditional? It does seem to blend better so the miter is less obvious. thx
Stan,
Who finished the Cherry, the color is absolutely beautiful..