Well, we finally waxed & sealed the concrete counters last night so I thought I’d post some photos. I really like the way they turned out, but I probably shouldn’t quit my day job!
Oh yeah, and thanks to Mongo for the primer he sent to me months and months ago!
Edited 12/13/2002 9:46:10 AM ET by marnold
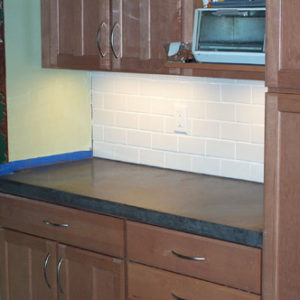
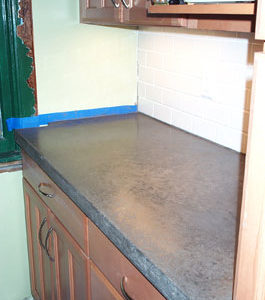
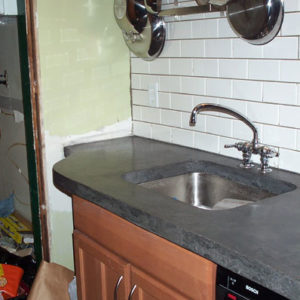
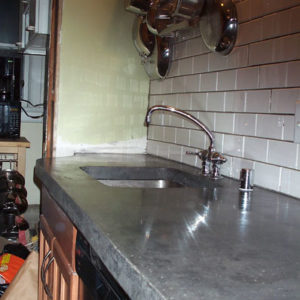





Replies
I thought about doing some of those once. But I never could figure out how to get the concrete truck into the kitchen.............
I like the color , What was your mix?
The mix was pretty simple... I used Quikrete 5000 high early strength for the concrete, added some Supercizer 5 as a superplasticizer/water-reducer, and then used a product called "Liquiblack" for color. As the name implies, it's a black liquid additive. By adjusting how much you add, you can get any shade of gray that you want. My goal was to match the color of the floor tile we were laying.
Edited 12/14/2002 10:33:10 AM ET by marnold
By the way, here's a picture showing the tile floor... we wanted a close match between it and the concrete color.
The color is very nice, almost reminds me of soap stone
It's nice to see that somebody paid attention in class!<g>
Bravo!
Any glitches? Any recommendations for improving the word.doc I sent you?
Holding up hand....
Can you send directions on how you did them, tips, hints, etc...I think they look incredible and have been wanting to try making them myself..Wine is God's way of capturing the sun.
There are lots of instructions out there for doing this... First, ask Mongo for his doc, there's a ton of info there.
The first time I did it, I used an old article from Fine Homebuilding (page 86, No. 90, Sept 94) as just about my only resource and I cast the counters in place.
This time I precast the counters and also had a lot more info. The more recent article in Fine Homebuilding (No. 146, April/May 2002) and book by Fu-Tung Cheng from which it came are great.
There are also articles at http://www.decorative-concrete.net/ which you should read.
Finally, nothing beats the experience of actually doing it, so practice your technique and work out your mix by doing some samples.
Edited 12/14/2002 10:43:50 AM ET by marnold
Any glitches? Seriously? No, everything went perfectly!
Okay, not really. Nothing really major went wrong, but there were lots of glitches.
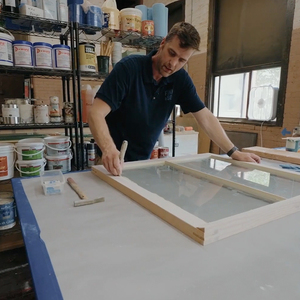
Building the formwork generally went smoothly... Although forming the opening for the undermount sink took more time and patience that I had thought. I'll include a picture of that formwork... I think it looks almost as cool as the counter.
Mixing was okay, although we did it all by hand which was not very fun. Next time, I'll make a wetter mix to make placing it and vibrating it easier. We used a sawzall without the blade to vibrate the forms which worked well, but there were still some surface voids that had to be filled.
The forms (and whatever they're sitting on) must be strong... the sink counter ended up with about 1/2" or so of camber in it because the form and table it was sitting on sagged due to the weight of the concrete. Not a huge problem, but it could have been avoided.
Anything I'd add to your doc? Not really... The instructions are great, but nothing beats the experience of actually doing it. Pictures might help too.
Thanks for the help!
very nice! what kind of steel mesh wire/rebar did you use? pics?
Thanks.
I just used standard hardware cloth mesh... Due to the sink opening and spans involved, I added rebar in the sink counter as well.