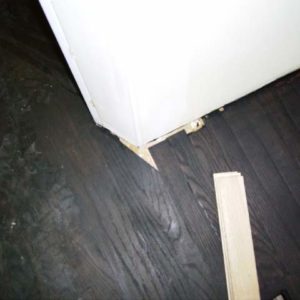
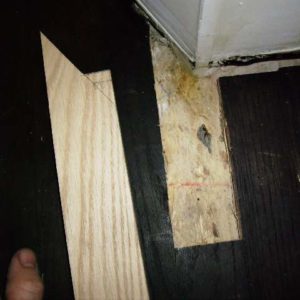
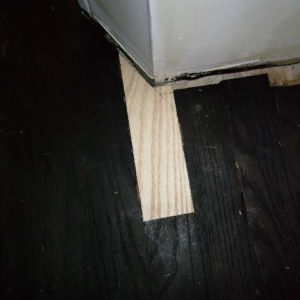
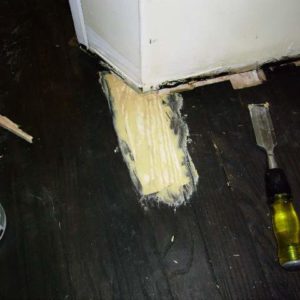
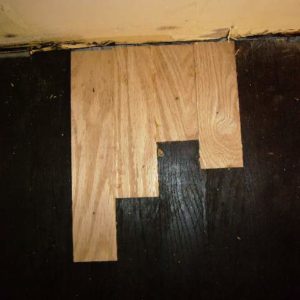
in this collection of pictures i am trying to make the boards go far enough to the wall so that they will be covered with baseboard.
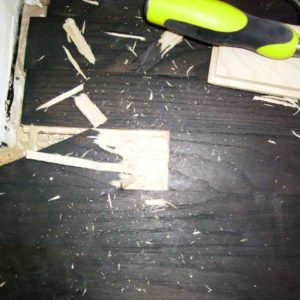
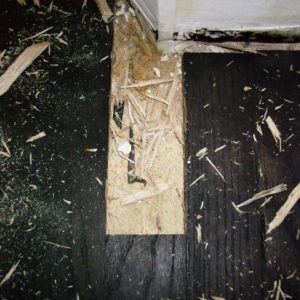
I start by scoring a line with a olfa knife, basically like morticing a hinge or whatever. Then i get the chisel and work to the line, smash it all out, cut the weirdest end of the replacement wood first, cut it to length, construction adhesive, face nail, woodfiller, sand it, stain it, badaboombadabing done. I’m sure there are folks who use a multimaster or onsrud bit or some magic tool but i use the armstrong method
Edited 1/28/2008 1:00 am ET by billybatts
Edited 1/28/2008 1:07 am ET by billybatts


Replies
Thanks for taking the time to post that. What was the situation that led to the boards being short of the wall? Modifications to the wall?
What type of flooring is that?
In some cases it's probably easier to replace a board back to an exisiting joint, but I, too, usually use your method of scoring and chiseling in order to conserve historic fabric in antique homes. No easy task with 1-inch thick tongue-and-groove flooring.
And, like you, I don't have any of those "magic" tools!
Allen
i think that a wall was moved there or something. The floor is oak with spanish oak Old Masters stain from BM. Seeing as the board that goes back in won't have a tongue i figure the shorter it is the better, i suppose though if a whole slew of boards were being changed out in one section only the last one would have to be tongueless.
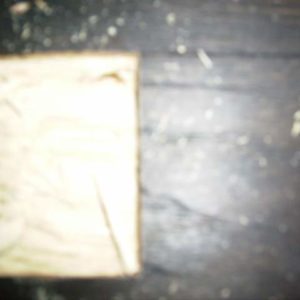
In #1 why is the board short to begin with? And in #8 what is that yellow goop on the floor?
"Put your creed in your deed." Emerson
"When asked if you can do something, tell'em "Why certainly I can", then get busy and find a way to do it." T. Roosevelt
Edited 1/29/2008 12:33 pm ET by FastEddie
that's wood filler mostly to fill the grain of the wood not necessarily because of a poor fit :)
Rotozip.........I've seen our floor guy tooth in the width of a 14' room and put it back together in half a day.
[email protected]