*
Hi all, I’m in the middle of a bathroom renovation and need to lower the ceiling to install an exhaust fan , heater, light combo. I figure I’ll sister some 2 x 4s alongside the old joists. How do I keep the new ceiling flat and square. I have an 8 ft level and two 4 ft levels and a couple of string levels. Any suggestions ? Thanks, Pat from Breezy
Discussion Forum
Discussion Forum
Up Next
Video Shorts
Featured Story

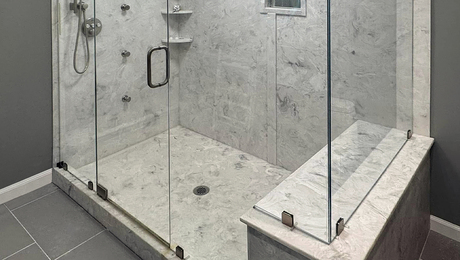
Engineered-stone shower panels are waterproof, but proper installation relies on tight seams and silicone sealing.
Featured Video
How to Install Exterior Window TrimHighlights
"I have learned so much thanks to the searchable articles on the FHB website. I can confidently say that I expect to be a life-long subscriber." - M.K.
Fine Homebuilding Magazine
- Home Group
- Antique Trader
- Arts & Crafts Homes
- Bank Note Reporter
- Cabin Life
- Cuisine at Home
- Fine Gardening
- Fine Woodworking
- Green Building Advisor
- Garden Gate
- Horticulture
- Keep Craft Alive
- Log Home Living
- Military Trader/Vehicles
- Numismatic News
- Numismaster
- Old Cars Weekly
- Old House Journal
- Period Homes
- Popular Woodworking
- Script
- ShopNotes
- Sports Collectors Digest
- Threads
- Timber Home Living
- Traditional Building
- Woodsmith
- World Coin News
- Writer's Digest


Replies
*
mark your level line around the walls.. then run a string line across..
hang your false ceiling by nailing scabs to the sides...just move them up or down to the stringline..
if you had a laser.. this would be the ideal place for it..
*I run a level line around the perimeter of the room with a transit. For a bathroom, a good level would probably work nearly as well. I then rip 2 x 4's in half (1 1/2" x 1 5/8"), predrill (3/16") every couple of feet, and screw them to the bottom of the ceiling joists. Next, I take a chalk line and pop a line along the side of the "shims", using the level line on either end as guides.Next, I remove the marked shims and rip to the chalk line. Last, I rescrew them to the bottom of the joists. This system allows minimal use of lumber, and does not take up any additional joist bay space. When installing exhaust fans or can lights, joist-bay space is often at a premium.This also makes for a much neater looking job than adding a bunch of scabs onto the sides.The Sweaty Carpenter
*If "flat" is good enough (as opposed to level), just running strapping of rough-cut 1x3 or 1x4 or even 2x4 stock perpendicular to the joists will allow you to shim the strapping to dead flat as you go.By the way, if that fan/light/heat usit is to go in what will be a thermal boundary, think twice about the heat part of it. It can create big problems.Steve
*ken...<<<> i'm sure it does..but what's the point ?
*b WBA At Your ServiceThe cost savings using the "bunch of scabs" method could easily pay for the new exhaust fan. I love the look of neat and clean, too. Most customers aren't willing to pay extra for neat and clean when buried under drywall.
*You could also elicit the use of a water level (clear platic tube with water in it). This can be extremely accurate once you "master" the technique. Just be glad they invented clear tubing or you'd have to fill the whole room up with water to get it right!!Pete
*
Hi all, I'm in the middle of a bathroom renovation and need to lower the ceiling to install an exhaust fan , heater, light combo. I figure I'll sister some 2 x 4s alongside the old joists. How do I keep the new ceiling flat and square. I have an 8 ft level and two 4 ft levels and a couple of string levels. Any suggestions ? Thanks, Pat from Breezy