Matching An Existing Stain Color

MATCHING AN EXISTING STAIN COLOR
Matching an existing stain color is an art. Let me share a method that works for me. It virtually assures that two pieces of wood are perfectly matched.
I want to match my woodwork with existing red-brown cherry. I don’t have ready access to cherry trim boards with matching profiles. I can order custom-machined cherry boards at a cost a staggering $2,000 above budget. Time is of essence; I have 10 days to remodel a large room while my clients are away. Fumes are an issue.
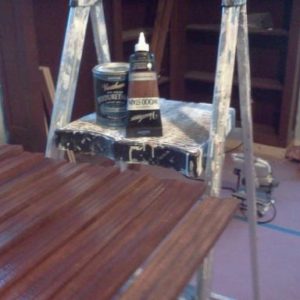
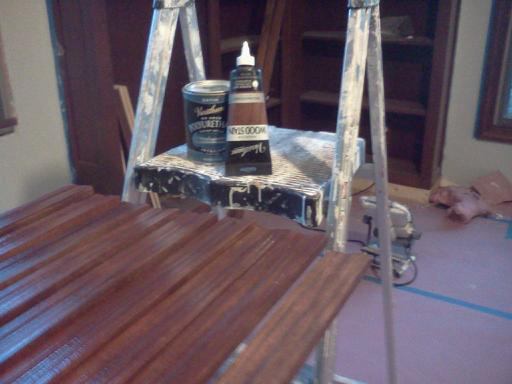
The finish materials I need are readily available locally. For this particular job I use Varathane brand products. These include a can of oil-based stain, two tubes latex-based stain (Mahogany and Dark Oak), water borne satin finish, a gentle scouring pad, brushes, rags, a compressor and a spray gun.
The process starts by laying a sample of existing trim next to the three kinds of boards I purchased locally: maple, poplar and basswood. The woods have soft grain patterns similar to cherry. This is the most important consideration. The color of poplar can vary from light to greenish to darkish brown, so I make my selections carefully, opting for light colored, factory milled poplar.
My finish method uses both oil and water-based stains. They key is to start with an oil-based stain somewhat lighter than the desired color, and to gradually “tone” down the color until a match is achieved. I start with an oil-based stain. This first oil-based coat will seal the wood to some extent, limiting the penetration of subsequent coats. Since it is oil based, I let the first coat dry completely.
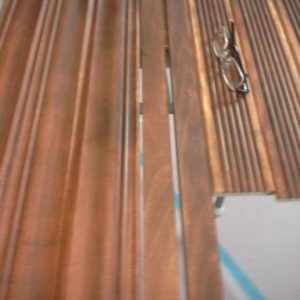
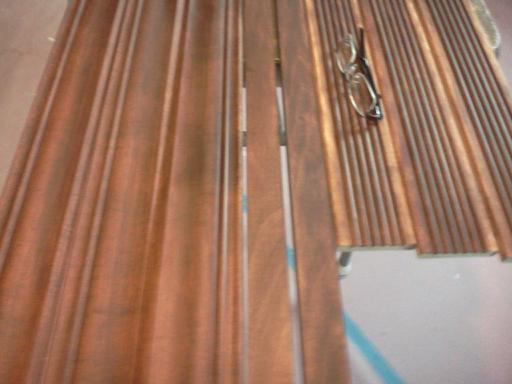
Step two involves the use of a latex-based, paste-like stain. It is applied with a brush, briskly worked into the wood, and wiped off with a rag. Latex dries rather quickly, so I keep good pace. I let this application dry a half hour. In the photo left, the trim board on the right has received one coat of latex toner and the rest two such brush-applied coats. One can clearly see how each layer of toner darkens the overall color. When dry I go over the wood with a gentle scouring pad.
Now comes the critical third stage. It requires good lighting and a discriminating eye. This process will gradually impart an opaque hue. I will spray on a water borne finish mixed with a generous dab of latex toner. Mix proportions are a matter of “feel”. A piece of scrap wood comes in handy, and so does a damp rag. I work one board at a time. While the spray is still damp lighter areas of the wood are darkened with additional coats, until a uniform color matching the original trim sample is achieved. If I overspray, I can always clean off the entire piece with a damp rag, set it aside 15 minutes, and spray again.
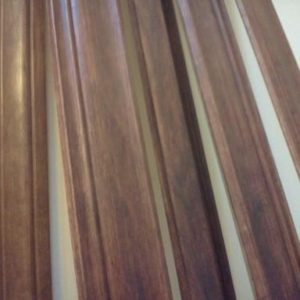
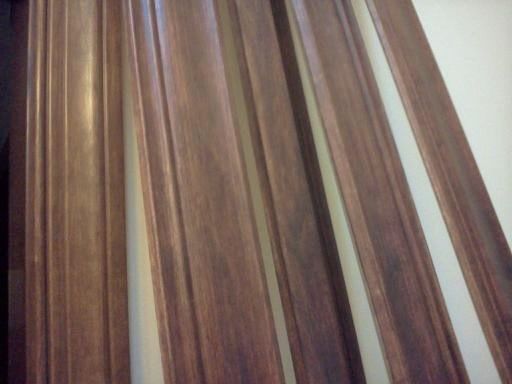
In the photo the left trim piece is the original cherry I am trying to match. The pieces to the right are maple and poplar. The match turns out to be excellent! A final clear coat of water-borne finish is applied.
A point to keep in mind: The oil-based first coat partially seals the wood. The second coat of latex toner penetrates the wood to some extent. Subsequent layers tend to lie on top of the wood, and can be scratched more easily than the initial penetrating coat of stain. Therefore it is important to apply one or more final coat of clear finish. Most often I use water-borne finish, but a non-water-borne product will work. I gently rough up my work between coats.
 c
c
