I am considering replacing my old countertops with soapstone. Would appreciate any feed back concerning the use of soapstone and can it be done by a general handyman (myself) or do I need a professional installer. Thanks
Discussion Forum
Discussion Forum
Up Next
Video Shorts
Featured Story

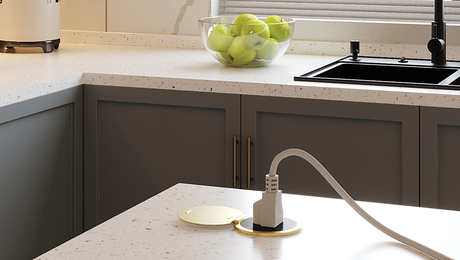
A new code-compliant, spill-safe outlet from Legrand offers a sleek solution for a kitchen island plug.
Featured Video
How to Install Exterior Window TrimHighlights
Fine Homebuilding Magazine
- Home Group
- Antique Trader
- Arts & Crafts Homes
- Bank Note Reporter
- Cabin Life
- Cuisine at Home
- Fine Gardening
- Fine Woodworking
- Green Building Advisor
- Garden Gate
- Horticulture
- Keep Craft Alive
- Log Home Living
- Military Trader/Vehicles
- Numismatic News
- Numismaster
- Old Cars Weekly
- Old House Journal
- Period Homes
- Popular Woodworking
- Script
- ShopNotes
- Sports Collectors Digest
- Threads
- Timber Home Living
- Traditional Building
- Woodsmith
- World Coin News
- Writer's Digest


Replies
Search the site for soapstone - you will find my tips and others. It is doable!
I recently posted this follow up which might answer some of your questions.
----
I just finished up two bathroom remodels using soapstone counters. In the master bath we mounted an undermount Kohler sink. In the guest bath we fabricated a soapstone sink. This was all in anticipation of using soapstone for a kitchen remodel that we have not started.
It is heavy. I found it locally (southern California) and had the 8'x 6'x 1 1/8" slab sliced into manageable pieces so I could take it home. A 2'x6' section still weighs several hundred pounds, so be prepared to get help. We paid $19/sq ft. In our area granite runs $12/sq ft.
Cutting soapstone is as the web sites state. For end cuts, I used a 7" diamond blade on a skill saw. For the sink cutout, I found that a good carbide router bit works well. Faucet holes were cut with a bi-metal hole saw. When you are finished you can remove scratches with an orbital sander. Wet sanding produces the best result to hold down the dust. Wear a mask!
Building the sink was not that much more complicated. I sized and made the opening first. Then calculated the dimensions for the sink bottom and cut to size. A hole was drilled in the bottom and the sides sloped to encourage drainage. I did this with a air sander, although a small belt sander would also work. Using construction epoxy (Simpson) I glued the sides of the box to the top of the bottom piece. Use enough glue to assure that you obtain a water tight seal. Clamp and let this set up overnight. The next morning mix up some more epoxy and place the counter top on the sink. Sink sides can be matched to the top with additional sanding if required.
After it dries, you will want to get it installed, but I suggest testing it for leaks first. Before you oil the stone, install the sink drain and fill it up with the garden hose. Don't fret too much if you have a small leak. I found that wax (toilet bowl) works great if you force it into the seam with a plastic putty knife. You can also go around the outside seams with heavy 100% silicone as a secondary precaution. It will get a heavy coat of mineral oil in end.
Treat it like an expensive piece of wood and you will be satisfied with the results.
Dean
Thanks for the info. Didn't realize it was more expensive than granite. Interesting I always had good tatstes.