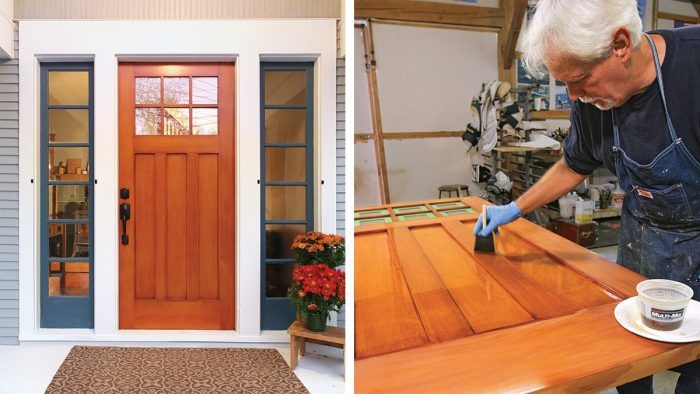
Fabulous Finish for an Exterior Door
Beautify a wood door with dye, stain, varnish, and a commitment to doing the process right.

Synopsis: Wood exterior doors are the traditional choice, but too often they are stained and finished poorly, with little consideration paid to how the elements will take their toll. But with a bit of extra attention during the finishing process—including careful prep, layering colors, and tricks for applying finish coats smoothly—will yield a durable entry that gets attention because it’s beautiful, not because it’s an eyesore.
VIDEO EXTRA: Finishing an Exterior Door
In the world of home building, we too often let time outweigh quality. That’s a concern I have day in and day out as a professional finisher. I try to help people understand that making their mahogany paneling, cherry vanity, or walnut stair rail truly shine means putting in the time, and we all know that time means money.
An entry door is a good example. For many people, a one-and-done premixed pigment stain applied to bare wood followed by a couple of coats of varnish is just too cheap and easy to pass up. That’s fine as long as expectations match efforts, but a bit more care and the simple added step of dyeing the wood will make a major difference.
Looking at stained wood is similar to looking through a window covered with a thin sheet of plastic; you can still see the grain, but it’s muddy and somewhat blurred. By layering the stain over a coat of dye, you can add depth and interest to the color. But achieving this look means more work. For example, a six-lite Douglas-fir door from Simpson requires about 22 hours of labor, which includes testing colors and making sample boards to try out color combinations.
Is my process the only way to finish a door? Absolutely not. It is, however, one that I have tested with success. Followed carefully, this sequence should ensure that your wood door looks beautiful for years before needing maintenance.
It starts with sanding
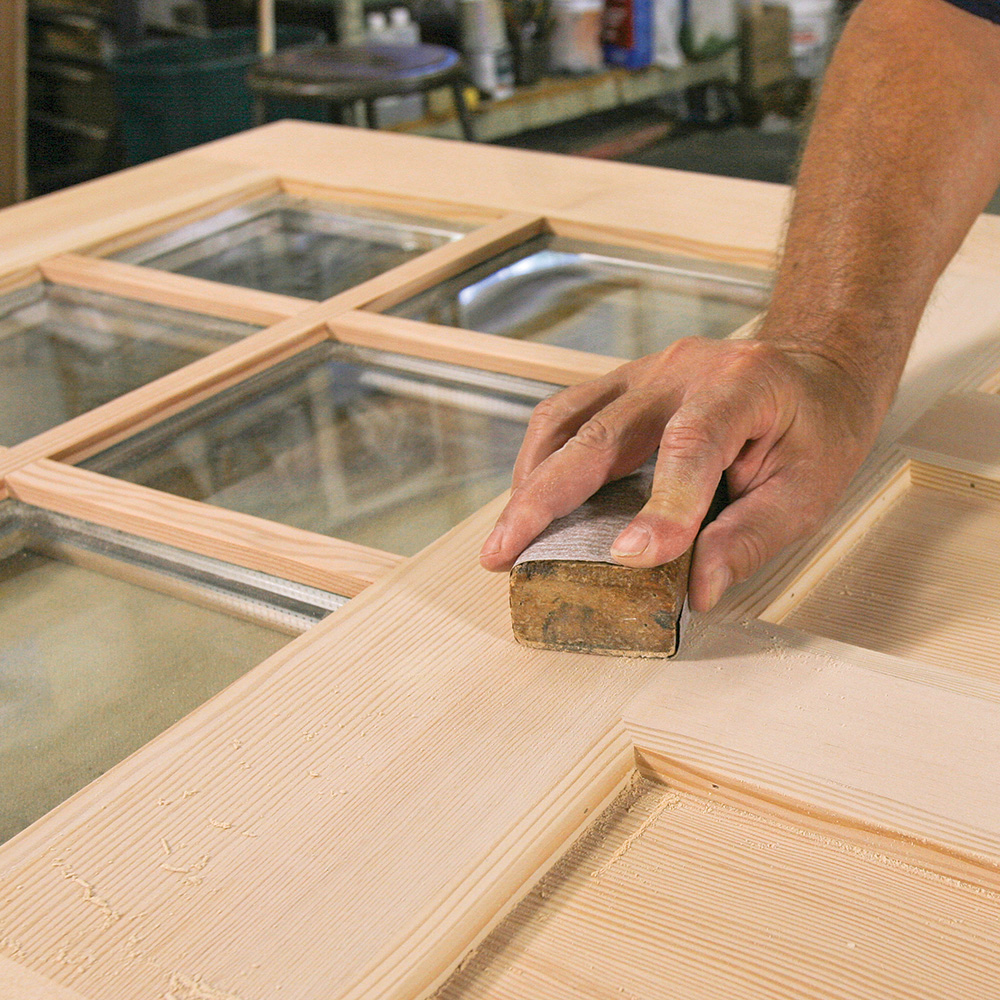
After sanding the entire door to 150 grit with a random-orbit sander, it’s crucial to sand by hand every square inch with 180-grit and 220-grit paper to bring all surfaces of the wood to a consistent feel before adding any color. This is your chance to get to know the surface of the door, using a raking light and running your hand over the wood to find dents, chips, and spots of glue that could cause problems during the finish stage.
Be methodical with your sanding sequence. I usually do panels and muntins, then rails, then stiles. The specific order doesn’t matter, but having a sequence does, because it ensures that you don’t miss any spots. It can be hard to see blemishes on the surface of the door, but hands are incredibly sensitive to subtle differences in surface texture. Sand with one hand, and run your other hand lightly over the surface to determine which areas need more attention.
After sanding, remove all traces of dust from the surface of the wood. I don’t use off-the-shelf “tack cloths”—typically cheese cloth treated with a tacky material—because to me they are an opportunity to introduce surface contaminants. Instead, I wipe the door with a clean, dry cotton cloth, then vacuum it and finish by wiping it again with denatured alcohol.
For more photos and advice about how to apply glaze to create depth, click the View PDF button below.


View Comments
Peter, thanks so much for your articles and more recent videos. One question: You mentioned using an oil-based sealer after the stain glaze coat and prior to the varnish. Do you have a preferred product for that? Thanks so much.
I have been disappointed with interior, water dyed natural alder wood, covered with many coats of shellac, sanded, then urethane, gradually fading and losing its distinctive initial coloring. Have I missed something?