Frame a Classic Shed Dormer
If you start with a full-scale layout on the subfloor and plan for the finished details, the framing is relatively painless.
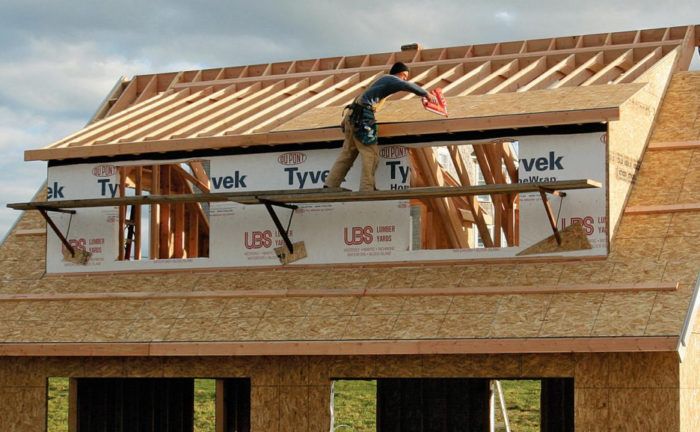
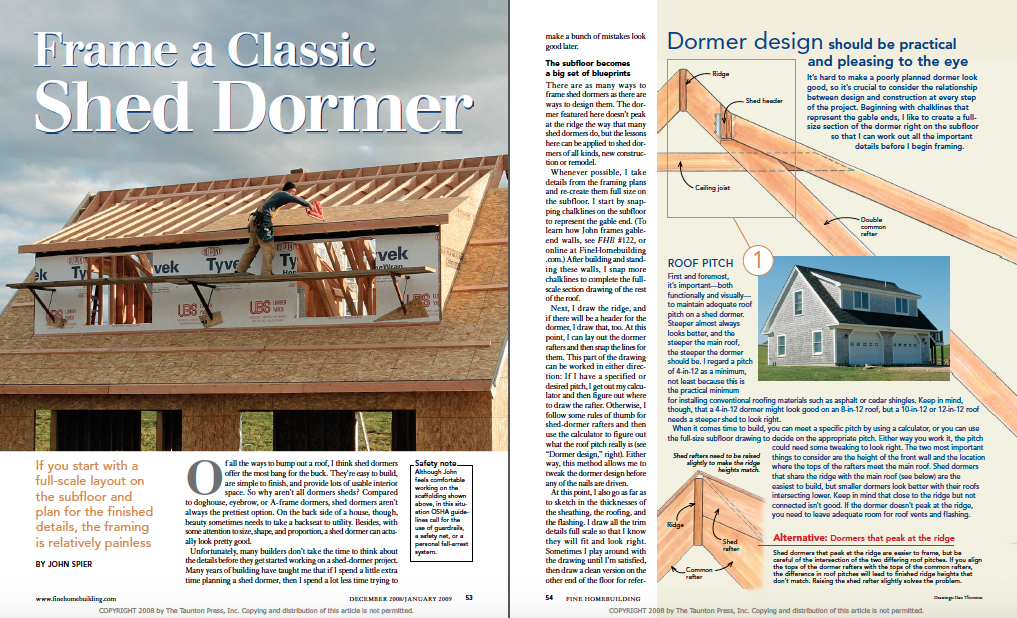
Synopsis: Shed dormers might not offer the same visual appeal as doghouse dormers, but for Rhode Island builder John Spier, they are a classic way to add the most bang for the buck. Spier’s technique for building a shed dormer begins with using the subfloor as a big set of blueprints; this process helps to speed and clarify the construction of the dormer. Spier says that the best shed dormers are practical and pleasing to the eye. Shed-dormer design needs to consider three crucial components: roof pitch, overhangs and header heights, and windows and trim.
Of all the ways to bump out a roof, I think shed dormers offer the most bang for the buck. They’re easy to build, are simple to finish, and provide lots of usable interior space. So why aren’t all dormers sheds? Compared to doghouse, eyebrow, or A-frame dormers, shed dormers aren’t always the prettiest option. On the back side of a house, though, beauty sometimes needs to take a backseat to utility. Besides, with some attention to size, shape, and proportion, a shed dormer can actually look pretty good.
Unfortunately, many builders don’t take the time to think about the details before they get started working on a shed-dormer project. Many years of building have taught me that if I spend a little extra time planning a shed dormer, then I spend a lot less time trying to make a bunch of mistakes look good later.
The subfloor becomes a big set of blueprints
There are as many ways to frame shed dormers as there are ways to design them. The dormer featured here doesn’t peak at the ridge the way that many shed dormers do, but the lessons here can be applied to shed dormers of all kinds, new construction or remodel.
Whenever possible, I take details from the framing plans and re-create them full size on the subfloor. I start by snapping chalklines on the subfloor to represent the gable end. After building and standing these walls, I snap more chalklines to complete the full scale section drawing of the rest of the roof.
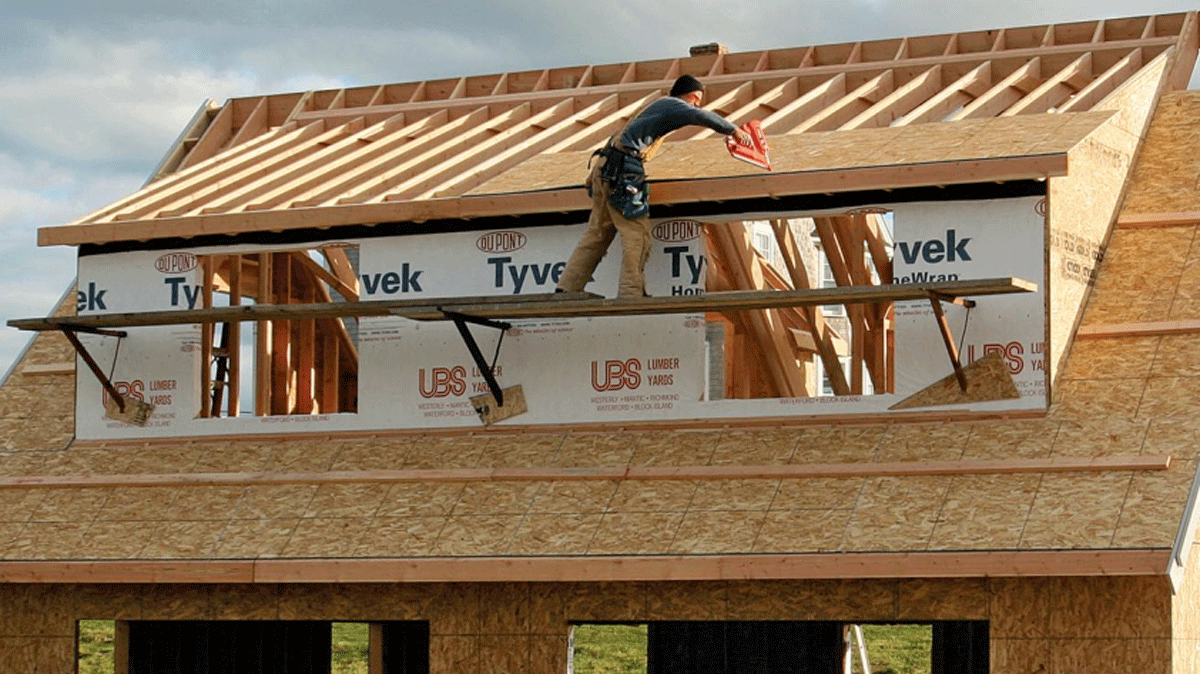 Next, I draw the ridge, and if there will be a header for the dormer, I draw that, too. At this point, I can lay out the dormer rafters and then snap the lines for them. This part of the drawing can be worked in either direction: If I have a specified or desired pitch, I get out my calculator and then figure out where to draw the rafter. Otherwise, I follow some rules of thumb for shed-dormer rafters and then use the calculator to figure out what the roof pitch really is. Either way, this method allows me to tweak the dormer design before any of the nails are driven.
At this point, I also go as far as to sketch in the thicknesses of the sheathing, the roofing, and the flashing. I draw all the trim details full scale so that I know they will fit and look right. Sometimes I play around with the drawing until I’m satisfied, then draw a clean version on the other end of the floor for reference. The process might sound time-consuming, but it pays big dividends later.
Building is the easy part
Once all the thinking and figuring are done, building a shed dormer is easy. I start with the front wall of the dormer. I build it flat on the subfloor, sheathe it, apply housewrap, and stand it like any other wall. When the front wall is stood, I brace the ends, run a stringline, and straighten it with some intermediate braces. Next, I build the short roof in front of the dormer, though this step can just as easily be done later if you prefer.
From Fine Homebuilding #200
Fine Homebuilding Recommended Products
Fine Homebuilding receives a commission for items purchased through links on this site, including Amazon Associates and other affiliate advertising programs.
Hook Blade Roofing Knife

Leather Tool Rig

Sledge Hammer


View Comments
How are span and load limits calculated for a doubled or tripled TJI with filler and backer blocks used as a ridge beam (or header) as attachment point for the new rafters for a shed-roof addition?
I live in Seattle and want to do a 23' wide shed-roof addition to my 1.5 story cape-cod in residential Ballard. ForteWEB was only offering LSL/LVL/PSl/Glulam and lumber options. Craning in a heavy glulam or LVL beam is not feasible due to a spread of adjacent high-voltage transmission lines, so I'll likely need to piece something together with TJIs (or conventional lumber).