How to Fix a Failing Bathroom Floor
From demolition to installation, how to repair old, water-damaged floor joists.
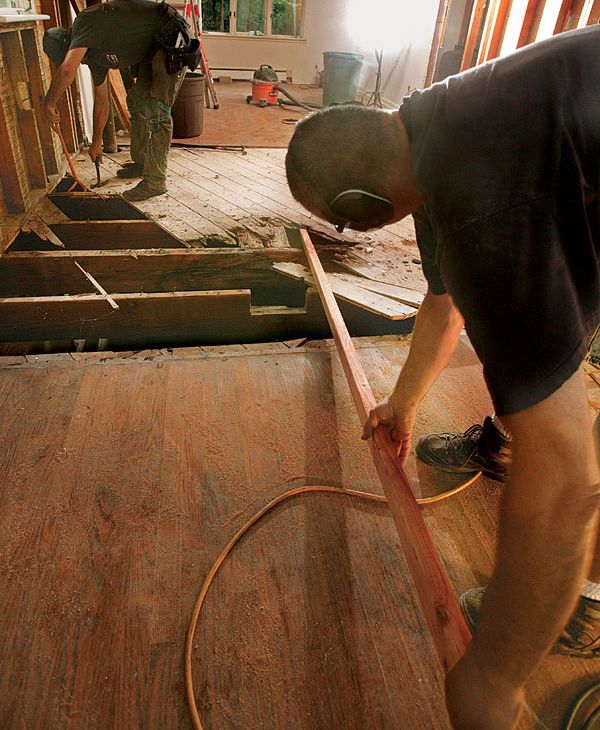
Synopsis: Because bathrooms are subject to such high usage under extreme conditions, they often end up having to endure the trickiest, most difficult repairs when things go wrong. For this project, builder Mike Lombardi visited the FHB Project House to prepare its bathroom floor as the first step in a major face-lift. To start, Lombardi and his crew removed the old, damaged floor joists. It’s important to take apart the floor carefully, starting with the subfloor, so that you don’t cut into any plumbing or mechanicals under the subfloor. The next step is fitting the replacement joists. In a bathroom, take steps to ensure that your work won’t be undone by future water damage, and be sure to reinforce the framing under the toilet and the tub. This article includes sidebars about prepping for a mortar bed and about working with the right number of people on a demolition job.
In a perfect world, there would never be a battle between framing and plumbing. The reality, though, is that bathrooms are often small, and there frequently is precious little space to fit all the incoming and outgoing plumbing necessary for the tub, shower, vanity, toilet, and other fixtures. Without forethought in the design phase, upfront communication between subcontractors in the rough-in phase, and a willingness to do the job right in remodels, sacrifices are often made.
These problems usually are found in the floor system: Joists are notched carelessly, cut through, or drilled incorrectly, sometimes directly under a bathtub or toilet, where there is an added load on the framing. In the bathroom shown here, water leaking from the joint between the tile floor and the tub apron had rotted the floor sheathing, the original joist below, and a new joist that had been sistered in place to rescue the original. To make matters worse, the adjacent joist had been notched almost two-thirds of the way through to accommodate the tub’s waste line. These framing nightmares aren’t uncommon, and though nobody likes to hear it, proper repair often means a full demolition of the bathroom.
The plans for this project included expanding the bathroom’s footprint, so we had the luxury of removing the partition walls on both ends, which gave us lots of room to work. We had a full-height basement below the bathroom, which also made our work easier. Often, the ceiling below the bathroom has to be opened up or part of the rim joist removed so that new joists can be slid into place. The plans also called for a barrier-free shower, which meant lowering the floor so that the tilesetter could create a sloped mortar bed, a decision that has its own structural complications.
In the end, we elected to install doubled floor joists under the whole bathroom. Damaged joists were cut out and replaced with new lumber spanning from plate to carrying beam, and joists that were still in good condition were beefed up with new joists sistered alongside them. After notching the joists in place for the lowered floor, the whole assembly was tied together with 3 ⁄4-in. subfloor sheathing.
Know the signs of trouble
The first signs of structural inadequacies in a bathroom floor usually show up in the form of cracked grout joints in floor or wall tile, or even cracks in the tiles themselves. Most fixtures in the bathroom are heavy, are used frequently, and can shed or leak enough water over time not only to wet the floor below, but also to wet it repeatedly so that it doesn’t dry out. That’s the perfect recipe for rot. These problems most often occur near the toilet, the bathtub, and the shower stall.
For more photos and details, click the View PDF button below:
