Installing Kitchen Cabinets
Careful planning and knowing exactly where the framing is help factory-made cabinets go in quickly and easily for a custom look with no nasty surprises.
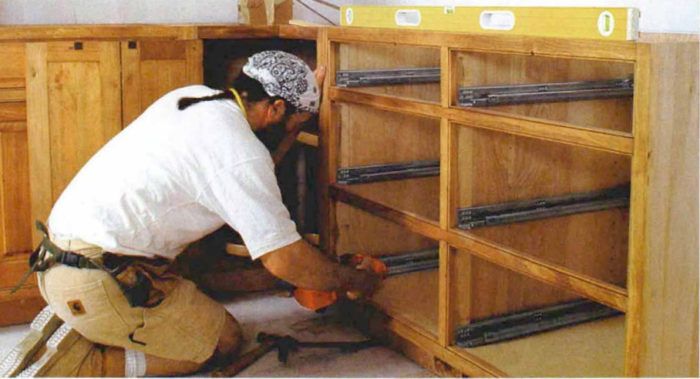
Synopsis: Factory-made kitchen cabinets have arrived. Now what? The author walks through the installation process in this article, explaining how to set upper and lower cabinets, build a refrigerator enclosure and assemble a kitchen island. A short sidebar explains how factory parts can be used to build a custom sink cabinet.
In Jonathan Swift’s novel Gulliver’s Travels, the Lilliputians were at war with their neighbors over whether a boiled egg should be cracked from the pointy end or from the round end. At teatime, the British squabble over whether the tea or the milk goes into the cup first. Likewise, on job sites I’ve seen carpenters argue vehemently about which kitchen cabinets should be installed first, lowers or uppers. There are good reasons for each choice, but you’ll have to read on to find out which way I prefer.
Check everything before installation begins
With this kitchen (and with all of my kitchen jobs), I received an information packet from the designer. This packet included the floor plan and elevations that showed backsplash and crown-molding heights, as well as countertop dimensions and the specs of the four built-in appliances.
All this information helps me to bid the job accurately, but I also use it during installation. My first task at the site was to check the stock numbers of the cabinets against the floor plan to make sure the order was complete and correct. I also looked at the cabinets for any obvious damage and arranged them in order of installation and by area (e.g., the island cabinets all together).
Next I measured everything in the kitchen, checking my measurements against the floor plans and elevations. I checked wall heights and lengths, locations of lights and outlets, and window and door locations; I also checked the walls for plumb and straight. The only major problem I found in my investigation was an out-of-place outlet, and lucky for me, an electrician was on site that day.
Two lines set the cabinet height
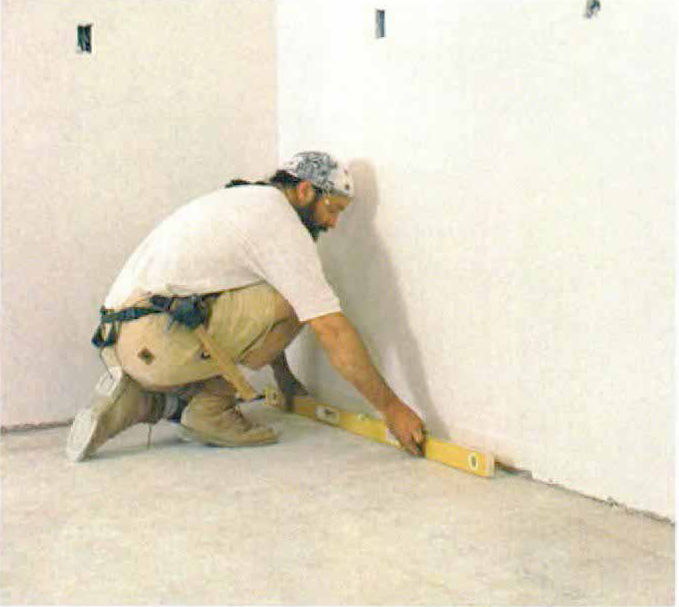
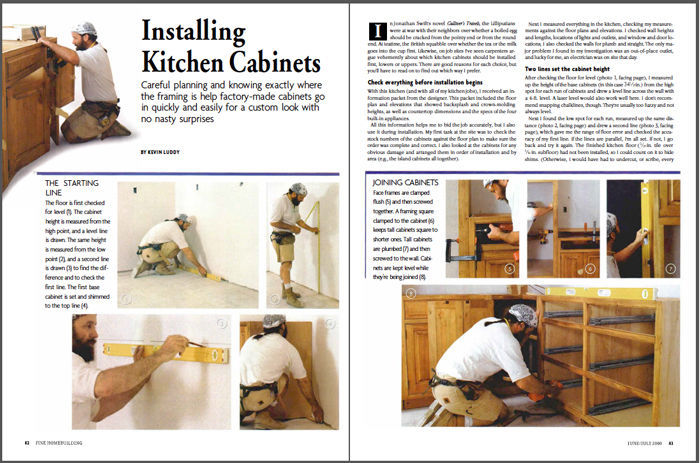
After checking the floor for level, I measured up the height of the base cabinets (in this case 34- 1/2 in.) from the high spot for each run of cabinets and drew a level line across the wall with a 4-ft. level. A laser level would also work well here. I don’t recommend snapping chalklines, though. They’re usually too fuzzy and not always level.
Next I found the low spot for each run, measured up the same distance and drew a second line, which gave me the range of floor error and checked the accuracy of my first line. If the lines are parallel, I’m all set. If not, I go back and try it again. The finished kitchen floor (1/2-in. tile over 3/8-in. subfloor) had not been installed, so I could count on it to hide shims. (Otherwise, I would have had to undercut, or scribe, every base cabinet, which is time-consuming.) The top line then became my guide for cabinet level.
For more photos and details on installing kitchen cabinets, click the View PDF button below.
Fine Homebuilding Recommended Products
Fine Homebuilding receives a commission for items purchased through links on this site, including Amazon Associates and other affiliate advertising programs.

Anchor Bolt Marker
Original Speed Square
Plate Level
