Job-Site Router Techniques
Gary Striegler shares the skills—and the tools—that make better site-built cabinetry, casing, brackets, and flooring
Trim carpenter extraordinaire and frequent contributor to Fine Homebuilding Gary Striegler has accumulated enough routers over the years that he’s actually stopped counting them. And he’s got his favorites. The routers Gary reaches for most are his trim and midsize D-handle models, and he favors pattern, flush trim, and dado bits, depending on the project.
In his article Router Tricks for Trim, Gary shares his top-five problem-solving tips for trim, cabinets, doors, and stairs. Here, Gary goes beyond his article and shares the tools and techniques he uses on the job site to construct built-in shelving, curved casing, closet corner shelves, custom brackets, and tongue-and-groove flooring.
Build quick and sturdy paint-grade built-ins
Most of the built-ins we make on site have adjustable shelves, but for projects like entertainment centers and walk-in closets, we often make units with fixed shelves. To support the shelves we plow a dado on each of the unit’s sides, then seat the shelf in the dado. As with other paint-grade built-ins, we use sheets of 3/4-in. MDF ripped to width, and we space the shelf height appropriately for the built-in’s intended use.
My method requires a D-handle router equipped with a 3/4-in. pattern bit, two clamps, and a sturdy straightedge.
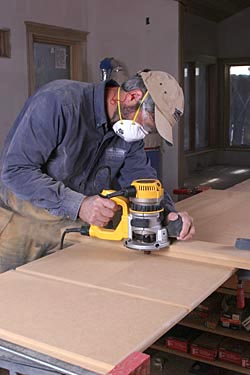
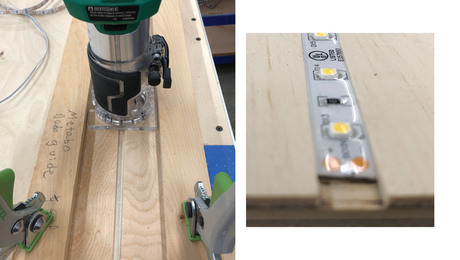
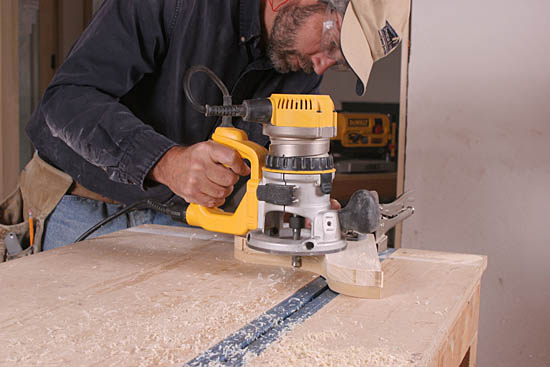
Plow the dadoes. First, rip the shelving unit’s sides to width, then clamp them together. Next, mark the shelf locations on each end of the unit’s sides. Clamp the guide along each layout mark, and plow the dado. Make the dado 3/8 in. to 1/2 in. deep. Be sure the surface is flat and sturdy. Any flex in the unit’s sides will affect the depth of the dado.
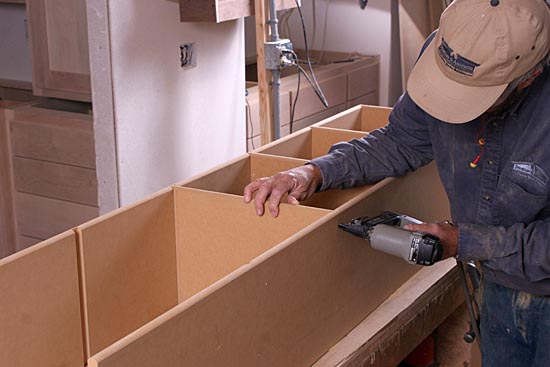
Glue and nail the shelves. After ripping and cutting the shelves to size, attach them to the unit’s sides. Run a bead of wood glue in each dado, and nail into the shelf about every 4 in. to 6 in. Make sure the unit is square after attaching the first shelf before proceeding. A framing square works for short, narrow units, but pulling diagonal measurements is the most accurate way to measure larger units.
Cut a perfect curve
Whether making casing for an arched window, roughing in an arched opening for drywall, or cutting plates for a curved wall, I use a router and trammel to make accurate cuts instead of a jigsaw. The router leaves a nice, clean edge, and the trammel ensures a perfectly symmetrical cut.
For this method, I use a D-handle router equipped with a 1/2-in. dado bit.
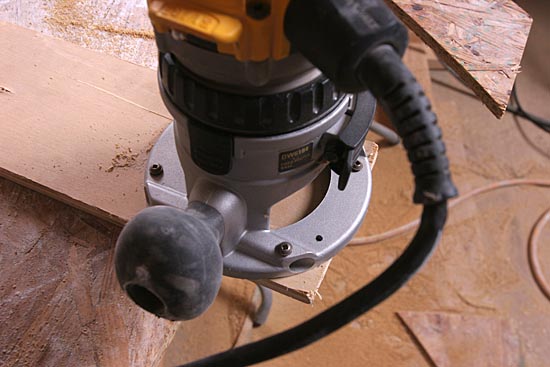
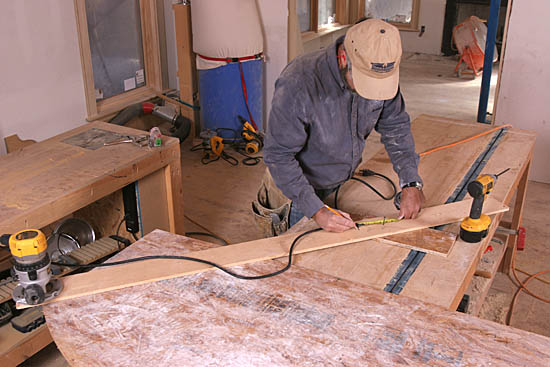
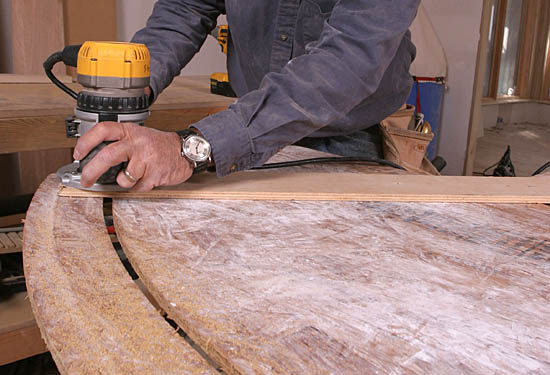
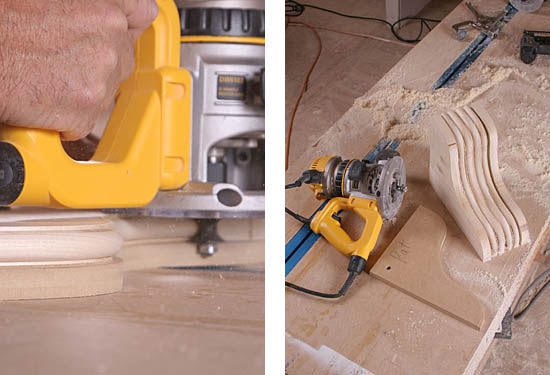
Set up the router and trammel. First, I mount the router base to an 8-in.-wide piece of 1/2-in. plywood. I run screws directly through the base and bore a hole wide enough to accept the bit (top photo). Then I run a screw into the center of trammel at the appropriate radius for the cut I’m going to make (bottom photo).
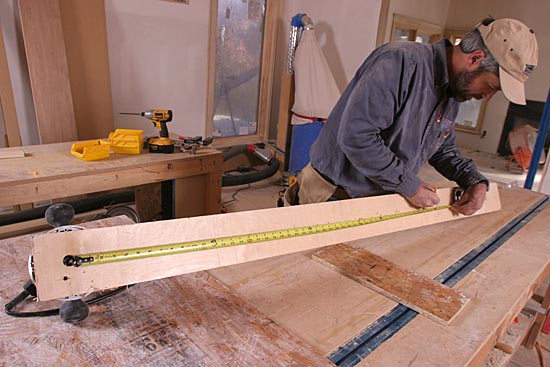
Cut the top edge. I make the top cut first, pulling slightly away from the centerpoint to maintain tension on the trammel.
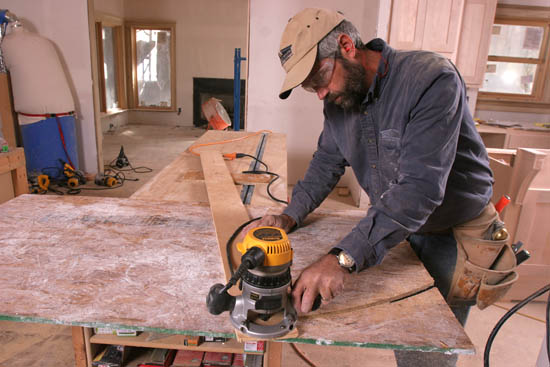
Then cut the bottom edge. Once the top cut is finished,I move the screw up toward the router the same measurement as the width of the plate or casing I’m making plus the width of the bit (top photo). Then I make the second cut (bottom photo).
Make strong corners for closet shelves
We often have to run shelves in walk-in closets that turn one or two corners. There are a number of ways to make theses corner joints, but we’ve found a half-lap joint to be the quickest and most sturdy approach for the job. We use factory-ripped 3/4-in. MDF shelf stock to makes our closet shelves. It’s available in varying widths and comes already bullnosed, which saves us from having to mill it on site.
A D-handle router equipped with a 1/2-in. rabbeting bit is ideal for half-lap joints such as these.
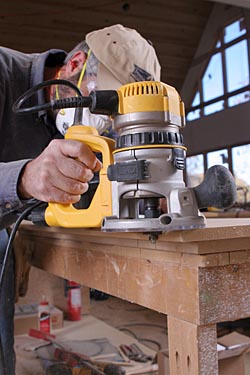
Plow one rabbet at a time. Set the bit halfway down the width of the stock; then plow the rabbet. It may take a couple of adjustments to get the bit depth set right, but make sure this rabbet is not more than half the thickness of the stock. Make this cut down the front edge of the shelf only as far as the adjoining shelf is wide.
Sneak up on the second rabbet. I like to mark the layout of the second rabbet so I don’t rout the wrong face. It’s a good idea to make the cut a little shallow at first, then dry-fit the pieces. If necessary, lower the bit and plow the rabbet again.
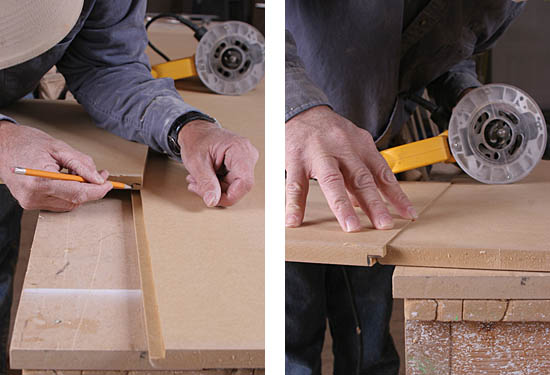
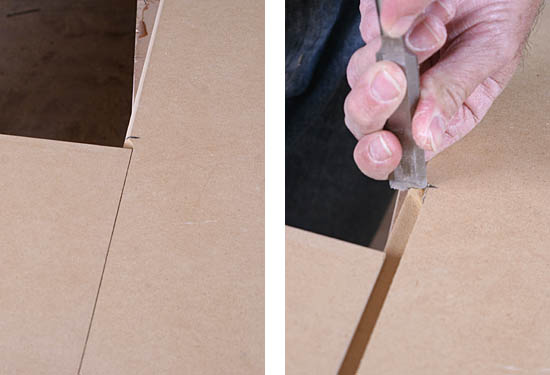
Square the corners. The rabbeting bit leaves a radiused corner where the two pieces join (photo left), so I square the corner with a chisel (photo right).
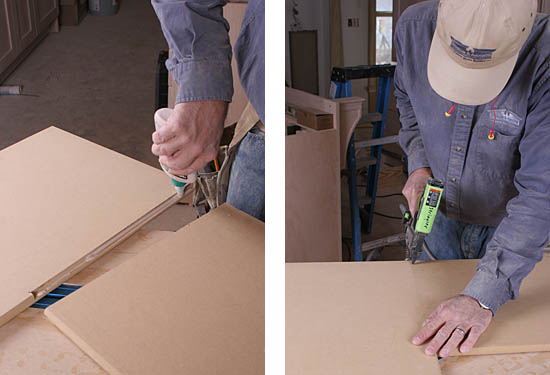
Glue and nail the joint. Finally, I run a bead of wood glue along the bottom rabbet (photo left) and nail the joint together with 3/4-in. headless pins (photo right). Running the pins in at an angle provides a stronger hold and keeps them from exiting the bottom edge of the shelves.
Build wide custom brackets
We build a lot of brackets for mantels and kitchen islands on site. Instead of buying thick stock or factory-made versions, I prefer to laminate layers of 1x poplar stock together. I start by making a pattern out of 3/4-in. MDF, and I use it as a guide to mill the poplar sections. Beading the edges of the center pieces adds a nice design touch to the brackets and hides the joint between the laminated layers.
Use a D-handle router equipped with a 1/2-in.-dia. flush-trim bit to mill the layers and a 3/4-in. beading bit to shape the middle layers.
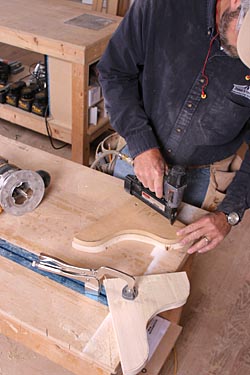
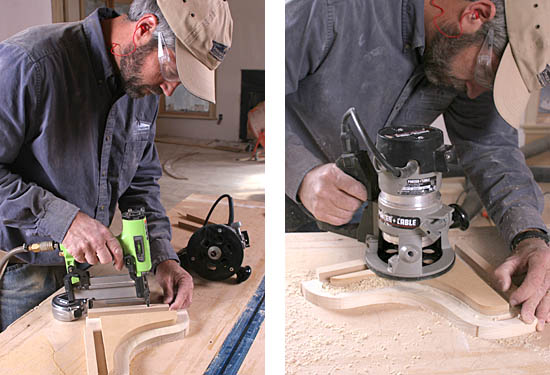
Rough-cut the pieces first. Then attach the pattern. After tracing the pattern onto the poplar stock, I rough-cut the pieces about 1/8 in. larger. Next, I attach the pattern to the rough-cut sections with 1-in. headless pins
Trim the poplar. Clamp the pattern and poplar to a bench, then trim the poplar flush. Make a couple of passes to ensure a clean cut. Keep the router base firmly planted on the stock as you go to keep the bit square to the stock.
Bead the edge. With the pattern still in place, bead the edge of the stock (photo left). Keep the base firmly planted on the stock as you go, and move slowly to prevent burn and tearout. Last, glue and nail the layers together (photo right).
Plow a flute with a guide bushing
Mount the pattern, and use a cove bit. After making the pattern, I nail it to the stock with headless pins. I add guide pieces to the outside edge to provide support for the router base (photo left). Then I run the router along the pattern to plow the flute (photo right).
Mill tongue-and-groove flooring on site
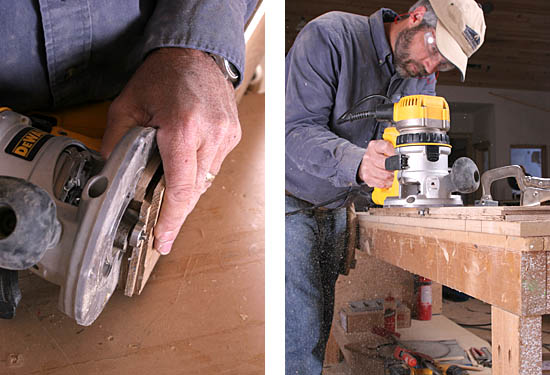
Whether replacing damaged boards or creating custom details, it’s often necessary to mill tongue-and-groove flooring on site. I use a 1/4-in. slotting bit to cut the groove and a 1/2-in. rabbeting bit to cut the tongue.
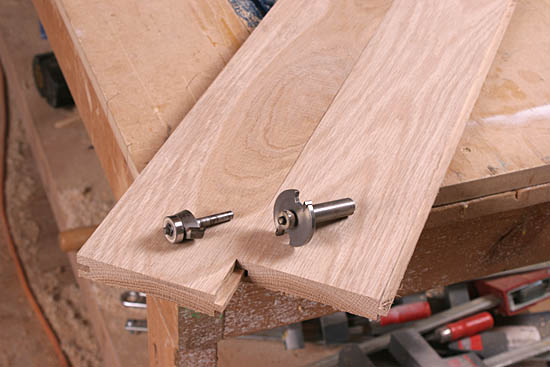
Set the bit depth. Using a piece of factory-milled flooring as a guide, set the depth of the slotting bit (photo left). Plow the groove in two passes to prevent tearout (photo right).
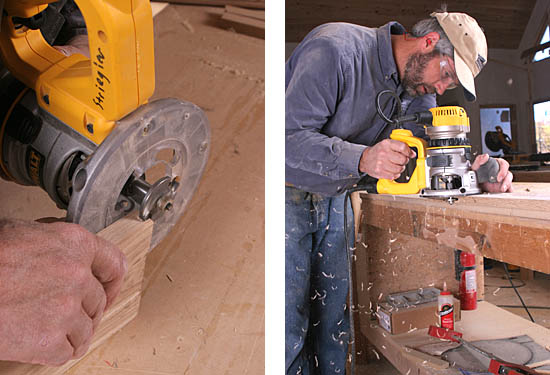
Make two passes on the tongue. Set the bit depth for the top rabbet (photo left). Plow the top rabbet in two passes, making the first cut shallow to prevent tearout (photo right). Flip the stock and repeat both steps for the bottom rabbet.
Photos by: Chris Ermides


