Low-Voltage Landscape Lighting
All 12v lighting systems are safe, but quality components and careful installation make the difference over the long haul.

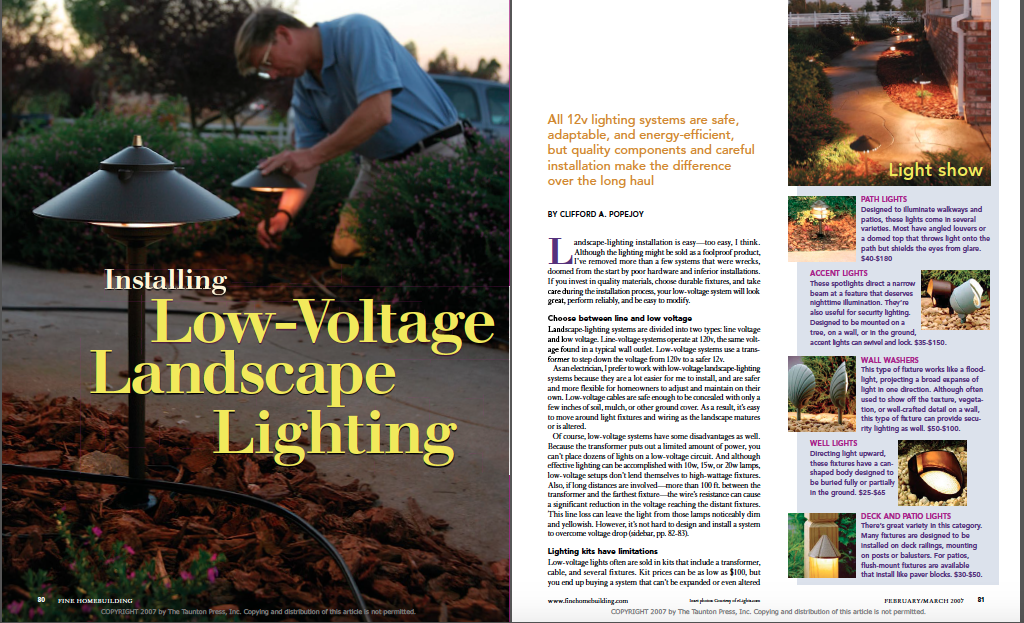
Synopsis: Landscape lighting can be an important element in a house’s design scheme, highlighting important features or providing illumination for walkway safety. California electrical contractor Clifford A. Popejoy shares his knowledge on the proper installation and layout of landscape-lighting systems. One sidebar illustrates different varieties of landscape lights, including path lights, accent lights, wall washers, well lights, and deck and patio lights. Another sidebar tells how to overcome obstacles by using expansion joints in sidewalks or by boring under walkways with a tool called a BorZit. Popejoy also offers a variety of professional tips on troubleshooting landscape-lighting systems.
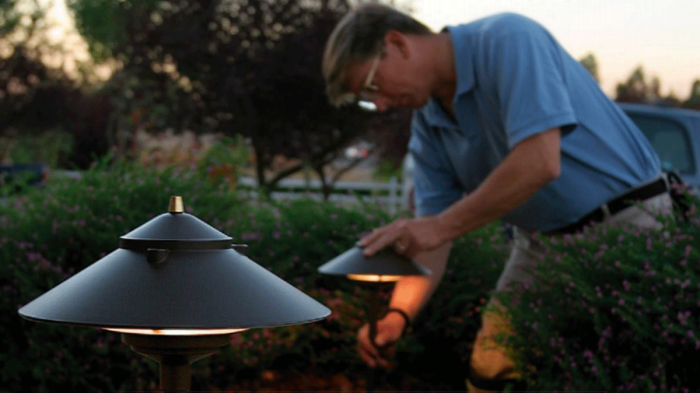
Landscape-lighting installation is easy — too easy, I think. Although the lighting might be sold as a foolproof product, I’ve removed more than a few systems that were wrecks, doomed from the start by poor hardware and inferior installations. If you invest in quality materials, choose durable fixtures, and take care during the installation process, your low-voltage system will look great, perform reliably, and be easy to modify.
Choose between line and low voltage
Landscape-lighting systems are divided into two types: line voltage and low voltage. Line-voltage systems operate at 120v, the same voltage found in a typical wall outlet. Low-voltage systems use a transformer to step down the voltage from 120v to a safer 12v.
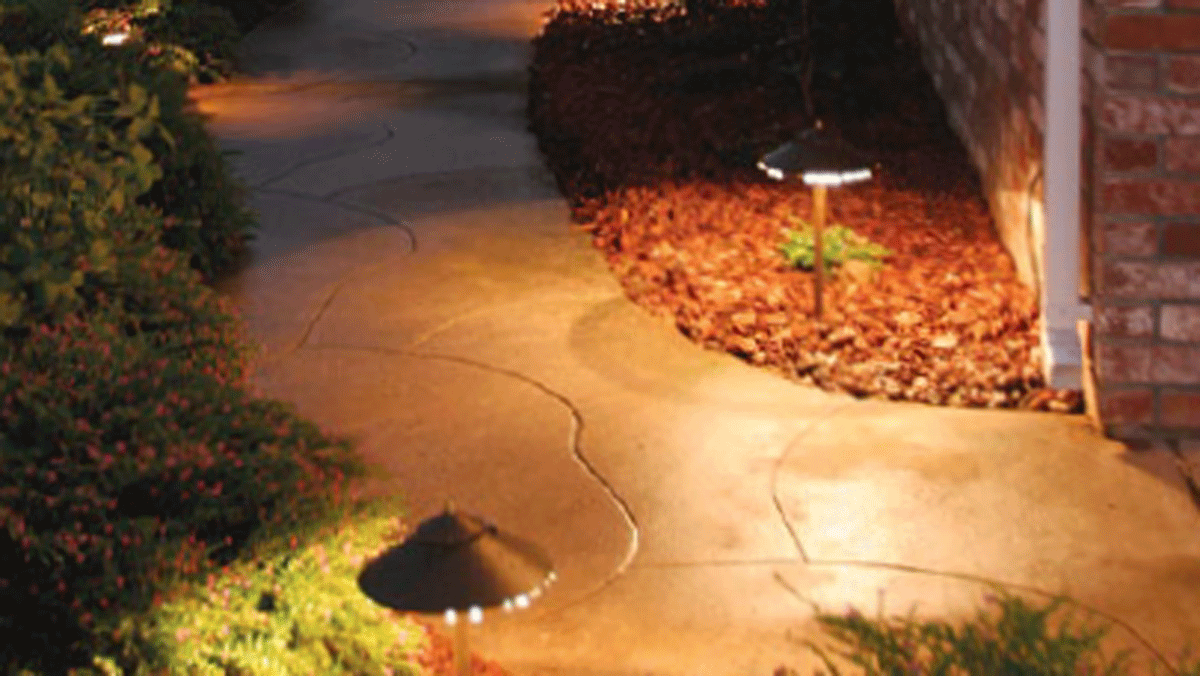
As an electrician, I prefer to work with low-voltage landscape-lighting systems because they are a lot easier for me to install, and are safer and more flexible for homeowners to adjust and maintain on their own. Low-voltage cables are safe enough to be concealed with only a few inches of soil, mulch, or other ground cover. As a result, it’s easy to move around light fixtures and wiring as the landscape matures or is altered.

Of course, low-voltage systems have some disadvantages as well. Because the transformer puts out a limited amount of power, you can’t place dozens of lights on a low-voltage circuit. And although effective lighting can be accomplished with 10w, 15w, or 20w lamps, low-voltage setups don’t lend themselves to high-wattage fixtures. Also, if long distances are involved — more than 100 ft. between the transformer and the farthest fixture — the wire’s resistance can cause a significant reduction in the voltage reaching the distant fixtures. This line loss can leave the light from those lamps noticeably dim and yellowish. However, it’s not hard to design and install a system to overcome voltage drop.
Lighting kits have limitations
Low-voltage lights often are sold in kits that include a transformer, cable, and several fixtures. Kit prices can be as low as $100, but you end up buying a system that can’t be expanded or even altered easily. The minimal level of the lighting and the short life span of bargain light fixtures can be (excuse the pun) a real turnoff.
I buy my components separately: a high-quality transformer, 10-ga. cable (heavier duty than the 12-ga. cable that comes with many kits), well-made metal (not plastic) light fixtures, and good cable connectors. Although a premium low-voltage lighting package costs quite a bit more, you’ll be able to power more lights, and you won’t be limited by the fixtures that come with the kit. Instead, you can select fixtures from different manufacturers, getting exactly the features and styles you want. The fixtures I used in the project featured here are from Vista (www.vistapro.com).

For more photos, illustrations, and details, click the View PDF button below:


