Plumbing, Lining and Bracing Framed Walls
A framing contractor explains his efficient sequence for keeping walls straight and true.
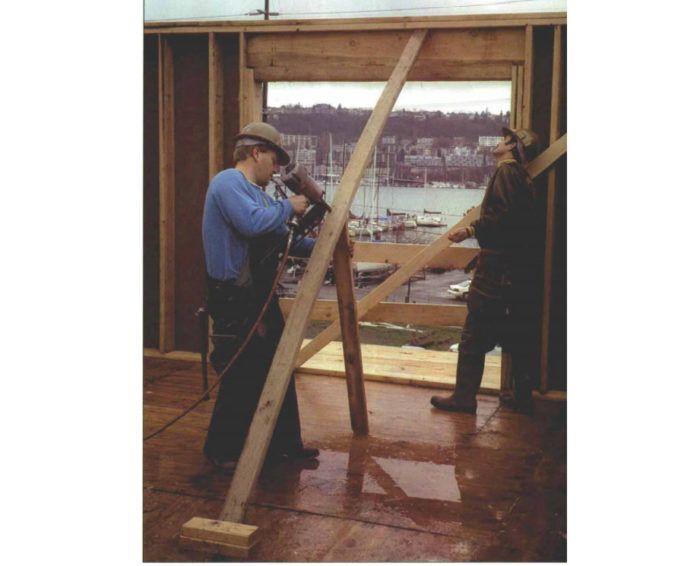
Synopsis: In this article, a framing contractor explains how to get rough-framed walls plumb and straight. He discusses methods of bracing and how to string line to check a wall for straightness.
I have a painting on the wall of my office at home. The painting hangs in a room built in the 1920’s or 30’s, and the room has 2×4 floor joists and rafters. No matter how hard I try, I can’t get the picture to hang straight. My office was probably plumb and straight when it was new, but now it’s neither straight nor square nor level. A picture that doesn’t hang squarely on a wall might not bug you, but even worse things can go wrong if you build an out-of-square structure.
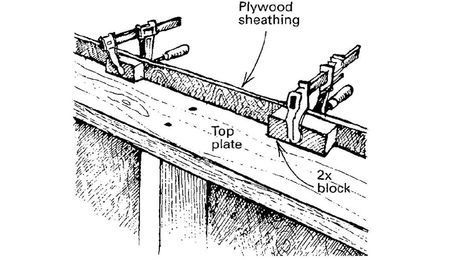
To avoid these problems, once you’ve built, stood and nailed walls together, they must be plumbed and lined. Plumb and line makes walls straight and true. Plumbing is setting a level against the end of a wall to make sure that it stands up straight. Lining is using a tight line attached to the top of a wall to gauge a wall’s straightness along its length. You plumb and line walls before installing joists, rafters and sheathing because it’s nearly impossible to move walls after these items are nailed in place.
Doing an inaccurate job will slow down every subsequent framing phase. If exterior walls aren’t straight, you’ll have to measure every rafter or floor joist before you cut it; otherwise, it won’t fit on the crooked wall. And if you have crooked walls, you’ll have bowed siding; you’ll have to scribe soffits. You’ll have a mess.
If you’ve framed the floor and the walls carefully, it shouldn’t take more than a few hours to plumb and line the walls. You can speed the process by approaching the tasks methodically and by eliminating unnecessary steps.
Start with careful layouts and straight lumber
When framing walls, you should use the straightest lumber possible for the top and double-top plates, the corner studs and the end-wall studs. And make sure you cut the bottom and the top plates exactly the same length.
Once walls are stood, be sure all intersecting walls are nailed together tightly and that all double-top plate laps are tight. Intersecting walls must line up in their channels, and corner studs must line up.
Next, bring in your brace lumber — an assortment of 2x4s ranging from 8 ft. to maybe 14 ft., depending on wall height — and distribute the braces throughout the house. These braces help you move walls into position and hold them there until the joists, rafters and sheathing go on.
To plumb and line, you first get exterior corners standing straight up, or plumb. Next, you straighten the top plates so that they’re in line with the walls’ corners. Then, you plumb and line any interior walls that intersect exterior walls and finish by plumbing and lining remaining interior walls.
Plumbing exterior corners
Pick any exterior corner of the building as your starting point to plumb the walls, but work in one direction after that because when you move one wall, you also move any walls attached to it. Take care not to move walls that you’ve already plumbed.
For more photos and details, click the View PDF button below:
Fine Homebuilding Recommended Products
Fine Homebuilding receives a commission for items purchased through links on this site, including Amazon Associates and other affiliate advertising programs.
Guardian Fall Protection Pee Vee

Tajima Chalk Rite Chalk Line
QuikDrive PRO300s


