Repairing Drywall
Techniques for fixing everything from popped screws to big holes.

Synopsis: An experienced drywall contractor explains how to make a number of repairs to gypsum drywall, from filling cracks to repairing water-damaged ceilings and patching up old electrical-box openings. Sidebars in the PDF below cover different types of joint compound and techniques for blending patched areas with the rest of the wall or ceiling.
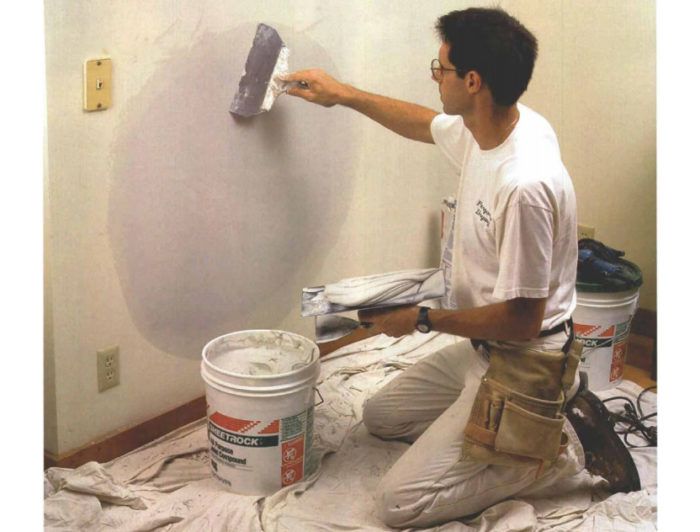
Cracks or holes in drywall, wet or stained drywall, peeling joint tape, popped nails or screws. Any of these problems means a dreaded drywall repair is inevitable. I know that some people grimace when faced with a chore like fixing a hole in drywall. The framing never seems to be in the right place for attaching a patch, and the quarter-inch layer of joint compound used to fix it looks nearly as obvious as the gaping black hole, except now they have drywall dust all over the furniture and a wall to repaint.
Unlike most people in my business, I love walking into a drywall-repair job. I savor the look on a customer’s face when I say: “Sure, no problem. I can fix this in no time,” The more severe the damage, the more gratifying the look. Over the past 17 years, I must have faced every possible type of drywall repair, and I have gotten good not only at patching holes but also at permanently concealing repairs and doing them as quickly and easily as possible.
Cracks should be cut open and filled
Cracks in drywall are usually caused by structural movement, such as the settling that happens in new homes. Most often, the cracks occur on a seam, but sometimes they can be found in the middle of panels over doorways or windows. (In modular homes, cracks in the middle of panels can occur as a result of transportation and placement on a foundation.) In new construction, I recommend waiting at least six months before repairing cracks to give the structure time to settle.
Most cracks go completely through the panel, so just repairing the surface is not enough. The first step, as in all repairs, is to remove any loose material with a putty knife or utility knife. I then cut a V-groove along the crack, opening it up about 1/2 in. and going almost completely through the panel to the paper on the back. I fill the void with joint compound and cover it with mesh or paper tape. Then I smooth the area with two or three coats of joint compound, blending it into the surrounding area and lightly sanding after the last coat. I’m careful to let the joint compound dry between coats.
Popped screws are the most common problem
Popped screws or nails are the easiest to fix. Nails and screws rear their heads when the drywall panel is not firmly fastened against the framing, when the framing shrinks or twists, or when the wall or ceiling is struck or moved slightly during remodeling work.
Whatever the cause of the pop, the best remedy is to refasten the panel near the popped nail or screw. I usually press on the panel next to the popped fastener and drive a screw into the stud about 1-1/2 in. away (sometimes on both sides), drawing the panel toward the framing. I remove the popped fastener or drive it back into the framing.
Covering the dimples is easy. If the paper surface of the drywall has not been damaged, just fill the depression with three thin coats of joint compound, letting the compound dry between coats, followed by light sanding with 150-grit sandpaper. If the paper has torn or if the core of the drywall is damaged, it’s best to remove all loose material, fill the hole with joint compound and then cover the area with fiberglass-mesh tape. (You can use paper tape, but I prefer self-adhering mesh tape.) This approach also works for any hole 2 in. wide or less.
For more photos and details on repairing drywall, click the View PDF button below.


View Comments
Its really awesome